


|
 |
|
|
#1 |
|
Registered Member
Join Date: Feb 2011
Posts: 245
|
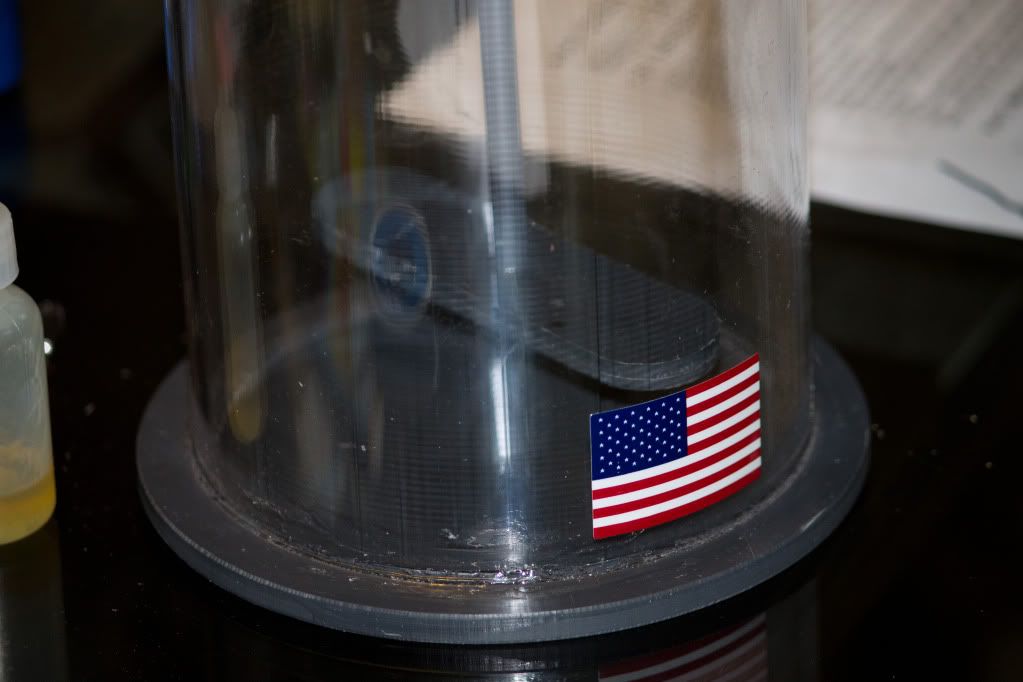
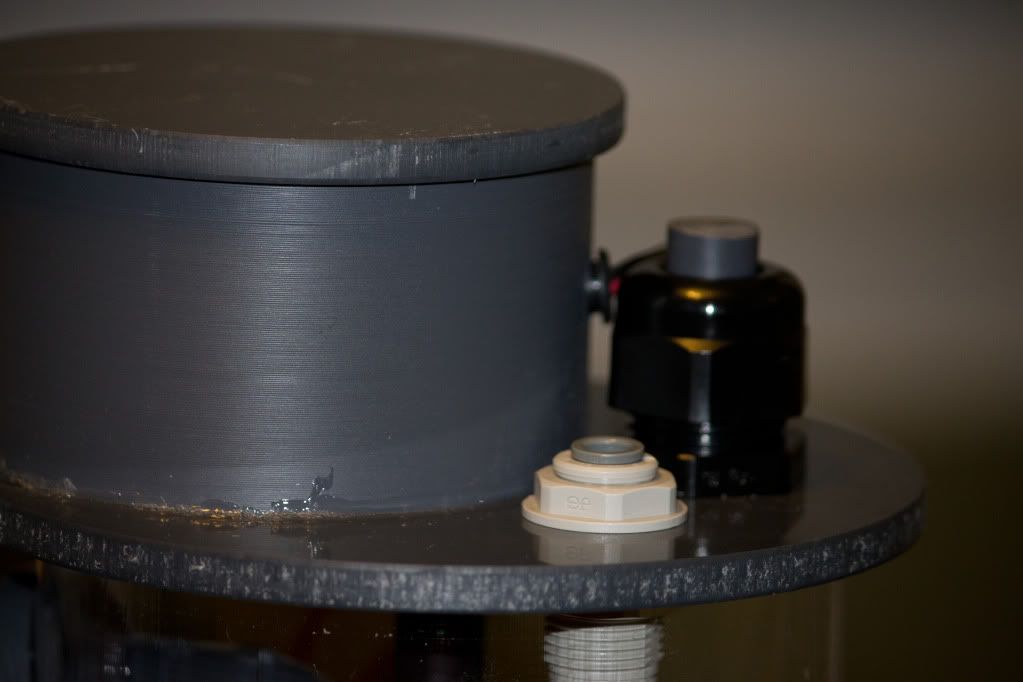
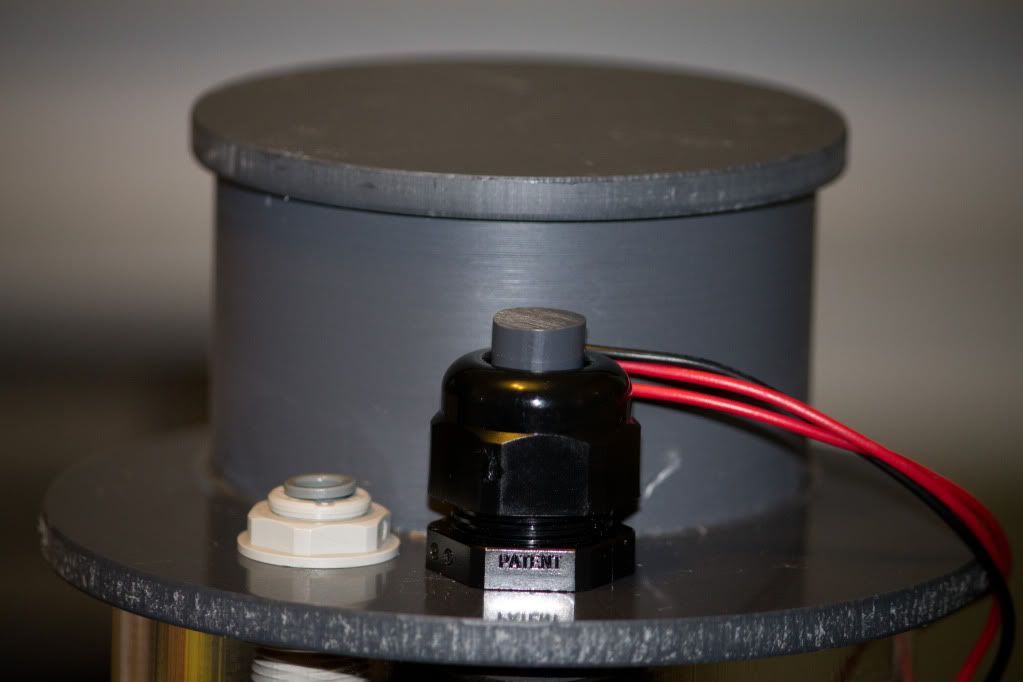
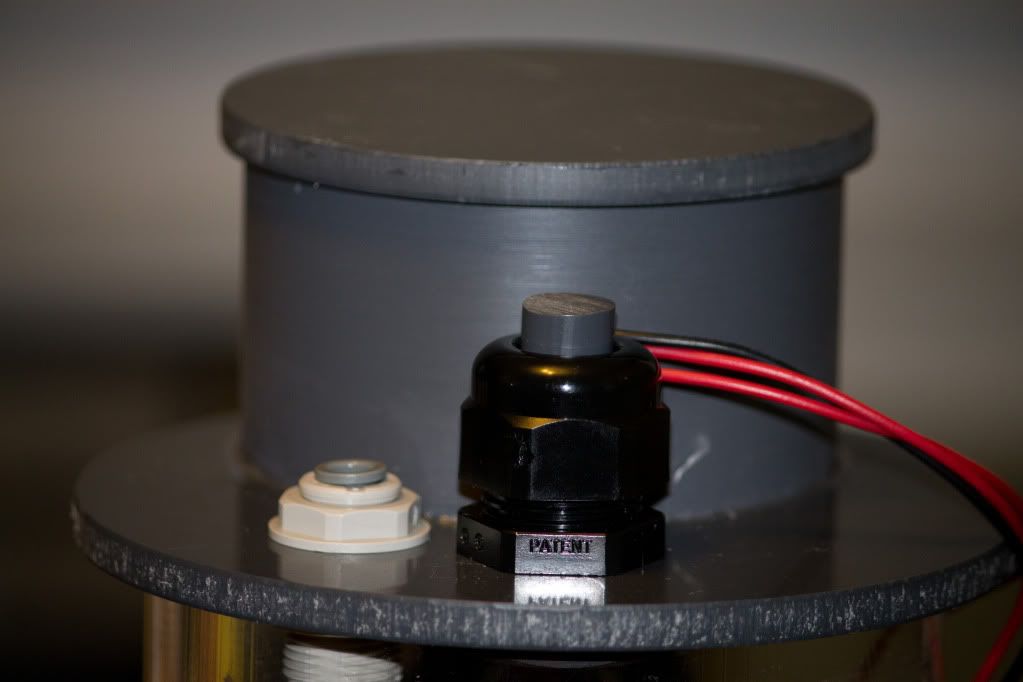
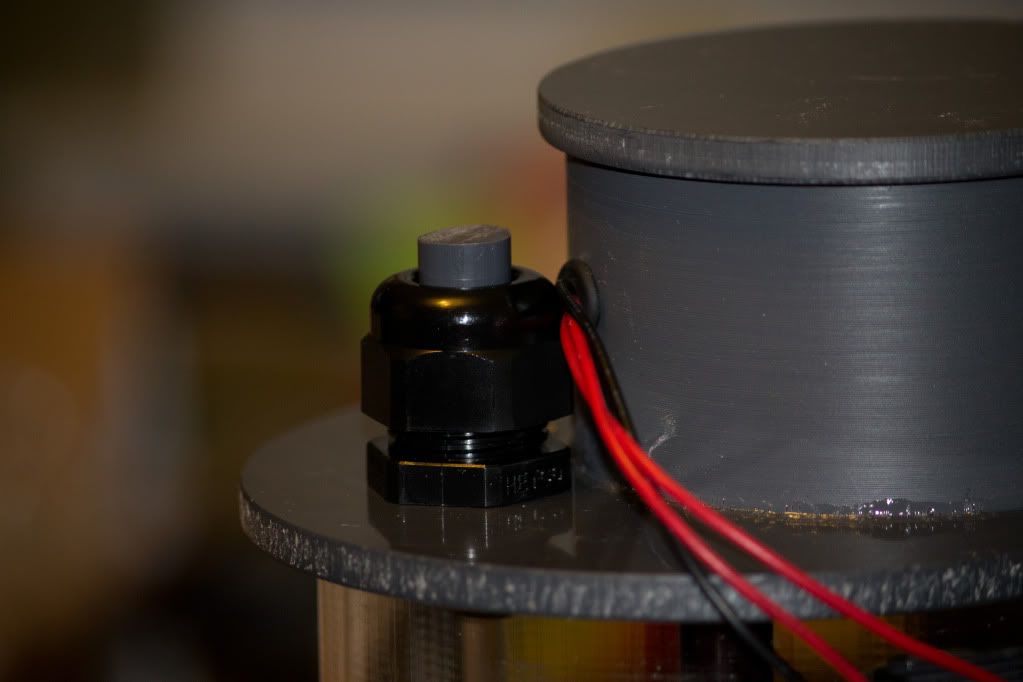
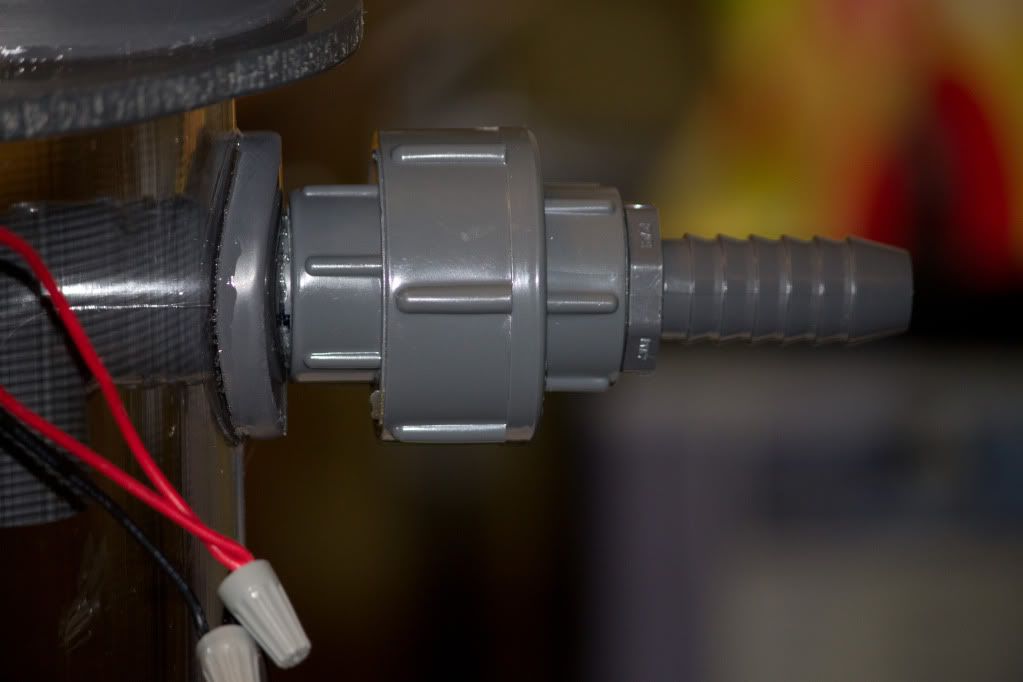
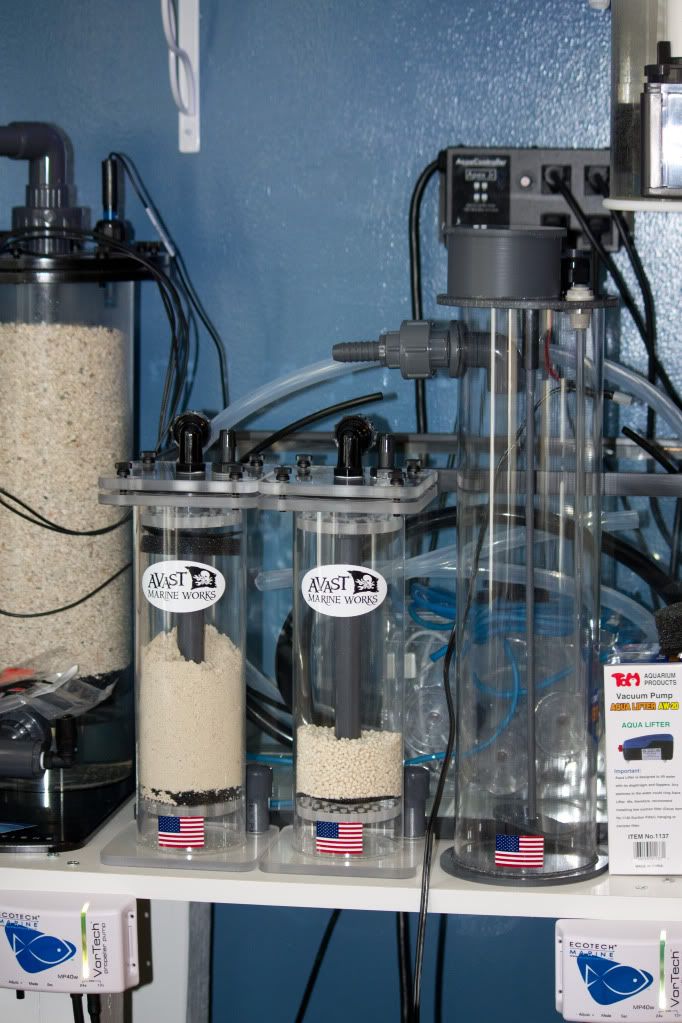
I received my Avast Marine Works K1 "You Build" Kalkwasser Stirrer today and it definitely has more pieces than the Avast Marine Works MR5 "You Build" Media Reactor which meant more fun! It took me about 2 hours to put it together since there is more time required for the glue to dry accordingly (I also made a mistake of not aligning the Motor Chamber Wire director in front of the Probe Holder which made for an extremely snug fit for the exiting wires which I could correct because the glue had already settle before I noticed). But as always the Avast Marine Works equipment did not disappoint. The build quality is amazing (I built it, LOL) and pretty straight forward. I definitely would recommend this over any Kalkwasser Stirrer on the market for overall ease of construction, build quality, price point and customer service provided by Justin of Avast Marine Works! Unfortunately one sticker was damaged in transit but Justin is sending a replacement which is why you don't see the logo on the unit in my photographs.
 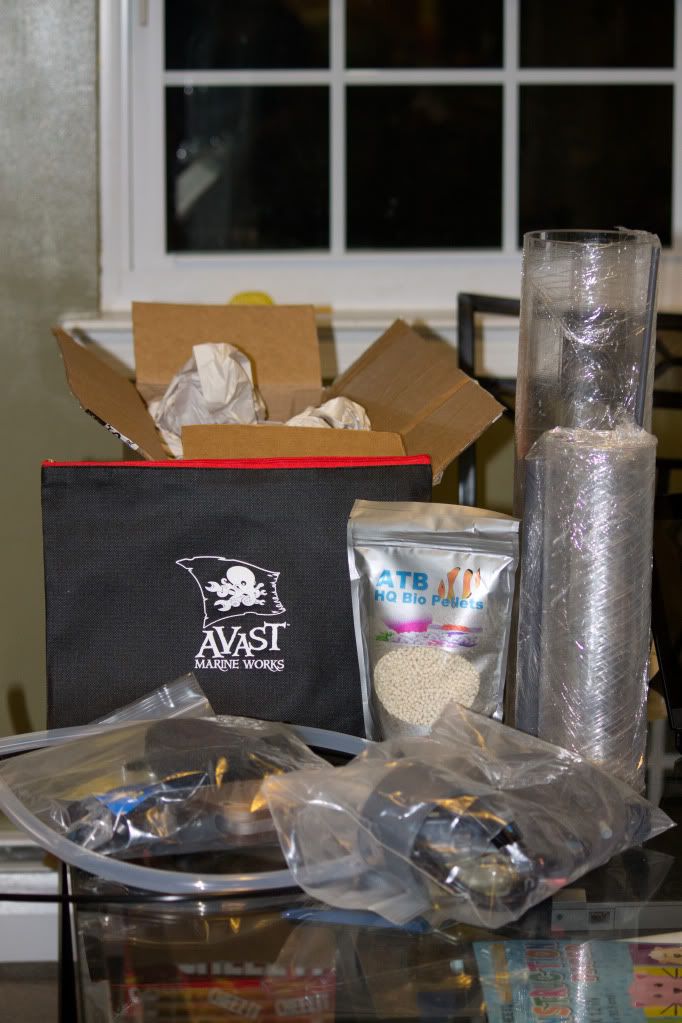 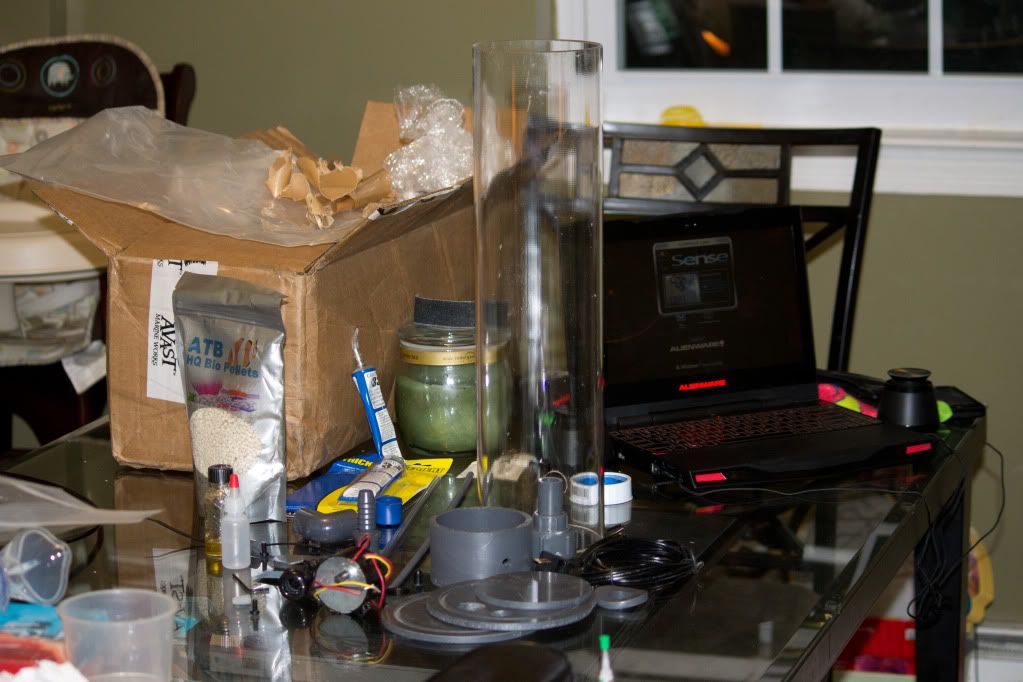 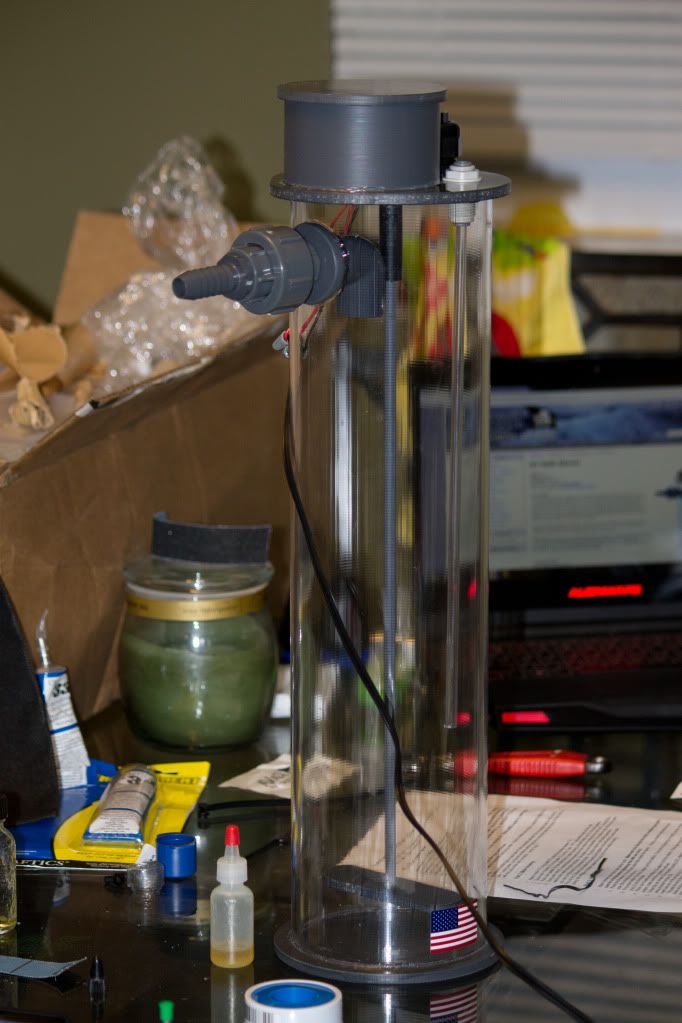 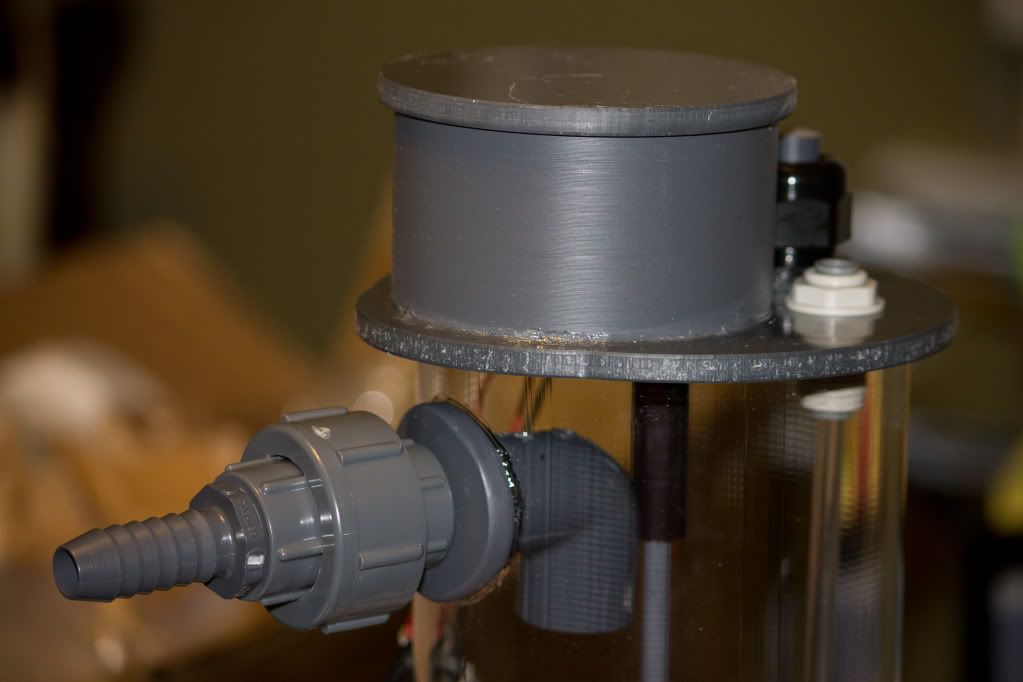     
|
|
|

|
|
|
#2 |
|
Registered Member
Join Date: Feb 2011
Posts: 245
|
|
|
|

|
|
|
#3 |
|
Proud user of IO Salt!
Join Date: Jun 2006
Location: Torrance, CA
Posts: 9,136
|
No Avast sticker on the Kalk reactor? j/k. Looks good.
__________________
Mike <*)))>{ <*)))>{ <*)))>{ <*)))>{ ReefKeeping.com TOTM Nov 2012 Socalireefs Featured Reef Oct 2011 Current Tank Info: 60*30*20, 8x54 ATI Powermodule, ReefBrite XHO, ATB Elegance 200, Aquamaxx CTech CaRx, Ecotech Vortechs, Apex Controls, WM Ecobak powered. RedSea Reefer 170, MP10, Apex Jr, Ecotech Radion XR15, Aquamaxx WS-1 |
|
|

|
|
|
#4 |
|
Registered Member
Join Date: Feb 2011
Posts: 245
|
|
|
|

|
|
|
#5 |
|
RC Sponsor
 Join Date: Feb 2006
Location: Northern VA
Posts: 2,446
|
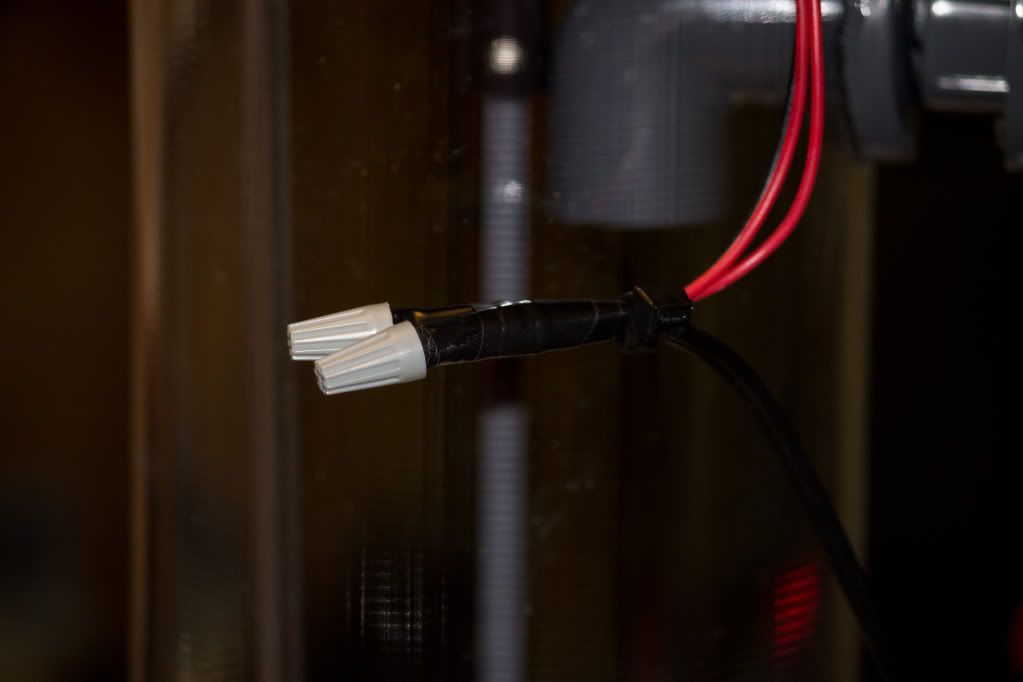
Jason, looks great! Just so you know the power cord is meant to go through the rubber grommet on the motor housing so you can put the wire nut connections inside the housing and keep them from being exposed. If you did it this way for a reason, no worries. If the instructions were not clear, that is something we can certainly improve on our end.
__________________
Dan Don't rush art, you get bad art. |
|
|

|
|
|
#6 | |
|
Registered Member
Join Date: Feb 2011
Posts: 245
|
Quote:
|
|
|
|

|
|
|
#7 |
|
Registered Member
Join Date: Feb 2011
Posts: 245
|
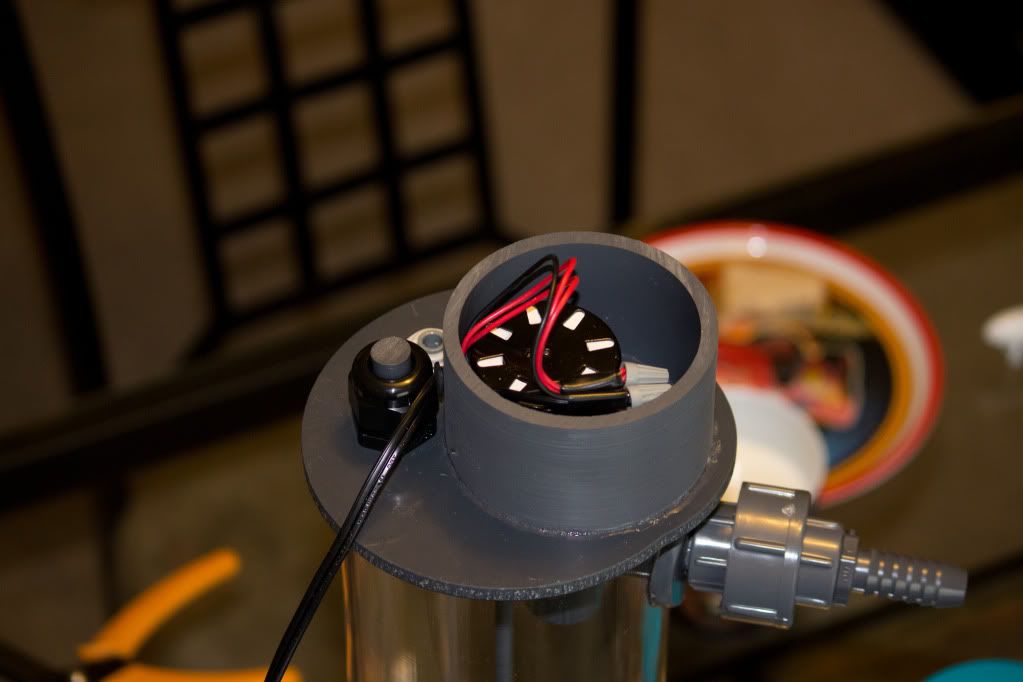
So as per the instructions in the manual I decided to rewire the motor as instructed this morning. It didn't take to long at all and it looks so much better now!
|
|
|

|
|
|
#8 |
|
Registered Member
Join Date: Nov 2002
Location: Milwaukee, WI
Posts: 59
|
Did your lid stay on with the hot glue specified in the instructions? I try that and it just peels right off.
|
|
|

|
|
|
#9 |
|
Moved On
Join Date: Oct 2004
Location: auburn CA
Posts: 4,021
|
|
|
|

|
|
|
#10 |
|
Super Housemonkey!
Join Date: Apr 2003
Location: St Louis Mo
Posts: 4,442
|
I've been using one of those for a couple of years now, (one of the You Build versions). Great piece of equipment and no issues with it whatsoever.
Very happy with it and I recommend it to anyone looking for a Kalk Stirrer.
__________________
A good friend will come and bail you out of jail...but, a true friend will be sitting next to you saying, "Damn, that was fun!" |
|
|

|
|
|
#11 | |
|
Moved On
Join Date: Oct 2004
Location: auburn CA
Posts: 4,021
|
Quote:
Your directions were fine, and the videos on youtube really helped. I did mine 6 months ago, and its a piece of equipment I wish I bought 25 years ago. Really a top notch unit. The only improvement might be a nylon screw or thumb screw instead of the nylon allen bolt that holds the shaft to the motor. But that's just minor nitpicking I do love it. |
|
|
|

|
|
|
#12 |
|
Registered Member
Join Date: Nov 2002
Location: Milwaukee, WI
Posts: 59
|
|
|
|

|
|
|
#13 | |
|
RC Sponsor
 Join Date: Feb 2006
Location: Northern VA
Posts: 2,446
|
Quote:
__________________
Dan Don't rush art, you get bad art. |
|
|
|

|
|
|
#14 |
|
I got nothin'
Join Date: Nov 2004
Location: The anals
Posts: 6,420
|
FYI don't do what I did and glue the entire lid on. Then you cant get it off to fill the stirrer.

__________________
Quitters never lose. [QUOTE=CStrickland]Who gets mad at a starfish?[/QUOTE] Current Tank Info: 75g DT, 30G refugium, 10g chaeto tank, 50g stock tank basement sump |
|
|

|
|
|
#15 |
|
Registered Member
Join Date: Nov 2002
Location: Milwaukee, WI
Posts: 59
|
Both the hot glue and silicone peel right off whatever material that is. I ended up with a small dot of the acrylic glue you included on each side that I'm sure I can pry off if ever necessary.
|
|
|

|
|
|
#16 |
|
Diver & Reef Aquarium Nut
Join Date: May 2012
Location: Sierra Vista, AZ
Posts: 1,127
|
+1 On the Avast Kalk Stirrers. Mine has been a life saver in stabilizing my pH through the night and assisting an undersized Calc Reactor (next project).
|
|
|

|
|
|
#17 |
|
Moved On
Join Date: Oct 2004
Location: auburn CA
Posts: 4,021
|
|
|
|

|
 |
|
|
 Similar Threads
|
||||
| Thread | Thread Starter | Forum | Replies | Last Post |
| Avast Marine Works CS1 Cone Protein Skimmer Review. | TH3C1SC0K1D | Lighting, Filtration & Other Equipment | 11 | 10/03/2011 04:09 PM |
| Avast Marine Works Mr5 18" tall reactor | joe1584 | Chicagoland Marine Aquarium Society (CMAS) | 8 | 02/14/2011 03:19 PM |
| Avast Marine Works Mr5 18" tall reactor | joe1584 | Avast Marine Works | 0 | 02/13/2011 06:58 PM |
| Who is AVAST Marine Works? | ctenophore | Avast Marine Works | 0 | 10/15/2010 12:33 AM |