


|
 |
|
|
#1 |
|
Registered Member
Join Date: Oct 2007
Location: Atlanta, GA
Posts: 15
|
Custom Tank and Stand Build
All
I havent posted on RC much and its been a while but wanted to update everyone with my most recent journey. Please feel free to follow along I have had a 29G Cube, a 55G, and the 120G. These were all non-drilled glass tanks. I always had issues with the overflows and water changes, sump compatibility. Then I recently moved to Georgia and had to take my other tanks down and consolidate as I was moving into an apartment. So I took it in my own hands to make some my own tank and own stand. Ill show pictures of my journey, and then offer up criticism and thoughts about some of the issues I am dealing with now. I made the tank out of 3/8th in acrylic from a youtube video that inspired me. Here are my tank specs. Custom made acrylic 57ish G tank 10 gallon glass sump Durso overflow, self made 40+ lbs of live rock 1 Phos-Reactor 1 Heater Lights (My friend is working on making a LED upgrade) SWC 160 Protein Skimmer, yes a bit large, but does the job Eheim Pump Parameters: Spot on right now, if issues come up Ill take new readings and post them 0 of all the bad stuff 1.025 SG Stock List Assorted clean up crew, snails, hermit crabs 2 Tank Raised ORA Clowns 1 Cleaner shrimp 1 crazy legged thing in my rocks. Someone mentioned a worm of some sort 1 camel shrimp Eventually, Gold Sand Goby, Bi-Color Blennie, Kole Tang, 2 Firefish. (We will see how that plays out) Questions for the audience: I hate my sump, and have it designed wrong. Do I try to upgrade my sump and put in the correct baffles to reduce bubbles? My sump is slightly noisy. I have heard putting flex tubing under my pump will help. I think my water coming down is making it loud as well. As a note my pump up valve is wide open and the down pipe valve is wide open. I have used a auto-top off, each time its been miserable. Id love to put out a blog, but Im not a Premium member so Ill try to post here as much as I can. I am also in the process of planning my next tank build, anyone have any ideas? Better designs (I heard the Bean overflow is a good option) Id like to try something difficult but not that big that maybe I could sell to a member or craigslist. |
|
|

|
|
|
#2 |
|
Registered Member
Join Date: Oct 2007
Location: Atlanta, GA
Posts: 15
|
Here is the tank being build.
Bought an 8x8x3/8" sheet of acrylic custom cut into sheets of 4x2x3/8 This is the start of the sides going up 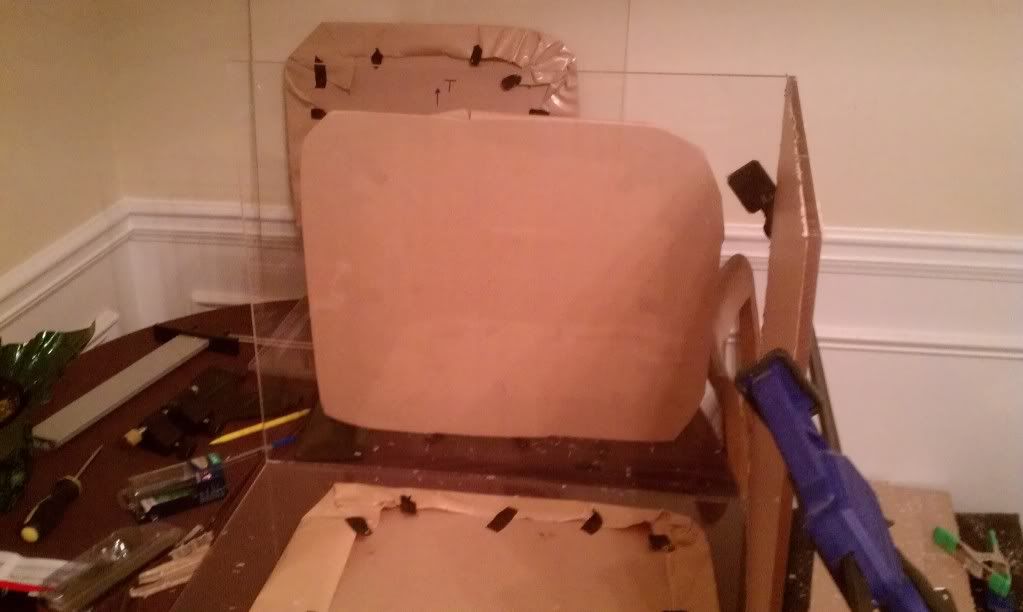 This is it all completely cemented. Note I kept the covering on to not scratch it 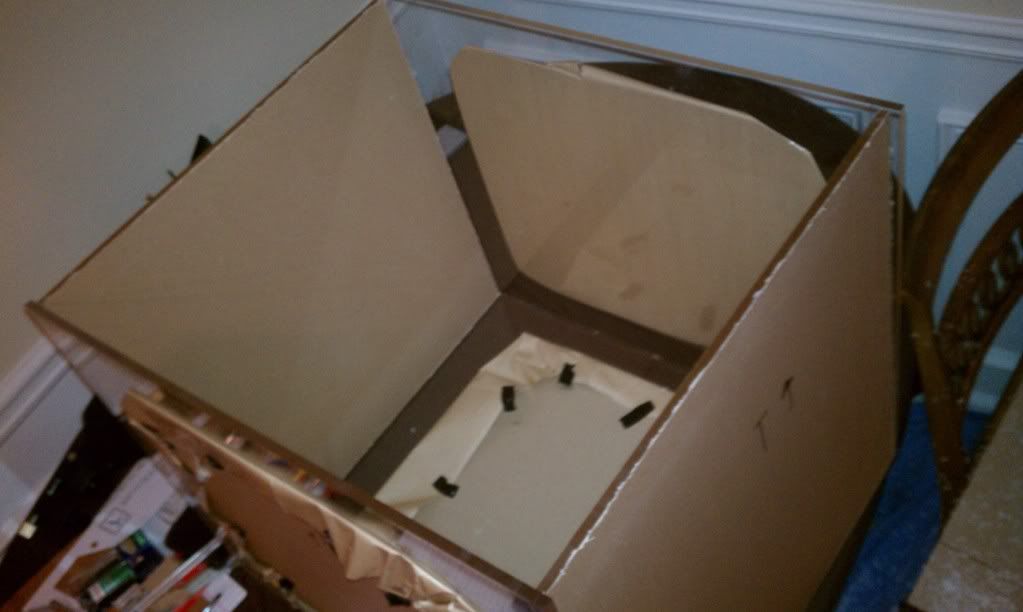 The tank without the covering on it. Notice that the holes and overflow arent drilled or on yet. 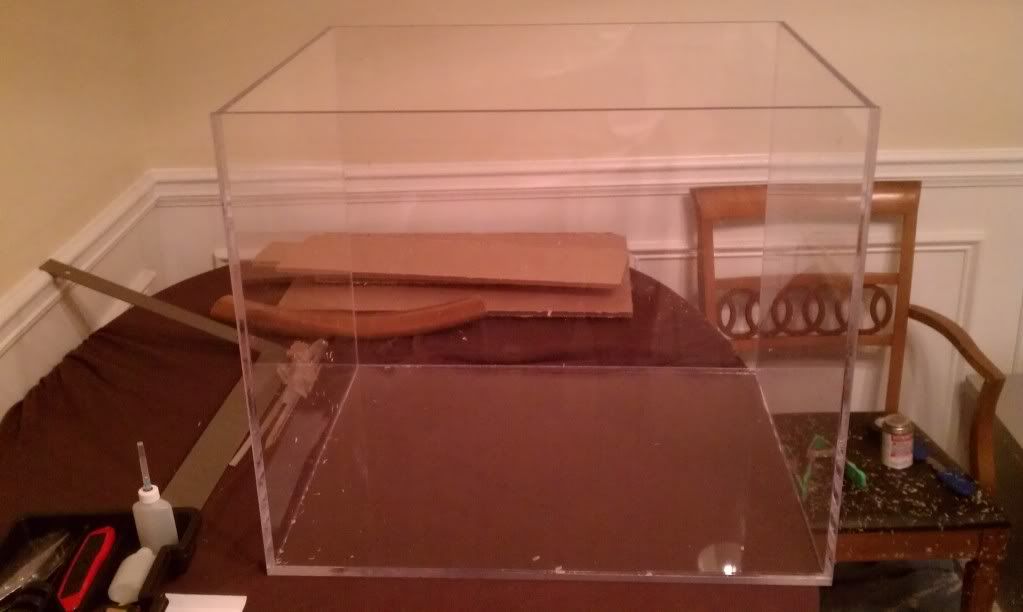 My new SWC 160 Protein Skimmer, and the necessary beverage to build a custom tank 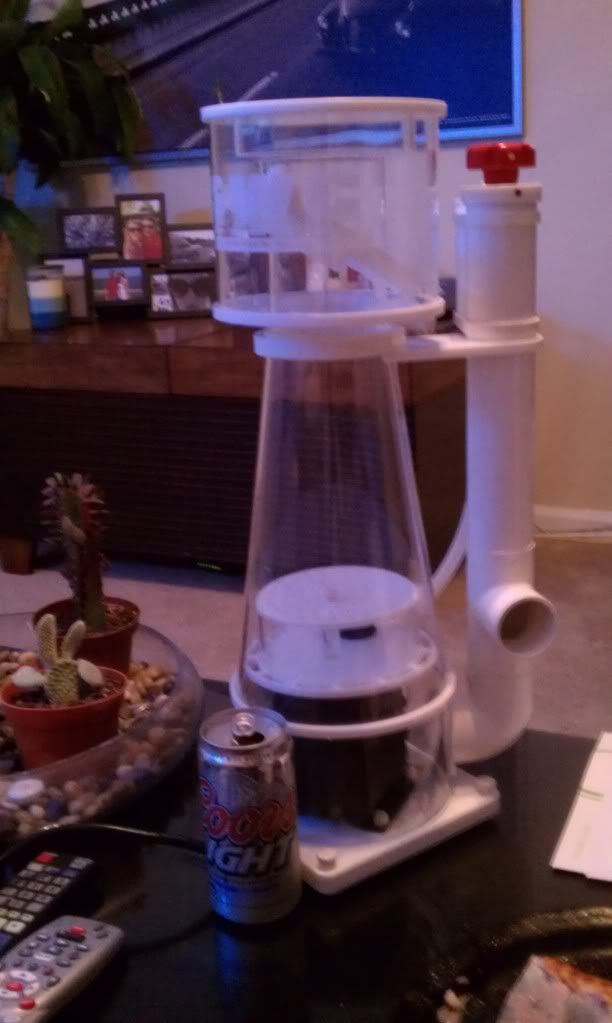 I realized since I was building a tank, I needed a stand so I decided to try my hand at that as well. Probably the last time I make my own stand. 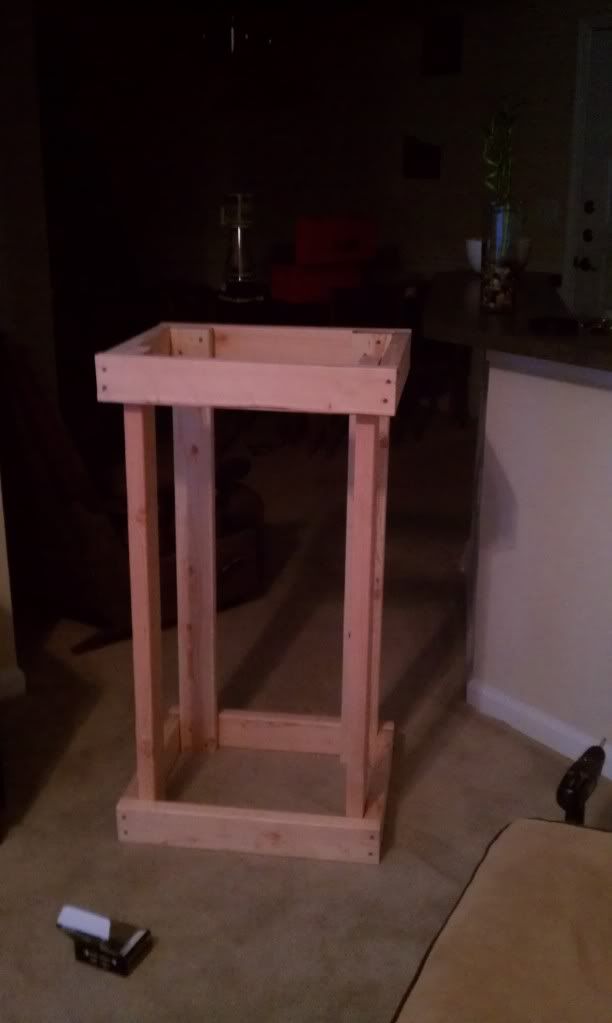 Naked stand with tank on top and sump in 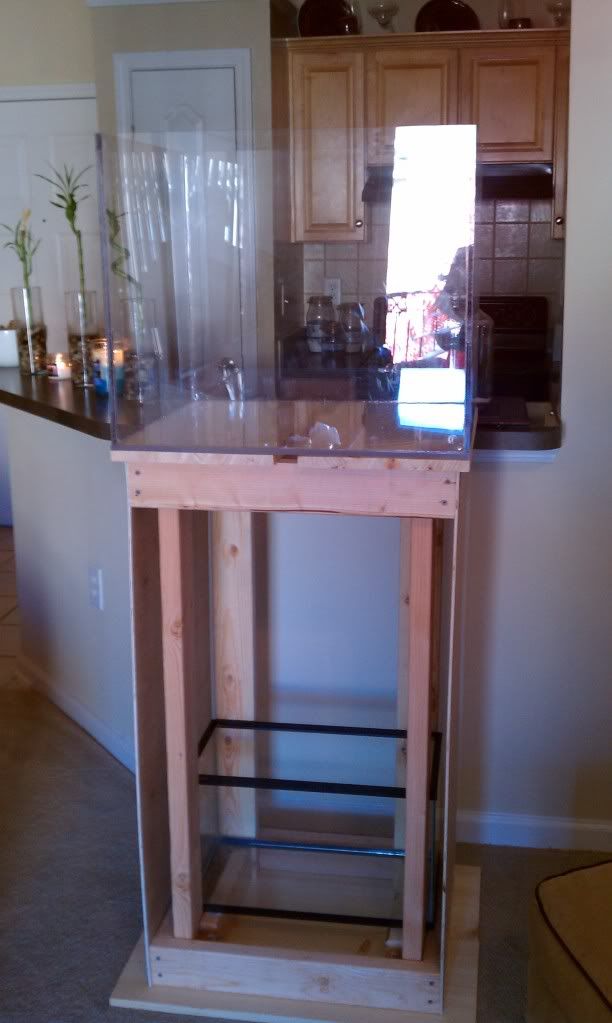 With the side before it was standed and some equipment in. 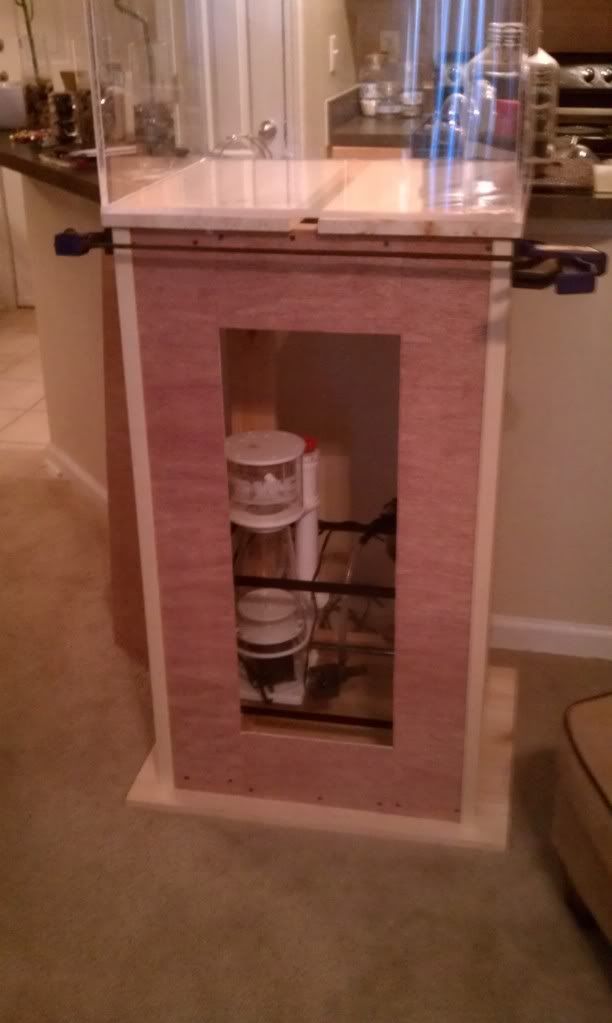 My amateur staining job 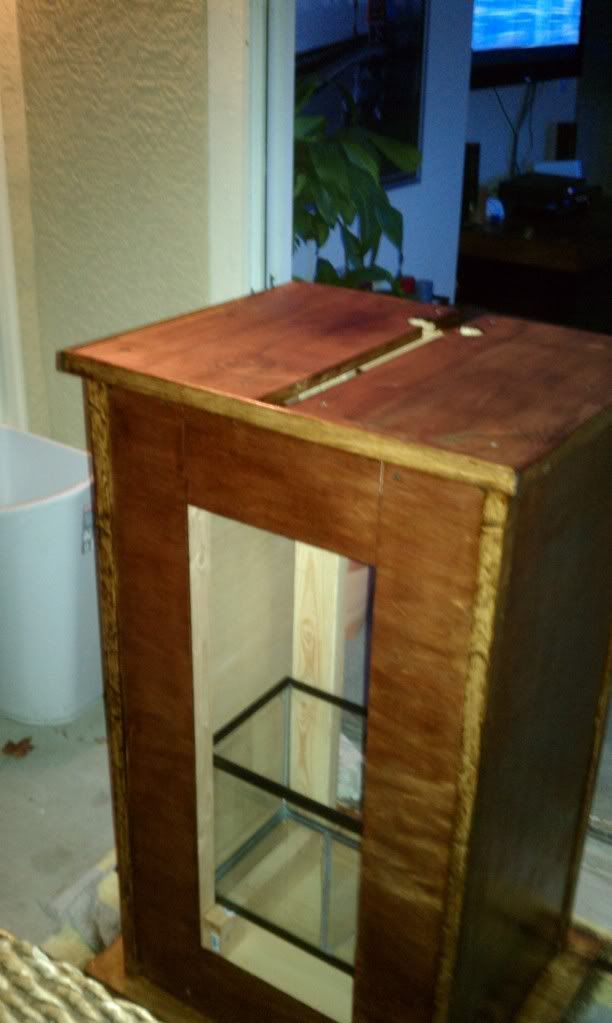 It starting to be filled. 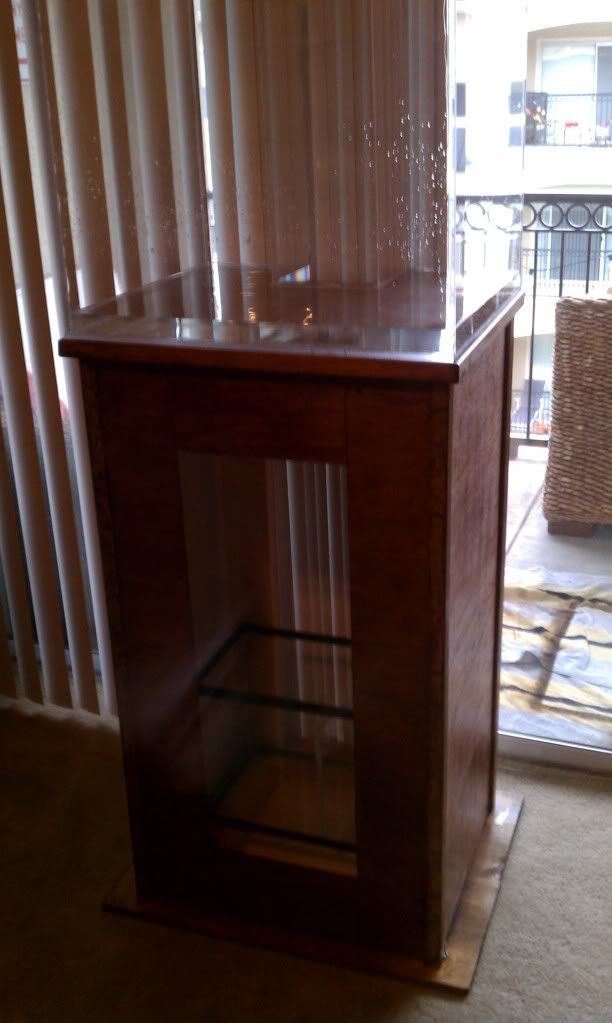 All ready to go 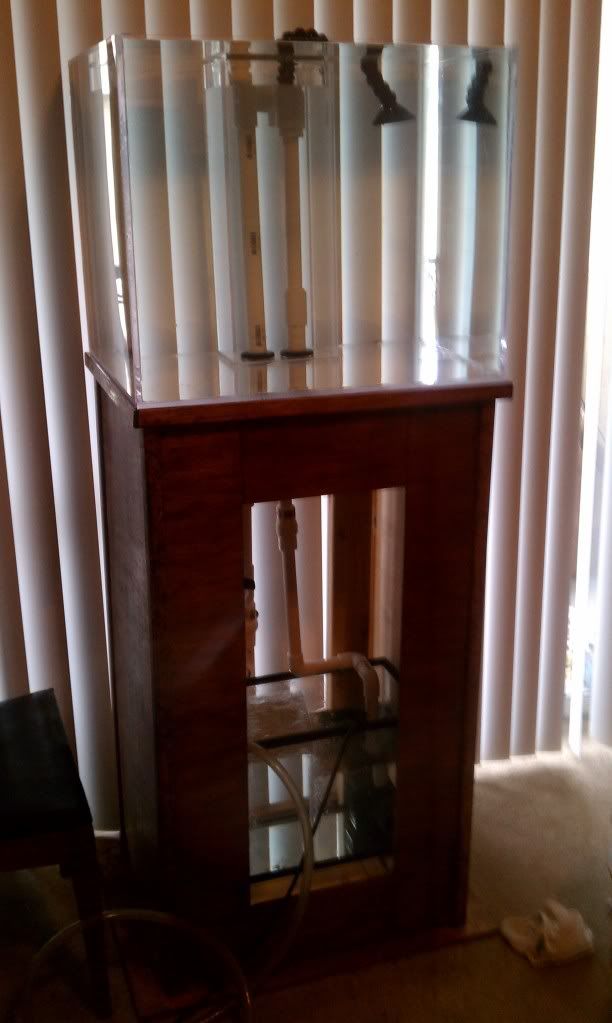
|
|
|

|
|
|
#3 |
|
Registered Member
Join Date: Oct 2007
Location: Atlanta, GA
Posts: 15
|
Stained and filled with rocks
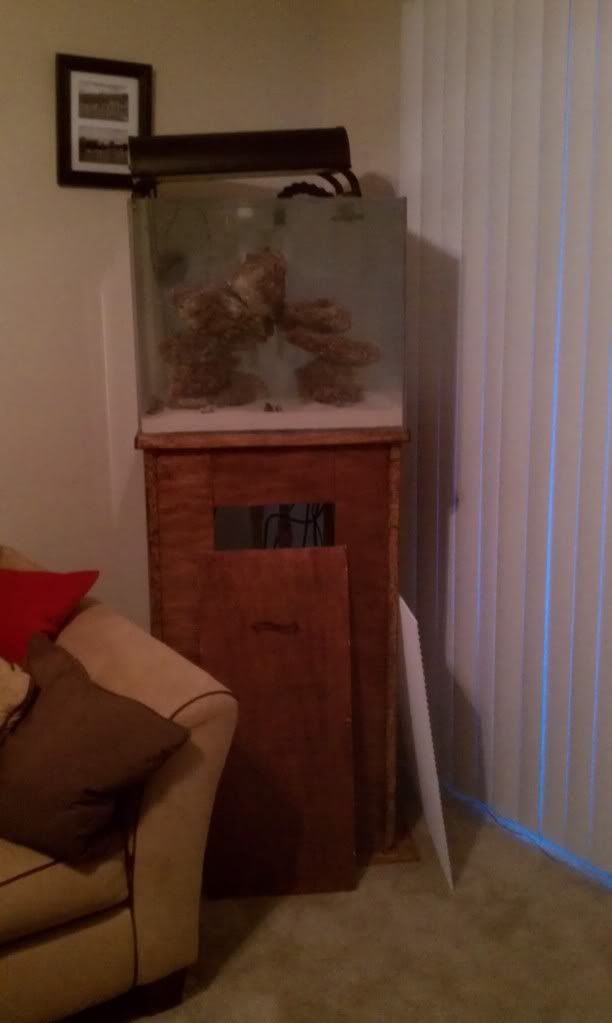 Most current as of today with fish and cover and lights 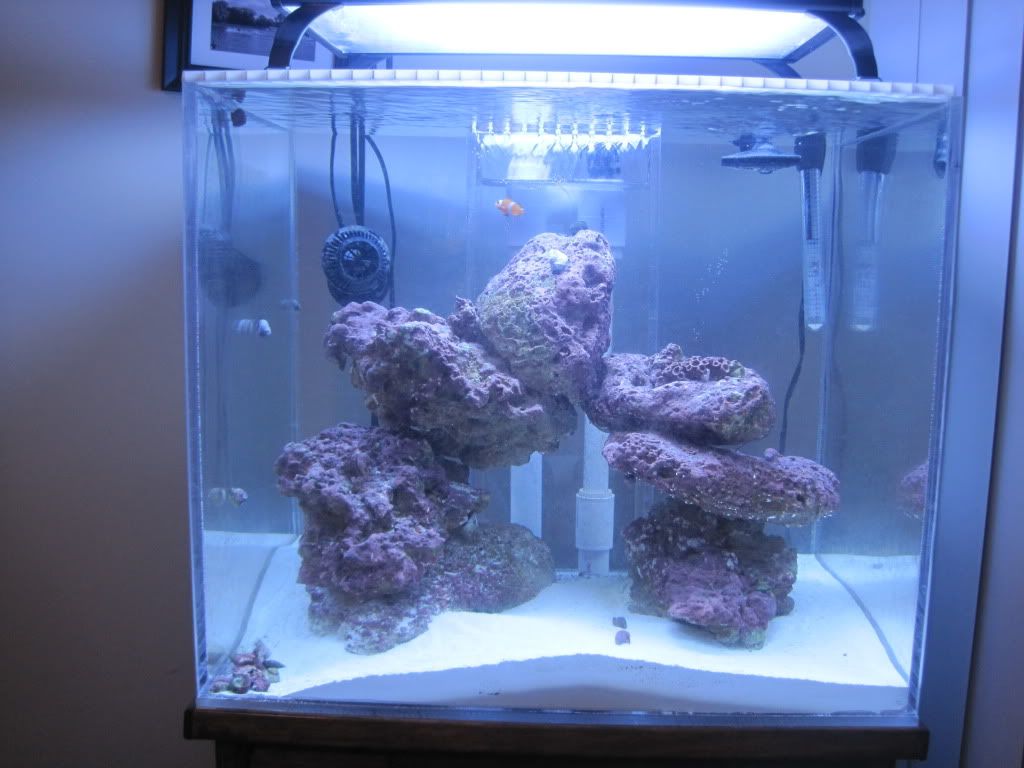 Closer look at the lights 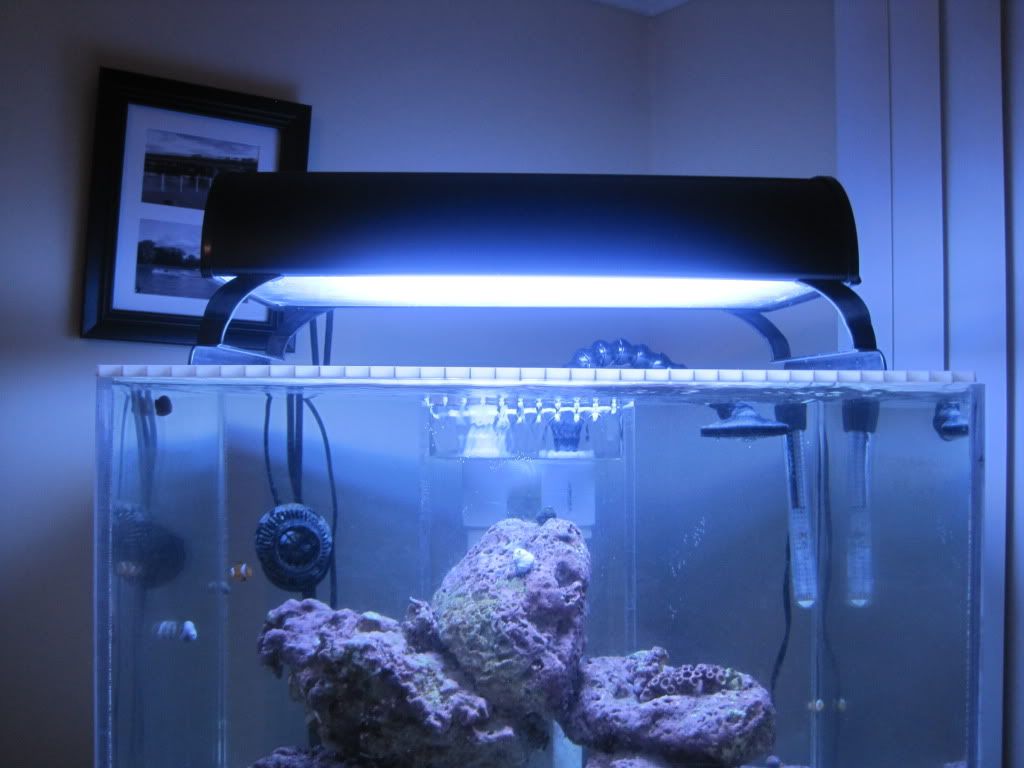 The sump 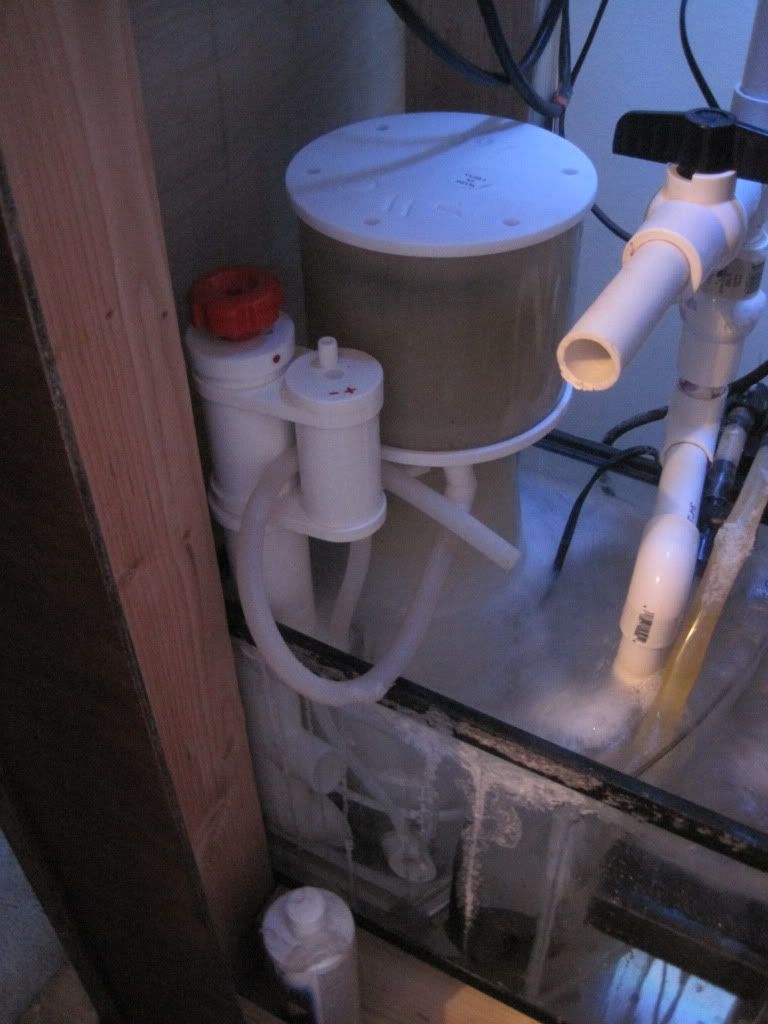 Drain and electrical equip 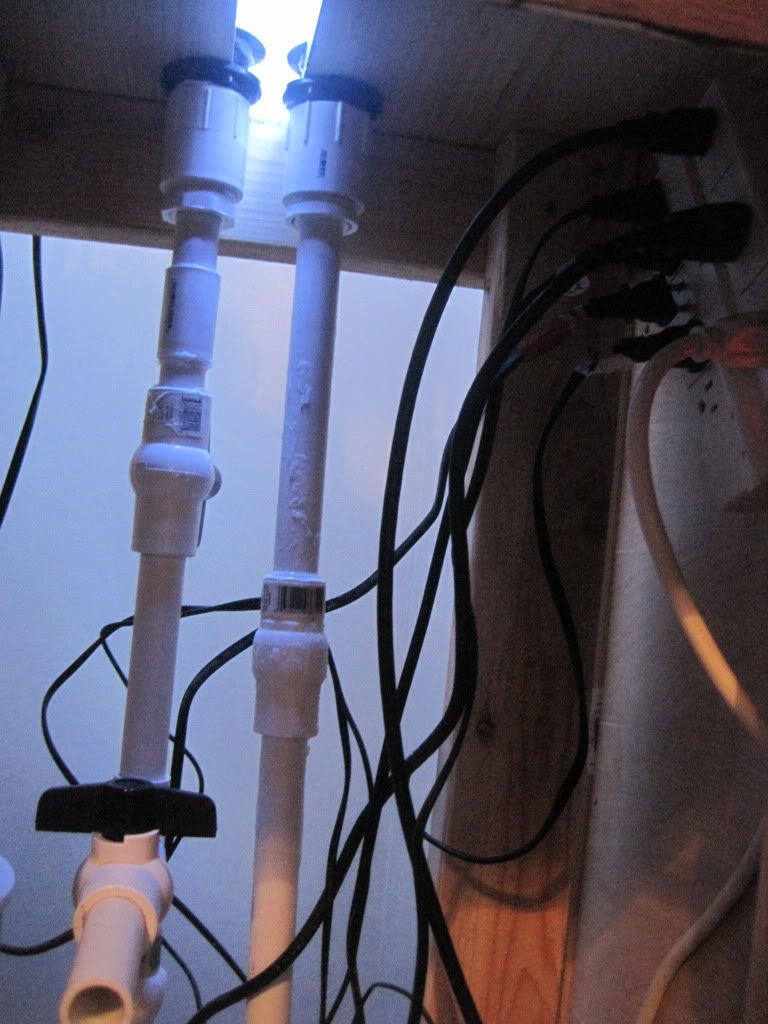 Top view of the sump. I hate that the baffles are wrong 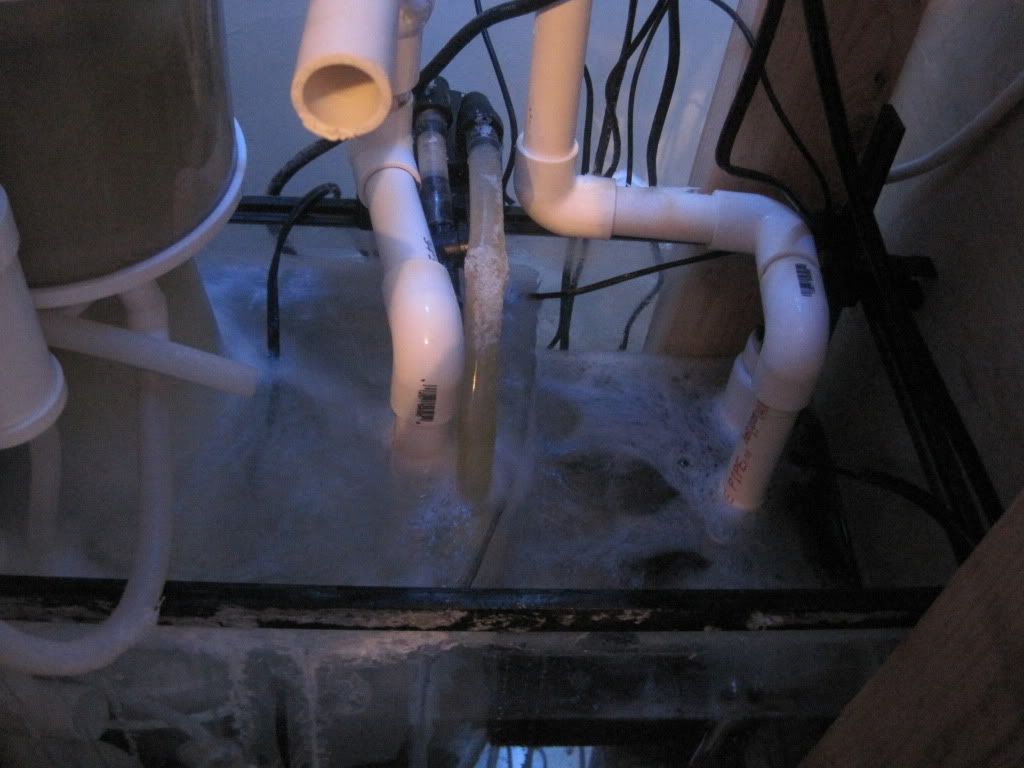 Fun snail 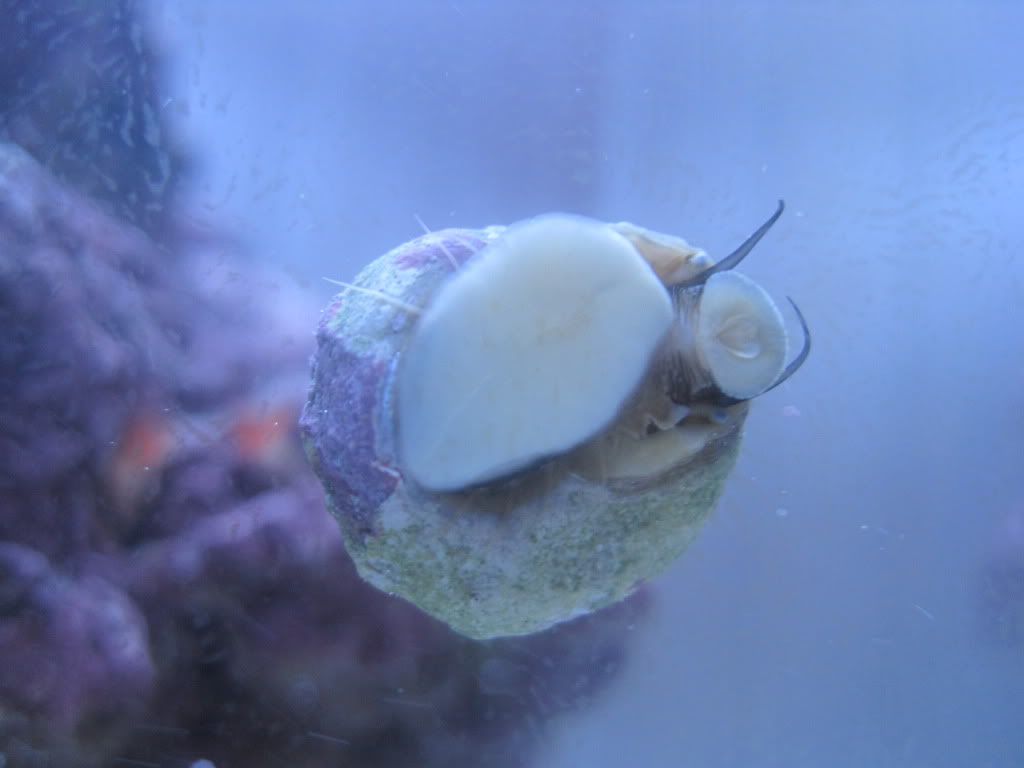 Durso standpipe 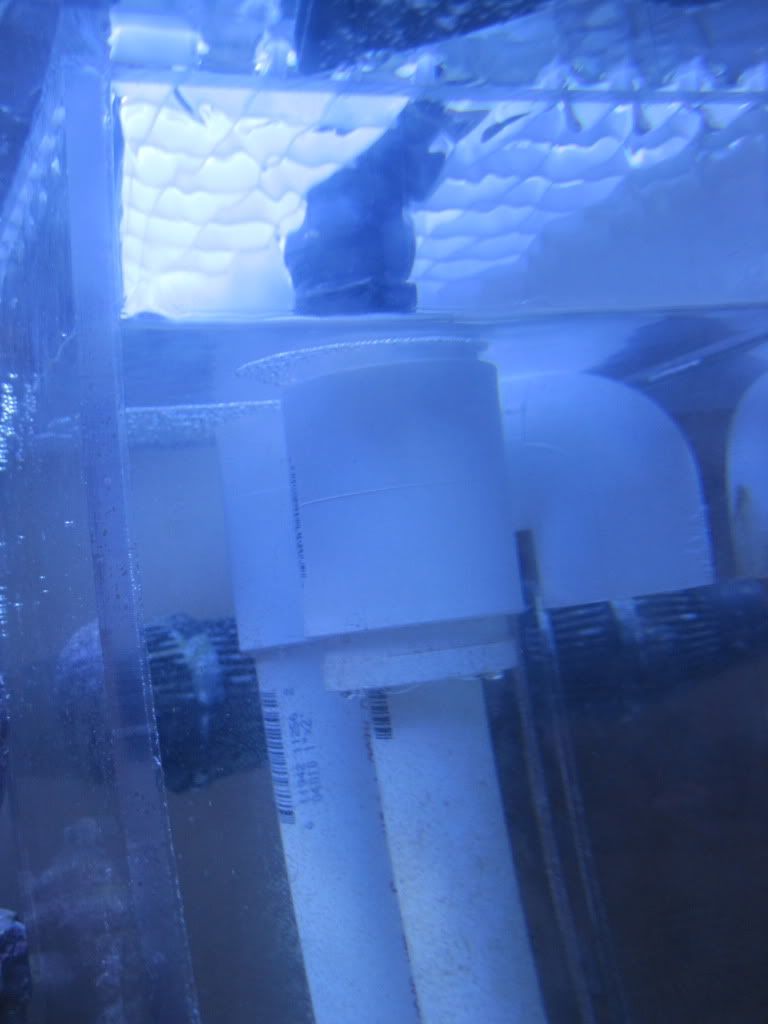 Bonnie and Clyde - 2 tank raised ora clowns 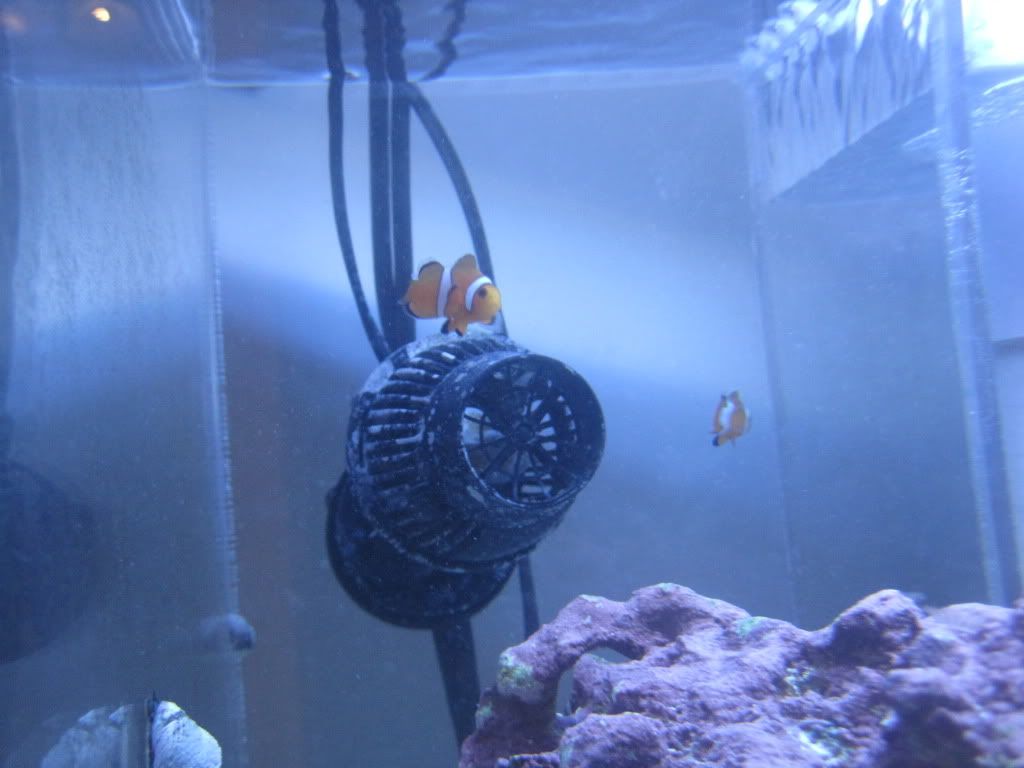
|
|
|

|
|
|
#4 |
|
Registered Member
Join Date: Oct 2007
Location: Atlanta, GA
Posts: 15
|
Anyone have any thoughts around my sum design? I know I need baffles but is it worth modifying my 10 gallon or should I upgrade and do it right?
|
|
|

|
|
|
#5 |
|
Registered Member
Join Date: Feb 2007
Location: MA
Posts: 562
|
upgrade and do it right. will be less headaches in the long run.
|
|
|

|
|
|
#6 |
|
Registered Member
Join Date: Aug 2002
Location: Charlottesville, VA
Posts: 559
|
I think you did a great job with the space you're limited to here. What is wrong with the sump baffles? That there isn't a bubble trap? You want the skimmer side to stay a constant depth so it looks right to me. Maybe I'm missing something though. You do appear to have a lot of salt creep which you could probably do something about. Where is the splashing coming from? The skimmer output?
I love the tank itself and have been considering building my own acrylic nano just like this. How hard was it to do? |
|
|

|
|
|
#7 |
|
Registered Member
Join Date: Oct 2007
Location: Atlanta, GA
Posts: 15
|
Thanks for the comments jlylec. I dont have a bubble trap which is probably the biggest issues. Figured I need more water volume too.
The splashing is coming from the down pipe. Its wide open and comes down pretty quick. Which is probably why there is alot of salt creep. Possibly. Maybe if I open my durso pipe more and get more air it will be smoother? In terms of building the acrylic tank. It was alot of fun. It wasnt to hard. There was a video I followed on YouTube. The hardest part was making sure all the edges were very flush to glue. I really liked the fact that I could design whatever I wanted. Im in the process of my next one. I think its going to be bigger and a different design not just a square like every tank on here. |
|
|

|
|
|
#8 |
|
Registered Member
Join Date: Oct 2007
Location: Atlanta, GA
Posts: 15
|
Anyone have any thoughts on how to better control my down pipe? It is very fast and quite noisy.
I dont want to adjust my valve because I like it better open and as an FYI its a durso standpipe Im using up top. |
|
|

|
|
|
#9 | |
|
Registered Member
Join Date: Aug 2002
Location: Charlottesville, VA
Posts: 559
|
Quote:
|
|
|
|

|
|
|
#10 |
|
Registered Member
Join Date: Oct 2007
Location: Atlanta, GA
Posts: 15
|
Yes its submerged under water a couple inches. Yes sorry I mean drain line. I have an open back tank, and my front I havent really put on yet, it just sits there so I know thats part of the sound control issue.
Im getting alot of salt water creep near the top of my tank now too. Any idea what would be producing that? |
|
|

|
|
|
#11 |
|
Moved On
Join Date: Dec 2009
Location: Lakewood, CA
Posts: 307
|
sounds cool
|
|
|

|
|
|
#12 |
|
Registered Member
Join Date: Dec 2010
Location: San Jose, CA
Posts: 1,030
|
Ummmm.. I hate to be the bearer of bad news.. I'm not sure why you left the gap in the boards in the first place, but that MAY be OK... but unless the picture is decieving.. you have the bulkheads tightening down onto the wood (partially, the other part is in the air..) this is just asking for a leak, the bulkheads should be flush with the acrylic...
Also, your stand... it might not be a big deal because of the size of your tank, but the top and bottom frame should have the legs in between, so that the weight is supported by the frame and the ends of the 2x4's... right now its basically supported by the screws.. I also would be worried about the stand staying "square" the way its assembled... It will probably be fine.. but it would worry me.. But then again, I over-build things. |
|
|

|
|
|
#13 | |
|
Registered Member
Join Date: Dec 2011
Location: Kansas City, KS
Posts: 358
|
Quote:
No comment on your bulkheads as I cannot see how it is setup. |
|
|
|

|
|
|
#14 | |
|
Registered Member
Join Date: Dec 2010
Location: San Jose, CA
Posts: 1,030
|
Quote:
 It appears the "legs" are not flush with the top of the frame, therefore the tank is resting on the frame which is only held by the screws. There are no 4x4's in the picture that i can see, so im not sure where that came from, the legs are 2x4's and they are in different orientations in the front and back, with nothing other than the frame around the outside and a couple screws to prevent twisting (though the sheathing on the outside helps with this too) So basically, I stand by my statements. P.S. you're not the only engineer around these parts. 
|
|
|
|

|
|
|
#15 |
|
Registered Member
Join Date: Dec 2006
Location: Melbourne, FL
Posts: 396
|
It looks like the tops of the legs are flush to me so with the top piece flat i agree with the first engineer. I would worry about it racking or twisting except that the finish pieces should act as sheathing.
Certified general contractor here. Lol
__________________
It's always sunny in my reef tank Current tank info- 7 gal nano with AI Prime |
|
|

|
|
|
#16 |
|
Registered Member
Join Date: Dec 2006
Location: Melbourne, FL
Posts: 396
|
It looks like the tops of the legs are flush to me so with the top piece flat i agree with the first engineer. I would worry about it racking or twisting except that the finish pieces should act as sheathing.
Certified general contractor here. Lol
__________________
It's always sunny in my reef tank Current tank info- 7 gal nano with AI Prime |
|
|

|
|
|
#17 | |
|
Registered Member
Join Date: Dec 2010
Location: San Jose, CA
Posts: 1,030
|
Quote:
|
|
|
|

|
|
|
#18 |
|
Registered Member
Join Date: Dec 2011
Location: Kansas City, KS
Posts: 358
|
Simply wanted to add background to my statements. But I'm glad I'm being checked by some peers. Thought the legs were larger, but I would think they would still hold. I guess you could always install a triangle piece |\|, but they might be over building. Haha
|
|
|

|
 |
| Tags |
| 57 gallons, acrylic tank, custom tank build |
|
|
 Similar Threads
|
||||
| Thread | Thread Starter | Forum | Replies | Last Post |
| 10 gallon frag tank & stand FS | SaltyWaters | Northern Ohio Reef Keepers | 8 | 03/29/2011 10:42 PM |
| 90 Gal Build | BradMugs | Do It Yourself |
15 | 12/08/2010 07:49 PM |
| Tank Stand building questions | BradMugs | Do It Yourself |
4 | 12/03/2010 06:26 PM |
| FS: Unused Custom Perfecto 60g cube w/ stand, canopy and sump | acwilson | Aquarium and Coral Reef Organization of Sarasota (Acros) | 2 | 08/02/2010 06:46 PM |
| Custom Tank Builders | 215reefone | Delaware Valley Reef Club (DVRC) | 2 | 02/12/2010 09:17 AM |