Reef Central Online Community

Go Back   Reef Central Online Community > Special Interest Group (SIG) Forums > Large Reef Tanks
Blogs FAQ Calendar Mark Forums Read

Notices

User Tag List

Reply
Thread Tools
Unread 05/18/2014, 04:00 PM   #101
Psxerholic
Registered Member
 
Psxerholic's Avatar
 
Join Date: Dec 2013
Location: Houston,TX
Posts: 198
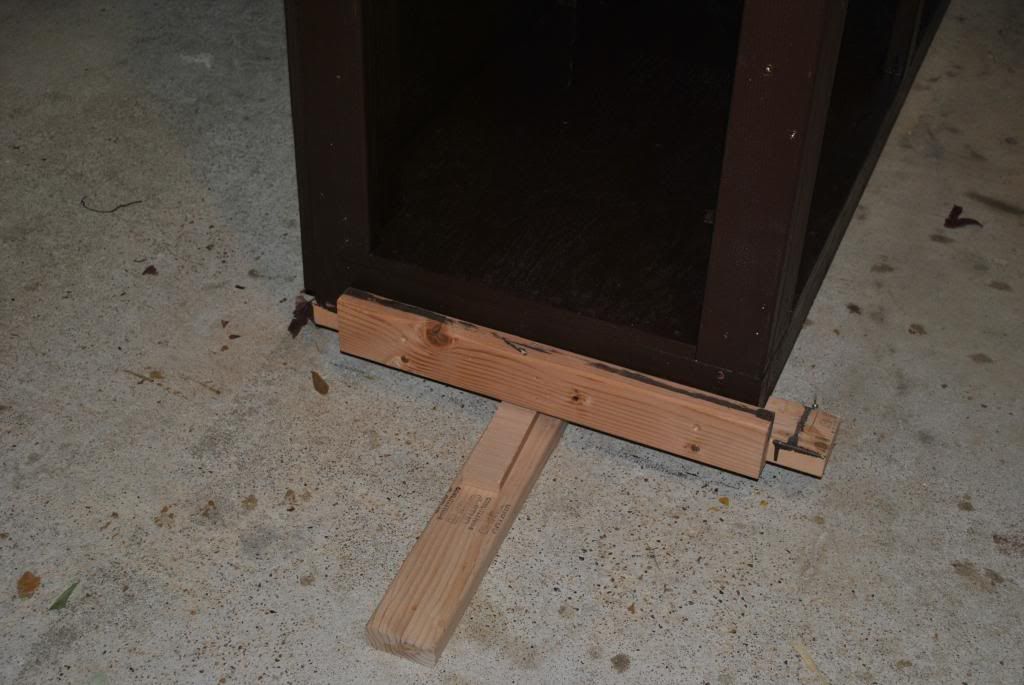
Shortening the feet


That fits now perfect.


Psxerholic is offline   Reply With Quote
Unread 05/18/2014, 04:03 PM   #102
Psxerholic
Registered Member
 
Psxerholic's Avatar
 
Join Date: Dec 2013
Location: Houston,TX
Posts: 198
Plenty of room when I will work on the tank.
Position at the back


Position of the fixture at the front. Won't happen at this tank.
But allows access to the backside to remove plumbing in the overflows.


Psxerholic is offline   Reply With Quote
Unread 05/18/2014, 04:06 PM   #103
Psxerholic
Registered Member
 
Psxerholic's Avatar
 
Join Date: Dec 2013
Location: Houston,TX
Posts: 198
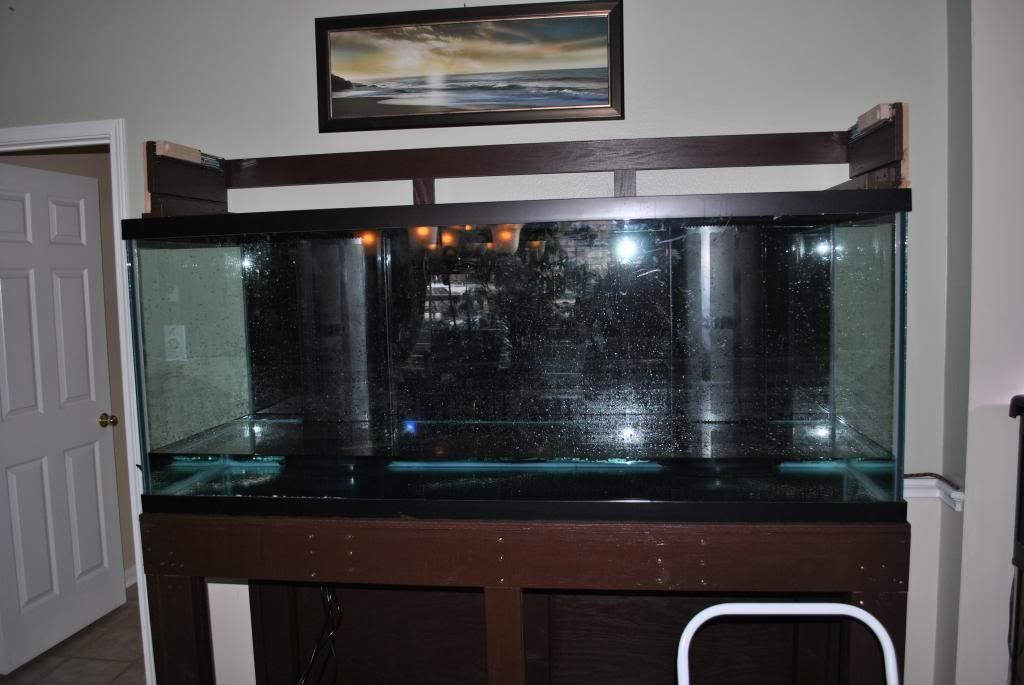
All right, ready for a test of the lights.


Whooooooooooooooooooo.....
nice lighting.


HQI only


Psxerholic is offline   Reply With Quote
Unread 05/18/2014, 04:07 PM   #104
Psxerholic
Registered Member
 
Psxerholic's Avatar
 
Join Date: Dec 2013
Location: Houston,TX
Posts: 198
Here is was really lucky. that nothing collides


And a side view


Psxerholic is offline   Reply With Quote
Unread 05/18/2014, 04:08 PM   #105
Psxerholic
Registered Member
 
Psxerholic's Avatar
 
Join Date: Dec 2013
Location: Houston,TX
Posts: 198
Front view


Psxerholic is offline   Reply With Quote
Unread 05/18/2014, 04:11 PM   #106
Psxerholic
Registered Member
 
Psxerholic's Avatar
 
Join Date: Dec 2013
Location: Houston,TX
Posts: 198
Top view with the fixture in the back, in real life it looks more spaceous.


Psxerholic is offline   Reply With Quote
Unread 05/18/2014, 04:16 PM   #107
Psxerholic
Registered Member
 
Psxerholic's Avatar
 
Join Date: Dec 2013
Location: Houston,TX
Posts: 198
So in the meantime I started working on some thoughts for the frame.
Specially Power systems and arrangement.

My power distribution


Some first thoughts regarding the arrangements.


Psxerholic is offline   Reply With Quote
Unread 05/18/2014, 04:17 PM   #108
Psxerholic
Registered Member
 
Psxerholic's Avatar
 
Join Date: Dec 2013
Location: Houston,TX
Posts: 198
The current RKL in the 105 system.


Psxerholic is offline   Reply With Quote
Unread 05/18/2014, 04:24 PM   #109
Psxerholic
Registered Member
 
Psxerholic's Avatar
 
Join Date: Dec 2013
Location: Houston,TX
Posts: 198
RELOCATION OF THE TANKS

In order to do the next steps, I have to remove the old tank into a temporary location since the new system shall replace the old one.

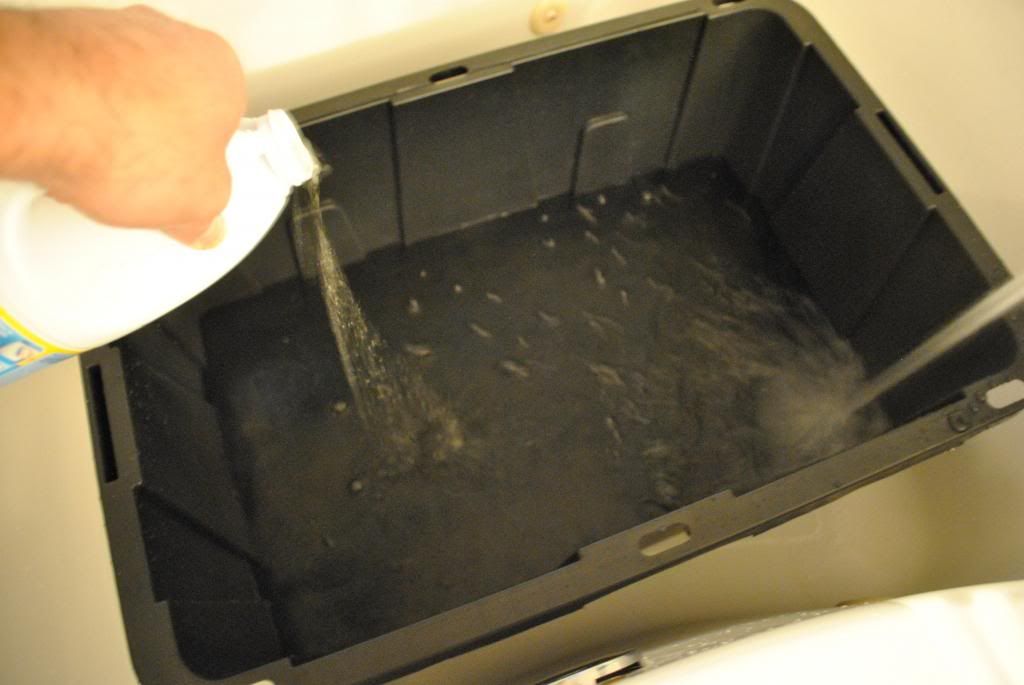
Here I'm preparing a big 30g bucket for corals etc.
Sanitizing the new thing with clorinated water. then flush with RODI

I'm starting with my lil farming tank, that need to be moved away first.
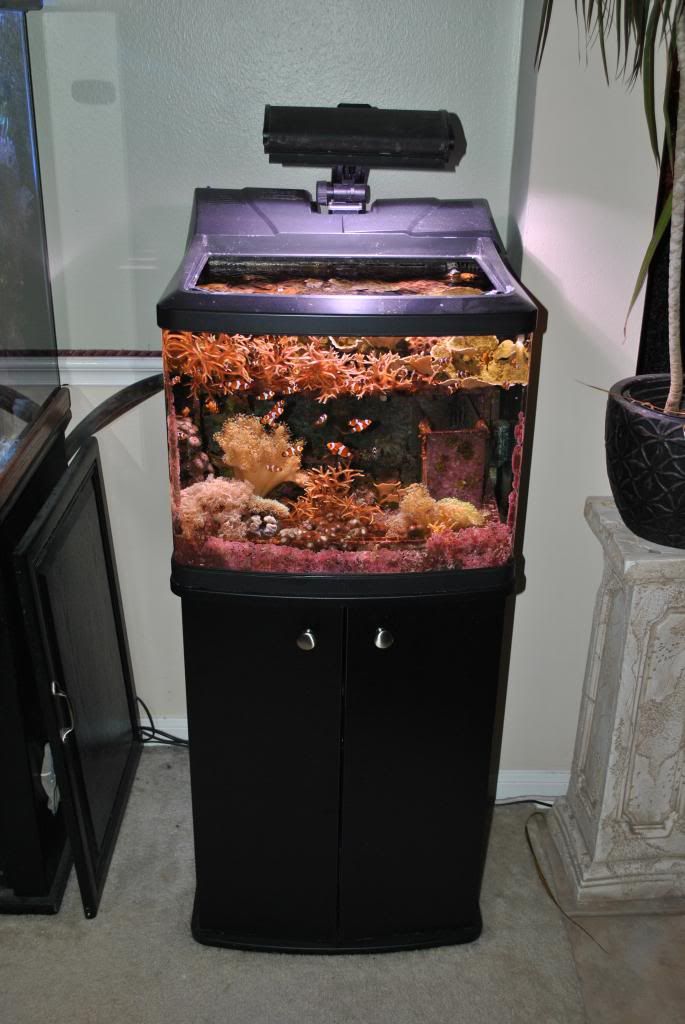

The lil farming tank was connected via bypass to the other system.
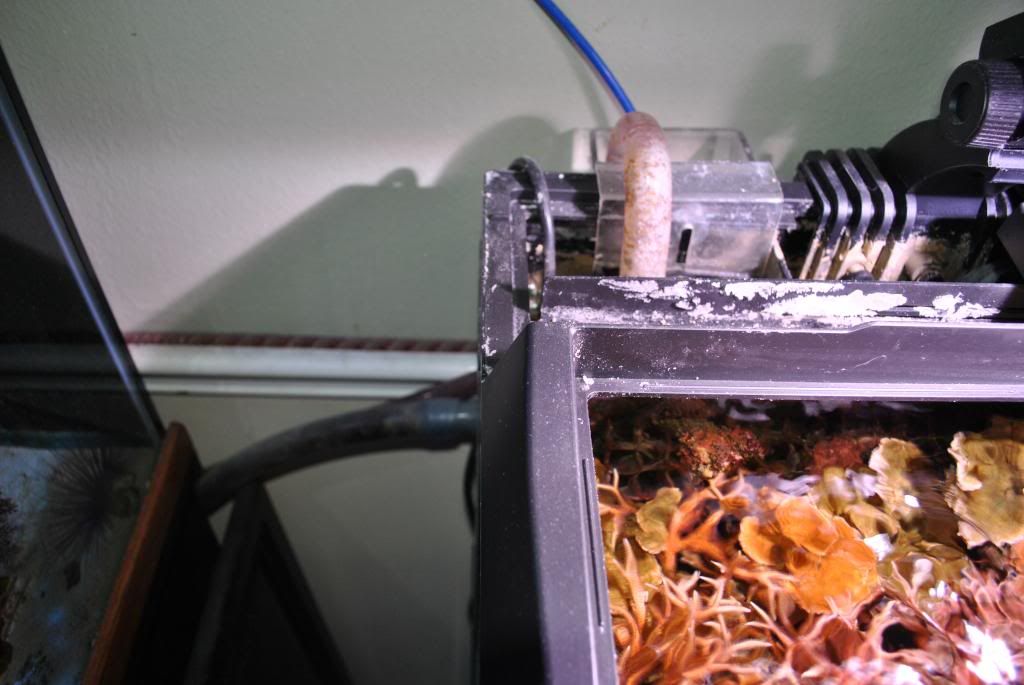


Psxerholic is offline   Reply With Quote
Unread 05/18/2014, 04:26 PM   #110
Psxerholic
Registered Member
 
Psxerholic's Avatar
 
Join Date: Dec 2013
Location: Houston,TX
Posts: 198
I will have some losses due to the stress, so I'm hoping some will make it.


Taking the water out.


All right, the tank is being moved over.


Psxerholic is offline   Reply With Quote
Unread 05/18/2014, 04:29 PM   #111
Psxerholic
Registered Member
 
Psxerholic's Avatar
 
Join Date: Dec 2013
Location: Houston,TX
Posts: 198
Cut out for cabling and Top Off Water from the laundry


Also I started doing the RODI Water for the first fill.


Psxerholic is offline   Reply With Quote
Unread 05/18/2014, 04:38 PM   #112
Psxerholic
Registered Member
 
Psxerholic's Avatar
 
Join Date: Dec 2013
Location: Houston,TX
Posts: 198
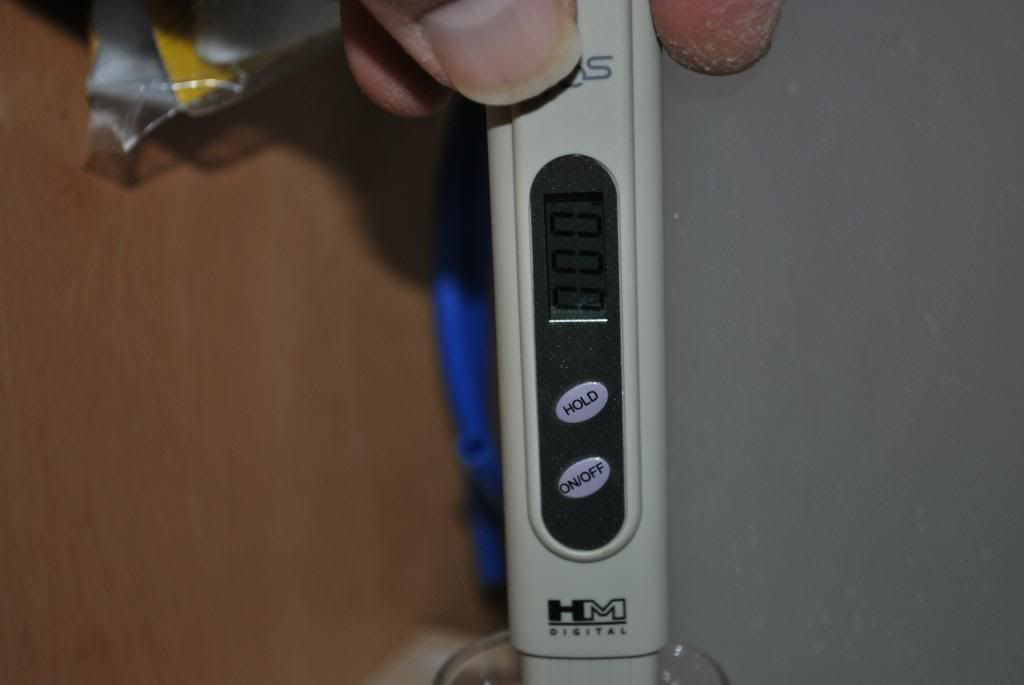
TDS is zero!
Thats good.


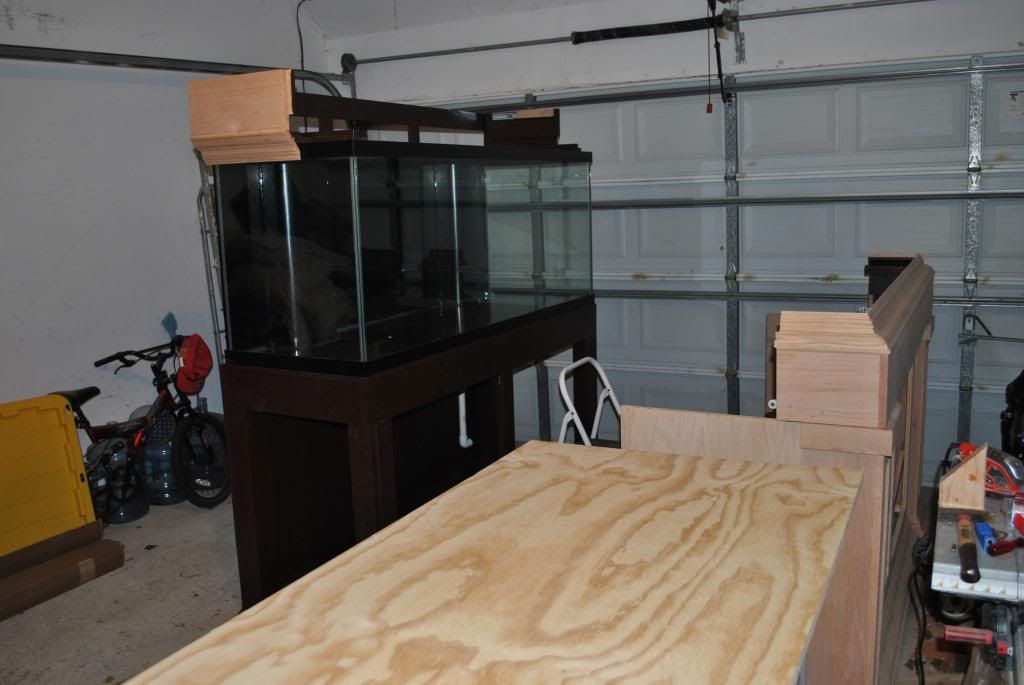
The Relocation started. Preping the tank for moving.

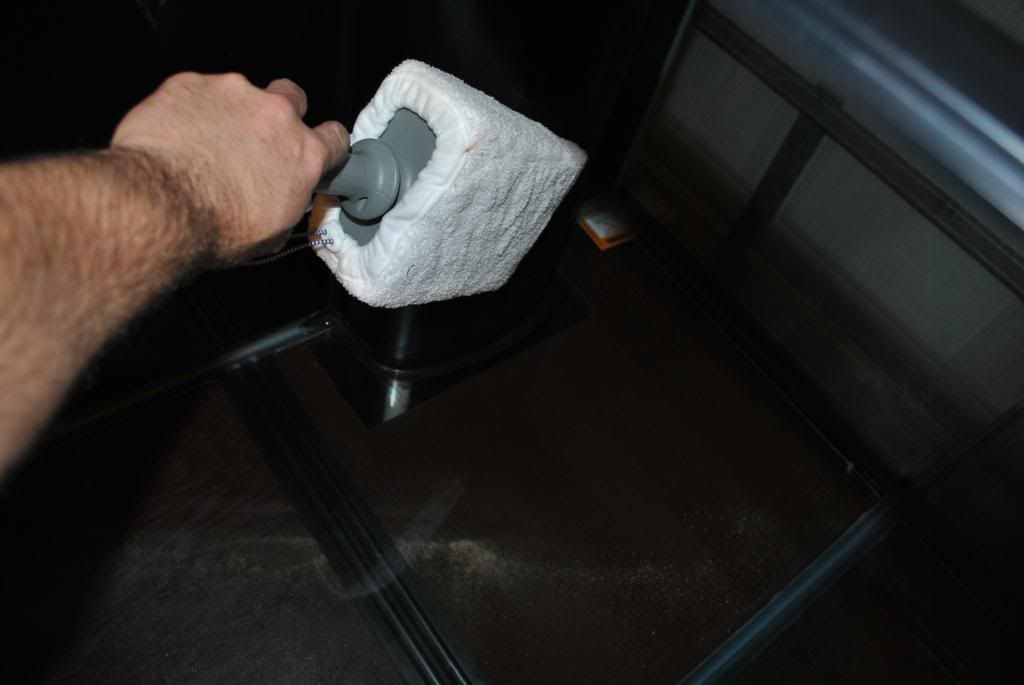
Final cleanup of the tank with some special mobs, borrowed from the wife's steamer.
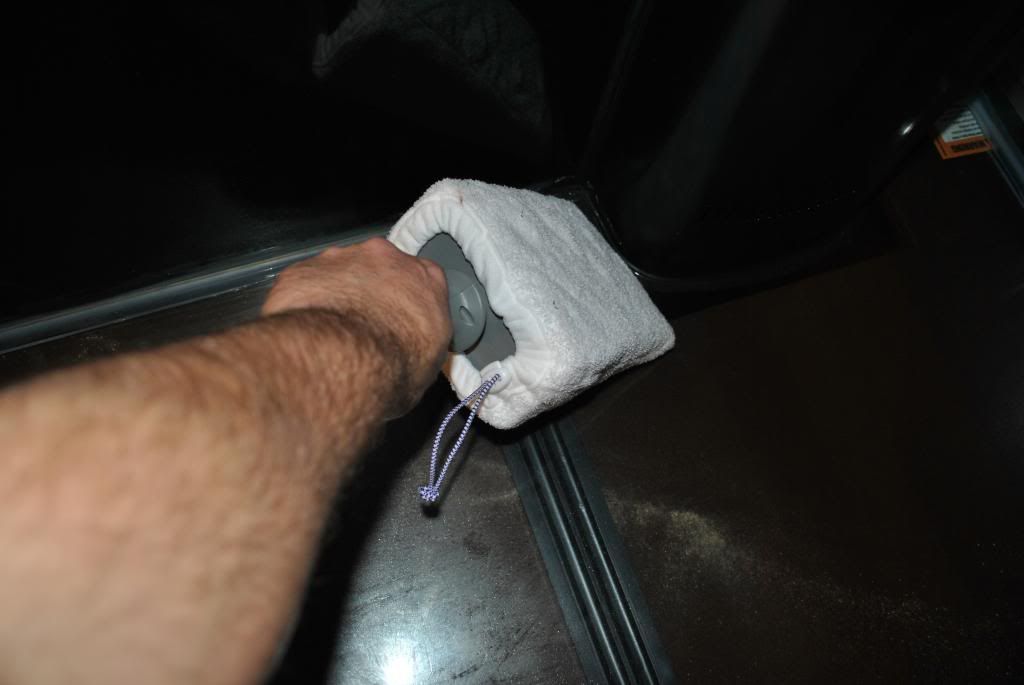

Works great

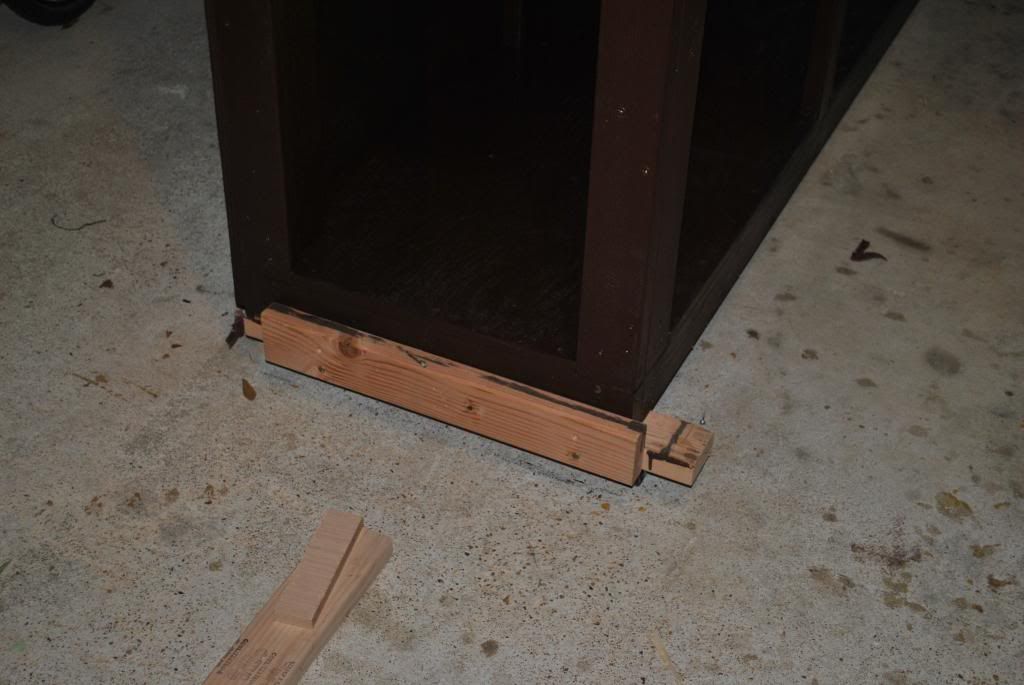
Preparing the lift, so I can roll out the arrangement.
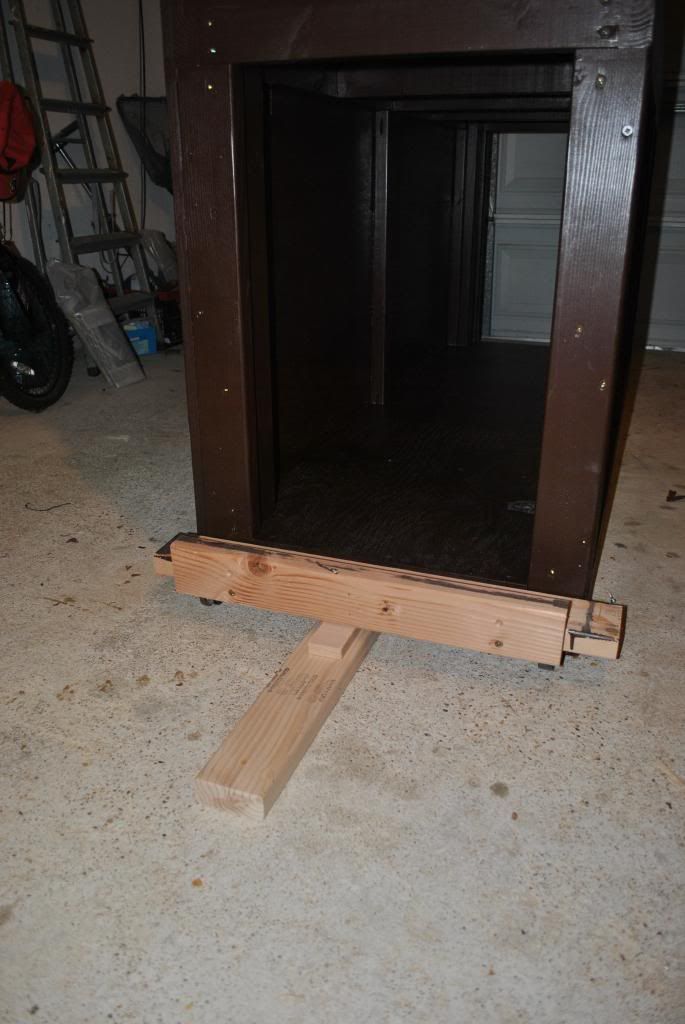


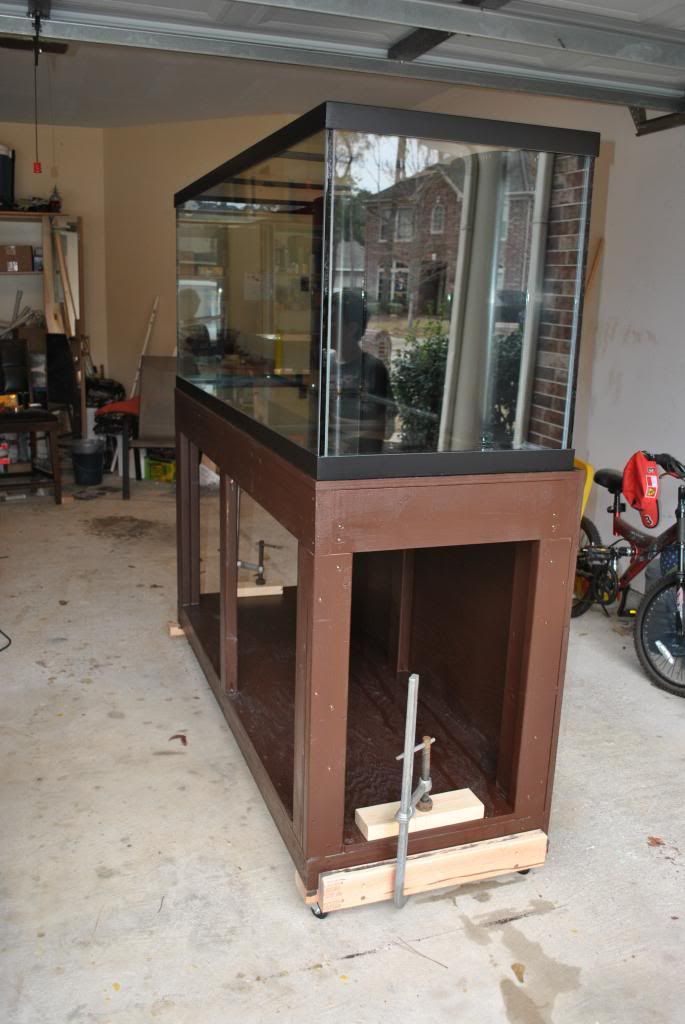
These self made roller do a good job.
They are the same as at the begining of the thread.

Rollin...............


Psxerholic is offline   Reply With Quote
Unread 05/18/2014, 04:41 PM   #113
Psxerholic
Registered Member
 
Psxerholic's Avatar
 
Join Date: Dec 2013
Location: Houston,TX
Posts: 198
Rolling the beast around the house


Challenging steps, but we made it.


Done, reached the door.


Now the tank is becoming a temporary tank for relocating the old 105 system.


Psxerholic is offline   Reply With Quote
Unread 05/18/2014, 04:44 PM   #114
Psxerholic
Registered Member
 
Psxerholic's Avatar
 
Join Date: Dec 2013
Location: Houston,TX
Posts: 198
Important to drain the double wall chamber in the overflows.


Then I do a temporary pipeline in the house.


Using a new MAG9.5 for bringing the water over.


Psxerholic is offline   Reply With Quote
Unread 05/18/2014, 04:47 PM   #115
Psxerholic
Registered Member
 
Psxerholic's Avatar
 
Join Date: Dec 2013
Location: Houston,TX
Posts: 198
There you go.
All the livestock has been brought over.
A heater and the BIOPELLET reactor will work for a while.


The 105 is nearly empty.
I will keep some Water above the sand, just to keep the dying micro live low.


Psxerholic is offline   Reply With Quote
Unread 05/18/2014, 04:52 PM   #116
Psxerholic
Registered Member
 
Psxerholic's Avatar
 
Join Date: Dec 2013
Location: Houston,TX
Posts: 198
So this step is important.
I will take over the Refugium and the remote DSB alive.
So I will lower the Waterlevel and did slide out the Refugium.
Then the 105 tank need to go over asap in order to get the Refugium back running.
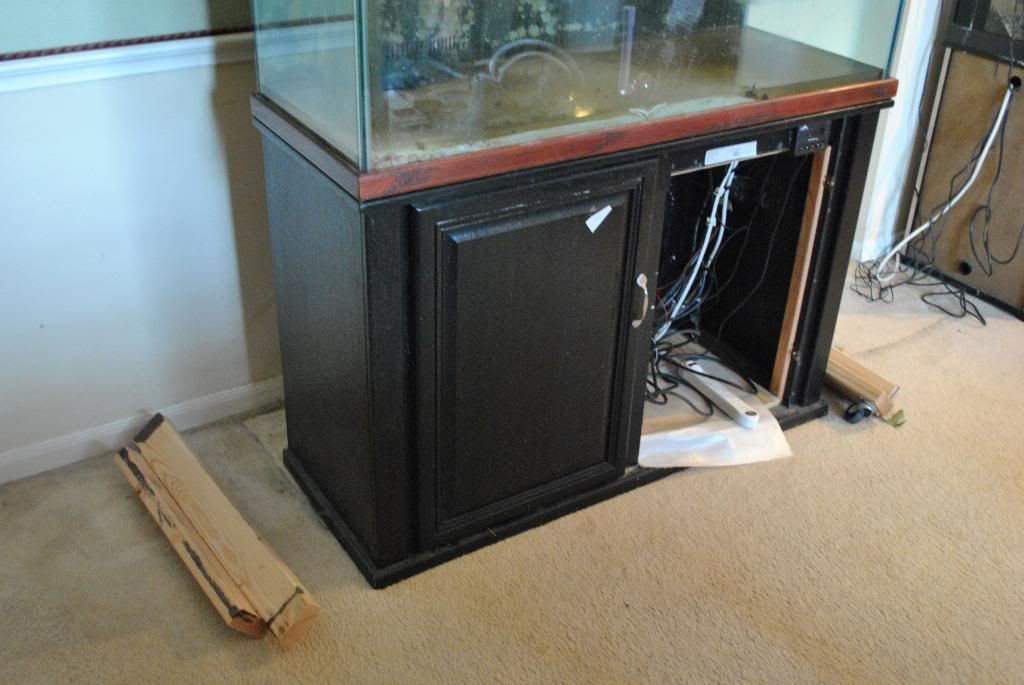


Here are some pictures during the smoke break.
The Refugium in sliding condition.
The 105 tank is in a temporary place as well.

The entire house looks and smells like a bloody fishstore.
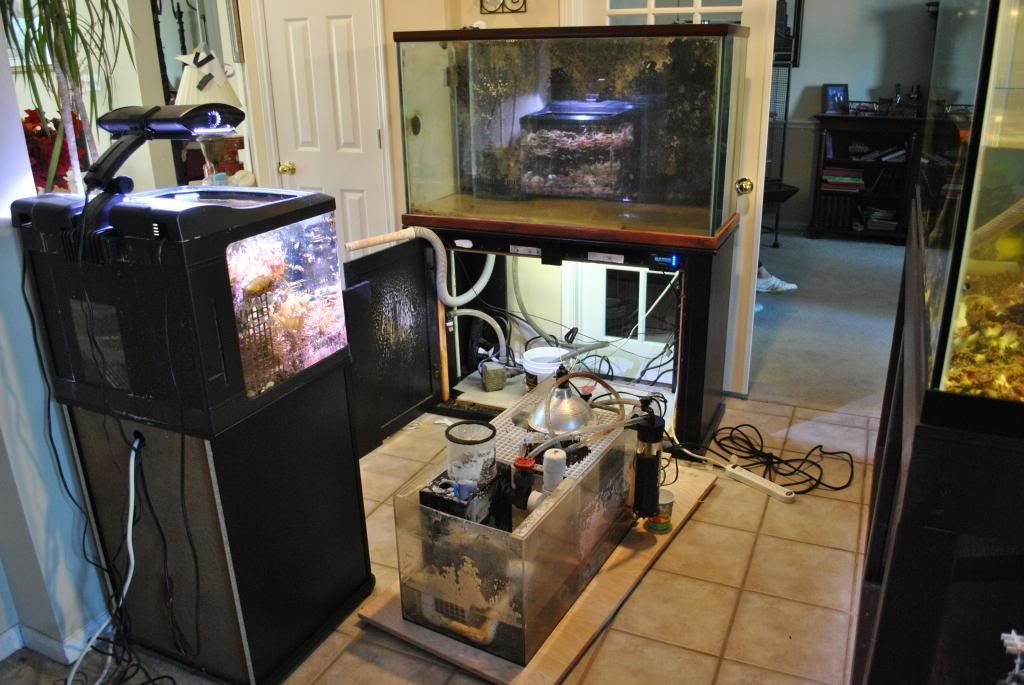

Refugium back in.
Now quickly fillin up the water and get the stuff back running.
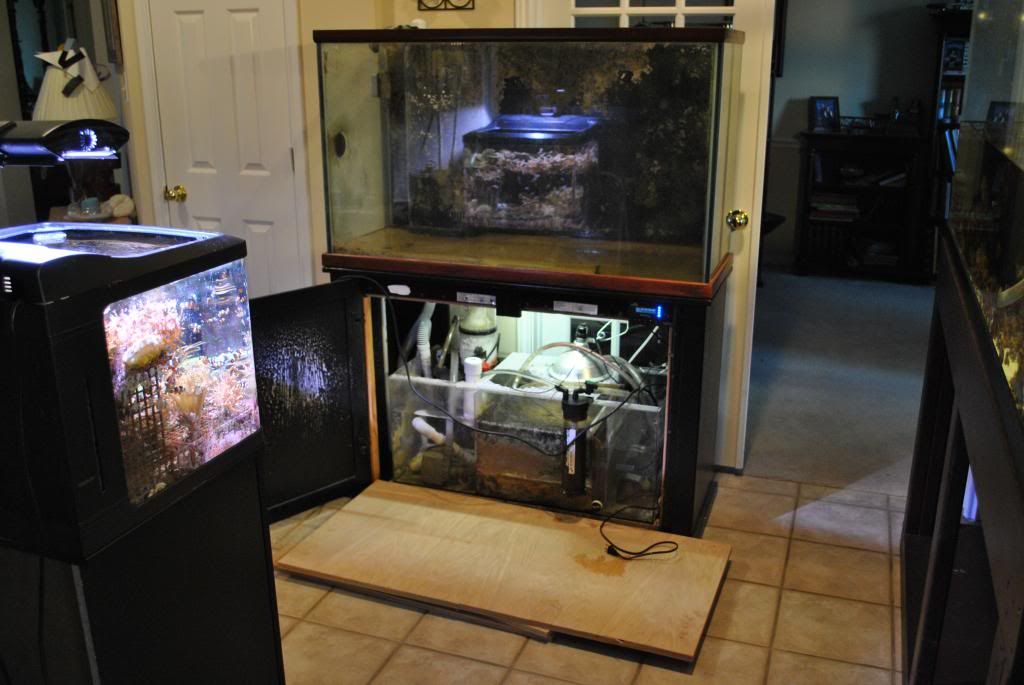

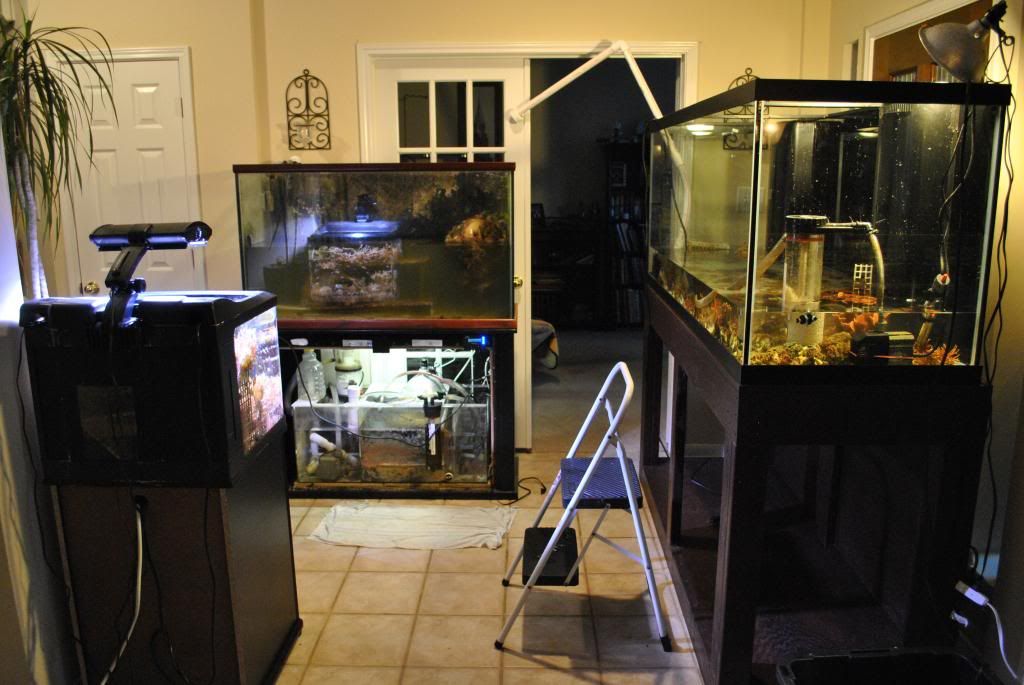
Worked late hours these days.
Here is the pipeline #2


Psxerholic is offline   Reply With Quote
Unread 05/18/2014, 04:57 PM   #117
Psxerholic
Registered Member
 
Psxerholic's Avatar
 
Join Date: Dec 2013
Location: Houston,TX
Posts: 198
This is how to get even to lowest water out of the tank by using an elbow as a suction pipe.


OK, step completed.
Relocation done.


Psxerholic is offline   Reply With Quote
Unread 05/18/2014, 05:20 PM   #118
Psxerholic
Registered Member
 
Psxerholic's Avatar
 
Join Date: Dec 2013
Location: Houston,TX
Posts: 198
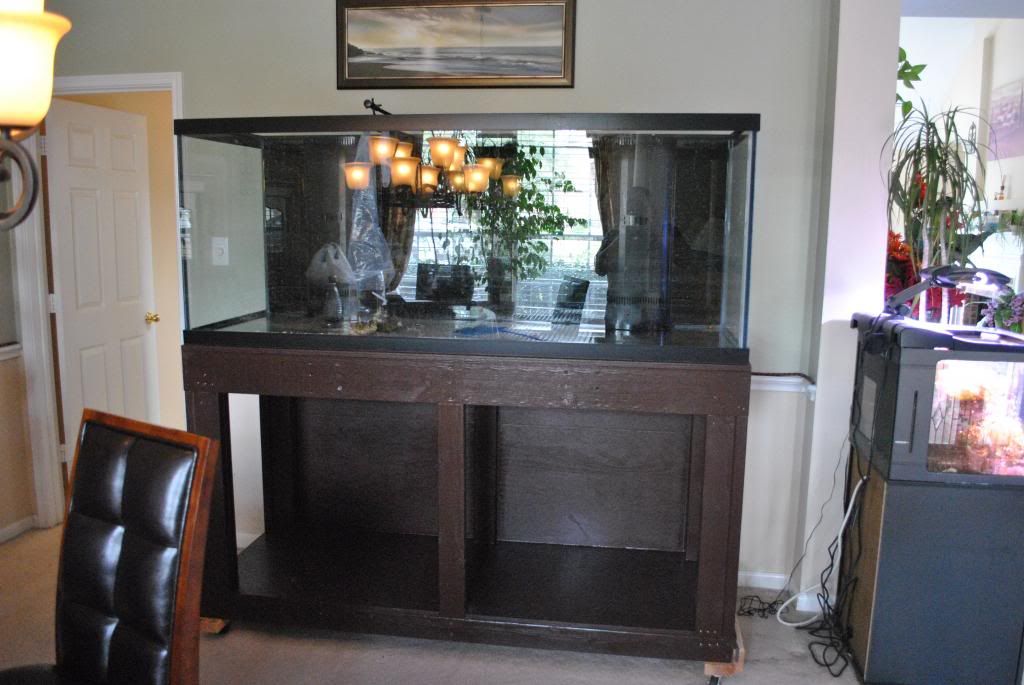
Next morning, the 105 cleared up and I can get the 210 into its intended spot.
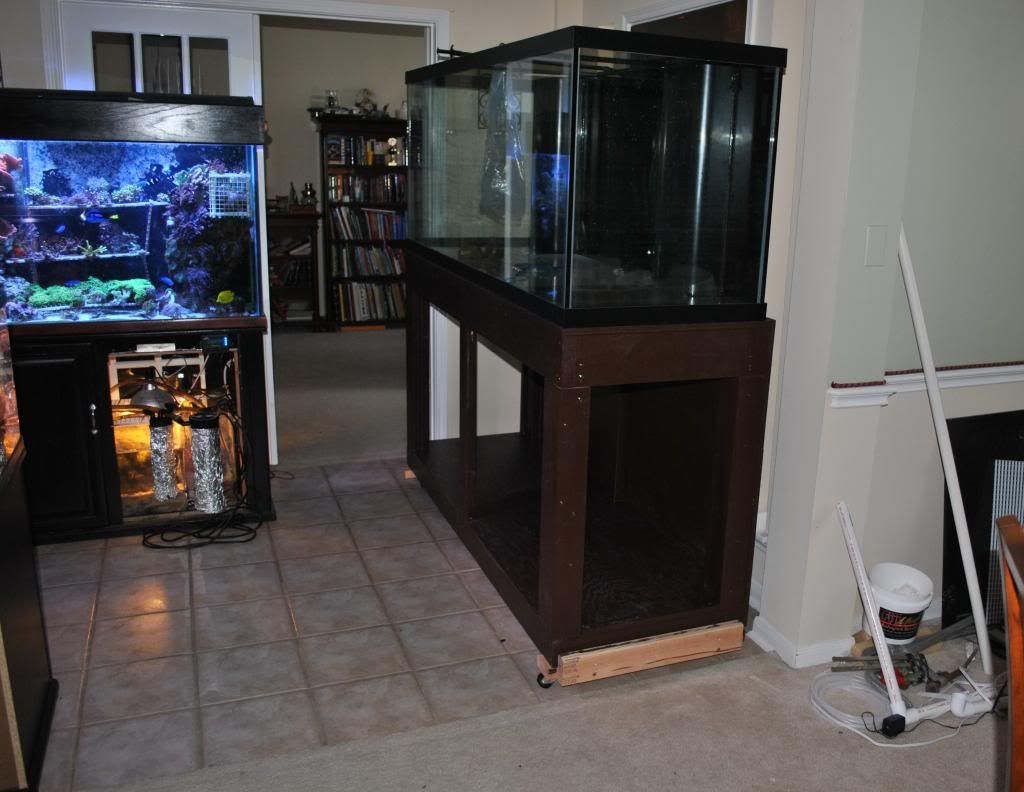

Roll it over to find the right location to mark and cut the carpet out.

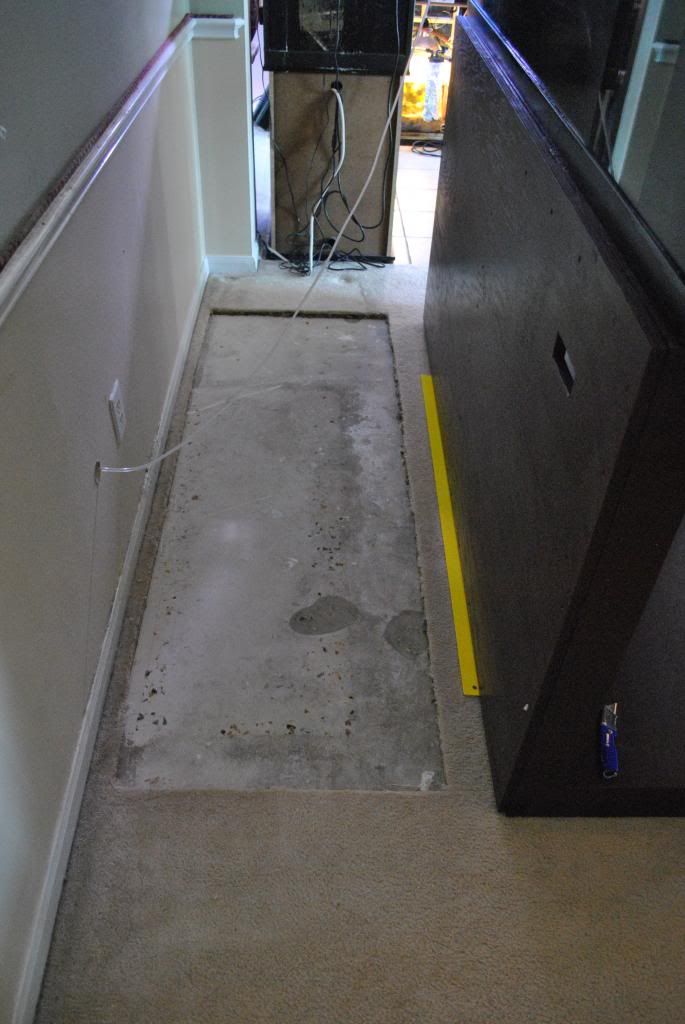
Carpet out.

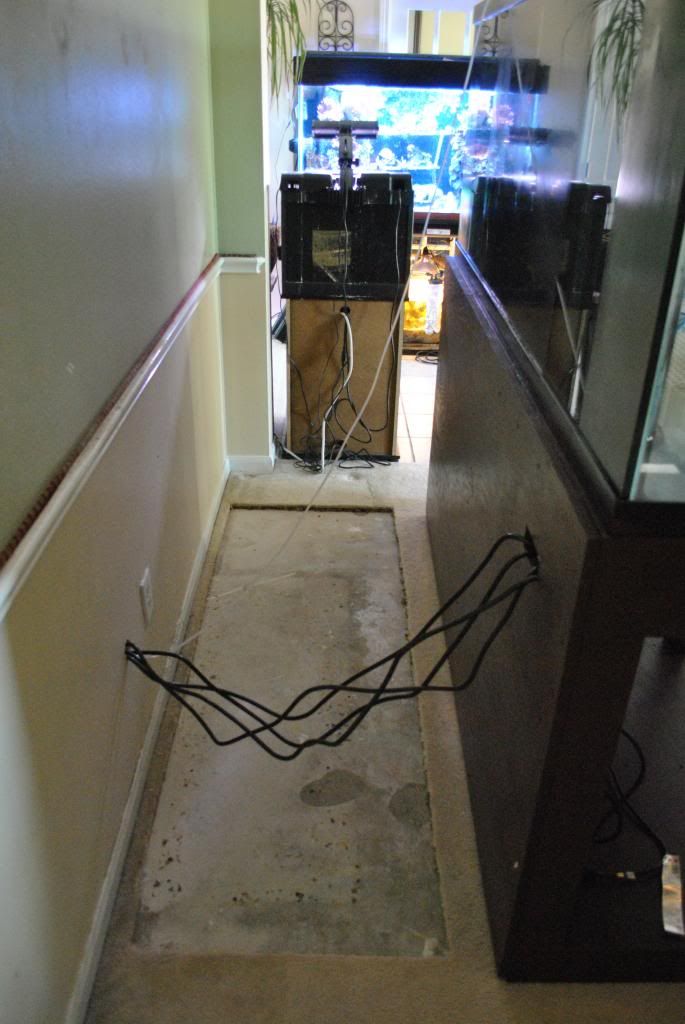
My 3 Power plugs and the ATO hose.

Tank in place
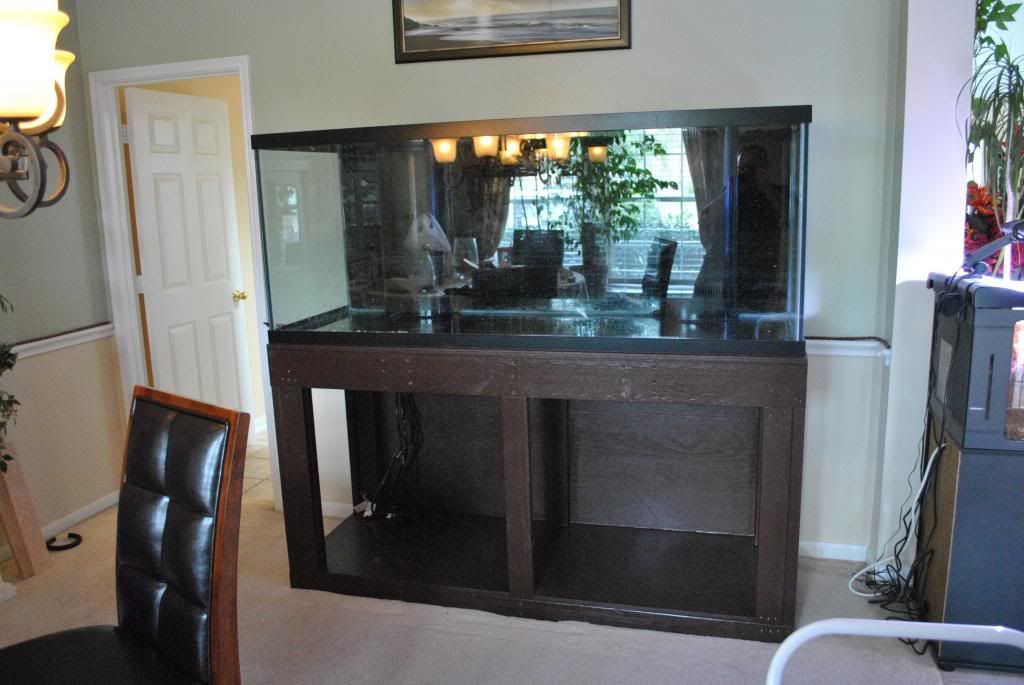

I had so far 30G of RODI Water.
The fillup started.
Using the MAG9.5 and my pipeline design, lol.
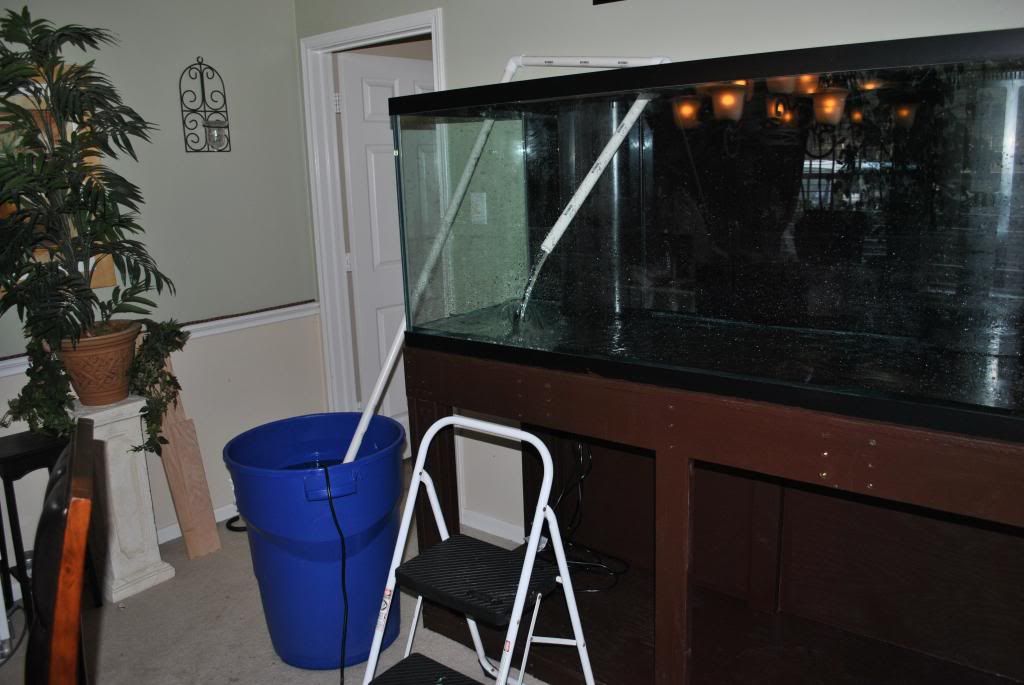

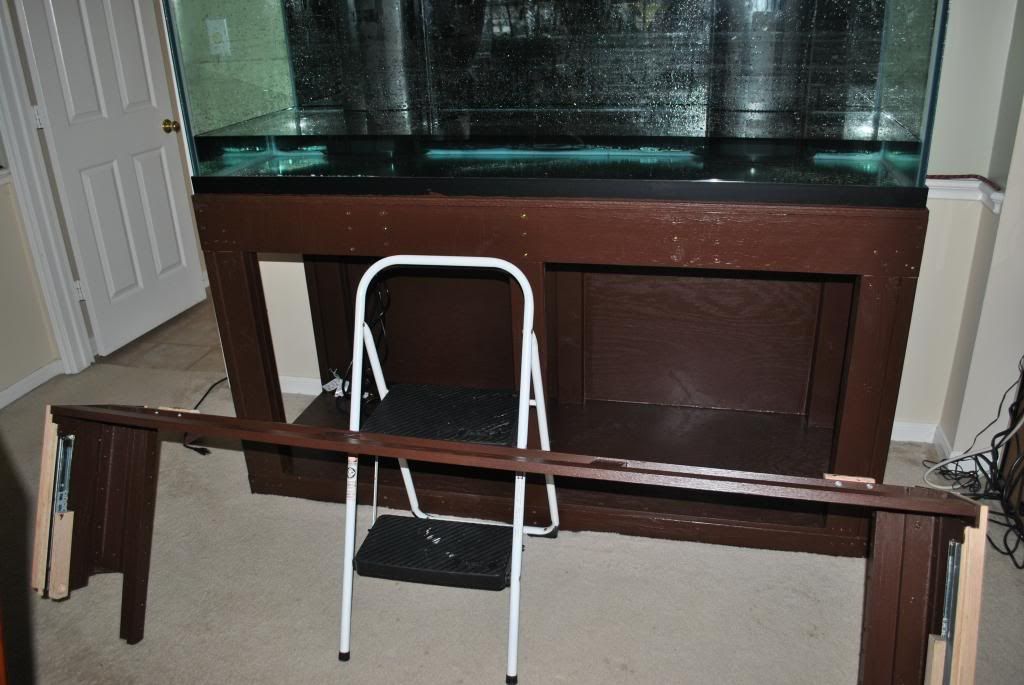
Then I put as much onto the tank as I have it.
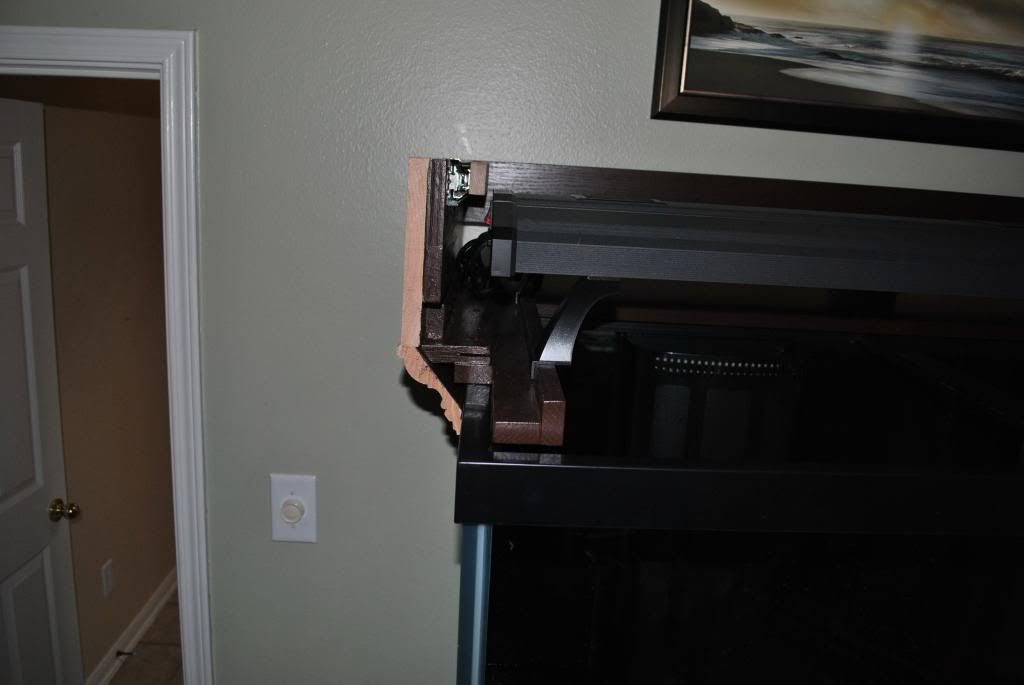
The canopy is in 2 pieces and each one can get carried around easily


Then the light fixture
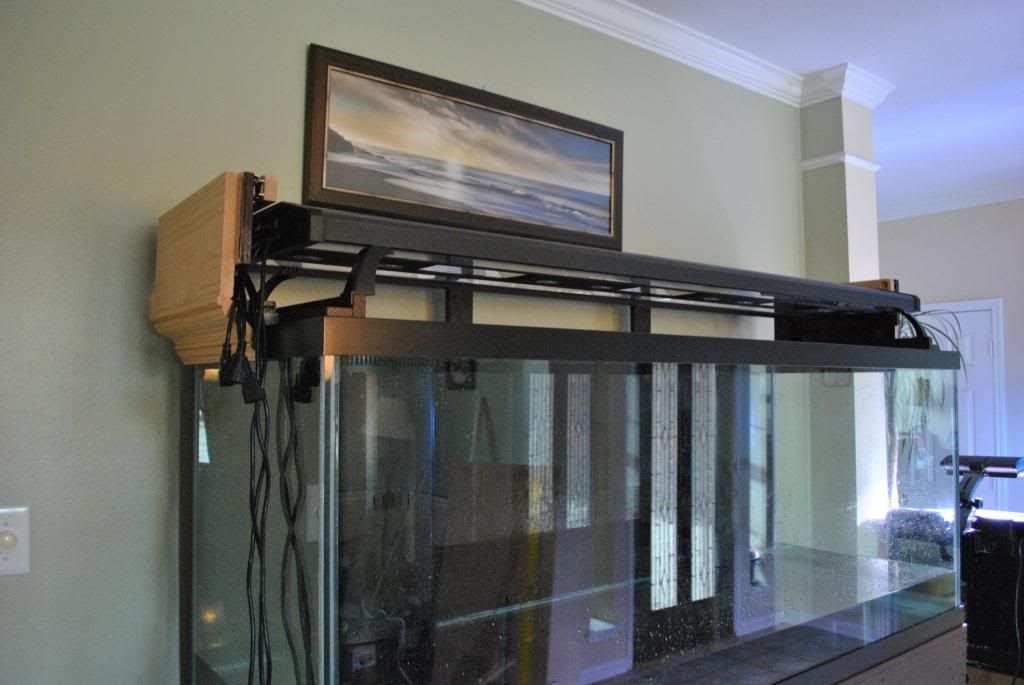

Cable run very nicely


Psxerholic is offline   Reply With Quote
Unread 05/18/2014, 05:23 PM   #119
Psxerholic
Registered Member
 
Psxerholic's Avatar
 
Join Date: Dec 2013
Location: Houston,TX
Posts: 198
The cables for later wiring.
Not plugged in yet.


Cant wait to get it filled up.
I'm doing RODI and checking the TDS all the time.
TDS is always 000.


Putting some salt in, to get the Sand in next day.


Psxerholic is offline   Reply With Quote
Unread 05/18/2014, 05:25 PM   #120
Psxerholic
Registered Member
 
Psxerholic's Avatar
 
Join Date: Dec 2013
Location: Houston,TX
Posts: 198
Next day,
another 30 G Water and the Livesand bags.


Psxerholic is offline   Reply With Quote
Unread 05/18/2014, 05:31 PM   #121
Psxerholic
Registered Member
 
Psxerholic's Avatar
 
Join Date: Dec 2013
Location: Houston,TX
Posts: 198
Another day later,
the next 30G and I put Polyfilter and a powerhead in.
That does clear up the water in no time.


From that point on I have to fillup in RODI Water and pre mix the salt with a MAG9.5 in the bucket running.


And another day.
Water is filling up.
I really need to start plumbing, lol.


Psxerholic is offline   Reply With Quote
Unread 05/19/2014, 05:36 PM   #122
Psxerholic
Registered Member
 
Psxerholic's Avatar
 
Join Date: Dec 2013
Location: Houston,TX
Posts: 198
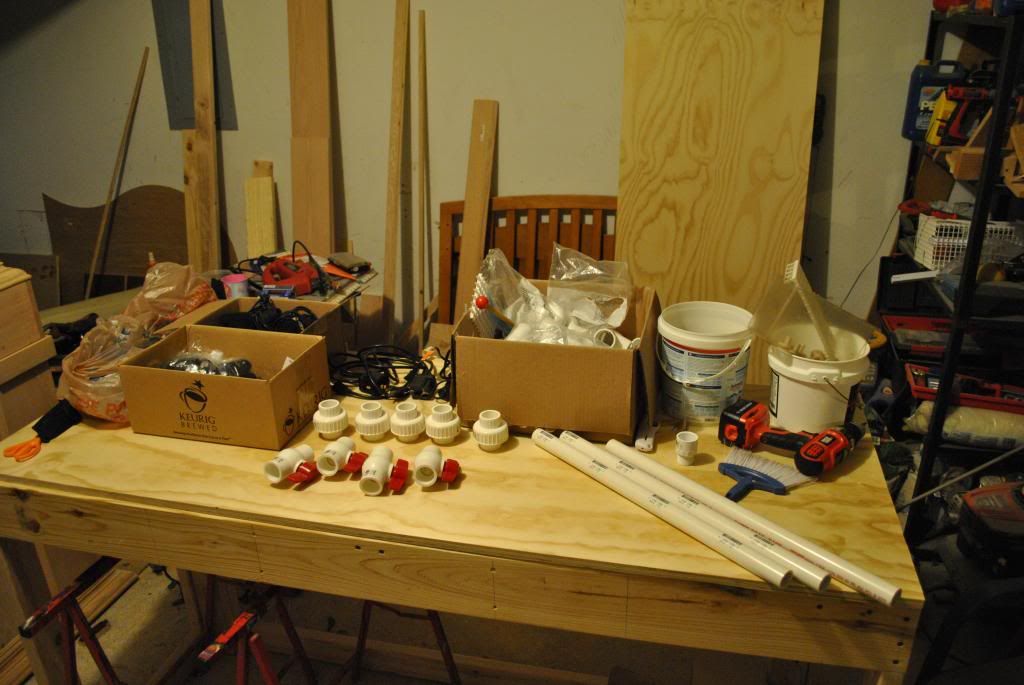
So I bought the parts I need for plumbing.
Lets see what I can do with that.


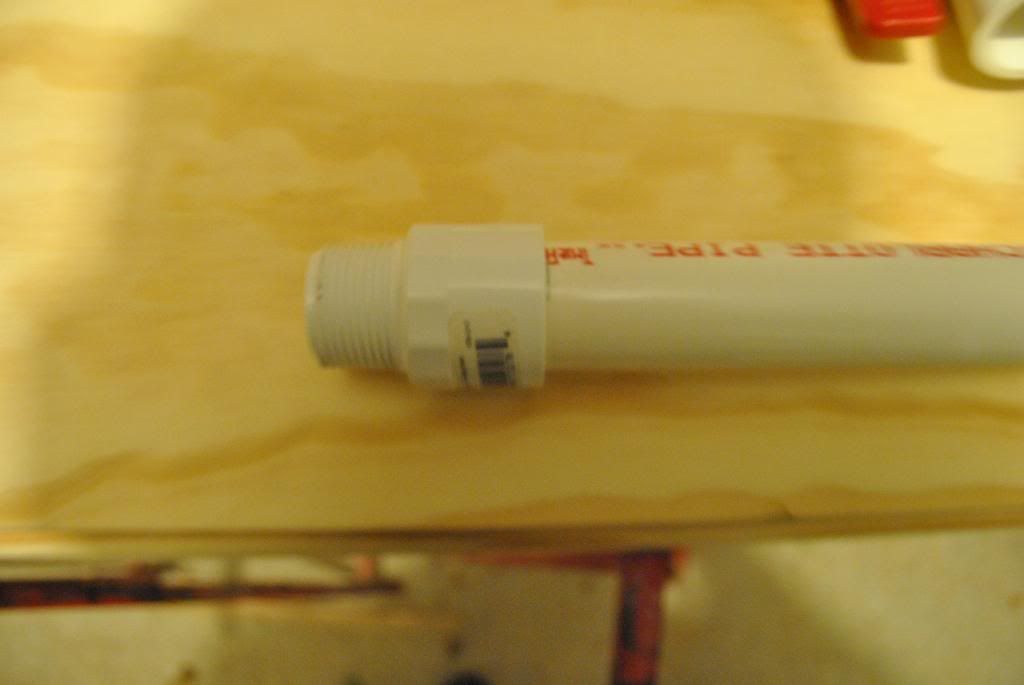
I do use threaded connections on the bulkheads, that will allow complete removal of the fittings and bulkheads later.

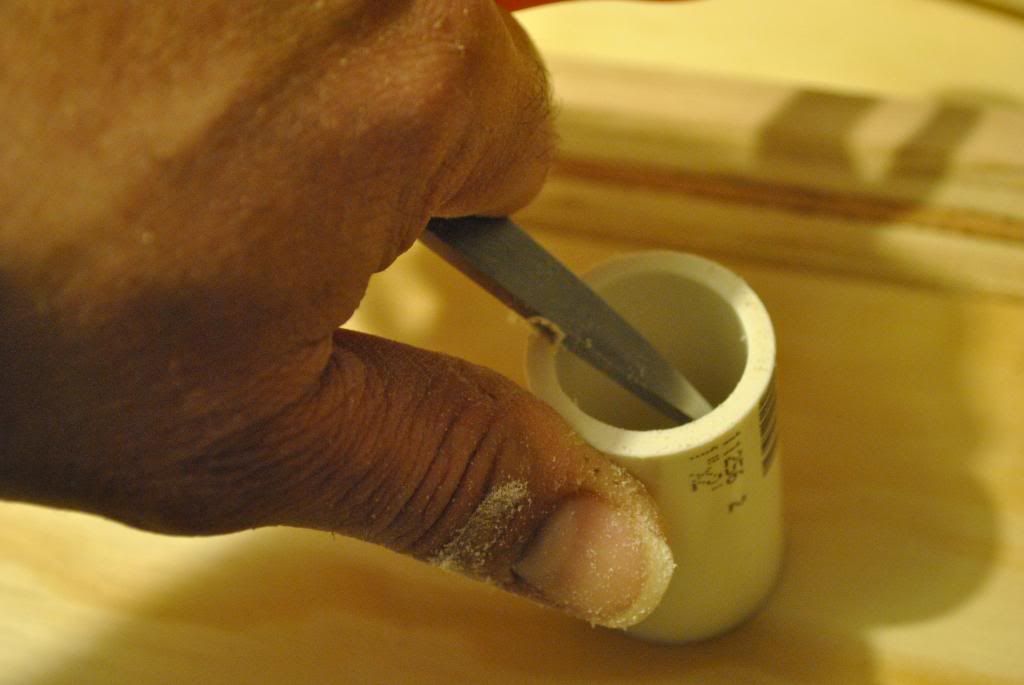
Whenever done a cut, sanding the end is good to keep the plumbing clean.
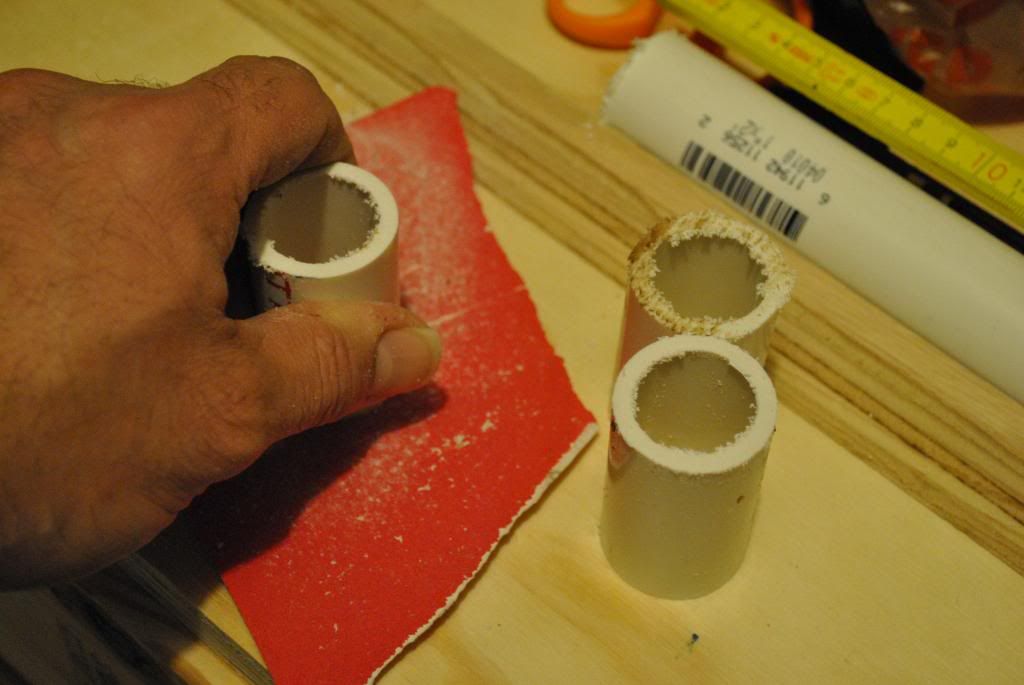

A scissor turned out to be an awesome tool for edging the pipes inside.


Psxerholic is offline   Reply With Quote
Unread 05/19/2014, 05:39 PM   #123
Psxerholic
Registered Member
 
Psxerholic's Avatar
 
Join Date: Dec 2013
Location: Houston,TX
Posts: 198
The Drains are ready,
I'm so glad that I have prepared all drains and feed lines with globe valves.


Now the Locline piping


See how this is going to turn out later.


Lines installed. No worries that it can leak anymore.


Psxerholic is offline   Reply With Quote
Unread 05/19/2014, 05:40 PM   #124
Psxerholic
Registered Member
 
Psxerholic's Avatar
 
Join Date: Dec 2013
Location: Houston,TX
Posts: 198
The lower section in the stand prepared with stand lighting


Nice and bright down there


Psxerholic is offline   Reply With Quote
Unread 05/19/2014, 05:44 PM   #125
Psxerholic
Registered Member
 
Psxerholic's Avatar
 
Join Date: Dec 2013
Location: Houston,TX
Posts: 198
Then I prepped the old refugium for some tests.


Psxerholic is offline   Reply With Quote
Reply

Tags
210 gallon, aquarium stand, diy stand, reef tank stand, rocket engineer

Thread Tools

Posting Rules
You may not post new threads
You may not post replies
You may not post attachments
You may not edit your posts

BB code is On
Smilies are On
[IMG] code is On
HTML code is On


All times are GMT -6. The time now is 12:16 AM.


Powered by vBulletin® Version 3.8.4
Copyright ©2000 - 2025, Jelsoft Enterprises Ltd.
Powered by Searchlight © 2025 Axivo Inc.
Use of this web site is subject to the terms and conditions described in the user agreement.
Reef CentralTM Reef Central, LLC. Copyright ©1999-2022
User Alert System provided by Advanced User Tagging v3.3.0 (Pro) - vBulletin Mods & Addons Copyright © 2025 DragonByte Technologies Ltd.