
|
|
 10/20/2010, 04:42 PM
|
#1 |
|
Registered Member
Join Date: Nov 2004
Location: pa
Posts: 64
|
45 Gallon CUBE build
I have been keeping fish for over twenty years but I have always wanted to do a reef tank.
After lots of research, I recently purchased a 45 gallon Marineland cube with the center overflow. (I know it's not the best overflow design) I was able to remove the LocLine from one bulkhead and I am going to try to run a 'Herbie style drain' since this has two holes drilled ion the tank... 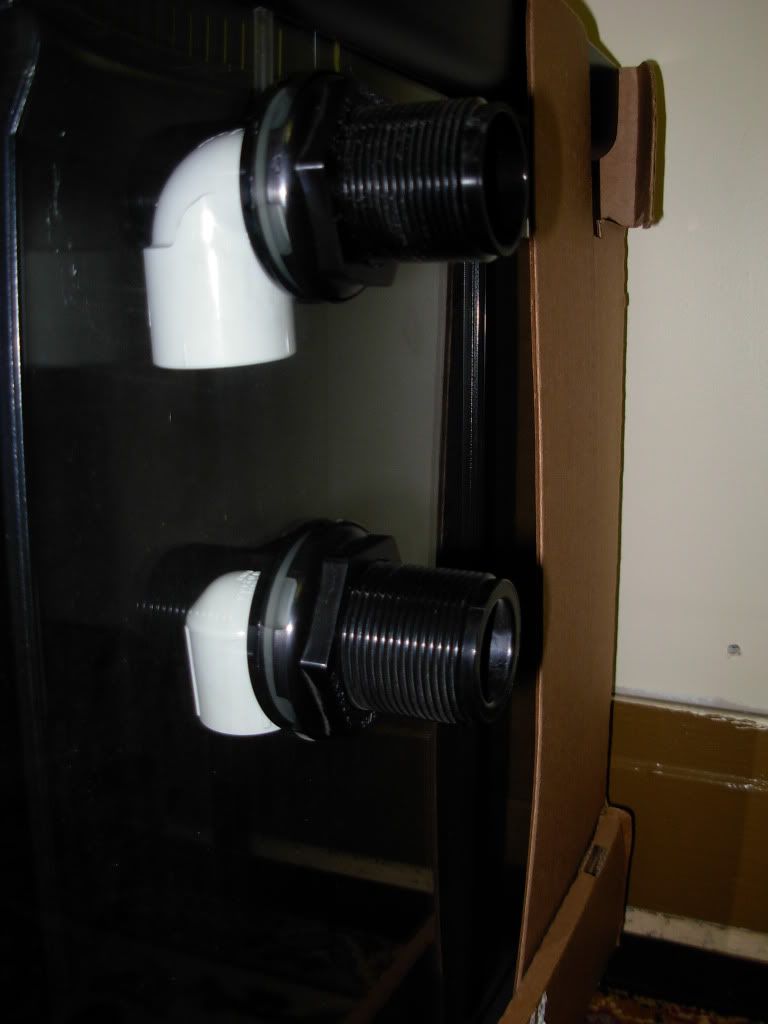 I just finished the rough build of my stand using RocketEngineer's design. http://www.reefcentral.com/forums/sh...y+stand&page=2 (thank you, by the way) 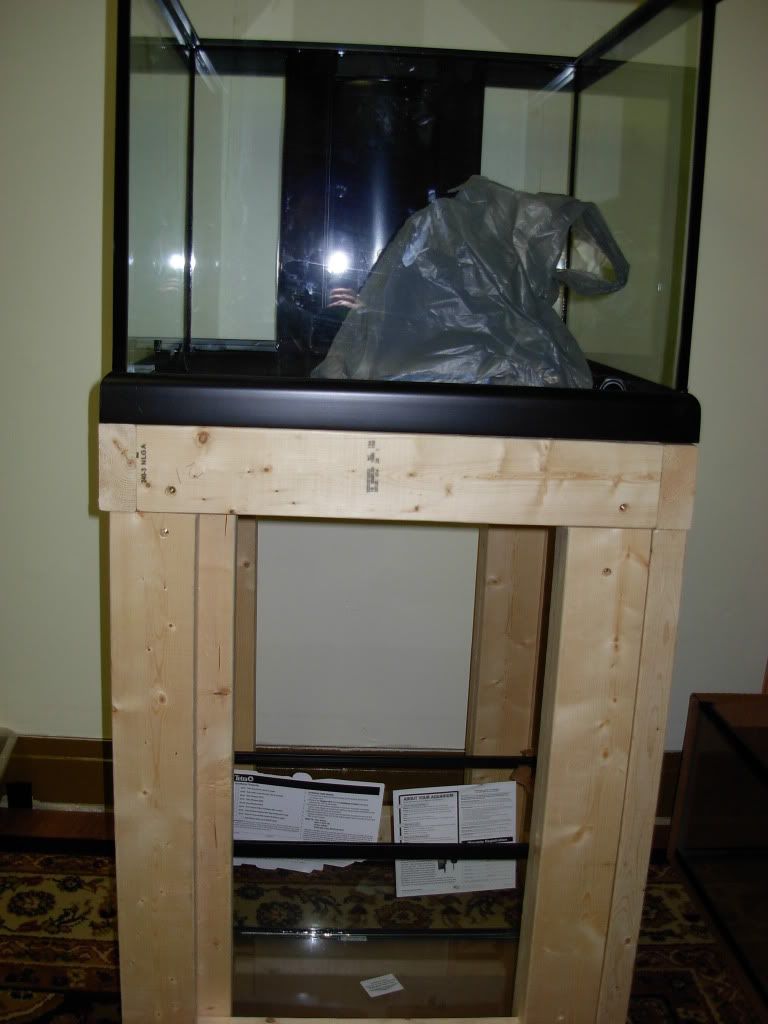 ...I still have to do a little sanding so the tank sits flush, there is a very small gap on two corners and I have to skin it and add trim. Anyway, it's going to be set up like this way: (for now anyway) tank: 45 cube skimmer: Reef Octopus NW-110 Lights: Hamilton Cayman Sun 150 watt DE HQI 14K flow: (2) Koralia 425 return pump: Eheim 1260 plan on using 1"-2" sand bed mostly LPS using an open top which I will be making a DIY screen I plan on doing a minimalist aquascape I also plan to have the live rock in the tank for a couple of months before I get any corals and definitely that long before any fish. I will try to keep things moving along and post pics of everything. If anyone has any suggestions as to fish or corals (I know I have a long time before stocking but suggestions are welcome), based on my system, it would be appreciated as I am new to the 'salty" side. --thanks Last edited by curry76; 10/20/2010 at 05:15 PM. |

|

|
|
10/20/2010, 11:39 PM
|
#2 |
|
Registered Member
Join Date: Nov 2004
Location: pa
Posts: 64
|
Picking up some plywood and trim tomorrow, hopefully I will have it ready to paint by the afternoon.
...will post pics. |
|
|
|
|
10/22/2010, 01:04 AM
|
#3 |
|
Registered Member
Join Date: Nov 2004
Location: pa
Posts: 64
|
Wasn't able to get trim or paint today hopefully this weekend.
I did take a shot of my skimmer and light... Reef Octopus NW 110 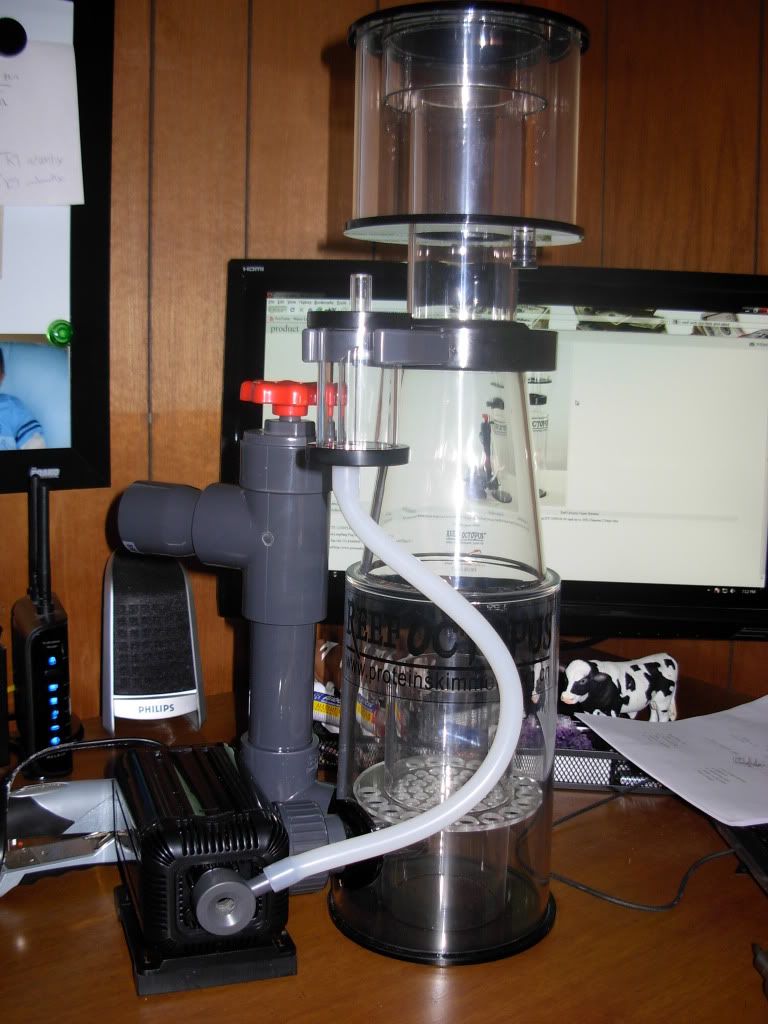 Hamilton Cayman Sun 150 HQI 14K 
|
|
|
|
|
11/04/2010, 03:09 PM
|
#4 |
|
Registered Member
Join Date: Nov 2004
Location: pa
Posts: 64
|
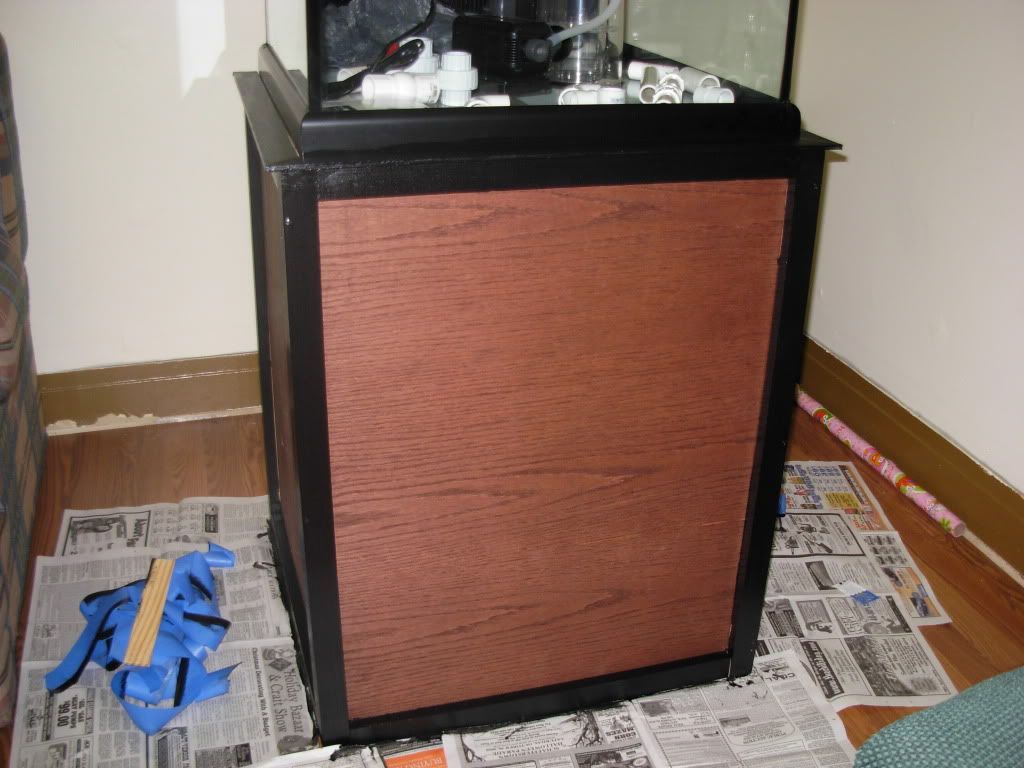
I have skinned the stand in oak plywood and stained it a cherry color.
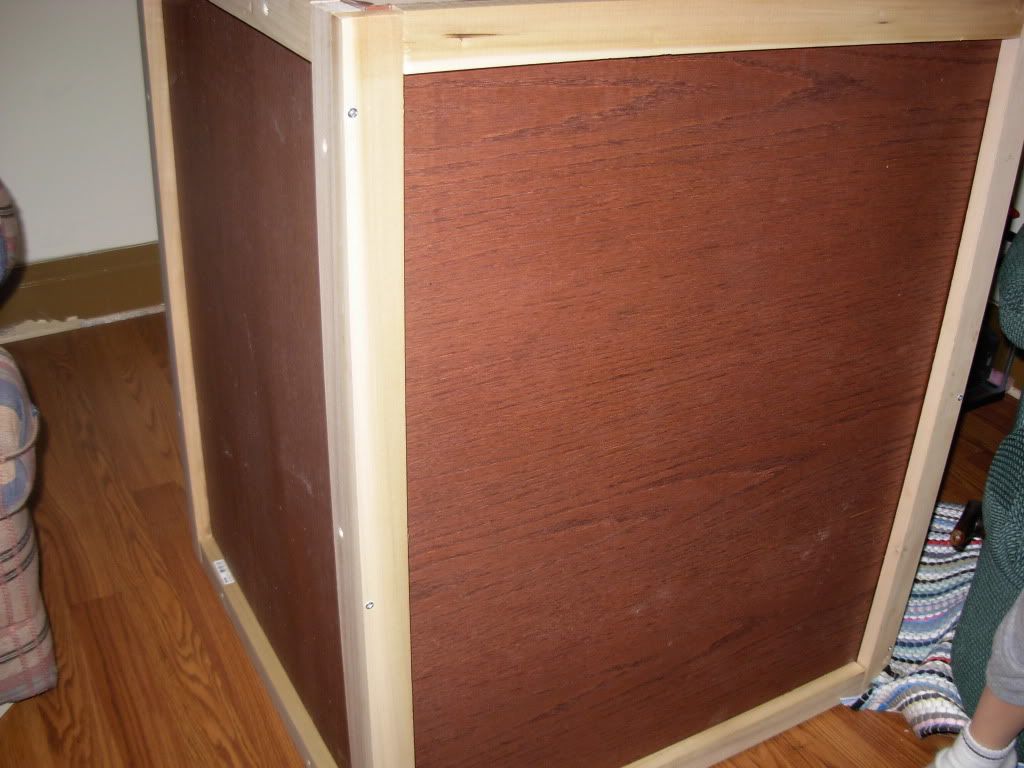 I really wanted to keep a "cube look" to the stand so I didn't want to incorporate a door. I made it so the front panel could slide up in order to access the sump.  I still need to put a finish on the stain and to decide on a color for the trim. This past week I received 30lbs of Bulk Reef Supply's Pukani dry rock, and could not be more pleased. I will try to upload photos of the rock later tonight. ...maybe I will finish my plumbing and upload shots of that too. |
|
|
|
|
11/04/2010, 03:44 PM
|
#5 |
|
Registered Member

Join Date: Dec 2002
Location: Tallahassee, FL
Posts: 219
|
Very nice so far. Keep us updated on your progress.
__________________
29BC -- 20lbs LR -- 3 to 4-inch sandbed -- LR rubble for fuge(setup in Chamber 2) -- 3 Cerith Snails and 1 Trochus for CUC |
|
|
|
|
11/06/2010, 01:51 PM
|
#6 |
|
Registered Member
Join Date: Nov 2004
Location: pa
Posts: 64
|
...painted the trim on the stand black, to match the other furniture in the room. (not sure but I might put some kind of detail on the panels)
 Here's a quick pic of my 4-stage RO/DI unit from BRS... 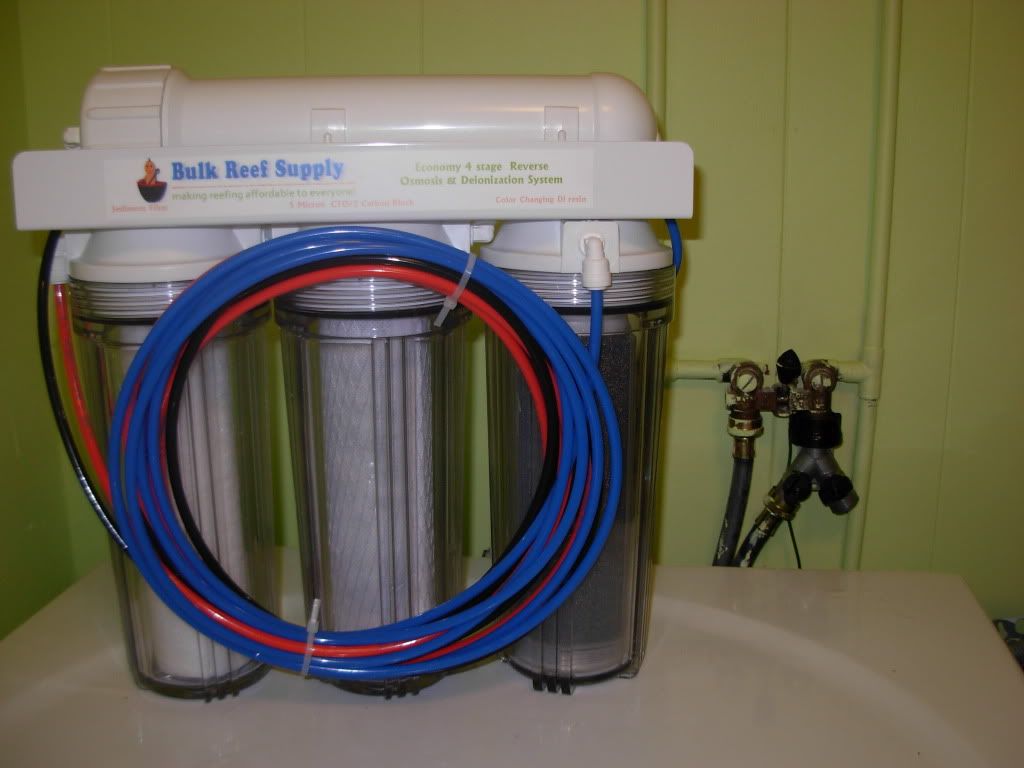 ...set up and flushing for a hour or two. I still need to finish my zip ties and fasten the tubing to the wall. 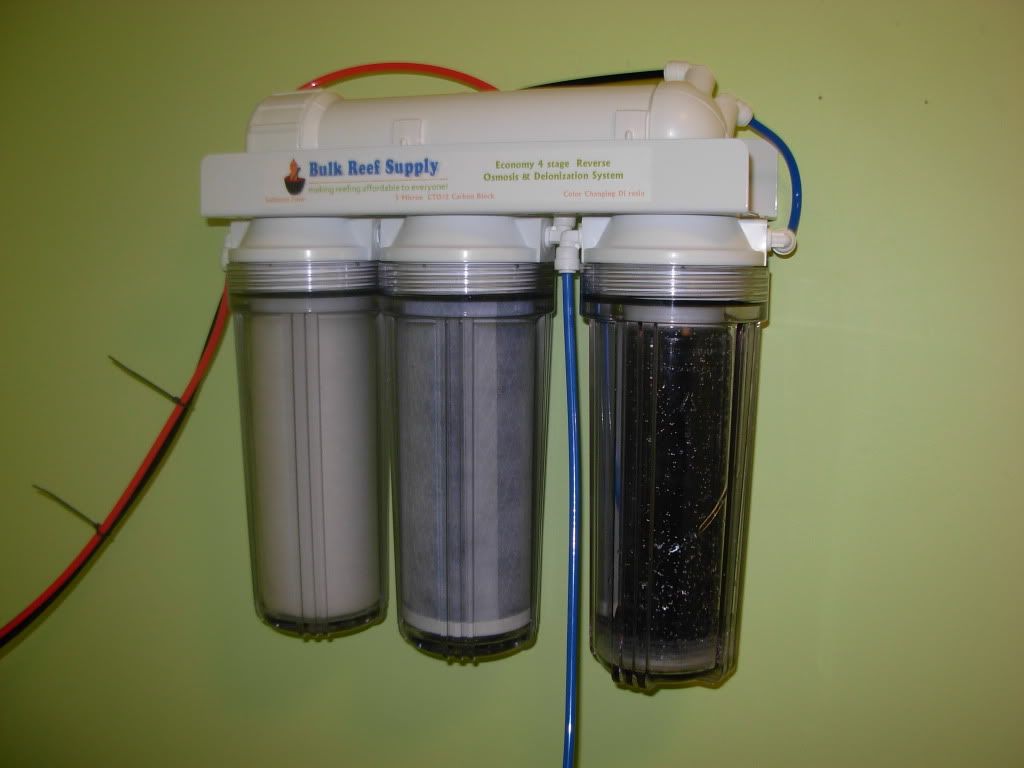 If anyone is interested, here is a pic of the cold water line for my washing machine split, with the other side going to the RO/DI. 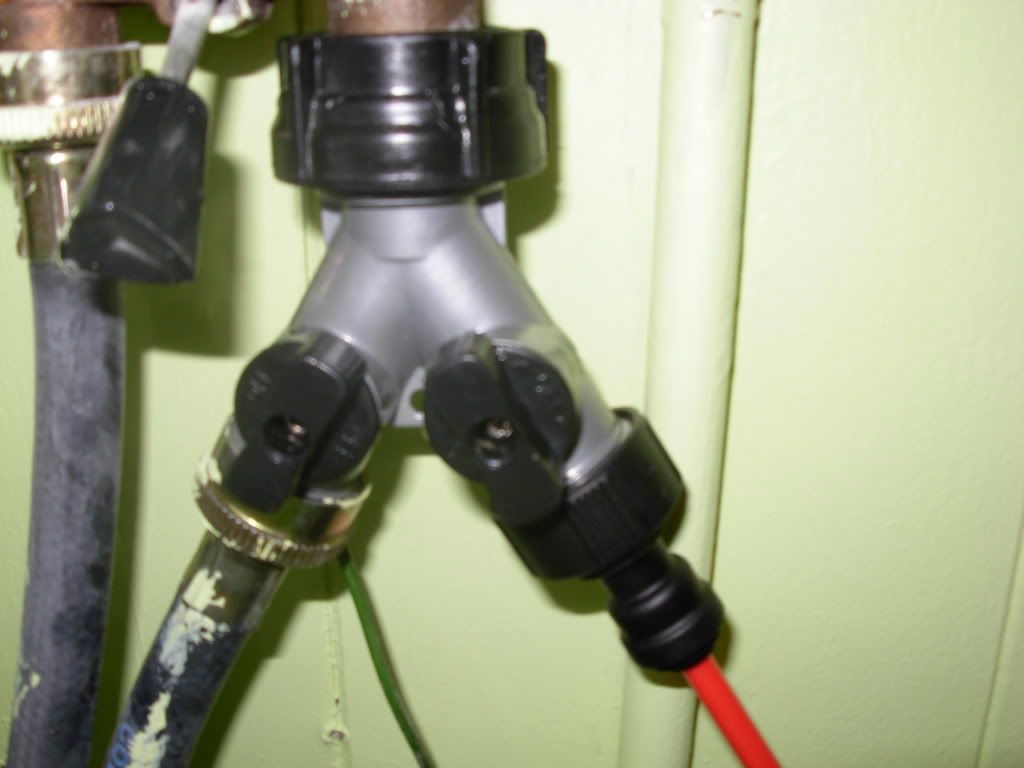
|
|
|
|
|
11/06/2010, 02:25 PM
|
#7 |
|
Ultimate Reefer
Join Date: Apr 2002
Location: London, UK
Posts: 8,540
|
Looks good. Subscribed!
|
|
|
|
|
11/06/2010, 02:27 PM
|
#8 |
|
Registered Member

Join Date: Feb 2001
Location: LI,NY
Posts: 3,877
|
Very cool. I plan on the 70 cube in the near future. Looks great! Best of luck!
|
|
|
|
|
11/06/2010, 02:54 PM
|
#9 |
|
Registered Member
Join Date: Dec 2009
Location: Fremont, IN
Posts: 200
|
I like the idea with the stand having no door I think it looks very cool. Good job I will be following along too.
|
|
|
|
|
11/06/2010, 08:30 PM
|
#10 |
|
Stoney Reefer
Join Date: Feb 2010
Posts: 548
|
Im doing the same kind of stand wirmth no door. Can you show a few more detailed photos of the slider method you are using.
|
|
|
|
|
11/07/2010, 12:39 AM
|
#11 | |
|
Registered Member
Join Date: Nov 2004
Location: pa
Posts: 64
|
Quote:
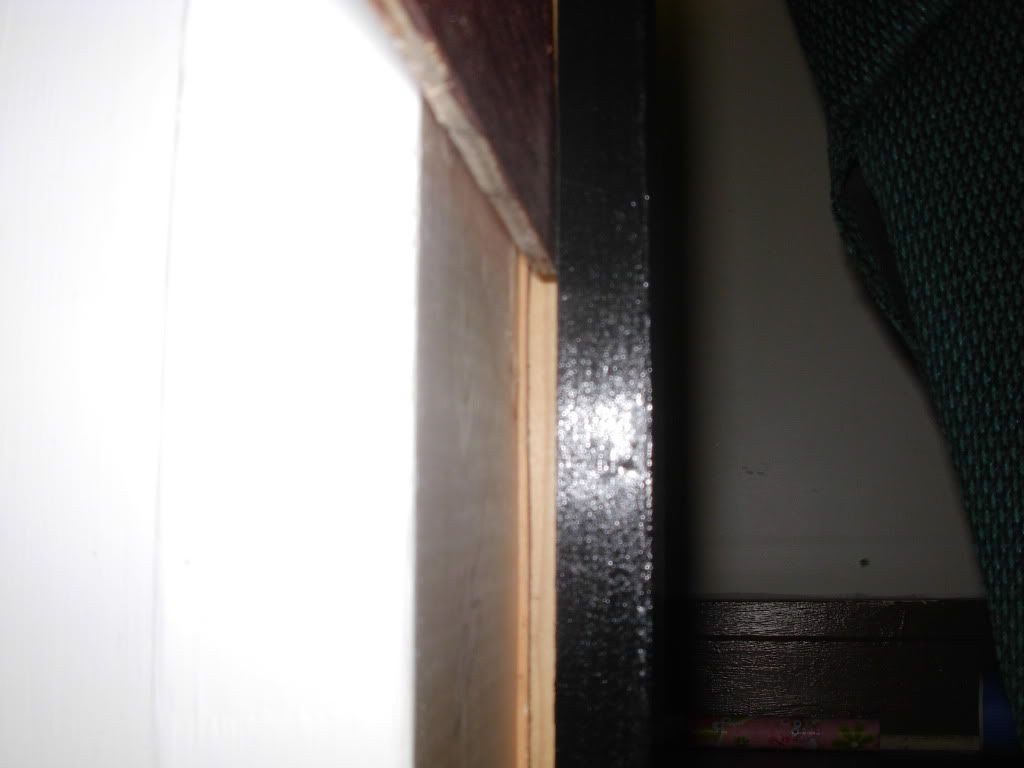 ...I attached the front trim to the side trim first, the attached the side trim to the stand in such a way that a 1/4" gap was left between the front trim piece and the stand so that my 1/4" plywood could fit in between. the top trim piece looks like this... 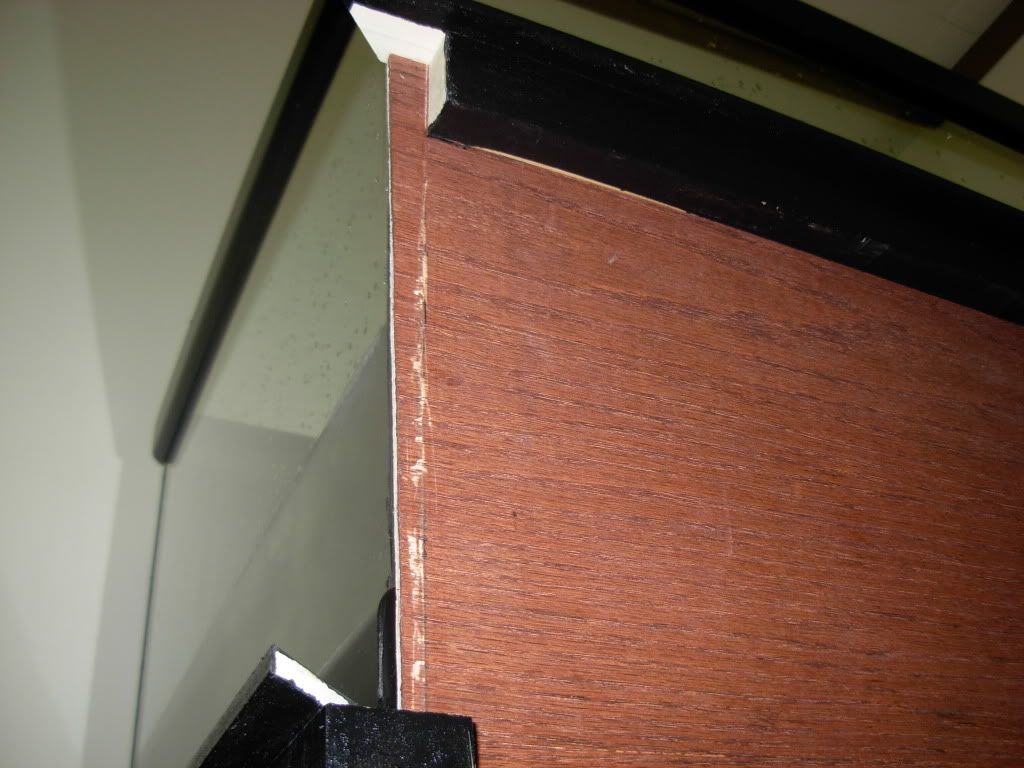
|
|
|
|
|
|
11/07/2010, 12:45 AM
|
#12 |
|
Registered Member
Join Date: Nov 2004
Location: pa
Posts: 64
|
I wanted to post a couple pics of the Pukani dry rock I ordered from Bulk Reef Supply.
I think this rock is awesome!! I ordered 30lbs of it. Here it is laying on a table. 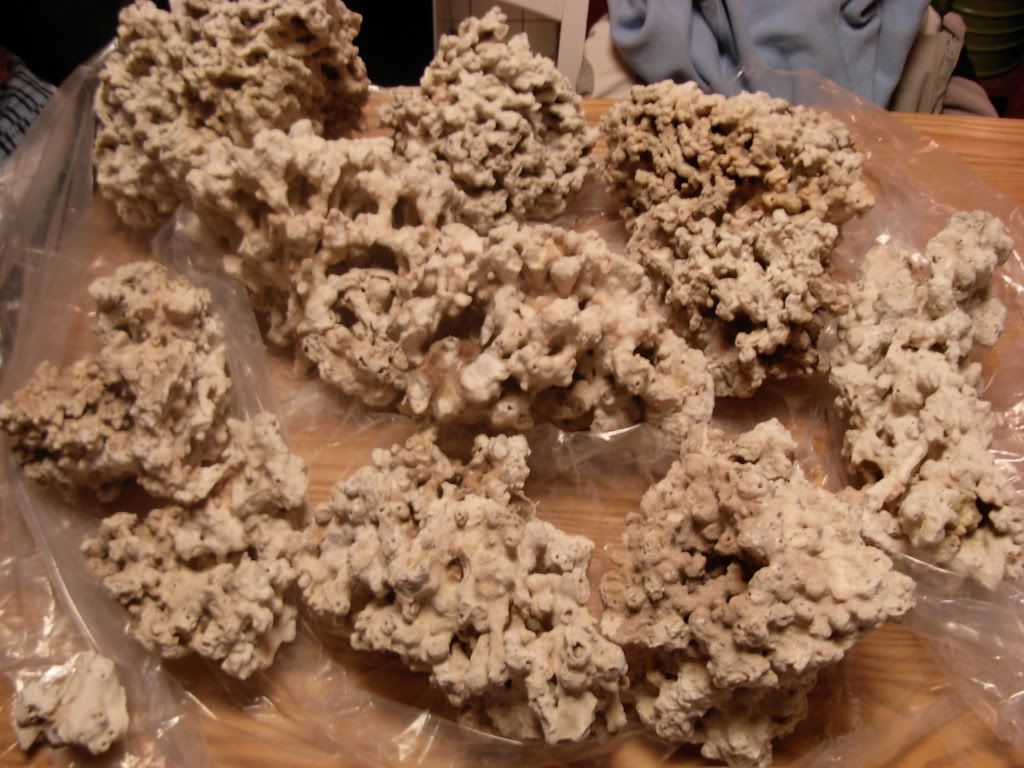 This rock is insanely porous!! 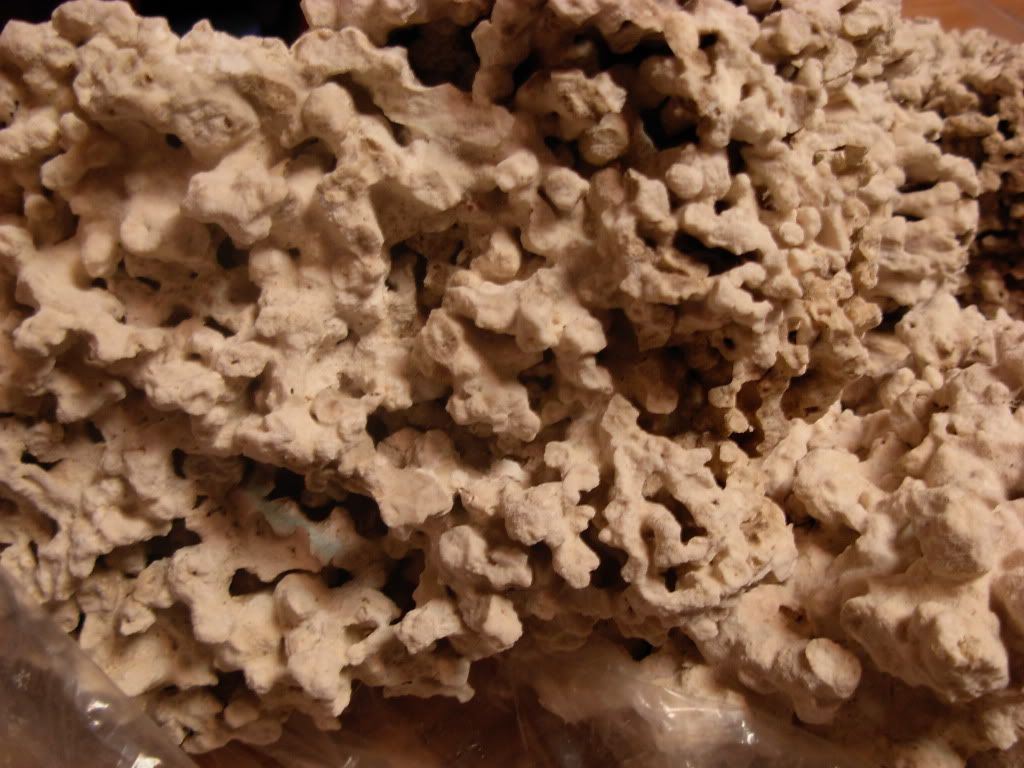 I'm not sure how well you can tell by the picture, but this rock is really light and I think that I got a lot of it for 30lbs. ...I just finished putting the rock in the tank, on top of eggcrate, and added sand. I will try to get 'wet' pics up tomorrow evening. |
|
|
|
|
11/09/2010, 02:16 AM
|
#13 |
|
Registered Member
Join Date: Nov 2004
Location: pa
Posts: 64
|
No pics yet as I don't have my light ready and the water is kinda cloudy and yellow.
 I did scape it and fill it with saltwater, got all the pumps running and the plumbing is working with no leaks!! I am building a light stand for my pendant out of 1/2" conduit and will post pictures and a link to where I found the plans. I'm hoping to have pics of the finished tank and light late tomorrow night! |
|
|
|
|
11/09/2010, 02:45 AM
|
#14 |
|
Registered Member
Join Date: Apr 2006
Location: Norfolk, Va
Posts: 51
|
Looking good and I was thinking of where I could put my RO unit and that splitter for the washing machine is a great idea. Thanks and can't wait to see this thing with water in it.
|
|
|
|
|
11/09/2010, 01:13 PM
|
#15 | |
|
Registered Member
Join Date: Nov 2004
Location: pa
Posts: 64
|
Quote:
|
|
|
|
|
|
11/10/2010, 12:45 AM
|
#16 |
|
Registered Member
Join Date: Nov 2004
Location: pa
Posts: 64
|
I'm about half way through making my light stand. I should have it finished up tomorrow. I'll post pics when it's done.
This is a link to where I got the idea and plans. (very nice job done by this guy!!!) http://www.carolinafishtalk.com/foru...ing-stand.html I did get the tank filled with my rock, some sand, and water. The water is pretty yellow. I'm not sure if it's from the sand or rock or a combination of both, but I guess we'll see what happens. All the plumbing is good and I have been running it for two days now. About an hour after after I set up my skimmer it was producing some yellow/brownish skimmate. Here is a pic of two days worth... 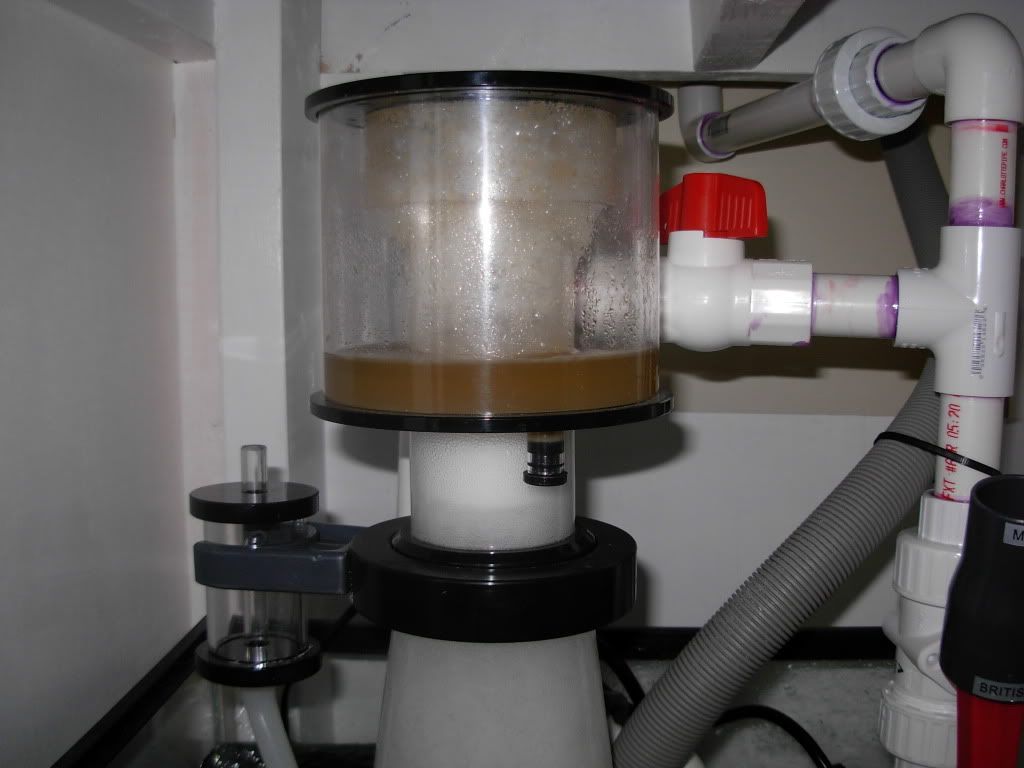 Here is a pic of the tank so far... 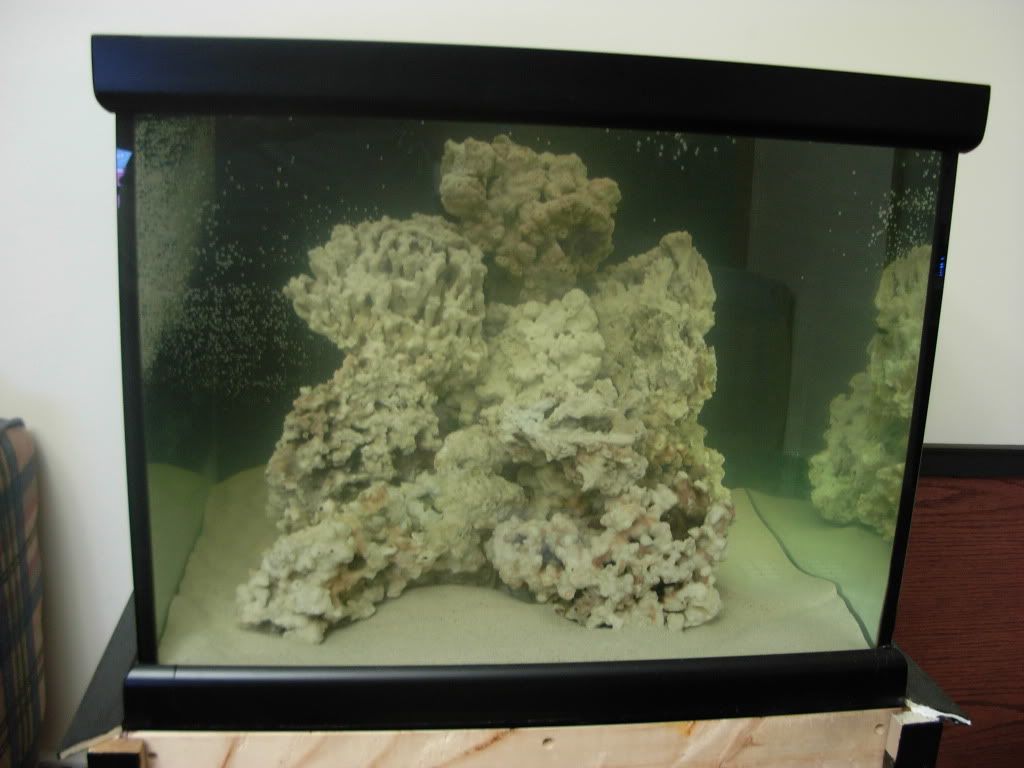 I need to finish the light stand tomorrow and I have everything but the clear mesh to make a screen top. One mistake I did make was to buy (2) 150 watt Eheim/Jager heaters, neither of which fit all the way in my sump. (water doesn't cover the min. level line) 
|
|
|
|
|
11/10/2010, 01:08 AM
|
#17 |
|
Registered Member
Join Date: Aug 2008
Location: Buffalo, NY
Posts: 4,140
|
Very nice start, I love the dimensions of the Marineland 45G. How did the drain end up... did you leave as-is, or did you modify it?
I had the same issue when installing the Jagers. Perhaps you can lay them sideways? Pics, more pics! 
|
|
|
|
|
11/10/2010, 01:19 AM
|
#18 | |
|
Registered Member
Join Date: Nov 2004
Location: pa
Posts: 64
|
Quote:
2. The sump is only a ten gallon tank (for now) and with the baffles the heaters won't even lay sideways. I'll use them on my other freshwater tank to swap out some cheaper ones. |
|
|
|
|
|
11/10/2010, 08:53 AM
|
#19 |
|
Registered Member
Join Date: Jun 2010
Location: STL
Posts: 192
|
Nice cube! I have the 60g version and love it. Even have the same skimmer. I'm excited to see how it turns out.
|
|
|
|
|
11/10/2010, 01:03 PM
|
#20 | |
|
Registered Member
Join Date: Nov 2004
Location: pa
Posts: 64
|
Quote:
My next tank will either be a cube or something of deep dimensions. I just love all the space front to back! |
|
|
|
|
|
11/10/2010, 10:00 PM
|
#21 |
|
Registered Member
Join Date: Nov 2004
Location: pa
Posts: 64
|
Sorry the pics of the light are late, I just had my first RO/DI mishap.
I forgot I was filling a 5 gallon jug (for about and hour and a half) and water spilled all over and went down inside my dryer's lint compartment. (the jug was sitting on top of my dryer) ...so I'm trying to get everything cleaned up before the wife gets home from work!  
|
|
|
|
|
11/11/2010, 01:14 AM
|
#22 |
|
Registered Member
Join Date: Nov 2004
Location: pa
Posts: 64
|
Okay, pics are finally here!
I got the water all cleaned up inside my dryer and went to work finishing the light stand. I bought some 1/2" emt conduit at Lowes (@$1.75 for 10') I also bought this... 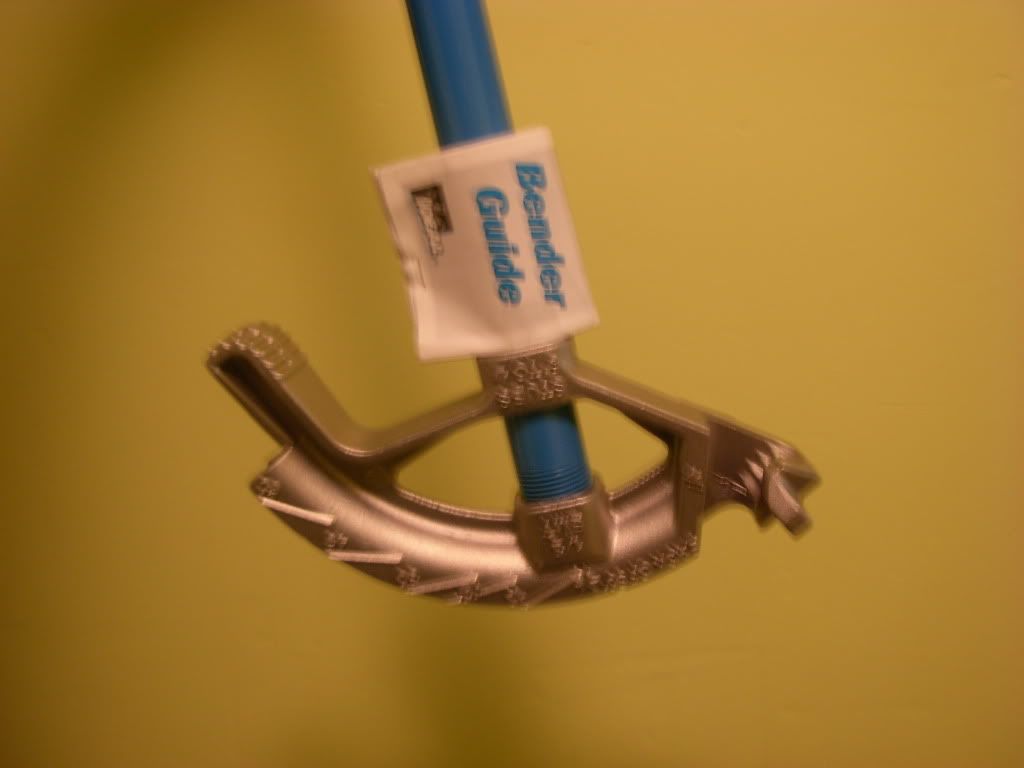 I used it to bend the conduit in a couple of places and after a couple of coats of this... 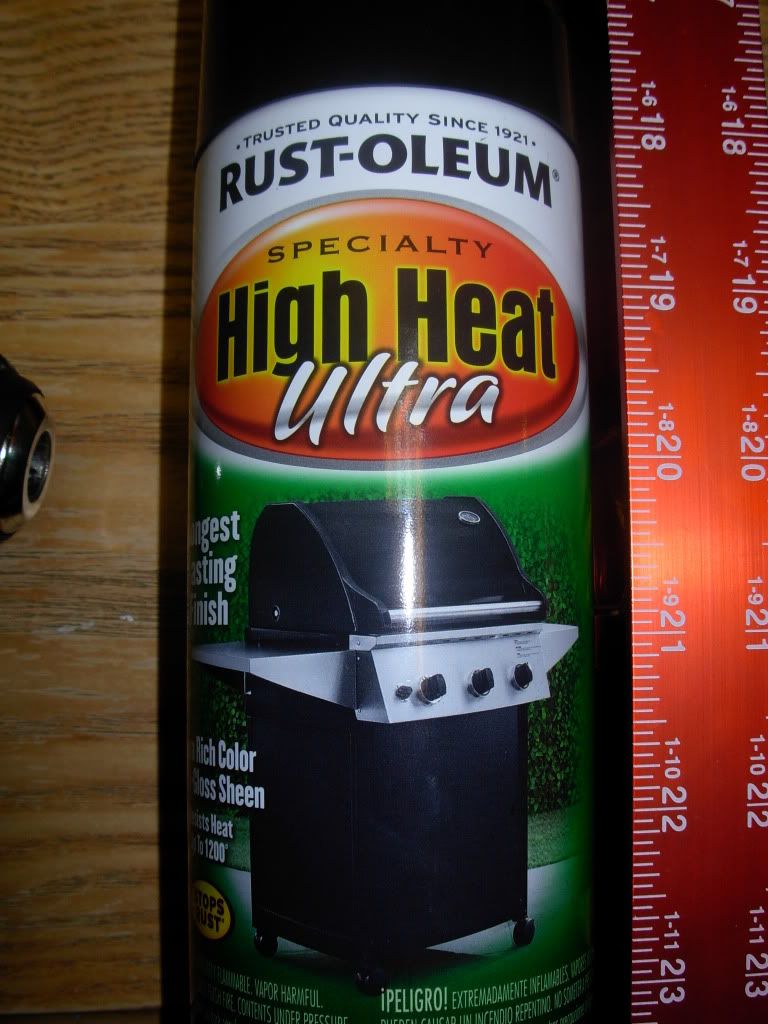 ...I ended up with something that looked like this... 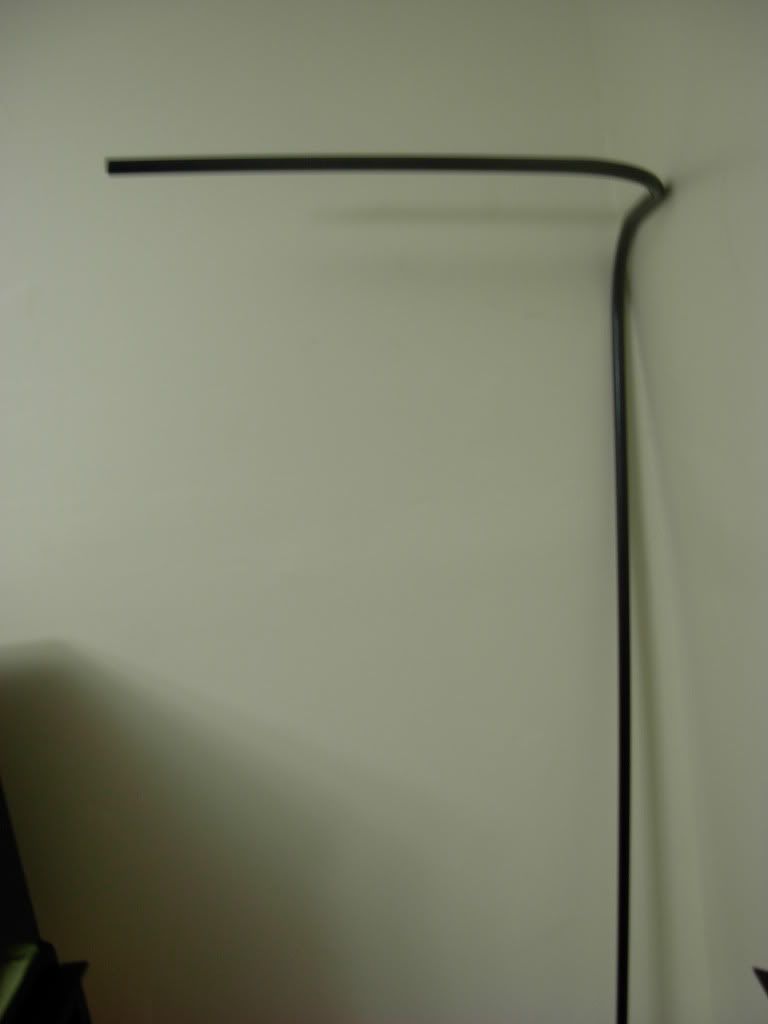 ...and this... 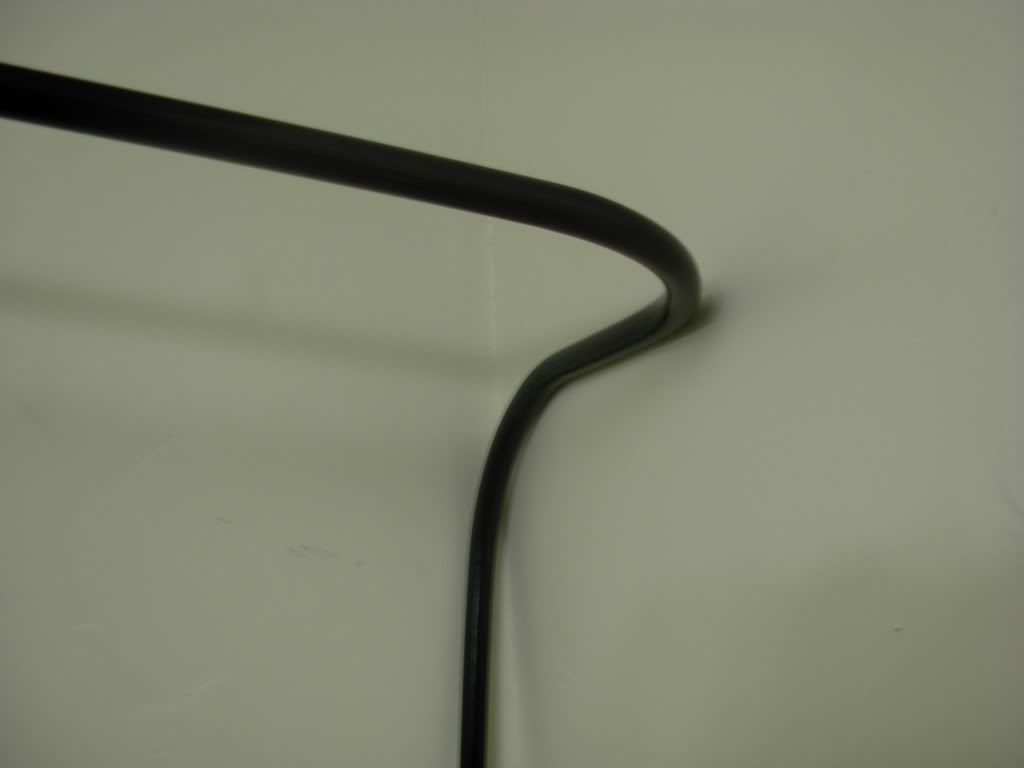 I drilled a hole in the arm that stretches across the top of the tank with this... 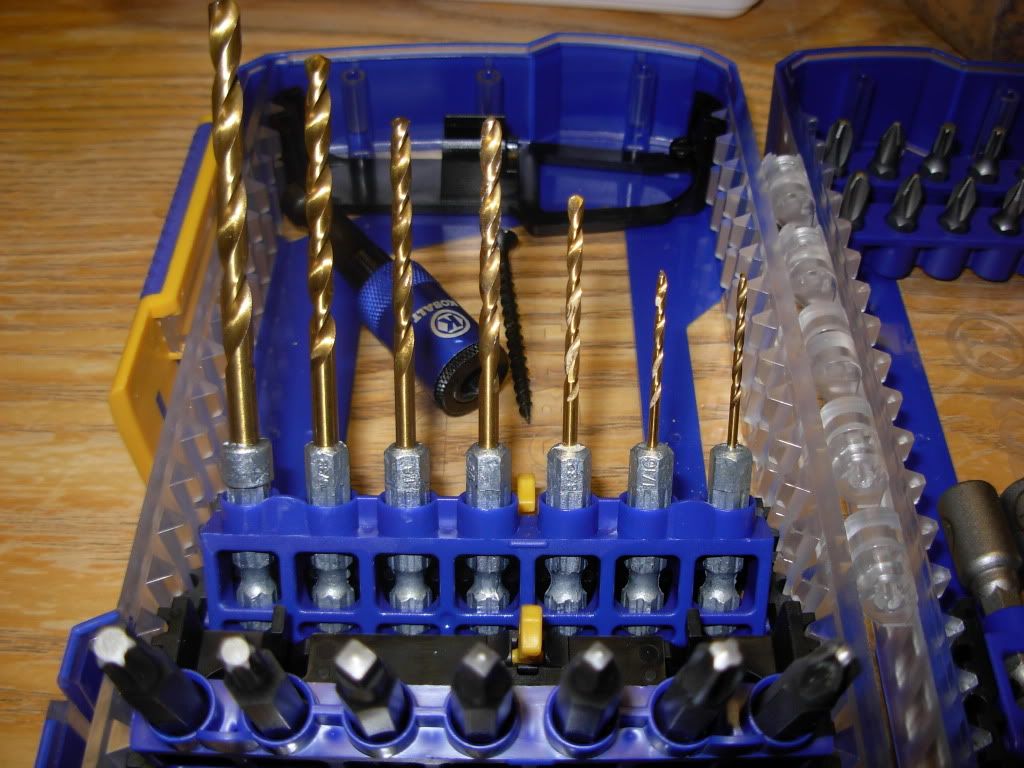 I then used conduit brackets to attach the bent conduit to the back of my stand. It looked like this... 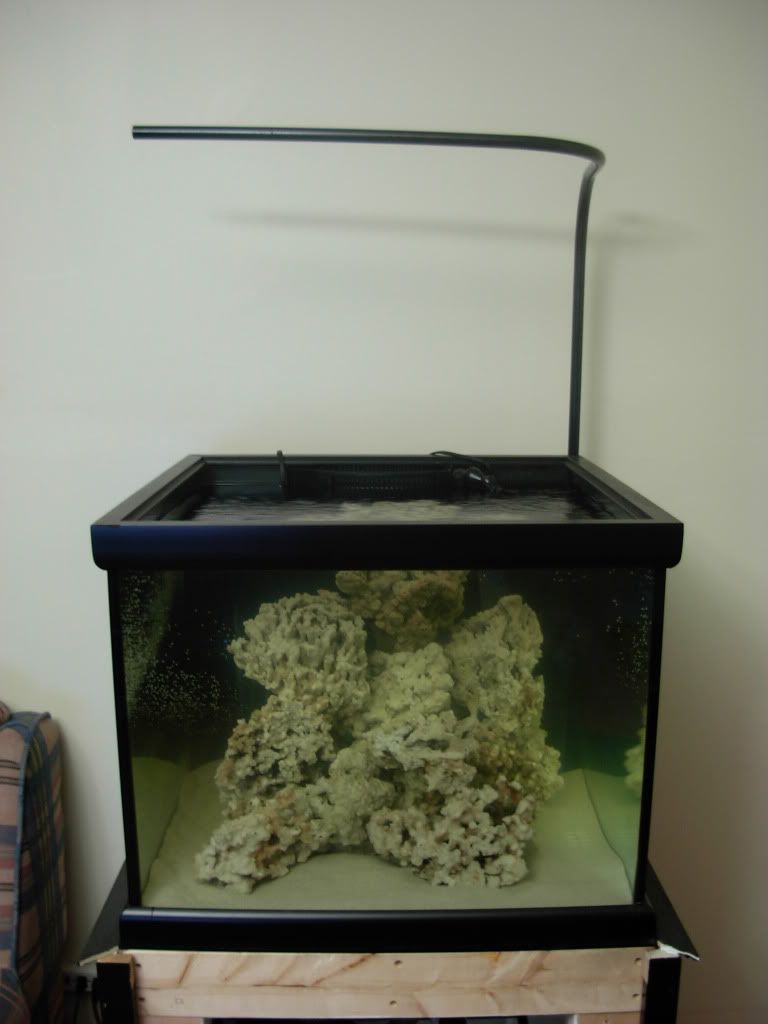
|
|
|
|
|
11/11/2010, 01:22 AM
|
#23 |
|
Registered Member
Join Date: Nov 2004
Location: pa
Posts: 64
|
I debated over attaching the pendant to the conduit by using the wire hanger that came with it or to just screw the pendant to the conduit.
In the end I used the wire hanger. I have some wire showing on the conduit along with the power cord from the pendant. I have seen others do this in such a way that you couldn't see anything hanging from the light stand, but I actually like the way mine looks. I tried to twist and wrap the wires in such a way that it would look good. Let me know what you think... 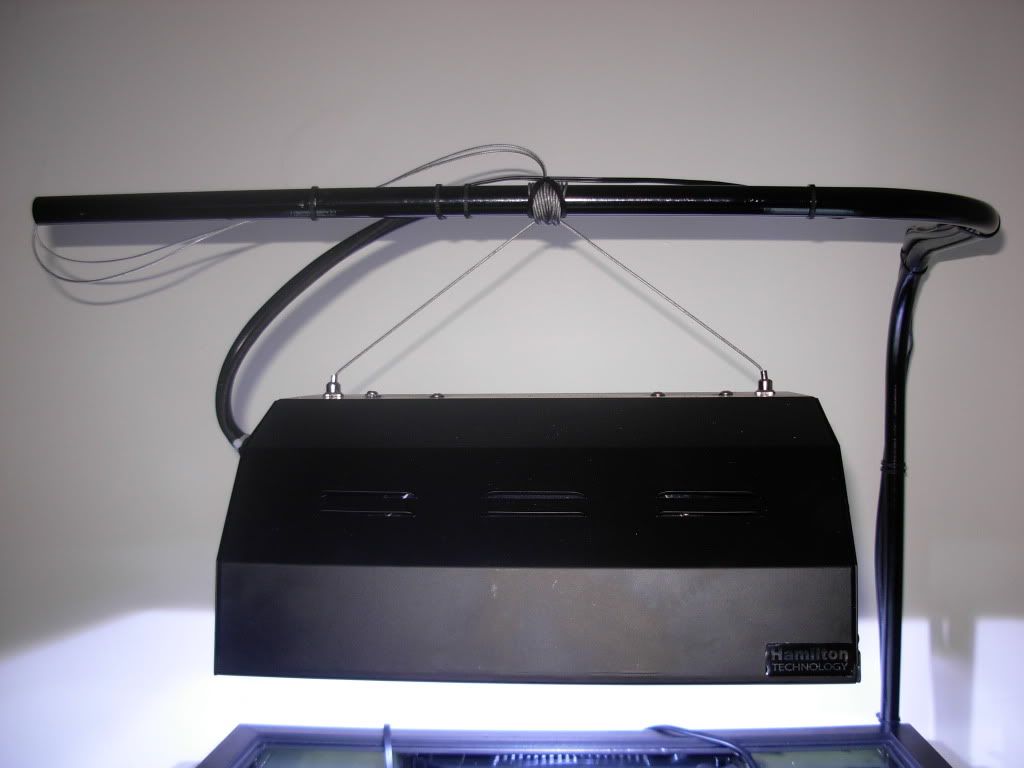 Here is the tank with room lighting... 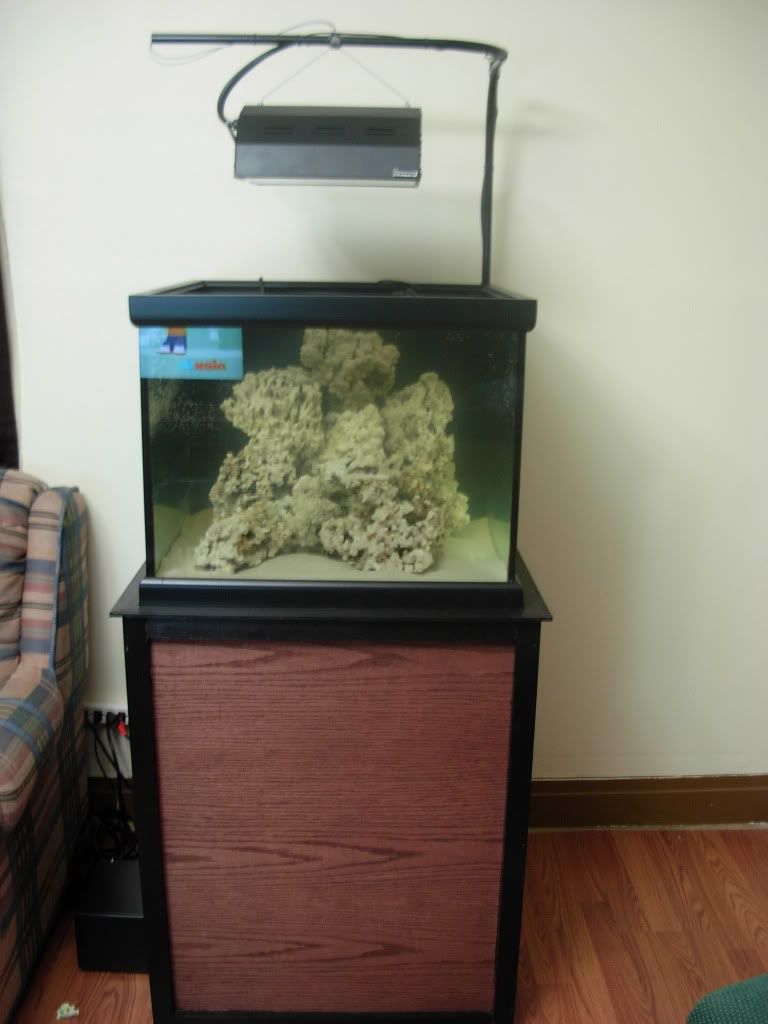 Here are some shots with the pendant... 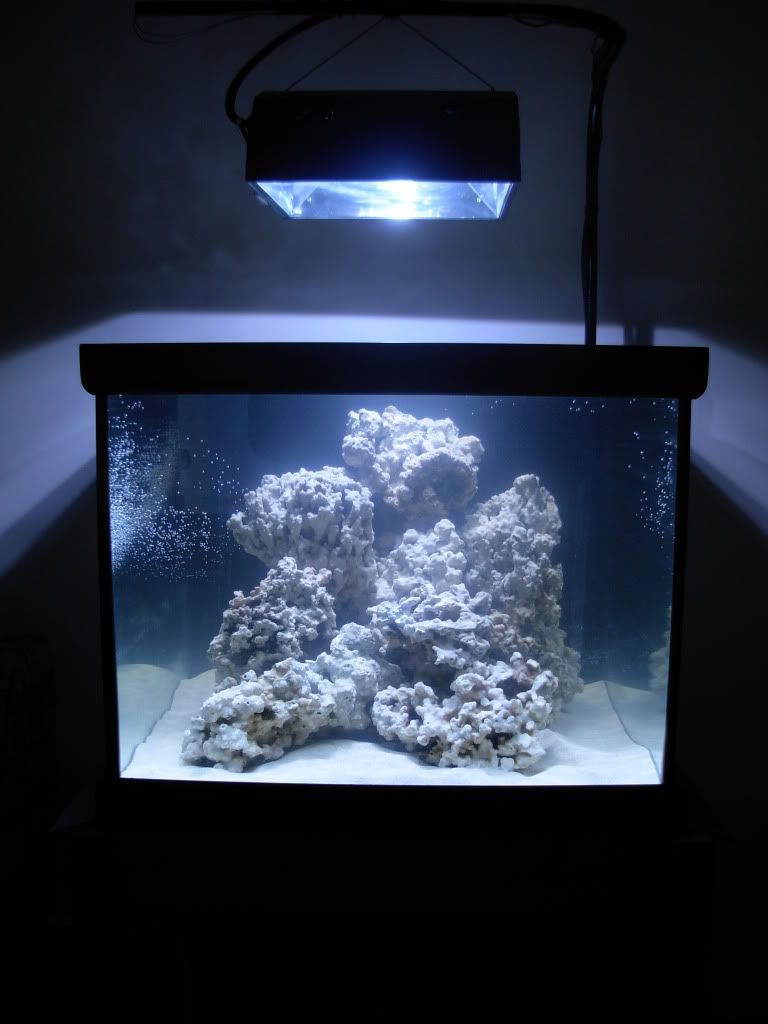 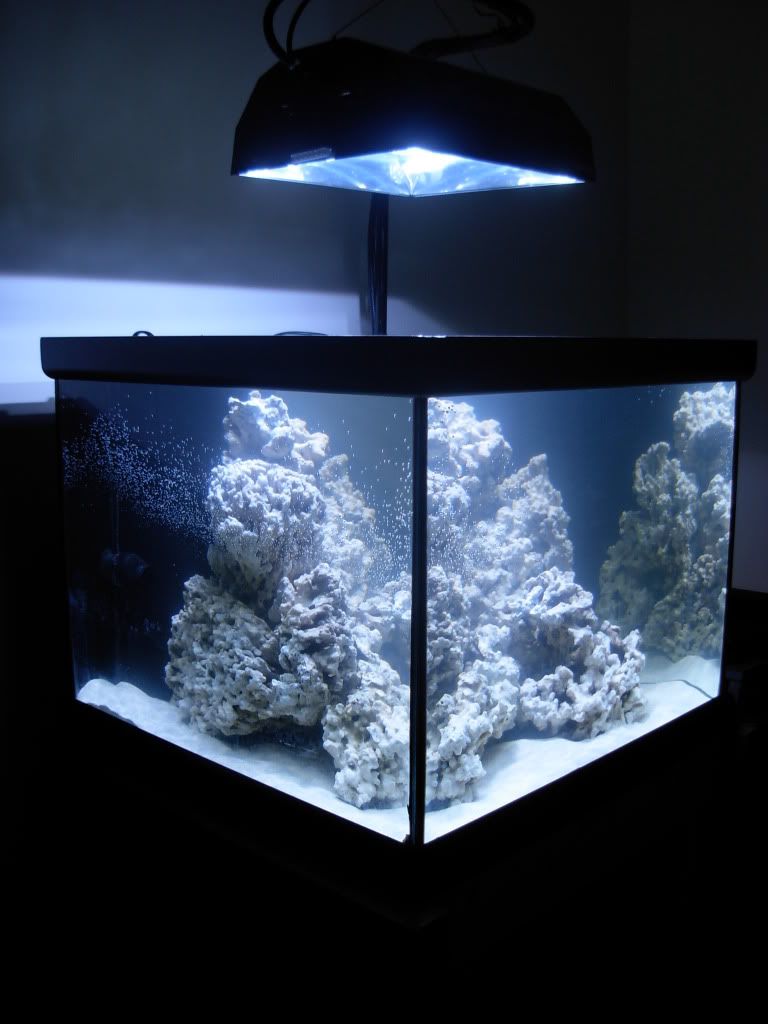  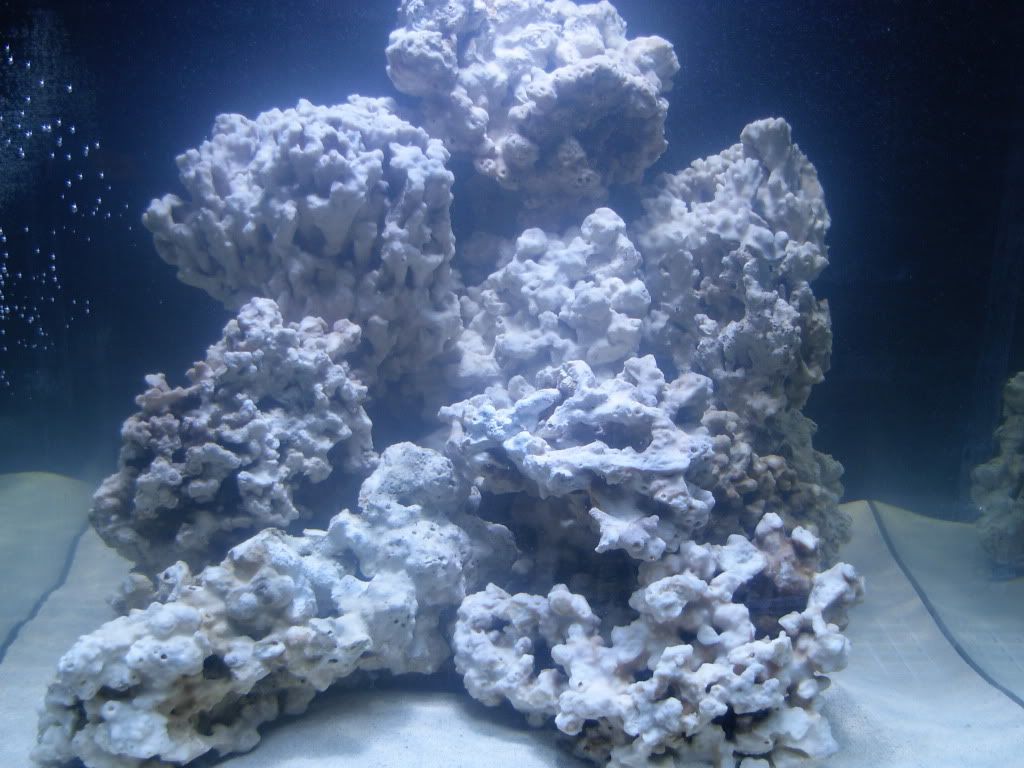 added bonus! lol!pic of the overflow... 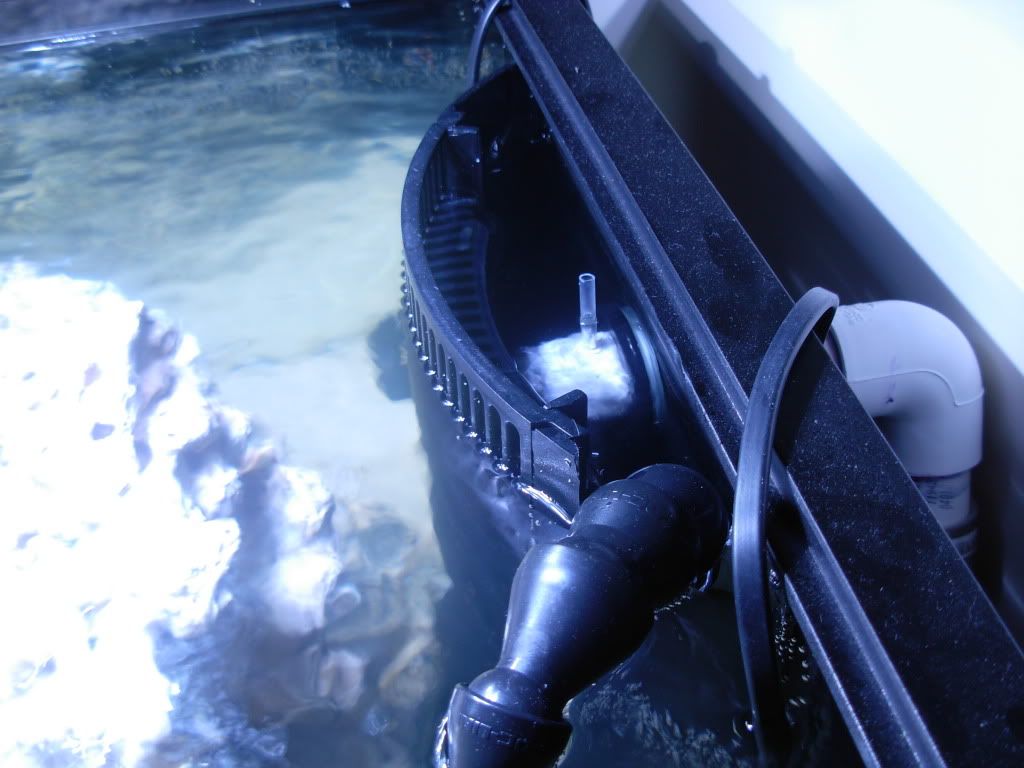 and the moonlight... 
|
|
|
|
|
11/11/2010, 05:29 PM
|
#24 |
|
Registered Member
Join Date: Nov 2004
Location: pa
Posts: 64
|
So I know that initially I said I wanted a minimalist aquascape, however things haven't exactly turned out that way.
The tank is pretty small so I wanted to use a decent amount of rock, and I do kinda like how it looks now. Tomorrow I will be going to get some live rock to seed the dry that is in the tank. I really don't want to add too much more rock or redo my scape, so do you think that I could get away with adding just a few pounds of reef rubble? ...or should I get one or two larger rocks and replace one or two of the dry rocks I have in the tank? Also what do you guys do about lighting the tank while it cycles? Do you light it? For how many hours? |
|
|
|
|
11/12/2010, 03:36 PM
|
#25 |
|
Registered Member
Join Date: Nov 2004
Location: pa
Posts: 64
|
Well the live rock pickup is postponed until Sunday.
So, I got to work on the mesh top for the tank. (I just received a package from BRS which included the CLEAR mesh) I used some aluminum window screen frame, a small saw, spline, window screen corners, and the handle of a spoon (all from Lowes except the spoon from my kitchen) to put this together. 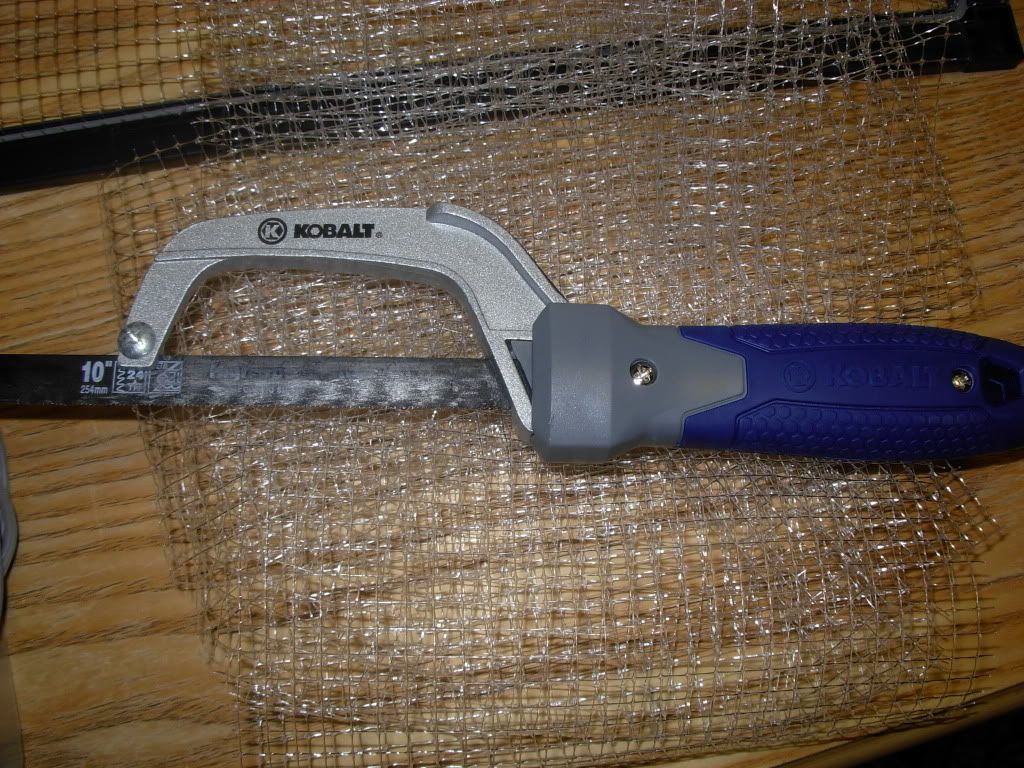 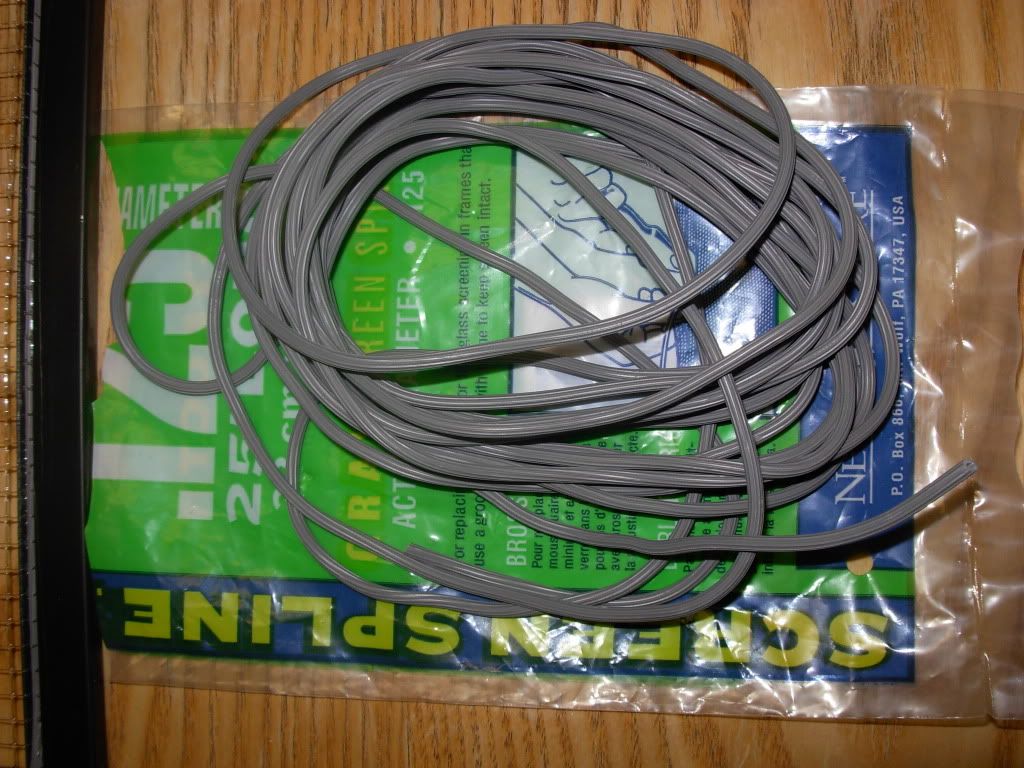 The package of (4) corners said to allow for 1 1/2" when measuring the inside lip of the tank. My tank measured 22" so I cut the frame into (4) 20 1/2" pieces. I stuck the pieces into the ends on the corners to make a square. I cut a piece of the clear mesh so that about and inch overlapped all sides of the square frame. ...then i pushed the spline into the groove on the frame, trapping the mesh underneath and used the handle end of a spoon to seat the spline all the way. I then trimmed the overhanging mesh with a razor blade and this is the result... 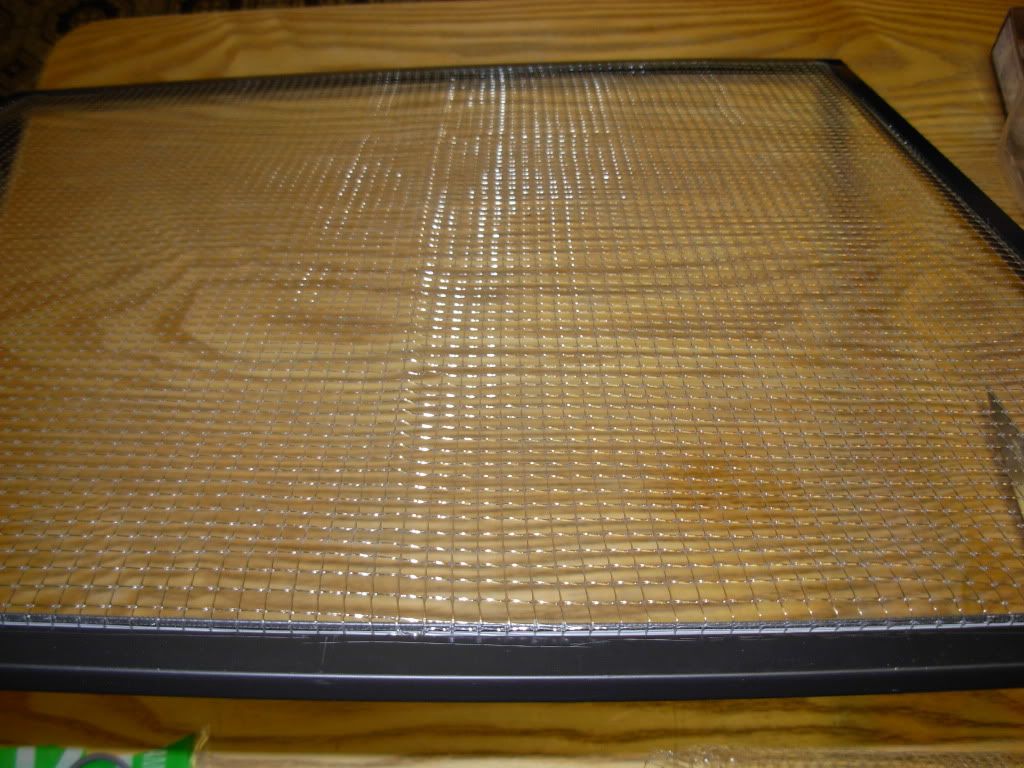 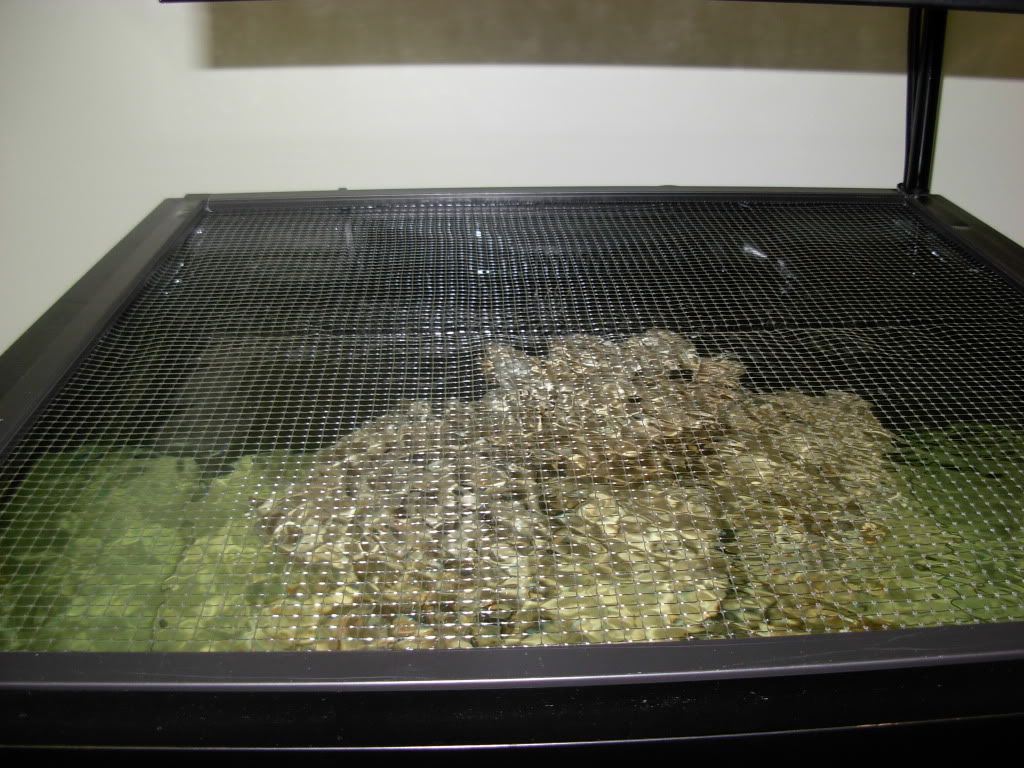
|
|
|
|
 |
| Thread Tools | |
|
|
 Similar Threads
|
||||
| Thread | Thread Starter | Forum | Replies | Last Post |
| jcusmarine's 45 Gallon LED Cube Diary... | jcusmarine | Reef Discussion | 39 | 03/20/2011 02:04 PM |
| 45 gallon cube and equip for sale | offshoreguy | Greater Connecticut Area Regional Forum | 0 | 05/13/2006 09:10 AM |
| 45 gallon cube complete and other misc equip | offshoreguy | Greater Connecticut Area Regional Forum | 0 | 05/13/2006 09:02 AM |
| FS or Trade: 45 Gallon Cube with stand and top | Osteomata | Florida Marine Aquarium Society (FMAS) - Miami/Ft. Lauderdale | 11 | 03/07/2006 05:01 AM |


