


|
 |
|
|
#26 |
|
Registered Member
Join Date: Nov 2013
Location: Memphis, TN
Posts: 116
|
An update. 'Mr. Cabinet Guy' is my bottleneck on making meaningful progress. Still no quote. Can't paint until the cabinet is rebuilt, and can't reef until the room is repainted.
 Not letting him slow me down too much though. A lot has been done! 1) Replaced all outlets above and below the tank with GFCI outlets. 2) finalized plumbing design, dry-fit to ensure measurements were correct and then cemented where possible. 3) Custom fit egg crate to the bottom of the tank: 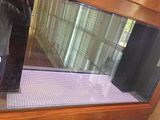 4) Painted my return plumbing above the tank black 5) Designed my water mixing station in the laundry room: 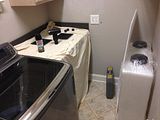 Still waiting on delivery of the RO/DI system from Bulk Reef Supply. But am excited on how it should turn out. Going to run it off my washing machine's cold water line, and run the waste water down its drain as well. Picked up those two water storage containers from Tank Depot. Decent size, but still low profile. Also installed GFCI in this room too. Since I'm stuck on my DT, next steps will be to setup my Quarantine Tank in the Laundry room. Don't have a tremendous amount of room here though. Question time (who's excited??):  Leaning toward a 10-15 gallon QT, and will place it on the counter in the laundry room. Any reasons I should rethink its size and/or location? Leaning toward a 10-15 gallon QT, and will place it on the counter in the laundry room. Any reasons I should rethink its size and/or location?
|
|
|

|
|
|
#27 |
|
Registered Member
Join Date: Nov 2013
Location: Memphis, TN
Posts: 116
|
Sharing some progress over the last couple weeks.
Had to bail on my old cabinet guy, found new cabinet guy, and new cabinet guy will begin work tomorrow. After MUCH back and forth including input from the Ms., settled on building out the bottom with two large doors. Therefore progress since last post has been on Quarantine Tank, RO/DI, and salt water mixing setup. All installed in the laundry room:  Really like the two 20 gallon flat bottom utility tanks, however one started leaking out of its predrilled 1/2" NPT thread at the bottom once it was full of water. Added Teflon tape & silicone once already...which only slowed the leak, second try is drying now. Fingers crossed. RO/DI unit to these two tanks is from bulk reef supply and is pretty awesome. I've already ordered upgrades to include 150 gallons per day and a TDS meter for the intake (like seeing the work being done).  Split the middle and went with a 15 gallon Quarantine Tank. Picked up a complete set on Black Friday from PetCo for ridiculously cheap: tank, hood, LED lights, heater, & Hang-On-the-Back (HOB) filter included. Added an air pump, a 4" air stone, and a Maxi-Jet 400 for circulation. Two PVC unions and one artificial plant later, and the tank is ready to start cycling tomorrow (mixed salt in the tank today). All together I just touched $150. Fun stuff. I'm excited about next steps.  
|
|
|

|
|
|
#28 |
|
Registered Member
Join Date: Apr 2008
Location: Indianapolis
Posts: 2,447
|
looking good. Only note of caution... I would dedicate the cabinet above the QT for fish stuff... looks like this room is also the laundry room? and having detergent, fabric softener, etc accidentally dropped in the QT would not be good...
__________________
120g DT 100lbs LR / 200 lbs LS, 45g fuge, VectraM1 Return, Herbie drain, 4x RW-8, 2x AI Hydra 26 w AWM, ASM G2, Apex controller, Apex BoB w floats ATO |
|
|

|
|
|
#29 |
|
Registered Member
Join Date: Aug 2011
Posts: 147
|
where did you purchase those water tanks? looking for something similiar
|
|
|

|
|
|
#30 | |
|
Registered Member
Join Date: Nov 2013
Location: Memphis, TN
Posts: 116
|
Quote:
@gordonheimer picked up the tanks from TankDepot.com Believe the official category/name is 'Flat Bottom Utility Tank' 20 gallon. Like the shape & concept, however having trouble with the design as the NPT thread is leaking at the bottom. |
|
|
|

|
|
|
#31 |
|
Registered Member
Join Date: Nov 2013
Location: Memphis, TN
Posts: 116
|
Slow progress is good progress...or so I've been told when it comes to this hobby. Only minor updates. Comments/suggestions welcome:
Finished my overflow covers. To do so I cut eggcrate to size (a lid and three 'legs'), spray painted them black with Krylon Fusion, and zip tied the eggcrate lid onto the 'legs'. The plan would be to then just set this table structure on top of the two overflow boxes. However needed something to keep this 'table' in place. So used Gutter Guard to create a holder within each overflow box: 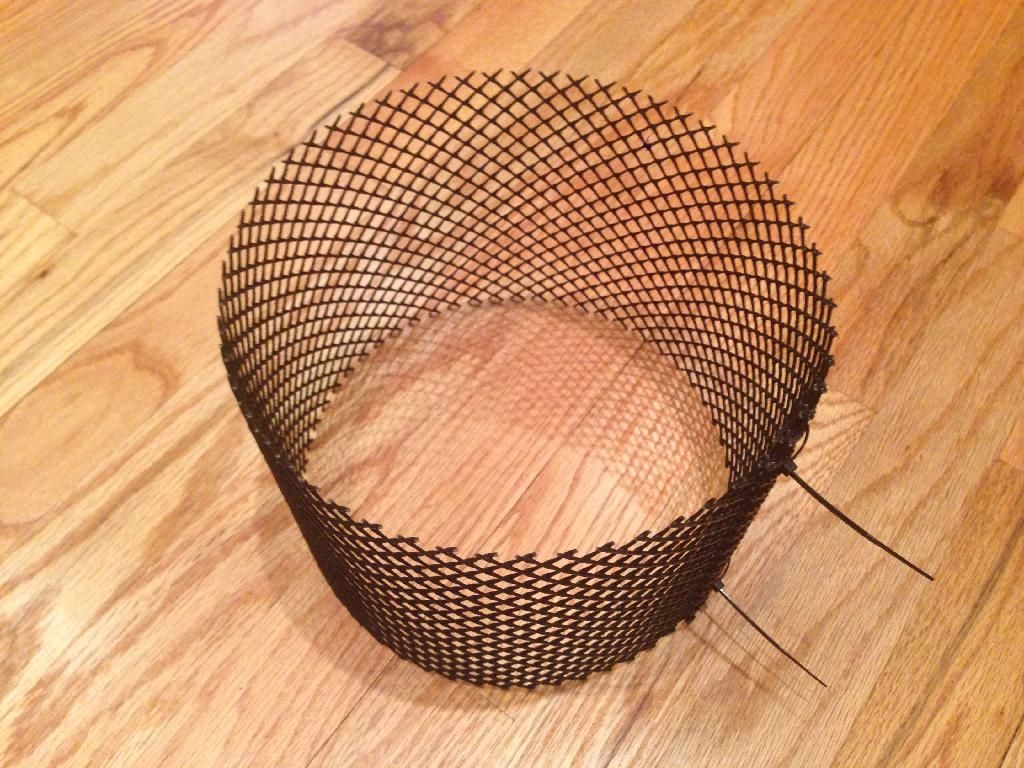 Cut the Gutter Guard to length, and then zip tied into a circle. Shoved the circled Gutter Guard into each square overflow box and let the natural pressure of the circled Gutter Guard pushing against the square overflow box hold it in place. 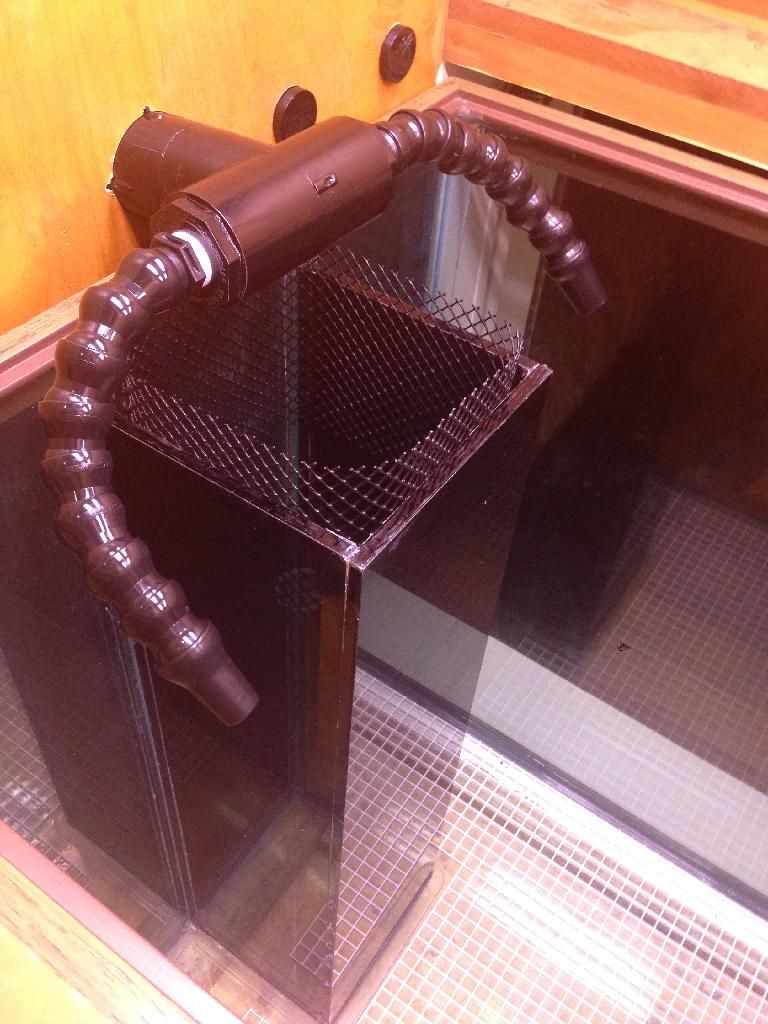 I then set my eggcrate 'table' ontop of this to hold it in place:  Like I said...slow progress. On the other side of things. My Quarantine Tank is starting its cycle: 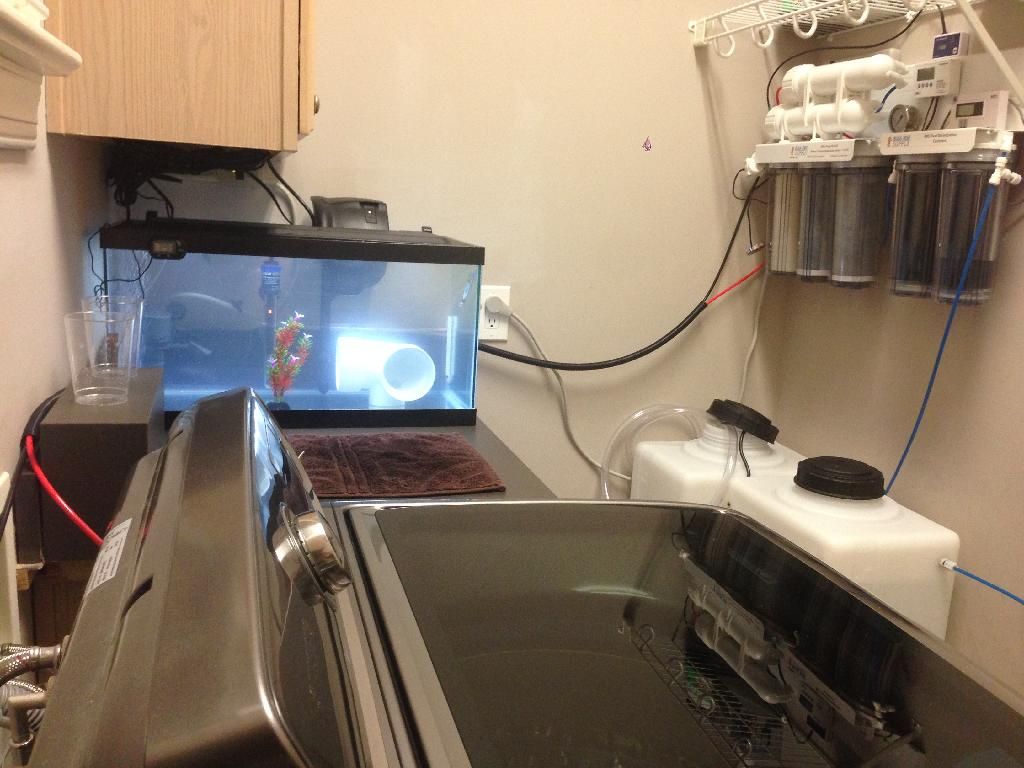 I'm going to tell myself the cloudiness is the bio load spooling up. Tank has been running for about a week now:  Keep on keeping on. |
|
|

|
|
|
#32 |
|
Registered Member
Join Date: Apr 2008
Location: Indianapolis
Posts: 2,447
|
WOW nice RODI setup... no problem with water production out of that.

__________________
120g DT 100lbs LR / 200 lbs LS, 45g fuge, VectraM1 Return, Herbie drain, 4x RW-8, 2x AI Hydra 26 w AWM, ASM G2, Apex controller, Apex BoB w floats ATO |
|
|

|
|
|
#33 |
|
My Clown Attacks Me
Join Date: Jul 2012
Location: Akron, OH
Posts: 2,105
|
I would re-evaluate the eggcrate on the overflow. What if a fish jumps on top of that? Then you end up with a dead dried up fish.
__________________
100 Gallon Long with 20L sump 10 Gallon Office Tank Current Tank Info: 2 False Percula Clowns, One Spot Foxface, Diamond Watchman Goby, Yellow Tail Damsel, Engineer Goby |
|
|

|
|
|
#34 | |
|
Registered Member
Join Date: Nov 2013
Location: Memphis, TN
Posts: 116
|
Quote:
 @Cymonous: Good point. Other suggestions on how I can keep fish/inverts out of my overflow boxes and drains? From everything I was able to find, eggcrate was the most common choice. If I have to choose, I'll pick a dead fish over a flooded house. However, if I don't have to choose, even better!  Question time! (I'm pretty sure I've read every thread on this, and they all say different things, so why not add another one??): Curing dry rock in the tank whilst the tank is cycling...? I'm leaning toward Pukani Dry Rock and adding a few shelves. In a perfect world, I would take my time setting-up my aquascape in the tank dry, and then let the tank/rocks cycle/cure. - Add sand at the beginning or wait until it's cured? - Smell has been a problem for some and not for others? - Leaching of phosphates seems to be a problem for some and not for others? Is curing outside the tank a must do?  It would seem like for a new tank the: acid baths, treating with Lanthanum Chloride, and curing in a separate container would not be required? It would seem like for a new tank the: acid baths, treating with Lanthanum Chloride, and curing in a separate container would not be required?
|
|
|
|

|
|
|
#35 |
|
Registered Member
Join Date: Jun 2013
Posts: 72
|
With regard to the eggcrate + overflow = crispy wrasse....
What about using exactly what you have, except without the roof. Extend the side walls of the "house" up, taller than any fish could jump. 3 vertical pieces of eggcrate, zip tied together. BINGO! 
|
|
|

|
|
|
#36 |
|
Registered Member
Join Date: Nov 2013
Location: Memphis, TN
Posts: 116
|
I see, I see. How about the below using just Gutter Guard?
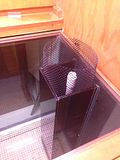 This stands about 5" over the water line. How high are these guys going to jump? Finished plumbing today and am currently leak testing with tap water. Here is my return pump & Wye check valve: 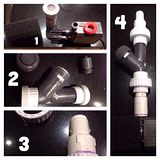 Here is the plumbing as it's going to be: 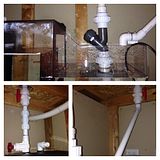 Primary drain is the straight shot with the gate valve. Emergency drain dumps above the sump to the right (good suggestion on that one). Man, the Herbie Drain is SUPER quiet! I'm running a Mag12. When combined with the plumbing around the Wye check valve, the T & two 3/4" loclines at the end of the return above the tank, and the 6' of head pressure, I'm guessing it's pushing 720 gallons per hour (GPH) through the sump. It sounds like a mere ripple in a stream!  It does take some fine tuning with the gate valve to find the silent syphon, but you know you're dialed in when the water column in the primary weir box holds steady. I closed the gate valve completely to check the emergency drain. It works too, but man it creates a racket! The slurping above the tank combined with the splashing below...you'll know when something is wrong!  No leaks yet either...hope I didn't jinx myself just then. 
|
|
|

|
|
|
#37 |
|
Registered Member
Join Date: Apr 2008
Location: Indianapolis
Posts: 2,447
|
Only suggestion is to ditch the check-valve and setup your return outlets at the top of the tank to limit the backflow (or drill siphon break holes). Looks like you are already setup that way so dont know why you need the check-valve.
__________________
120g DT 100lbs LR / 200 lbs LS, 45g fuge, VectraM1 Return, Herbie drain, 4x RW-8, 2x AI Hydra 26 w AWM, ASM G2, Apex controller, Apex BoB w floats ATO |
|
|

|
|
|
#38 |
|
Registered Member
Join Date: Nov 2013
Location: Memphis, TN
Posts: 116
|
I suppose the check-valve is a belt & suspenders setup as long as I keep my returns just below the waterline. Other than the incremental flow resistance, is there another reason I should remove the check valve?
The lower cabinet has been widened out and now just waiting on the doors to come in. One interesting thing I noticed is the gate valve on the primary overflow has to be almost 3/4 of the way closed for the Herbie to kick in with the silent overflow. This is a 1" pipe pushing about 750 GPH.  Another interesting observation. The primary overflow drain pipe within the Aqueon Proflex Model 4 sump was bent after the couple days of leak testing. The best guess I have is the pressure of the downward flow against the enclosed housing created enough back pressure to push up against the housing. The pipe pushed over until it hit the wall the the enclosure: 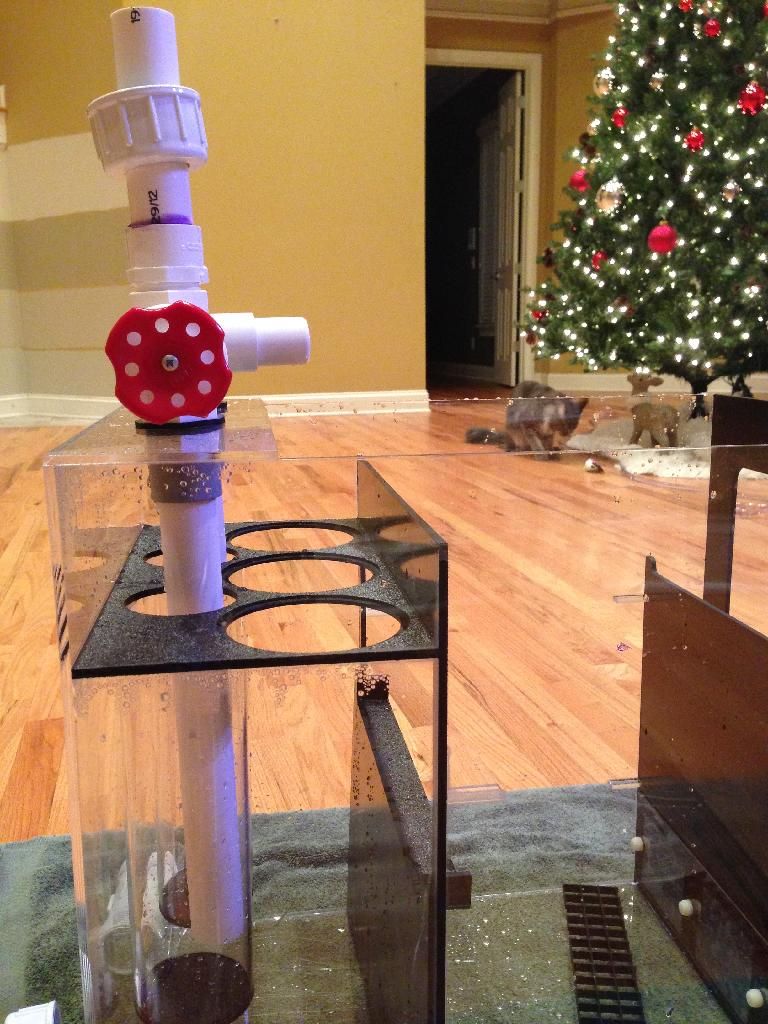 Keep on Reefing On. 
|
|
|

|
|
|
#39 |
|
Registered Member
Join Date: Apr 2008
Location: Indianapolis
Posts: 2,447
|
On the check-valve if you have the returns at the top (incase the check valve fails) and your sump can handle the backflow (incase the check valve fails).. dont see the need for a check valve.. just me (after running a check valve for several years).
On the Herbie primary drain valve... I run a Mag 9.5 so with head and other losses I prob push 650gph, my valve is closed about 15%
__________________
120g DT 100lbs LR / 200 lbs LS, 45g fuge, VectraM1 Return, Herbie drain, 4x RW-8, 2x AI Hydra 26 w AWM, ASM G2, Apex controller, Apex BoB w floats ATO |
|
|

|
|
|
#40 |
|
Registered Member
Join Date: Mar 2013
Posts: 436
|
great build, coming along nicely. also the slowest builds are usually the coolest and work the best in the long run so take your time.
|
|
|

|
|
|
#41 |
|
Registered Member
Join Date: Nov 2013
Location: Memphis, TN
Posts: 116
|
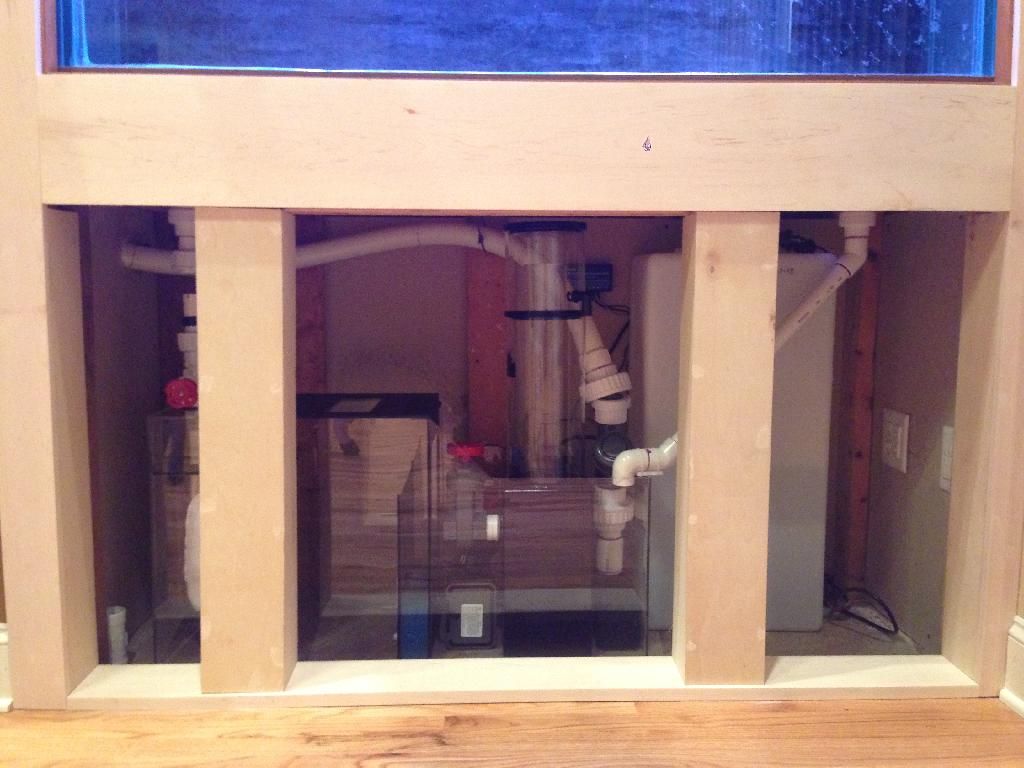
More steady progress. Lower cabinet is widened out, just waiting on the doors to arrive. Protein skimmer and Auto Top Off (ATO) have also arrived.
 Dry rock has also arrived. Everywhere I read said to get ~1 pound per gallon of water. I ordered a mix of Pukani, reef saver, tonga plates and branches totaling ~200 pounds. There is no way 2/3 of this is fitting in the tank! 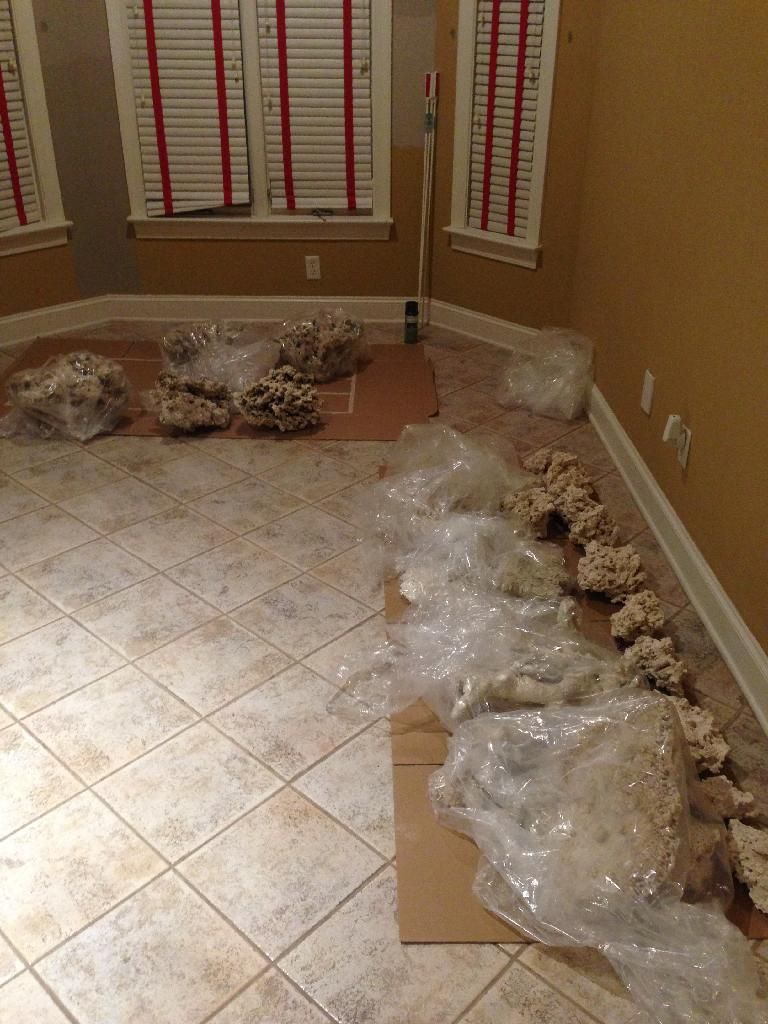 Made a cutout of my aquarium's footprint with some masking tape on cardboard. Will use this to let the aquascape ideas flow!  I guess the next idea is to clean the rocks? |
|
|

|
|
|
#42 |
|
My Clown Attacks Me
Join Date: Jul 2012
Location: Akron, OH
Posts: 2,105
|
Just rinse them very well.
__________________
100 Gallon Long with 20L sump 10 Gallon Office Tank Current Tank Info: 2 False Percula Clowns, One Spot Foxface, Diamond Watchman Goby, Yellow Tail Damsel, Engineer Goby |
|
|

|
|
|
#43 |
|
Registered Member
Join Date: Apr 2012
Posts: 373
|
Agree about check valves I find they restrict flow and are not necessary as long as enough room in sump for back siphon after return pumps is off. Check valves can also fail. Do not count in them to not overflow your sump in power outage. Better off not heaving enough volume in your tank to overflow sump.
You can also add a Apex aquacontroller for added safety and fail safes and shut offs on top of controlling everything in your tank. Easily the best purchase I have every made. Highly recommended |
|
|

|
|
|
#44 |
|
Registered Member
Join Date: Jan 2014
Location: pensacola fl
Posts: 61
|
once you start stacking the rocks get used up quick.. I just love your set up ... some day it will happen in our home.. just to pick out where

|
|
|

|
|
|
#45 |
|
Registered Member
 Join Date: Nov 2011
Location: Santa Rosa, CA
Posts: 2,727
|
Interesting build! I admire your efforts to recycle this tank.
I worry you don't have much access to the sump. I'd rework the case work so there is no supports (stiles). At most, I'd have one in the center. All it takes is properly structuring the top rail of the cabinet. What's room is on the other side of the tank? That might also be an access point. If you haven't already, find and join your local aquarium club. You'd be amazed how much knowledge, experience and skill is hiding there. It's invaluable to have experienced 'eyes on' a project. Another suggestion!  You might want to post this in the 'DIY' thread. It's the RC place to go for unique solutions to retrofits! You might want to post this in the 'DIY' thread. It's the RC place to go for unique solutions to retrofits!
|
|
|

|
|
|
#46 |
|
Registered Member
Join Date: Nov 2013
Location: Memphis, TN
Posts: 116
|
Great feedback everyone. Thanks! Gave me some good ideas to ponder further.
 I finished thoroughly rinsing the rocks last night. I did pull a decent amount of organic matter out of the nooks & crannies of the Pukani rocks, particularly the larger ones. Wow, that was an all day effort. I still think I'll be stunned if my aquascape uses 2/3 of this rock. Definitely going to join the local aquarium club as I imagine I'll be unloading the extra.  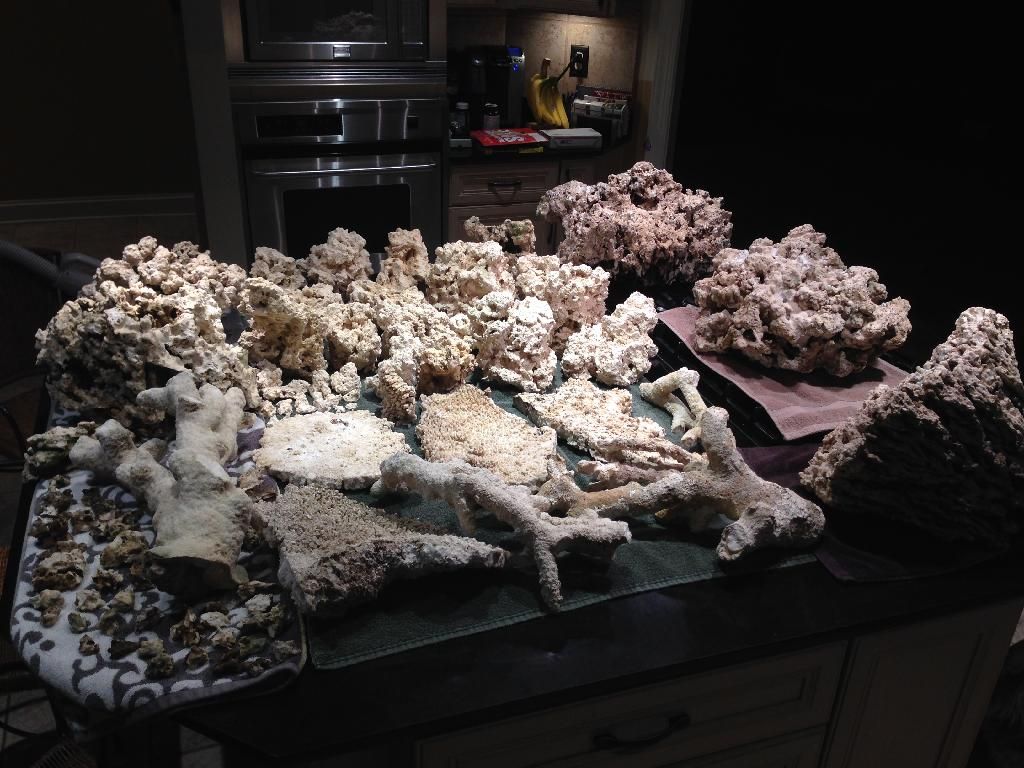 Going to use black pond foam, fiberglass rods, and zip ties to put all this together. |
|
|

|
|
|
#47 |
|
Registered Member
Join Date: Nov 2013
Location: Memphis, TN
Posts: 116
|
Aquascaping: I'm set on doing two large "mountains" with shelves & branches protruding from and around each mountain. Only thing left to decide is how to accomplish this. Here is one setup I like so far (not permanent: all held together with gravity only):
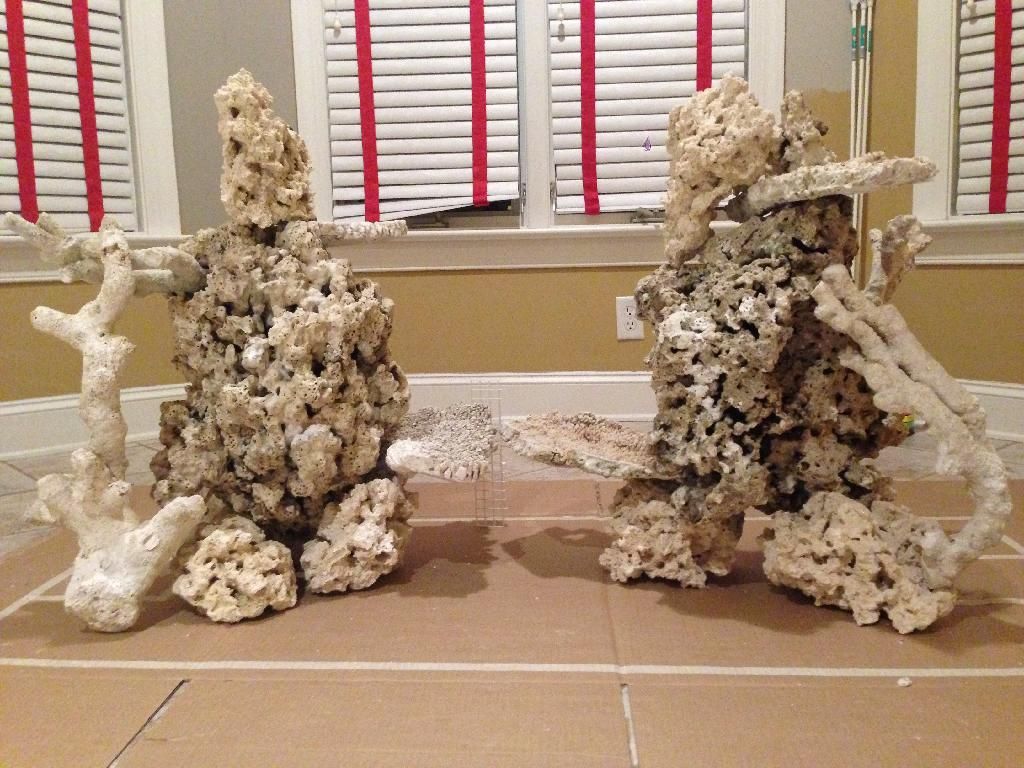 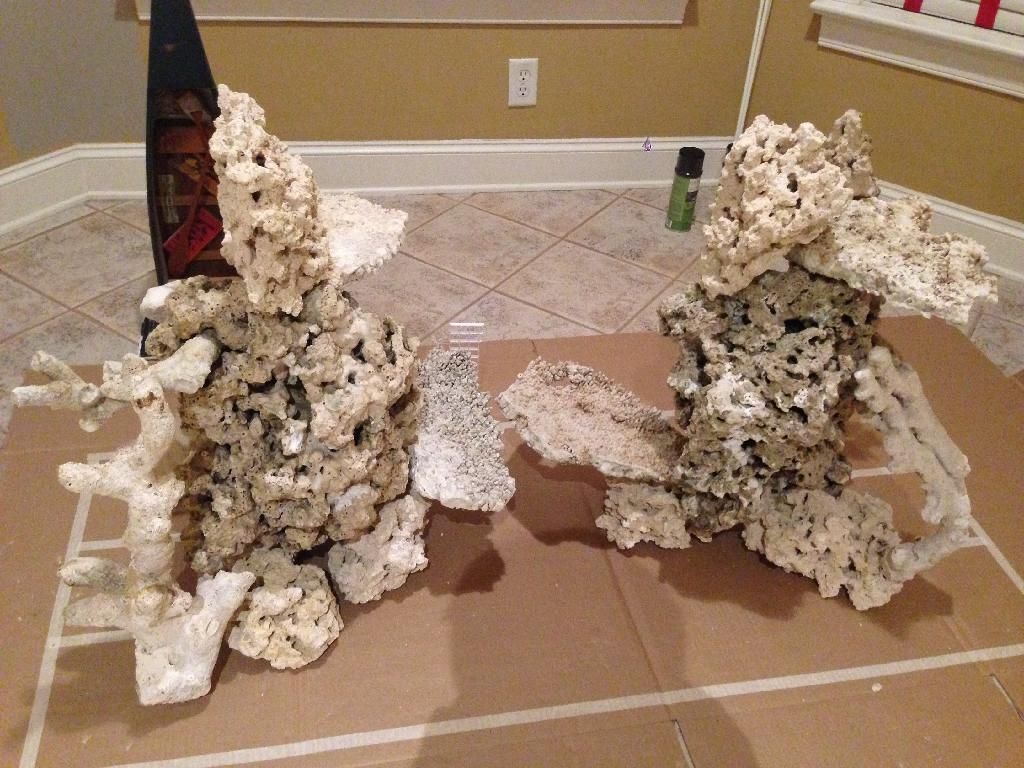 Other side which will also be visible: 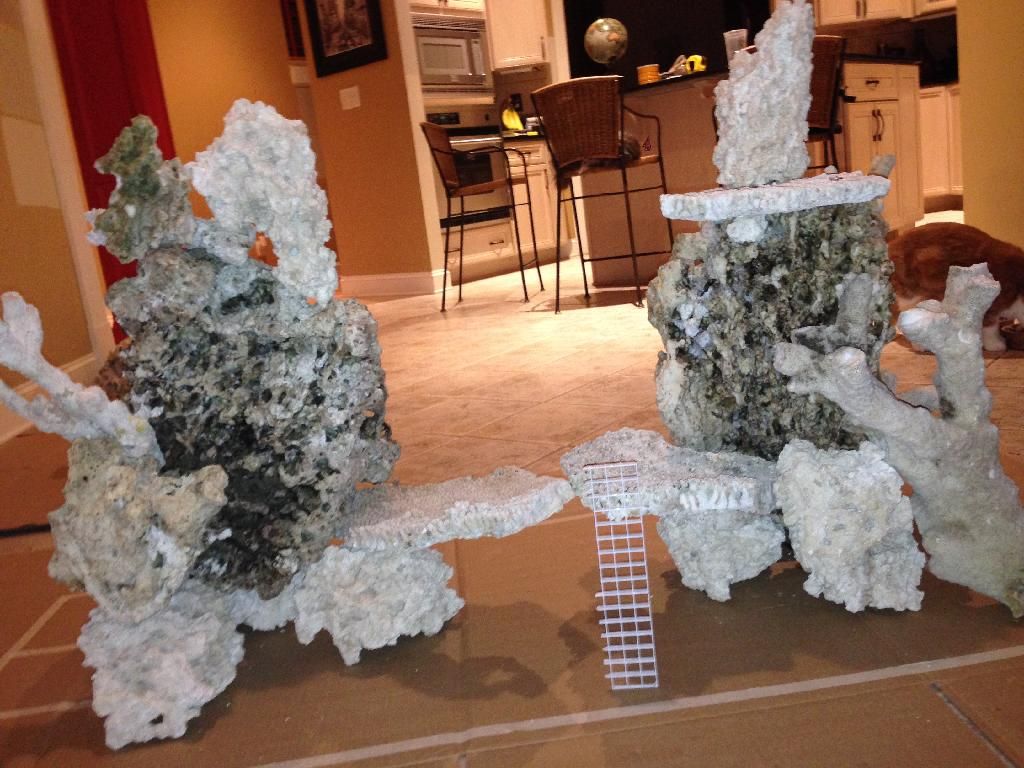 So two questions: 1) from this setup I think I can attach everything with a combination of only gravity & pond foam. Would this be wise?  2) should I permanently attach what I can outside the aquarium first? Or should I glue & use the spray foam inside the aquarium? 
|
|
|

|
|
|
#48 |
|
Registered Member
Join Date: Apr 2008
Location: Indianapolis
Posts: 2,447
|
Looking great. And yeah looks like you ordered a LOT of rock.
I really like the aquascape well done for viewable from both sides. +1 on the comment of sump access... I would see if you can get rid of the support on the left. Having access on the other side would also be a bonus... you can NEVER have too much access. Keep up the good work and pictures!
__________________
120g DT 100lbs LR / 200 lbs LS, 45g fuge, VectraM1 Return, Herbie drain, 4x RW-8, 2x AI Hydra 26 w AWM, ASM G2, Apex controller, Apex BoB w floats ATO |
|
|

|
|
|
#49 |
|
Registered Member
Join Date: Nov 2013
Location: Memphis, TN
Posts: 116
|
Awesome feedback. Thank you, everyone.
 Unfortunately, further improvements to sump access would most likely be hazardous to my health. If I push back painting even one more day, the Ms. would have my head. It's possible I'll regret it later, however the added room thus far makes working in the sump infinitely easier (top is prior, bottom two are today): 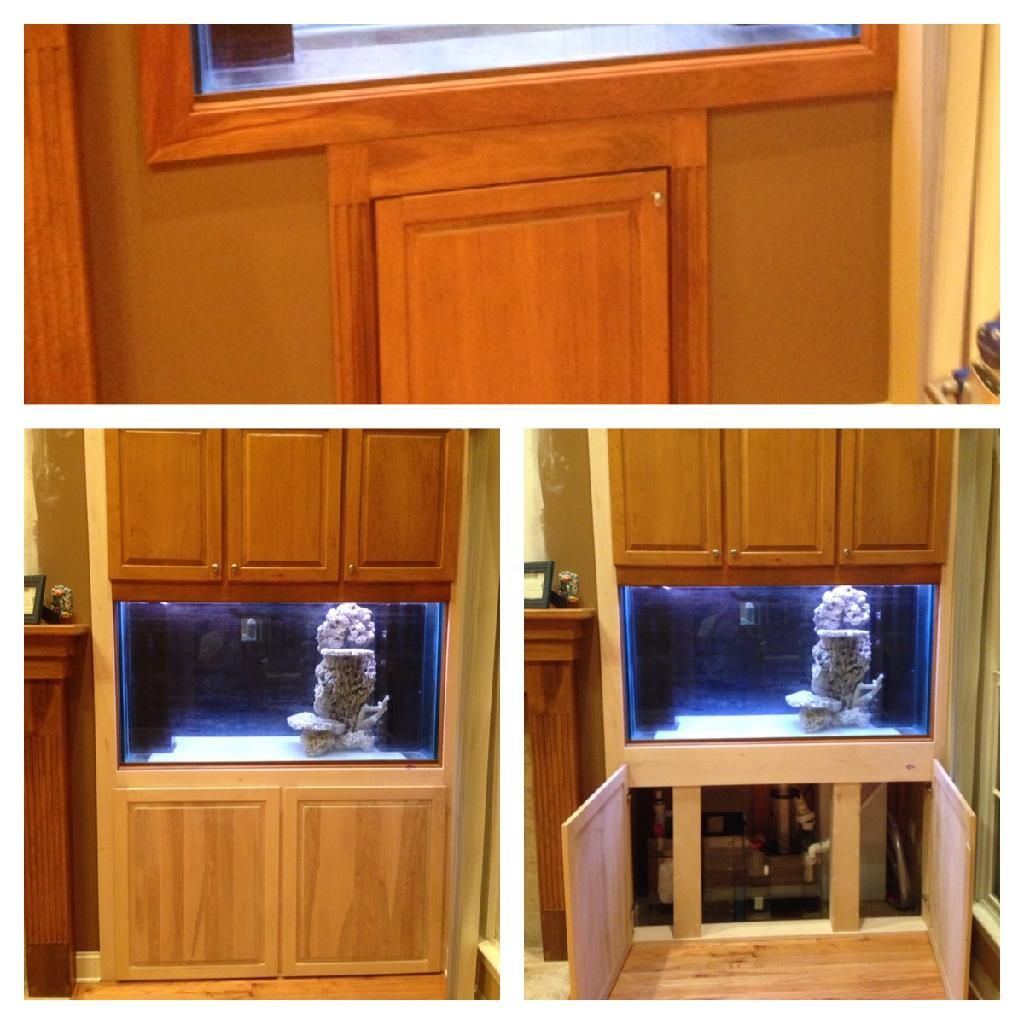 I also was able to answer my own question as it relates to using pond foam inside or outside the aquarium. It will have to be done inside. The rocks are just too heavy to glue together outside and then try and move. First 'island mountain' is built though (not yet foamed/glued), and I think it looks pretty good:  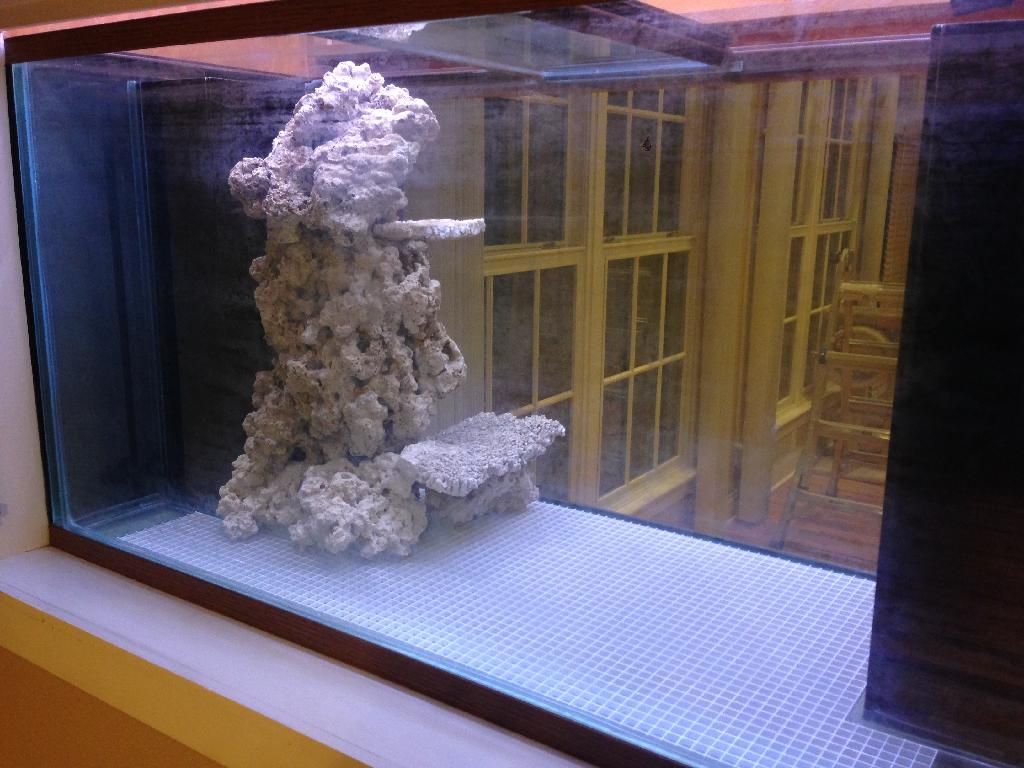 The top of that 'island mountain' looks like it will be about 1/4" above the water line. Should I be worried? |
|
|

|
|
|
#50 |
|
Registered Member
Join Date: Aug 2013
Location: Hilton,N.Y.
Posts: 398
|
might be difficult to screen in the top if you are housing any jumpers
__________________
75 gal.,80#LR,20 gal sump, skimmer,pair of RW-8's Pair of Ocellaris Black & White Clowns, Pair of Kaudern Cardinal,One Spot Foxface, Bi-color Blenny, Tomini Tang,Yellow Watchman Goby, Green Mandarin |
|
|

|
 |
| Tags |
| build thread, building, buildout, in-wall tank, novice |
|
|