


|
 |
|
|
#26 |
|
Clam nut
Join Date: Nov 2005
Location: Tucson, AZ
Posts: 270
|
Looks amazing thus far! That tank dimension is really quite nice and the plumbing is sweet. Subscribed
|
|
|

|
|
|
#27 | ||
|
Registered Member
Join Date: Jul 2015
Location: Chino, CA
Posts: 68
|
Quote:
Quote:
|
||
|
|

|
|
|
#28 |
|
Registered Member
Join Date: Jul 2015
Location: Chino, CA
Posts: 68
|
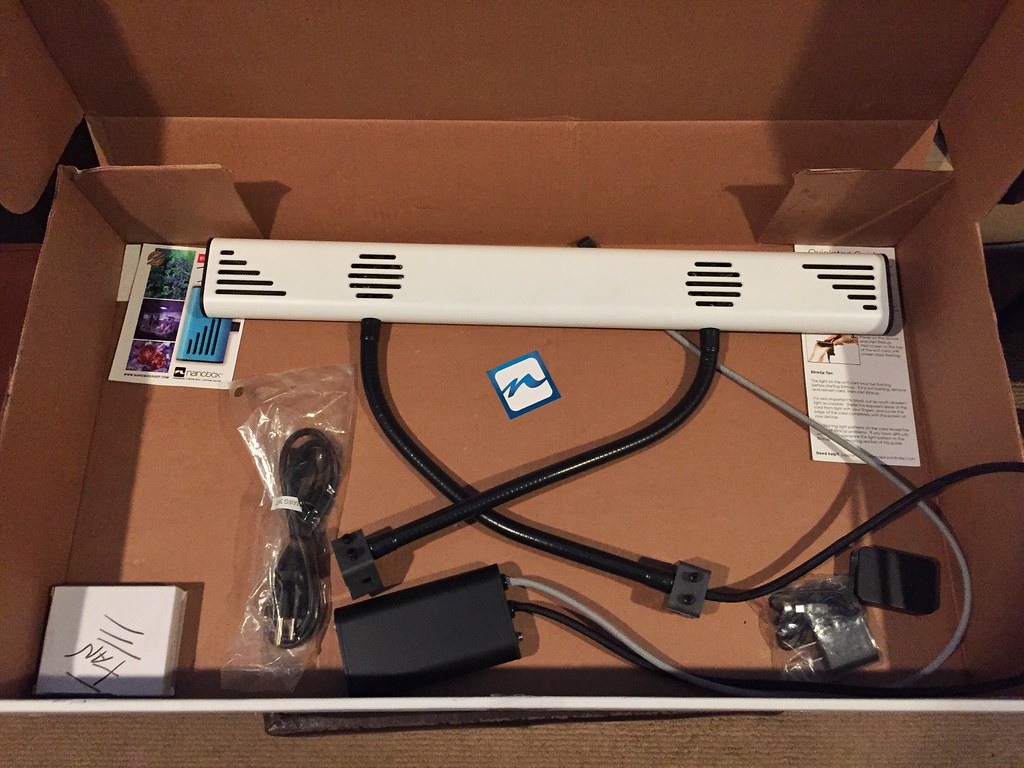
Lighting came in. Quad from Nano Box Reef. Build quality is really nice.
|
|
|

|
|
|
#29 |
|
Registered Member
Join Date: Jul 2015
Location: Chino, CA
Posts: 68
|
Leak tested the tank/plumbing today. Had a slight leaking coming from the main drain bulkhead. After tightening it a bit more everything's good. I can finally get the live rock/sand in and fill this thing with water and get it up and running!
|
|
|

|
|
|
#30 |
|
Registered Member
Join Date: Jul 2015
Location: Chino, CA
Posts: 68
|
Got the live rock and live sand in today. Putting in the sand got kind of messy lol.
Walt Smith 2.1 Reef Rock - 50 lbs Fiji Rock - 10 lbs Caribsea Fiji Pink - 60 lbs 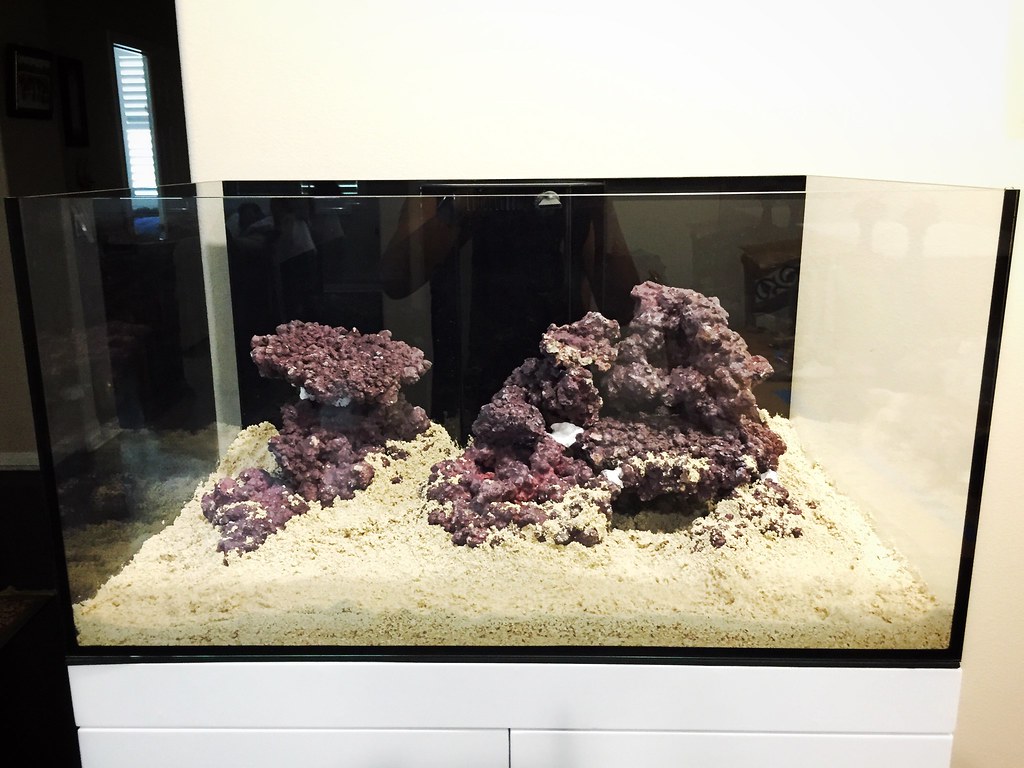
|
|
|

|
|
|
#31 |
|
Registered Member
Join Date: Jul 2015
Location: Chino, CA
Posts: 68
|
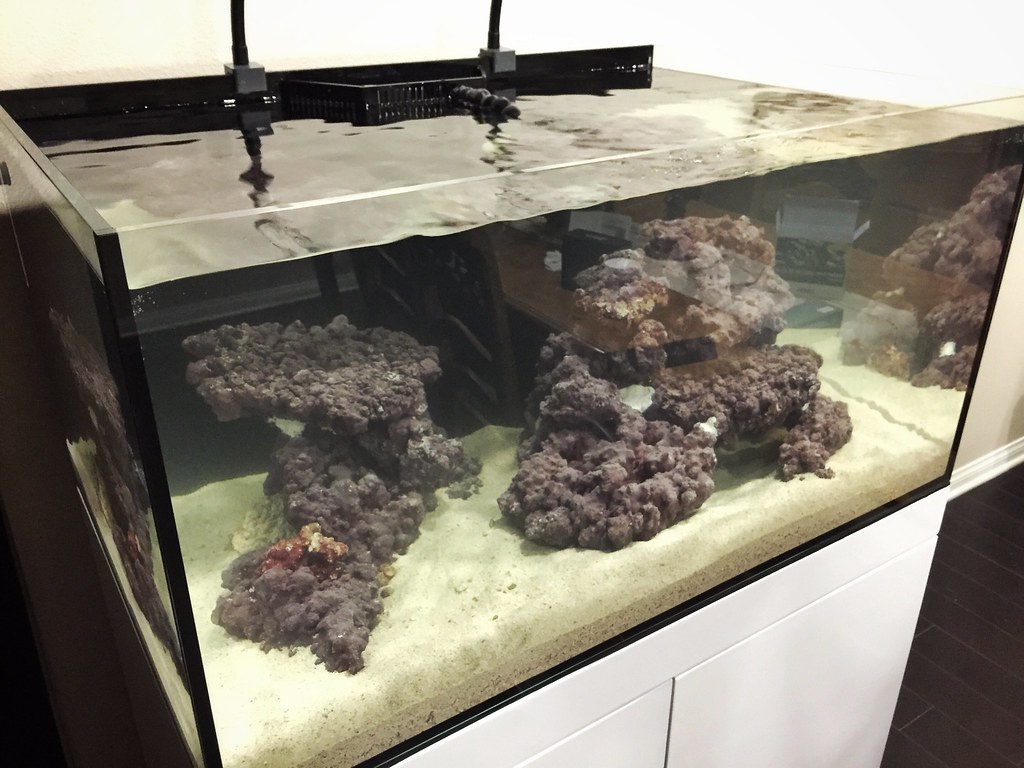
Got her wet today. After 2 trips to my LFS to get saltwater, the tank's finally up and running. The cycle begins - Day 1.
|
|
|

|
|
|
#32 |
|
Registered Member
Join Date: Jun 2013
Location: San Francisco
Posts: 67
|
Looks great! Just ordered the same tank yesterday. You just inspired me to up my plumbing game.
The sump looks very different? Strange.. |
|
|

|
|
|
#33 | |
|
Registered Member
Join Date: Jul 2015
Location: Chino, CA
Posts: 68
|
Quote:
Thanks! despite the issues everyones been posting about cadlights lately, I have been satisfied so far with the quality of their tanks. Yes, for some reason, the sump I received was different then what's advertised. If you have questions about converting the plumbing to standard on you're setup, let me know. |
|
|
|

|
|
|
#34 |
|
Registered Member
Join Date: Jul 2015
Location: Chino, CA
Posts: 68
|
Finally got the Nano Box quad on the tank tonight and tested it out.
Also trying to break in the Vertex Omega skimmer and get it dialed in. I did the vinegar bath and tried to raise it up so its sitting in 6.5" of water which seems like the level everyone's recommending but it still overflowing. I'm going to try leaving it running like this and see if it settles down. This thing is finicky as hell. 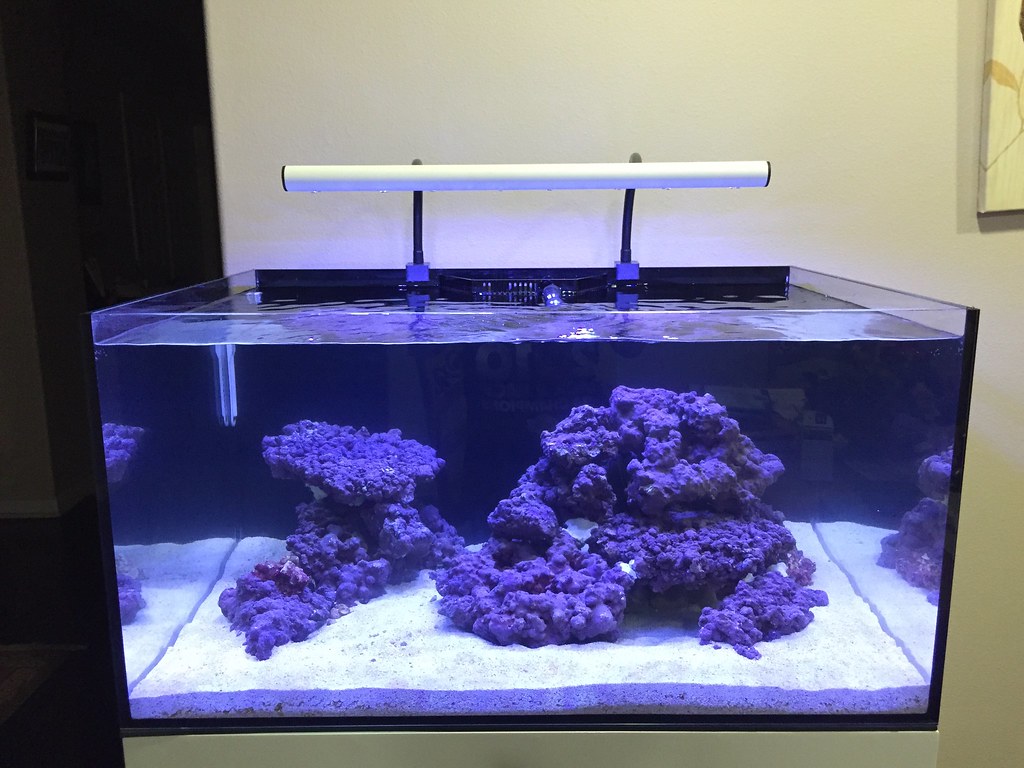
|
|
|

|
|
|
#35 |
|
Registered Member
Join Date: Jun 2010
Posts: 160
|
Mines in about 8 inches of water I really don't know if the 1.5 inches matters but mine pulls out some thick stuff
|
|
|

|
|
|
#36 |
|
Registered Member
Join Date: Jul 2015
Location: Chino, CA
Posts: 68
|
Finally got the skimmer to settle down. I added air valve to restrict the air flow a bit and it's stopped overflowing. I also set the skimmer back down to 7".
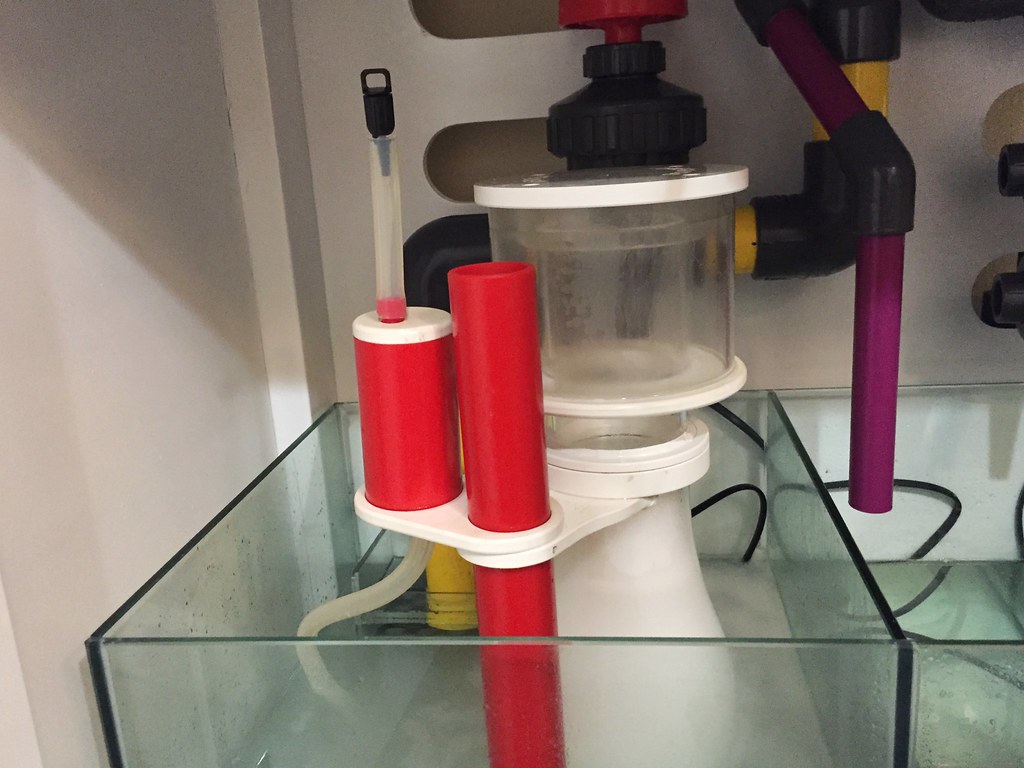 Also worked on the plumbing for my ATO unit. 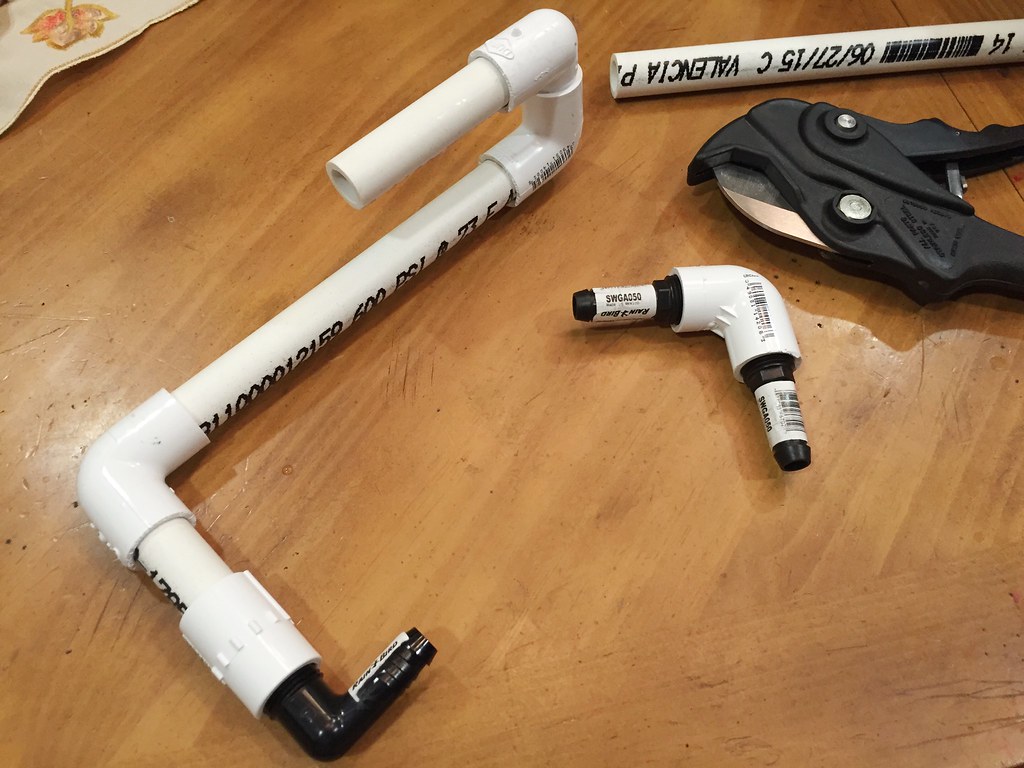
|
|
|

|
|
|
#37 |
|
Registered Member
Join Date: Apr 2015
Location: Sacramento, CA
Posts: 132
|
Doesn't the cadlight come with a dc return pump?
|
|
|

|
|
|
#38 |
|
Registered Member
Join Date: Jul 2015
Location: Chino, CA
Posts: 68
|
|
|
|

|
|
|
#39 |
|
Registered Member
Join Date: Jun 2013
Location: San Francisco
Posts: 67
|
My tank showed up today! My sump matches the one shown on the website, but the plumbing is different. My main drain came with hard plumbing. Nice surprise, but had I known I wouldn't have wasted time buying all the plumbing ahead of time.
(Only the grey down-tube was included, the rest I bought) |
|
|

|
|
|
#40 | |
|
Registered Member
Join Date: Jul 2015
Location: Chino, CA
Posts: 68
|
Quote:
Awesome... Ya I don't know why my sump came different. Good luck in the tank! |
|
|
|

|
|
|
#41 |
|
Registered Member
Join Date: Jul 2015
Location: Chino, CA
Posts: 68
|
Got a lot done on the tank over this long weekend mainly in the stand. With the sump taking up most of the room in the stand, I needed a reservoir small enough to fit in the available space and I didn't want to spend over $100 on an already made acrylic unit. I found a 2 gallon storage container from walmart, cut out a hole in the lid to fit a pvc elbow with some barb fittings and ordered an ATO unit from autotopoff.com. I plumbed some pvc parts together for the ATO return line.
I installed a DJ power bar to be able to turn on/off each equipment with a switch and installed a inexpensive temperature controller from Reefsafe Solutions. It was pretty easy to setup and built pretty well. It doesn't come with mounting options so I had to make a custom bracket for it. The temps were a bit high measuring at 80-81 degrees, going to install some fans to see if that'll bring the temps down a little bit. I cleaned up all the wiring as well to eliminate wiring clutter. I dosed some ammonia to get the ammonia up to 3ppm to get the cycle going. Will retest tomorrow to see where the parameters are at. ATO setup: 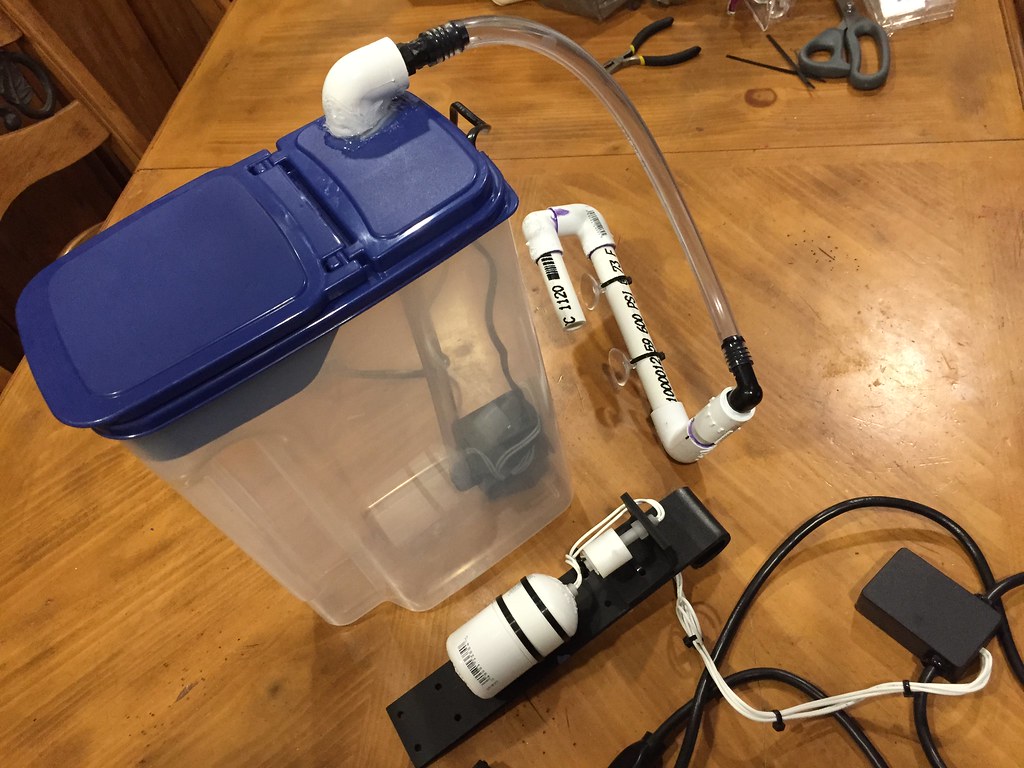 ATO setup installed: 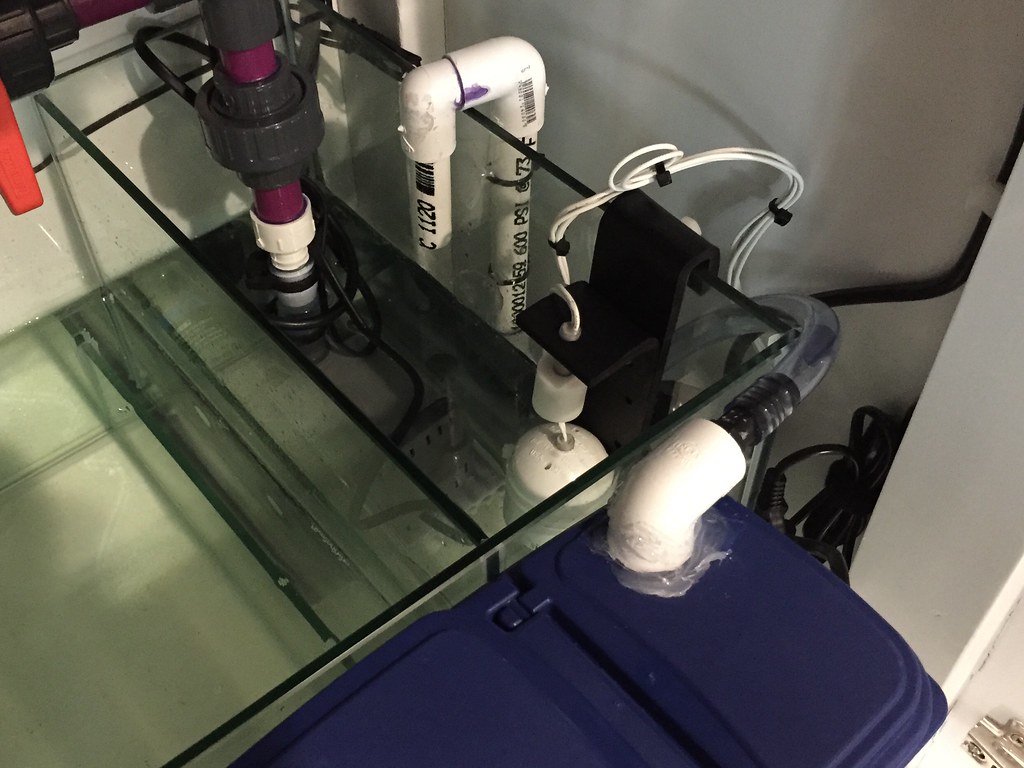 DJ Power Bar and Temp Controller installed: 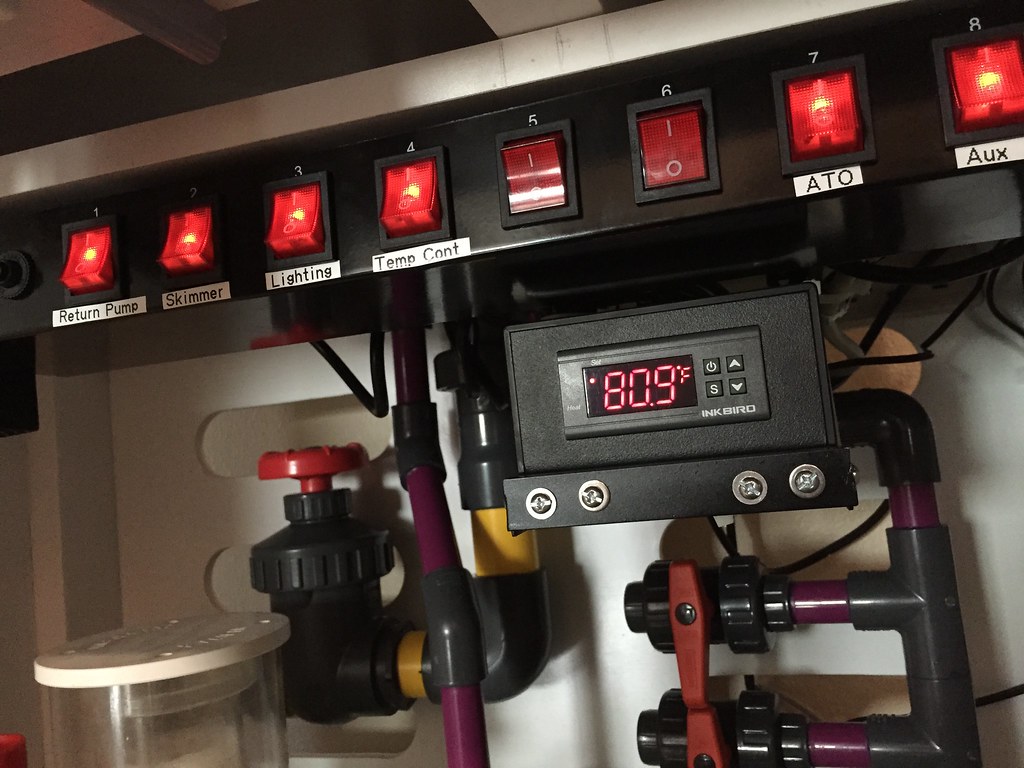 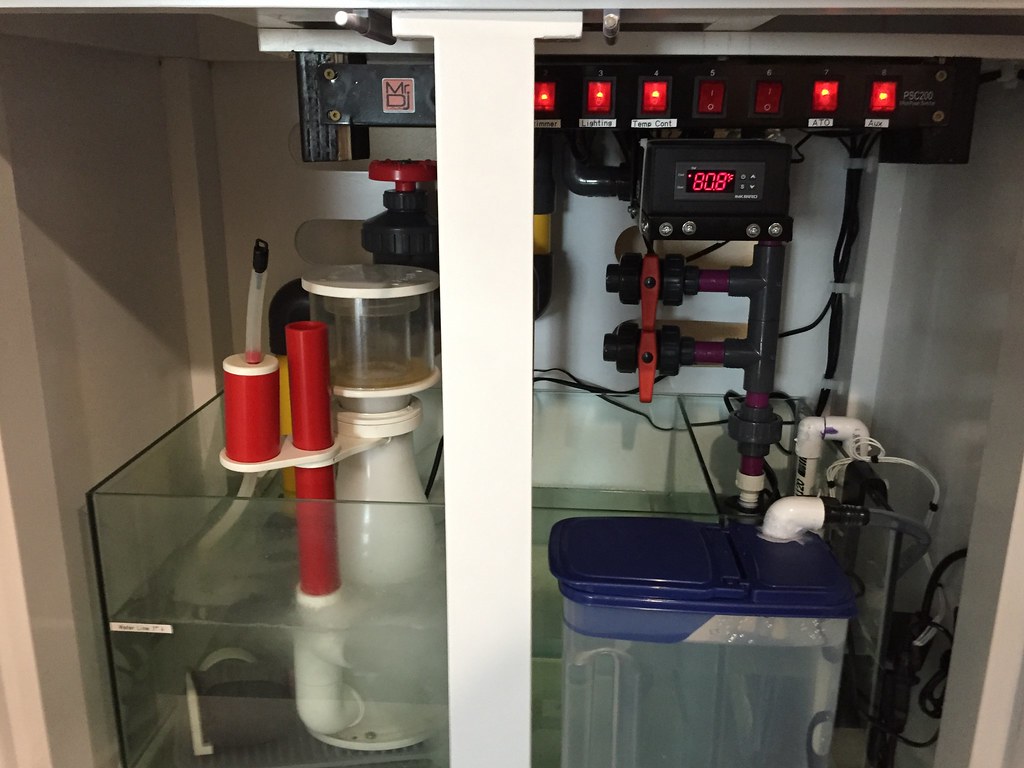
|
|
|

|
|
|
#42 |
|
Registered Member
Join Date: Apr 2015
Location: Sacramento, CA
Posts: 132
|
Looks good! Where did you get the sensor holder?
|
|
|

|
|
|
#43 |
|
Registered Member
Join Date: Jul 2015
Location: Chino, CA
Posts: 68
|
|
|
|

|
|
|
#44 |
|
Registered Member
Join Date: Sep 2015
Posts: 10
|
Nice tank. I'm currently torn between the same tank from CAD or Red Sea Reefer 250 or 350. Decisions, decisions.
Fairly concerned about the difference in customer service. Also, how is the quality of the stand in terms of fit and finish? Is it solid plywood? Great looking setup, and neat plumbing job! |
|
|

|
|
|
#45 | |
|
Registered Member
Join Date: Jul 2015
Location: Chino, CA
Posts: 68
|
ijnoj09's Cadlights 70G Artisan II Build
Quote:
Thanks! Cadlights customer service is one of the reasons I ordered the tank from a LFS I have a good relationship with vs ordering direct from cadlights. I figured if I had problems with the tank, my LFS could help get things resolved for me. Overall I'm pretty happy with the tank/stand/sump. They are built well, my only complaint is the sump design, it's not designed well as the weirs are too low and they don't use standard bulkheads. The stand is solid plywood and fully assembled, I have no complaints with the fit or finish. The Red Sea reefer tanks has some really nice features and I was debating between those tanks as well. I opted to go with the cadlights because of the 24" depth. |
|
|
|

|
|
|
#46 |
|
Registered Member
Join Date: Sep 2015
Posts: 10
|
Thanks for the info. I look forward to seeing your stocked tank!
Dave |
|
|

|
|
|
#47 |
|
Registered Member
Join Date: Jul 2015
Location: Denver, CO
Posts: 29
|
Looks like a great start! I have the same tank except I went with the trigger systems ruby 30 sump. I am also having trouble dialing in my vertex omega 150. It keeps overflowing on me even with the riser tube fully open. It was in 9.5 inches of water but I recently raised it to 7.5 inches and seems to be doing better but still overflowing a little bit. Since my tank is still new I think it's probably due to a lack of stuff to skim (it's been running about 3 weeks now). Did you adjust the air intake on the pump to get it completely dialed in?
|
|
|

|
|
|
#48 | |
|
Registered Member
Join Date: Jul 2015
Location: Chino, CA
Posts: 68
|
Quote:
I have air volute about 1 turn out and the riser tube around half way open... It's sitting at 7". Adding the air valve is what really calmed my skimmer down and now it's pulling skimmate. No overflowing ever since. |
|
|
|

|
|
|
#49 |
|
Registered Member
Join Date: Jul 2015
Location: Denver, CO
Posts: 29
|
Good to hear. I shut my skimmer off for a day or so and turned it back on last night with the riser tube still 100% open. Not only was it not overflowing anymore, but I had to close to riser tube about half way to raise the bubbles up. Now it seems to be working great! Can't wait to see your tank progress, I really like the scape you went with.
|
|
|

|
|
|
#50 | |
|
Registered Member
Join Date: Jul 2015
Location: Chino, CA
Posts: 68
|
Quote:
Thanks. The skimmer is really finicky but once it's dialed in, it's solid. Good to hear you got yours to settle down. |
|
|
|

|
 |
|
|