


|
 |
|
|
#51 |
|
Registered Member
Join Date: May 2012
Location: Franklin, TN
Posts: 345
|
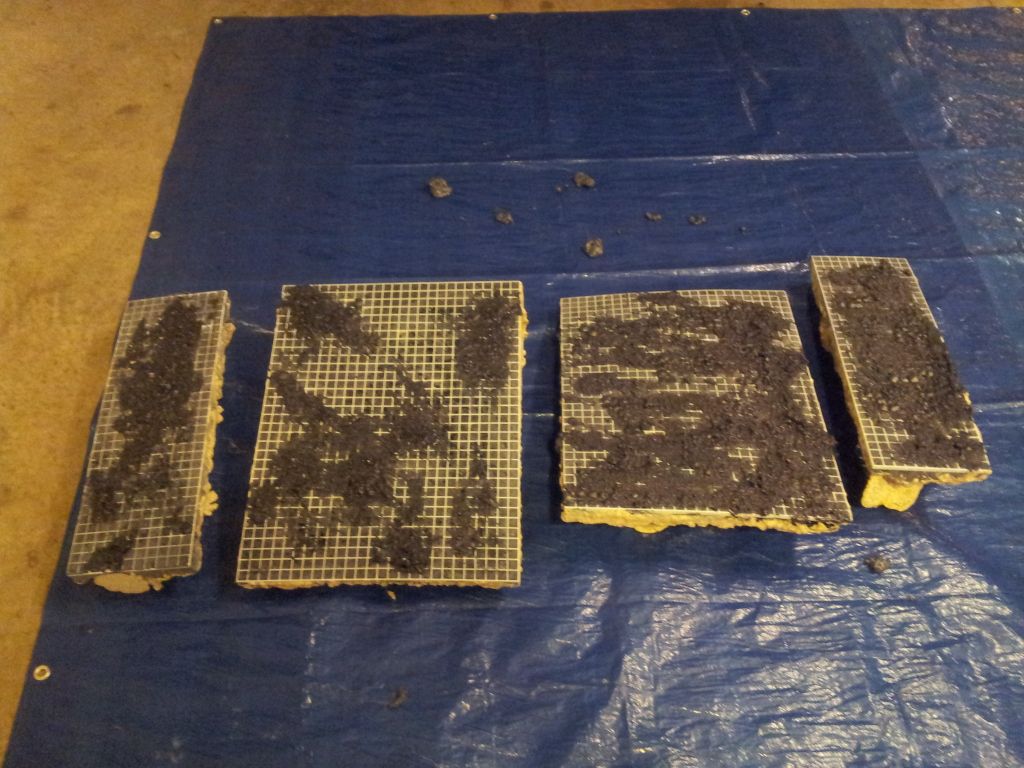 filling any gap i see before the final sand down |
|
|

|
|
|
#52 |
|
Registered Member
Join Date: May 2012
Location: Franklin, TN
Posts: 345
|
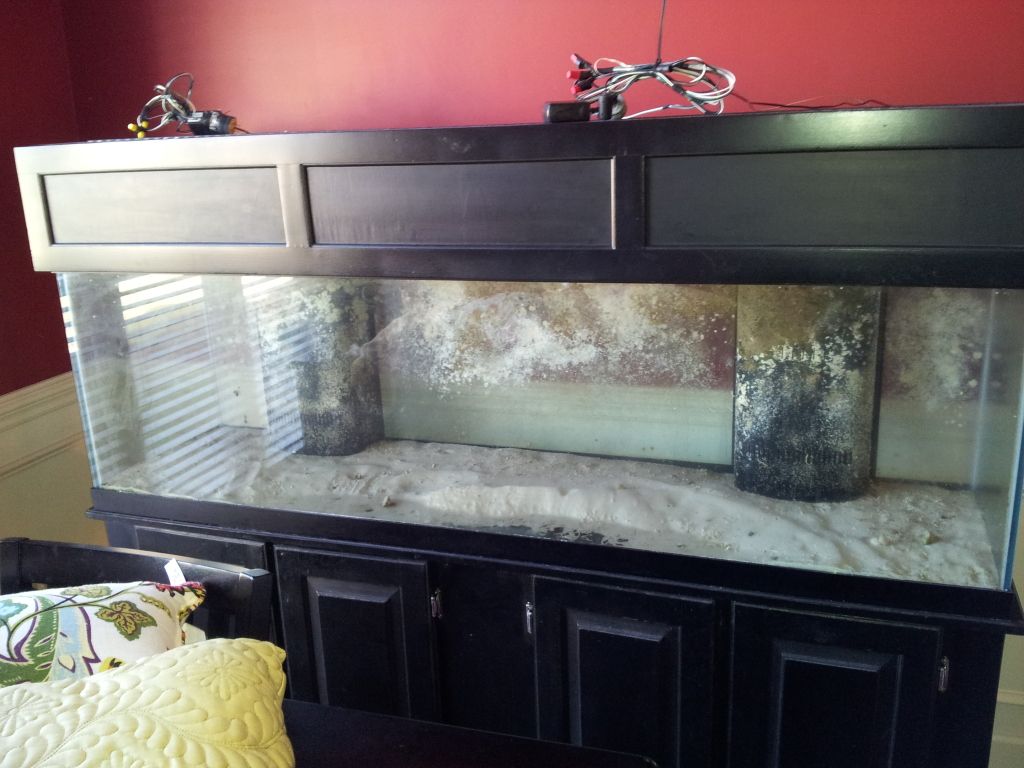 Tank empty.. No rock wall install yet but, i did manage to get the tank in the garage to start scraping the glass walls and clean the reat of it up. More pics soon! |
|
|

|
|
|
#53 |
|
Registered Member
Join Date: Aug 2010
Location: Cedar grove ( Lexington side )
Posts: 625
|
Looks great kinda wished I'd done that with mine, it will give me something to to do when I decide to move
|
|
|

|
|
|
#54 |
|
Registered Member
Join Date: May 2012
Location: Franklin, TN
Posts: 345
|
Yea its time consuming but well worth it in the long run. I did some fitment and run into some issues, its a good though nothing a grinder cant take care of : )
Iv got some clown fish eggs im trying to hatch right now and so far its going good, i found 2 of th awimming about today.. Its really cool they look like little micro tadpoles |
|
|

|
|
|
#55 |
|
Registered Member
Join Date: May 2012
Location: Franklin, TN
Posts: 345
|
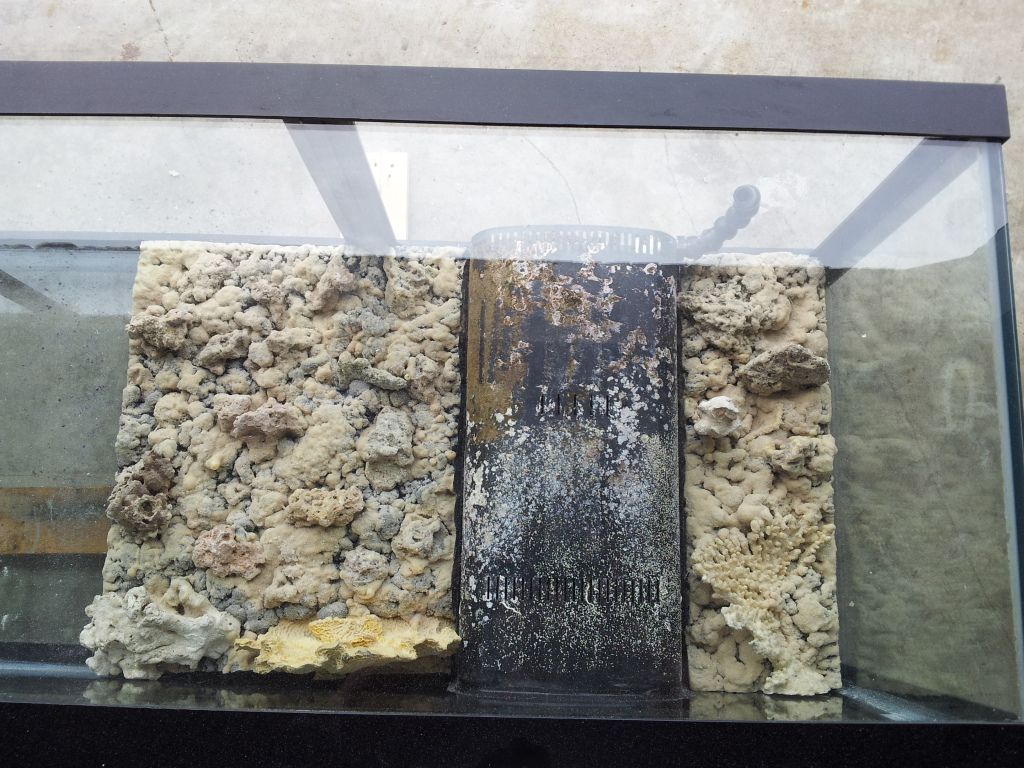 Finally!!! Im now getting ready to install the walls |
|
|

|
|
|
#56 |
|
Registered Member
Join Date: May 2012
Location: Franklin, TN
Posts: 345
|
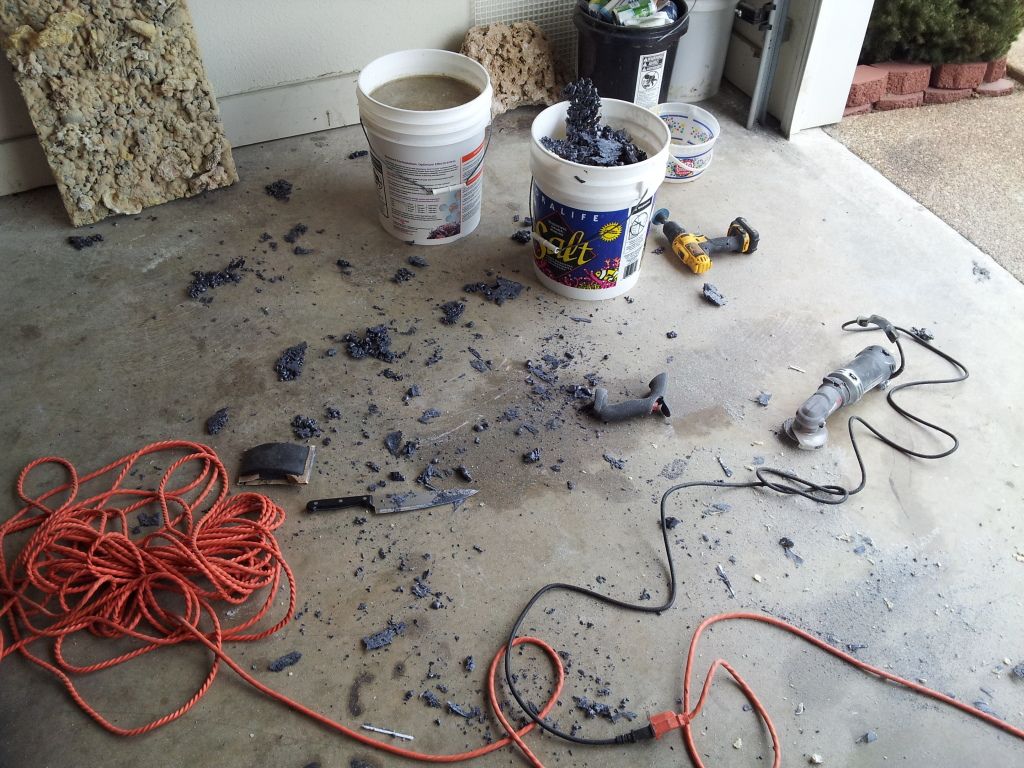 Very messy! Lots of cutting, grinding, and shaving |
|
|

|
|
|
#57 |
|
Registered Member
Join Date: May 2012
Location: Franklin, TN
Posts: 345
|
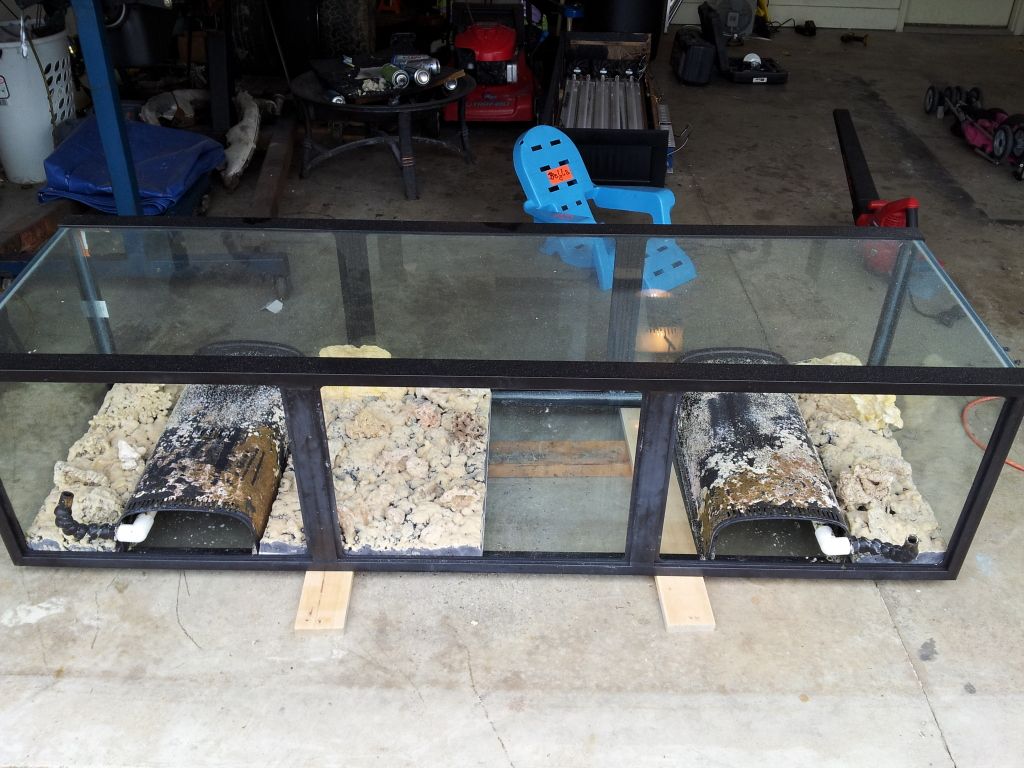 Just another view... I am so glad i didnt try to cover the overflows |
|
|

|
|
|
#58 |
|
PREMIUM MEMBER
Join Date: Jul 2005
Location: TRENTON Tn
Posts: 4,486
|
Looks good.
|
|
|

|
|
|
#59 |
|
Registered Member
Join Date: Aug 2010
Location: Cedar grove ( Lexington side )
Posts: 625
|
Awesome looks great
|
|
|

|
|
|
#60 |
|
Registered Member
Join Date: May 2012
Location: Franklin, TN
Posts: 345
|
Thanks. I just got done installing the last section of wall. Pics soon!
Last edited by mr.badams; 09/27/2012 at 07:09 PM. Reason: mis spilling |
|
|

|
|
|
#61 |
|
Registered Member
Join Date: May 2012
Location: Franklin, TN
Posts: 345
|
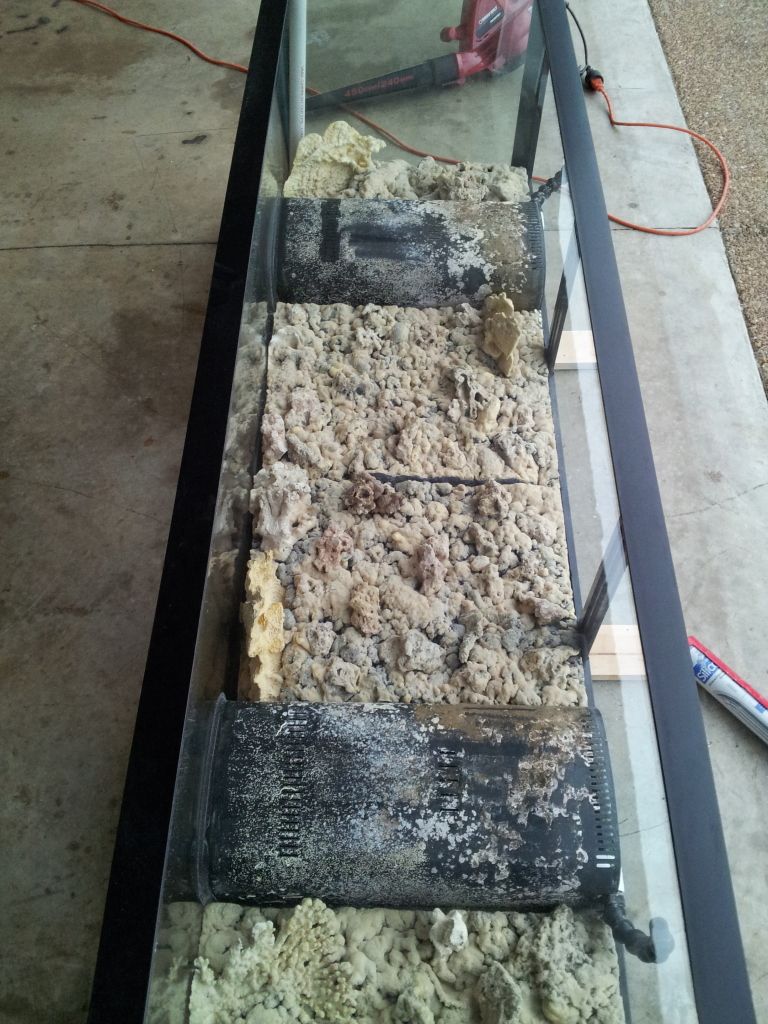 All walls put in waiting for silicone to cure. I will fill the gaps and, I think i will be good to go! |
|
|

|
|
|
#62 |
|
Registered Member
Join Date: May 2012
Location: Franklin, TN
Posts: 345
|
Will up date soon.
|
|
|

|
|
|
#63 |
|
Registered Member
Join Date: Aug 2010
Location: Cedar grove ( Lexington side )
Posts: 625
|
How's the tank coming Bryan
|
|
|

|
|
|
#64 |
|
Registered Member
Join Date: May 2012
Location: Franklin, TN
Posts: 345
|
Its coming along well... Iv been swamped with work and the family here lately, been meaning to update with more pics. I have also got a painting project going on as well. Having the tank down allows me to paint the room its in
 . I should have water in it by the end of the week if things go as planned. I will up date pic soon . I should have water in it by the end of the week if things go as planned. I will up date pic soon
|
|
|

|
|
|
#65 |
|
Registered Member
Join Date: May 2012
Location: Franklin, TN
Posts: 345
|
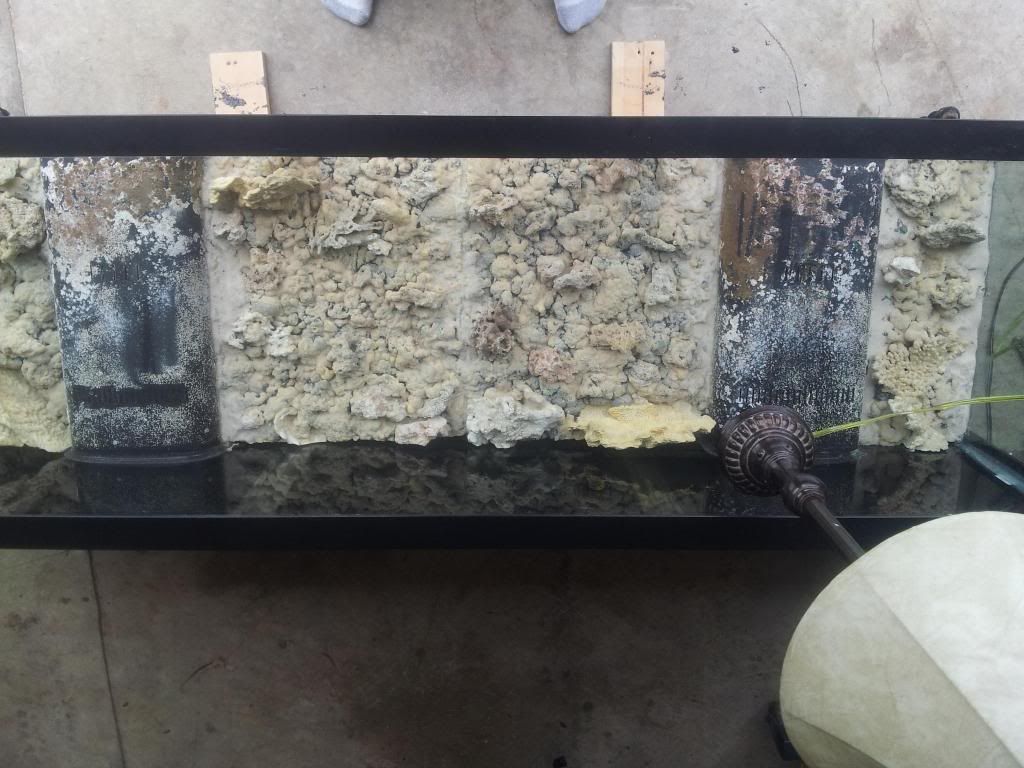 I know its been forever and 2 years haha... this is the final pick of the wall in place and all seams blended in. |
|
|

|
|
|
#66 |
|
Registered Member
Join Date: May 2012
Location: Franklin, TN
Posts: 345
|
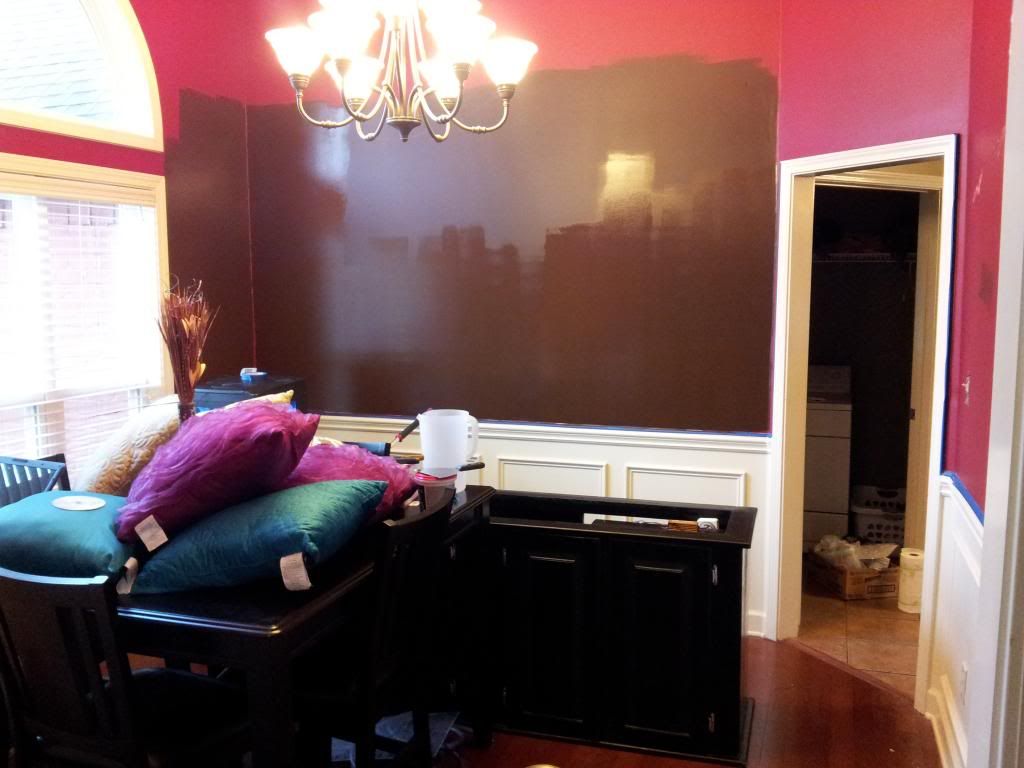 And with this tank project i got to finally paint!!! |
|
|

|
|
|
#67 |
|
Registered Member
Join Date: May 2012
Location: Franklin, TN
Posts: 345
|
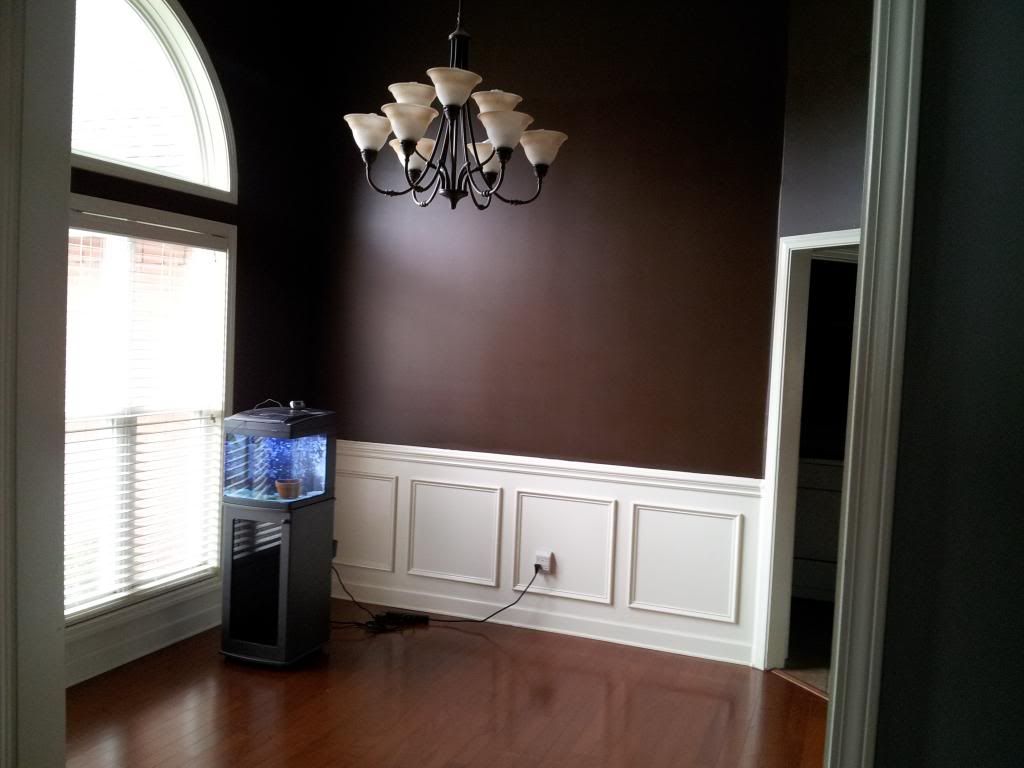 Painting done for the most part, at least the wall the tank will go against. |
|
|

|
|
|
#68 |
|
Registered Member
Join Date: May 2012
Location: Franklin, TN
Posts: 345
|
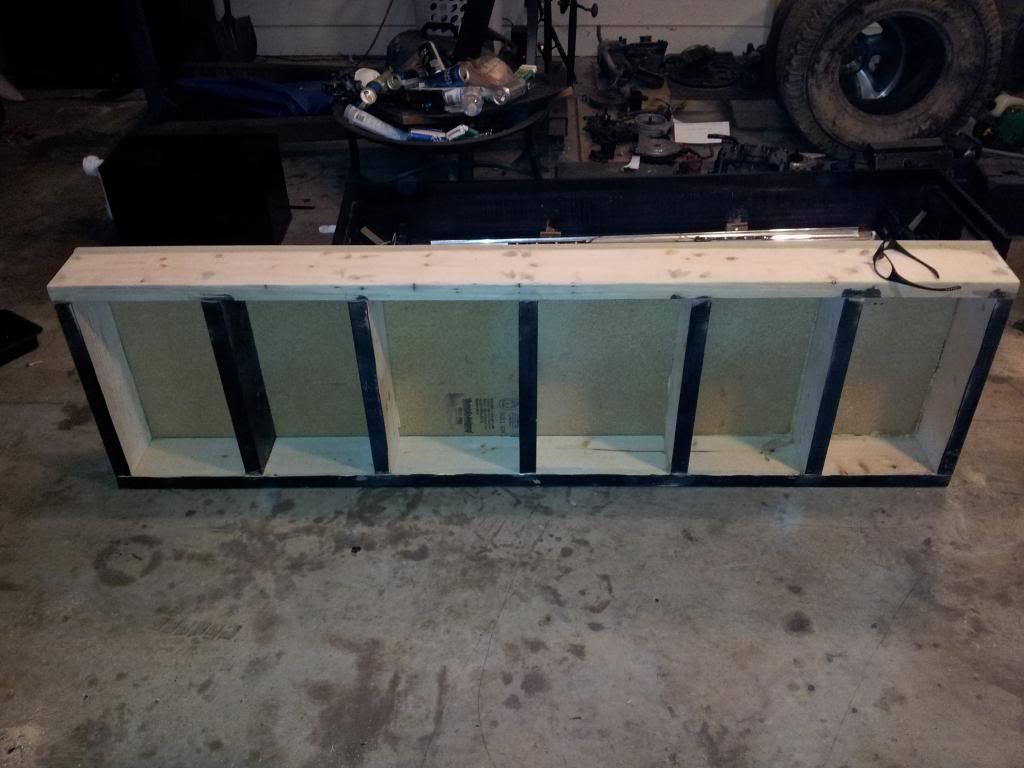 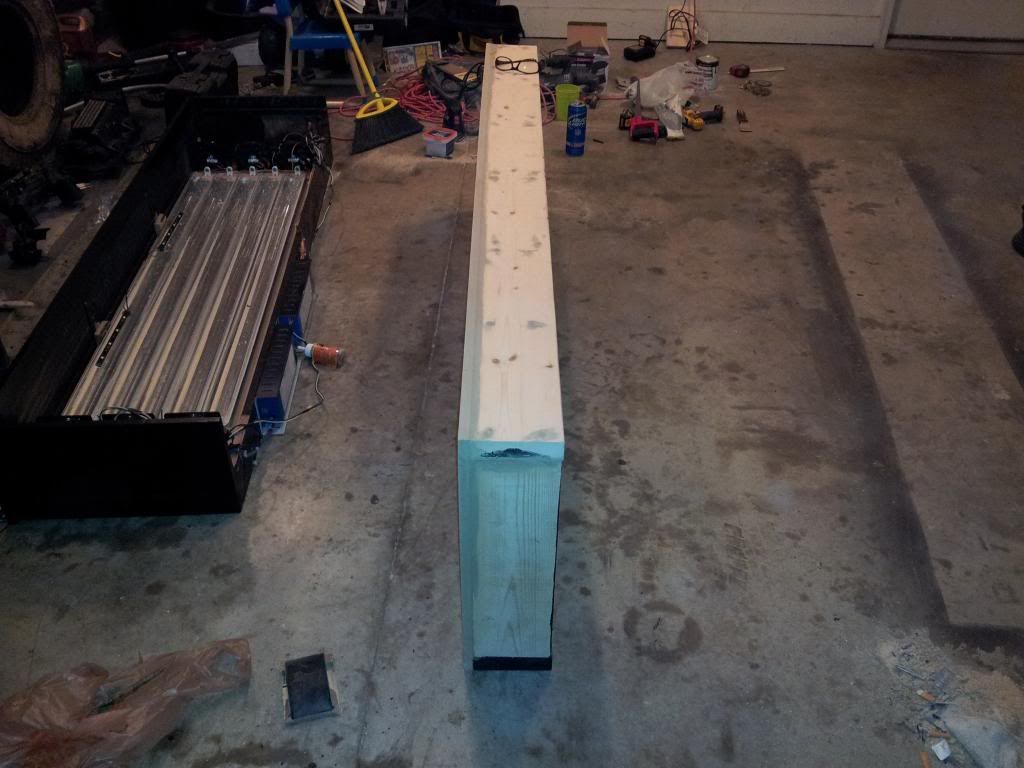 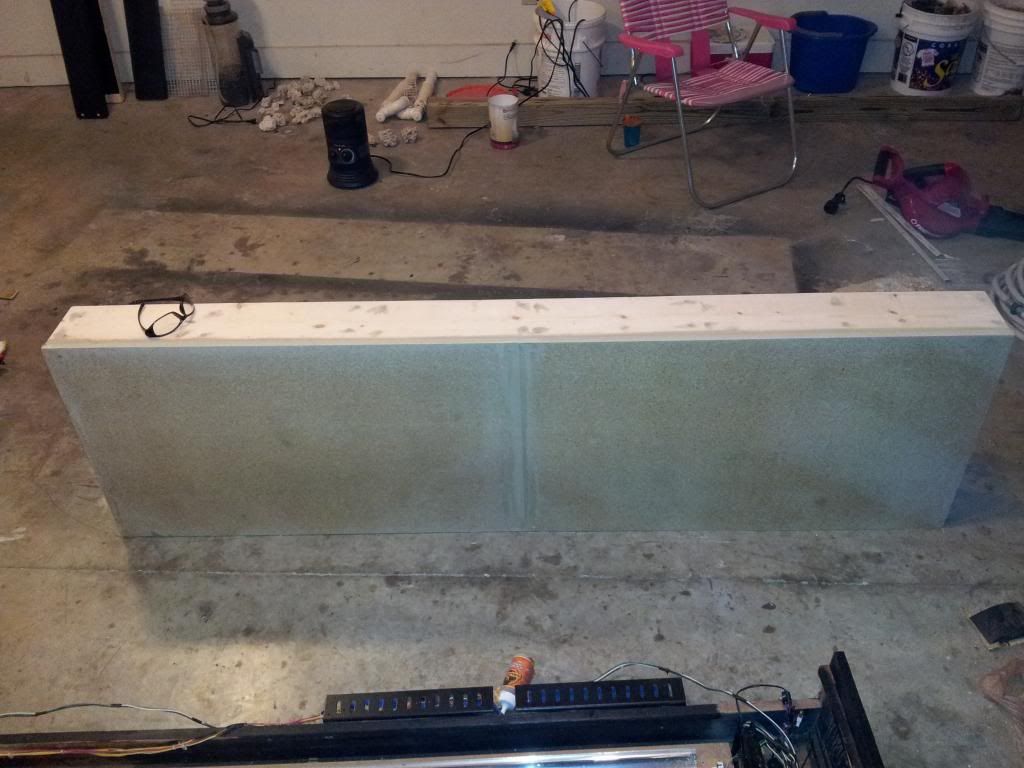 I have a dining room table that is 36" tall and the tank stand I have is only 30" tall... this may not bother most people but it just killed me! so I decided to raise the stand 6". thank god for 2x6's this made it easy for me... believe me I'm no wood worker. The outcome is awesome! |
|
|

|
|
|
#69 |
|
Registered Member
Join Date: May 2012
Location: Franklin, TN
Posts: 345
|
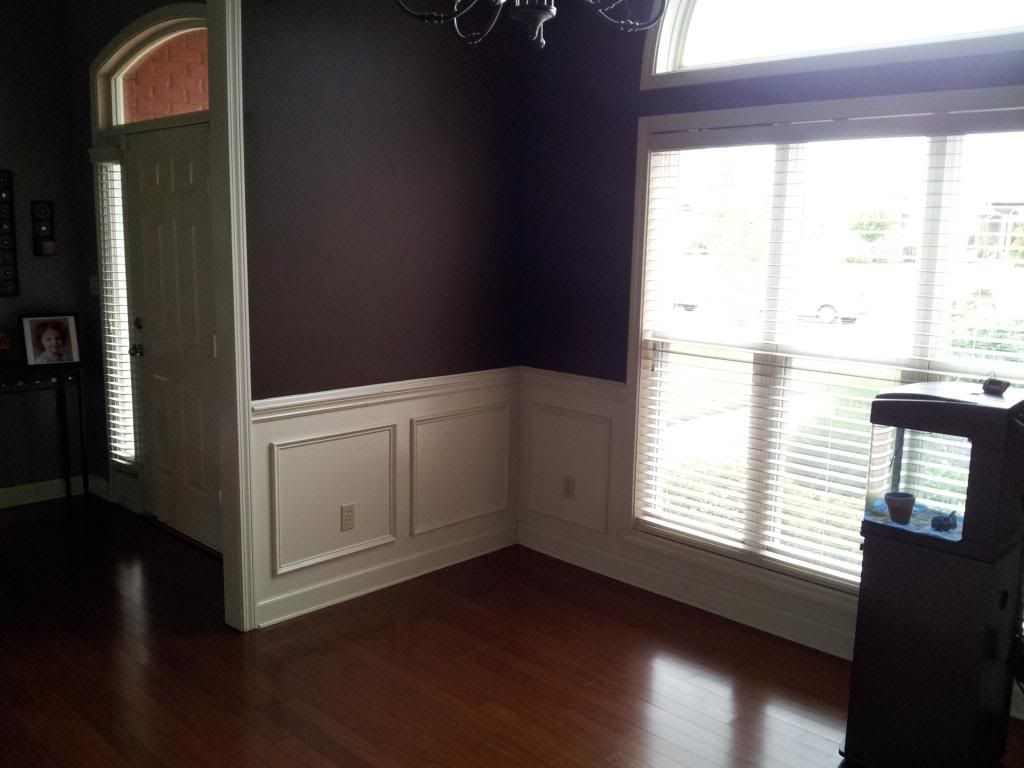 yes, yes... another boring pic of some paint. i had time to kill waiting on the wood filler to dry. |
|
|

|
|
|
#70 |
|
Registered Member
Join Date: May 2012
Location: Franklin, TN
Posts: 345
|
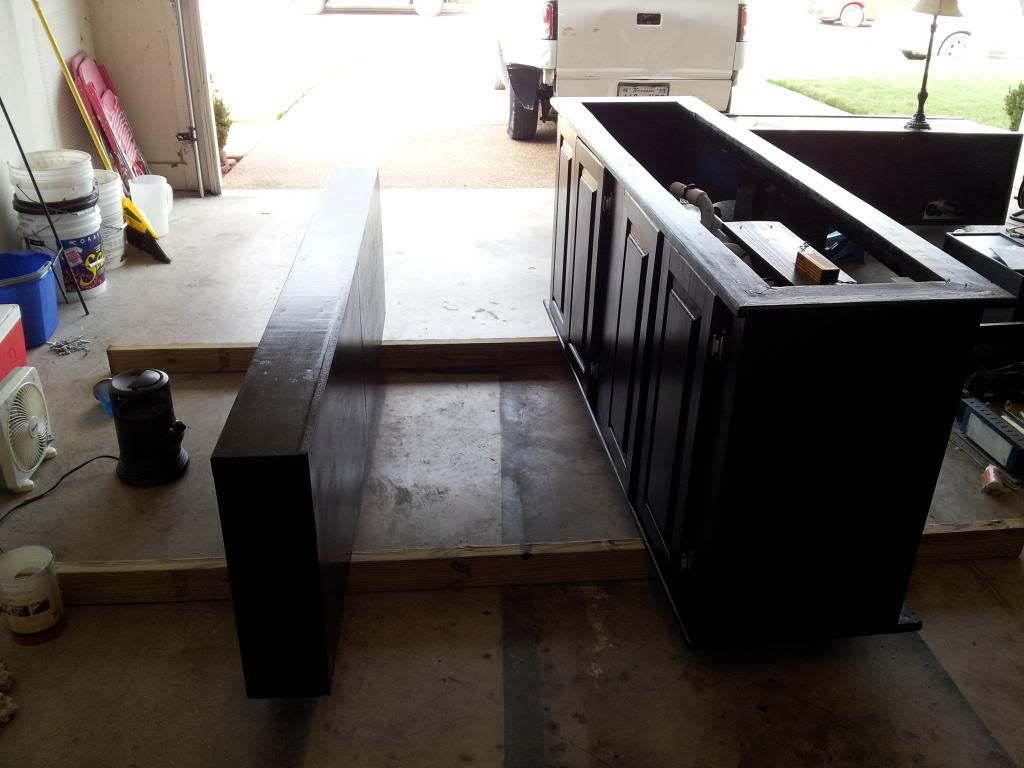 First coat of paint... I did learn to use an oil based paint vs a water based paint this time, water based doesn't play so well with salt water 
|
|
|

|
|
|
#71 |
|
Registered Member
Join Date: May 2012
Location: Franklin, TN
Posts: 345
|
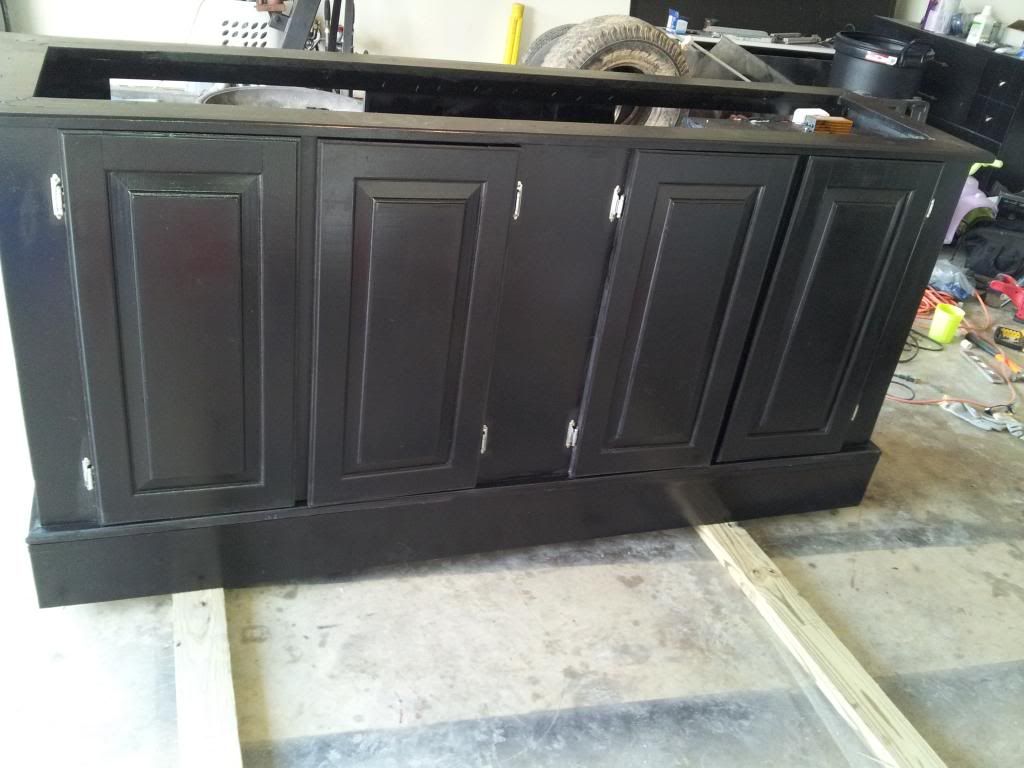 Paint dry, and base added! One more coat of paint and it will be ready to move inside! I'm getting excited at this point... Like I said I don't do wood work and i think this come out pretty darn good. |
|
|

|
|
|
#72 |
|
Registered Member
Join Date: May 2012
Location: Franklin, TN
Posts: 345
|
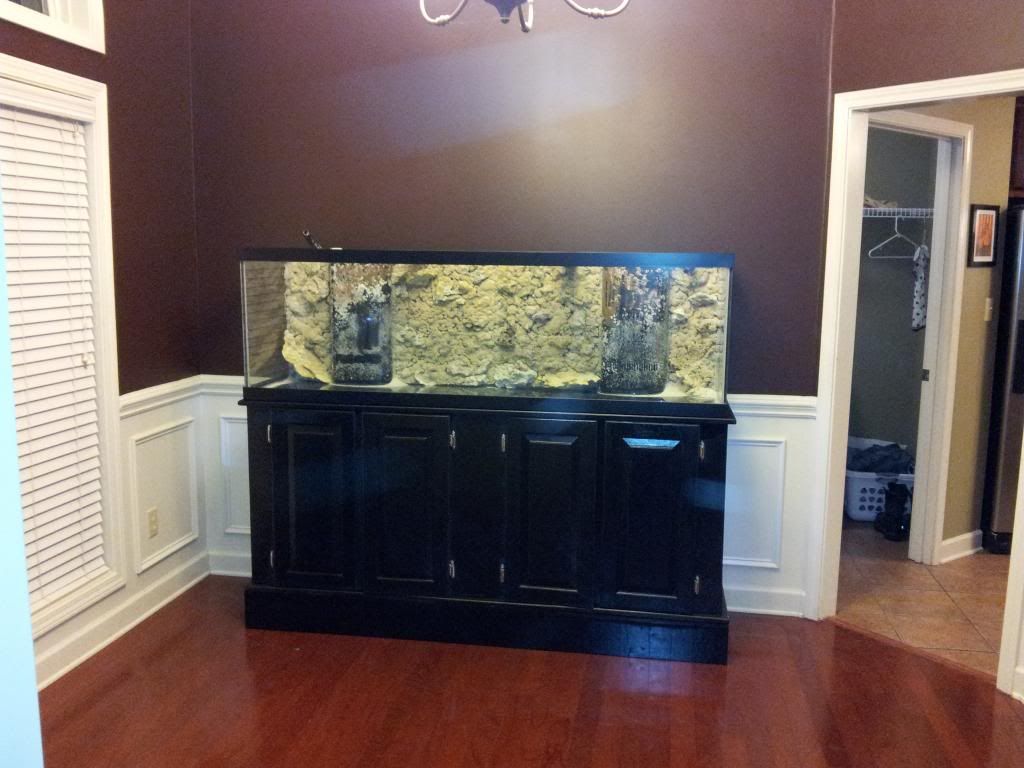 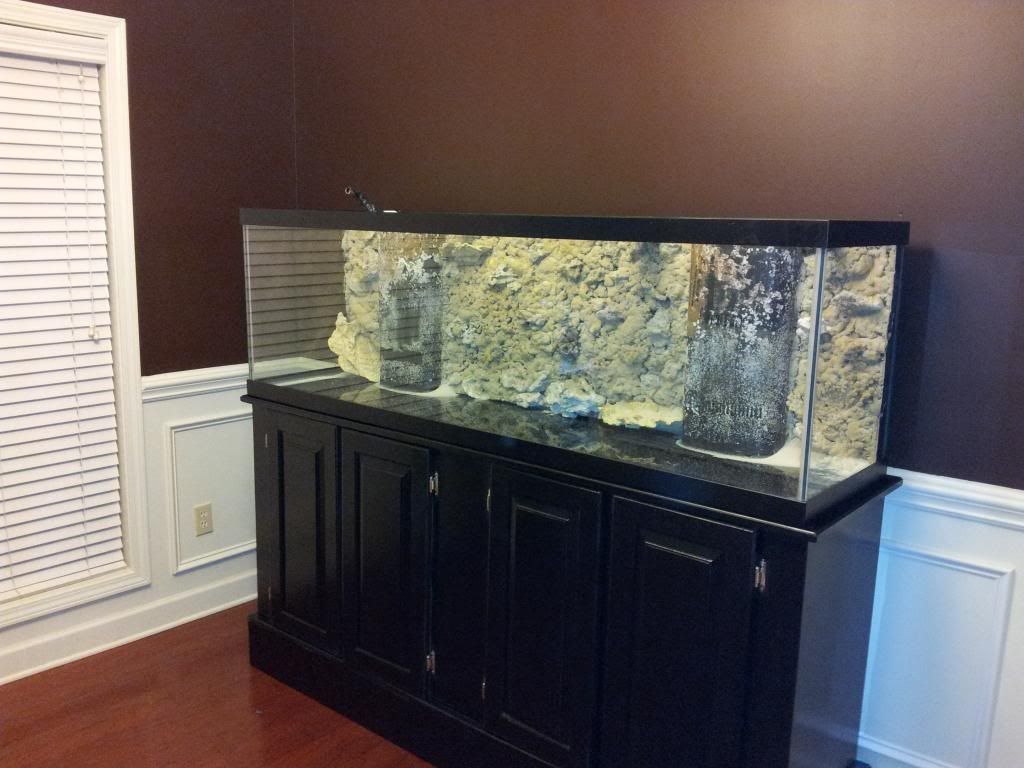 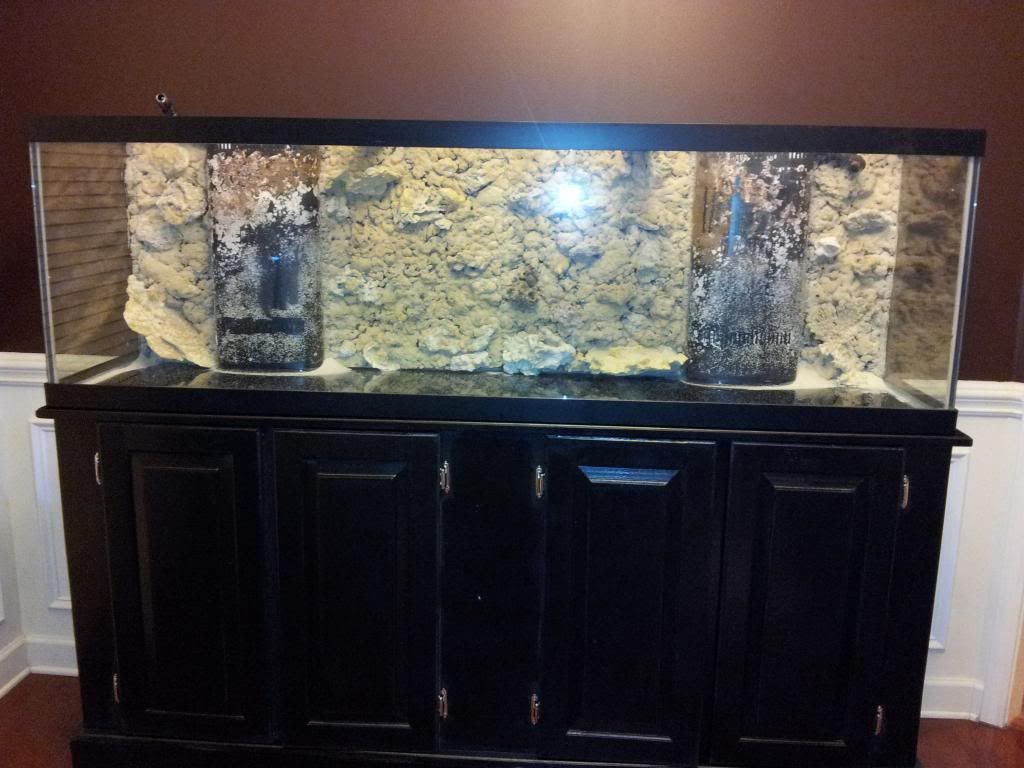 Here's A few views of the new and improved tank. The tank now stands 60" tall now without the canopy on... this will be added last, I need to get the sump and wiring right first. |
|
|

|
|
|
#73 |
|
Registered Member
Join Date: May 2012
Location: Franklin, TN
Posts: 345
|
I'm now in the process of adding all the RO/DI water, ugh this will take forever.. I started this last night and will continue tonight.
|
|
|

|
|
|
#74 |
|
Registered Member
Join Date: Apr 2011
Location: Tennessee
Posts: 253
|
looking great!
|
|
|

|
|
|
#75 |
|
Refugium pat.#D414,242
Join Date: Dec 2011
Posts: 844
|
Yeah nice DIY....your house looks great too!
__________________
Doctor "Aquatron" Mister "Spinner" 300 gallon TRUVU AquaSystem "Mod" w/ 150 gallon control center....... Build Thread: http://www.reefcentral.com/forums/showthread.php?t=2276765&highlight=300+dt+ |
|
|

|
 |
|
|