


|
 |
|
|
#76 |
|
Registered Member
Join Date: May 2007
Location: Miami, FL
Posts: 2,405
|
heres a few pics...
My new Rs100
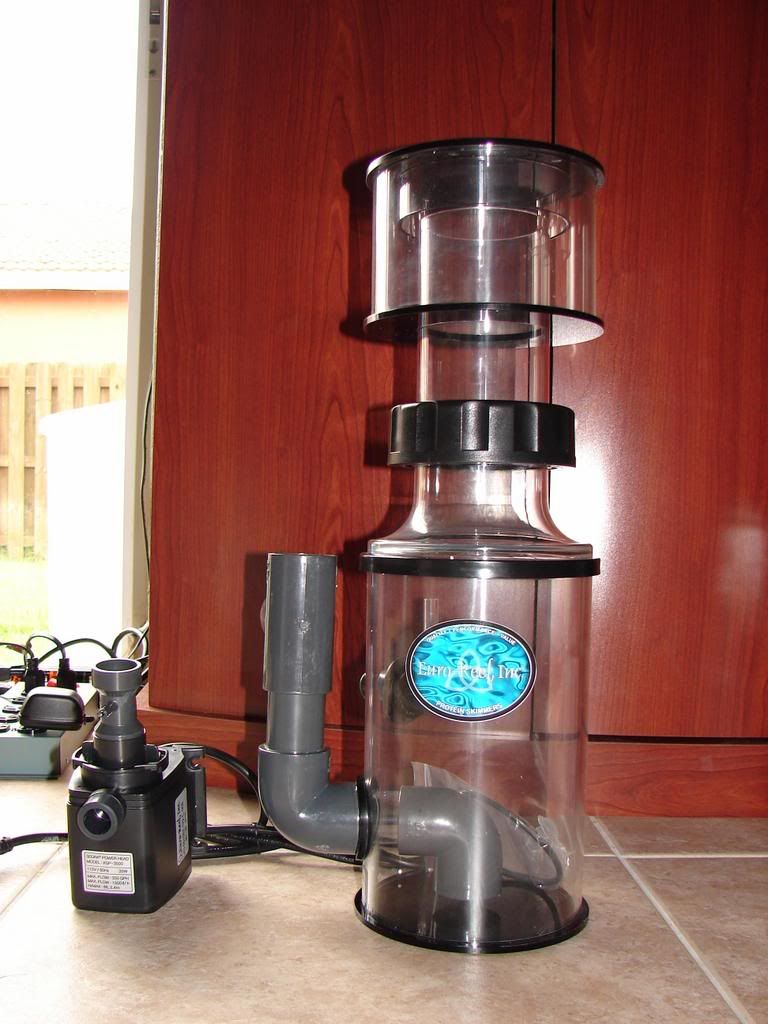 An "under canopy shot" of the 4x65w PCs w/ 2 moonlts 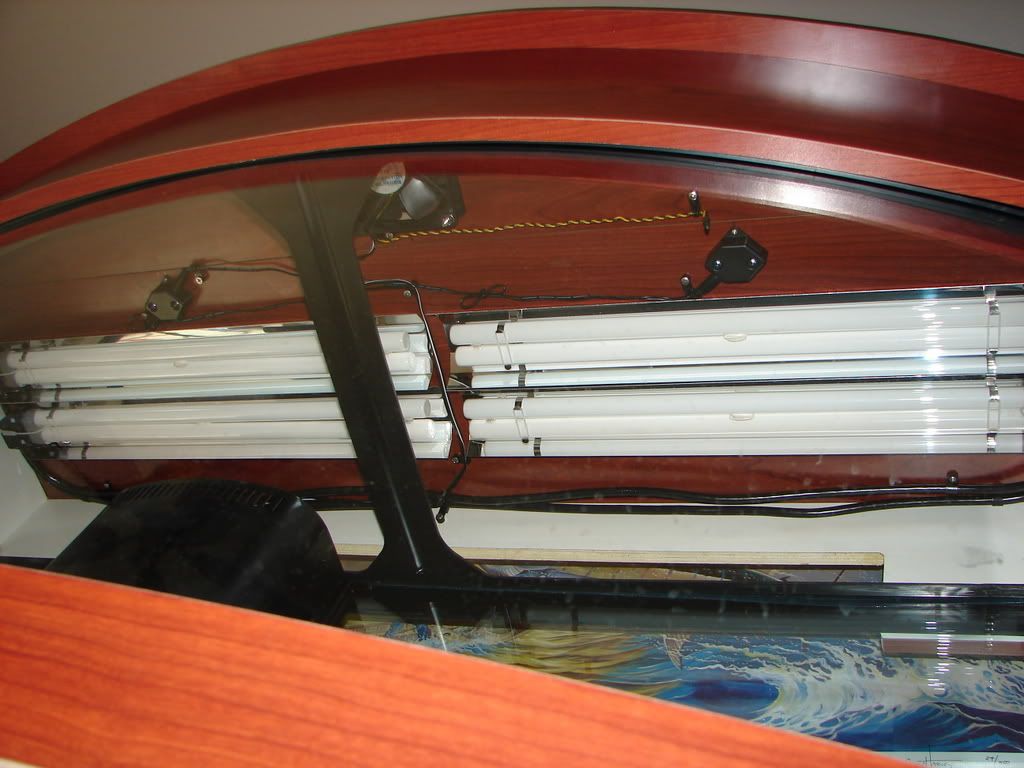 Canopy fan w/ heat sensor 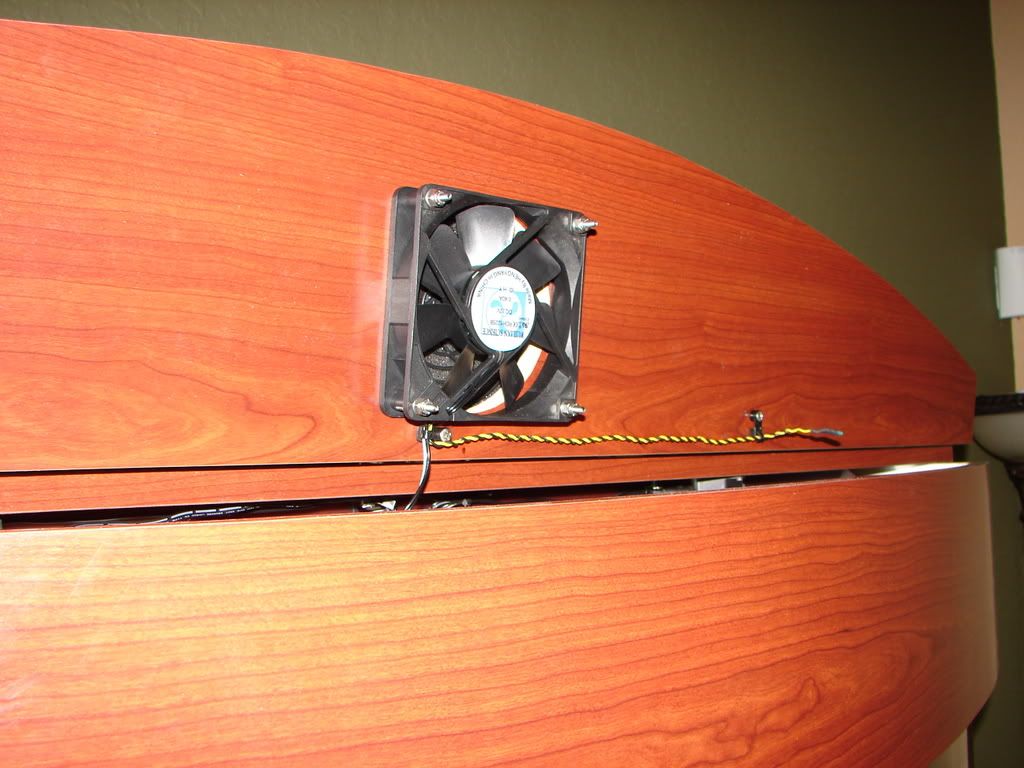 overall shot (frame is coming out from behind tank) 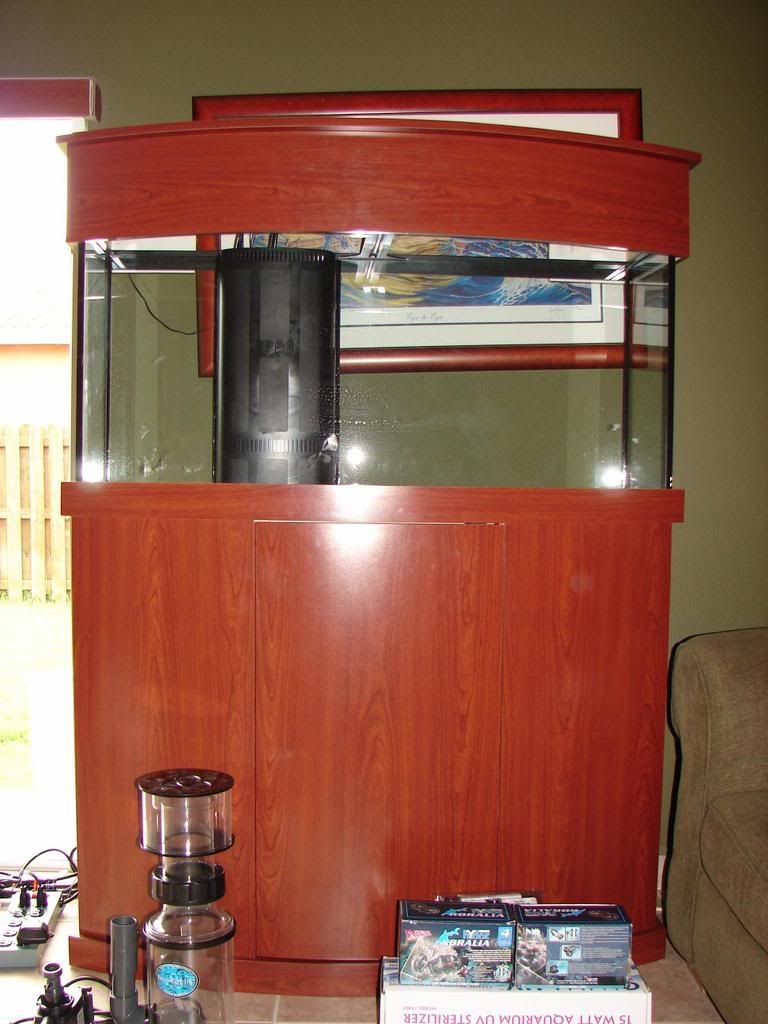 Any suggestions/comments/etc are much appreciated especially if you see something that should be done differently anywhere in my build. thanks for looking! eddy |
|
|

|
|
|
#77 |
|
Registered Member
Join Date: Apr 2007
Location: Indianapolis, Indiana
Posts: 114
|
Looking awesome so far. What sand you using?
|
|
|

|
|
|
#78 |
|
Moved On
Join Date: Sep 2002
Location: Ft Worth, Tx
Posts: 43,217
|
Everything is so nice and new and clean.

|
|
|

|
|
|
#79 |
|
Registered Member
Join Date: Apr 2007
Location: Indianapolis, Indiana
Posts: 114
|
Oh yea forgot to ask, where you getting your live rock from?
|
|
|

|
|
|
#80 |
|
Registered Member
Join Date: May 2007
Location: Miami, FL
Posts: 2,405
|
cozz, you are getting ahead of me talkin sand and rock.... I am at the plumbing stage and even before that im gonna paint the back of the tank black today. I now need a new sump/fuge because the 20g i have is about a quarter of an inch to wide...UNFRIGGIN BELIEVABLE!!!!!!! I think im gonna talk to a local club member who does acrylic sumps.
Melev, which simple and easy design that you have on your site for a custom sump do you recommend for my setup? problable dimesions due to width restrictions are 32L x 10w x ??? height of stand is 40inches so should i make a tall sump? |
|
|

|
|
|
#81 |
|
Registered Member
Join Date: Apr 2007
Location: Indianapolis, Indiana
Posts: 114
|
Be careful with making the sump too tall. With my 29gal sump it is actually a pain to work around in there with the few inch's I have and removing the collection cup on my skimmer is the biggest problem I have.
|
|
|

|
|
|
#82 |
|
Moved On
Join Date: Sep 2002
Location: Ft Worth, Tx
Posts: 43,217
|
I would think the Model K would be good, if your skimmer will fit. That will be the big issue. 10" wide means the sump will be 9.5" wide internally. Be sure to use a small return pump because too much flow will result in microbubbles.
|
|
|

|
|
|
#83 |
|
Registered Member
Join Date: May 2007
Location: Miami, FL
Posts: 2,405
|
Tank is painted
heres a few pics
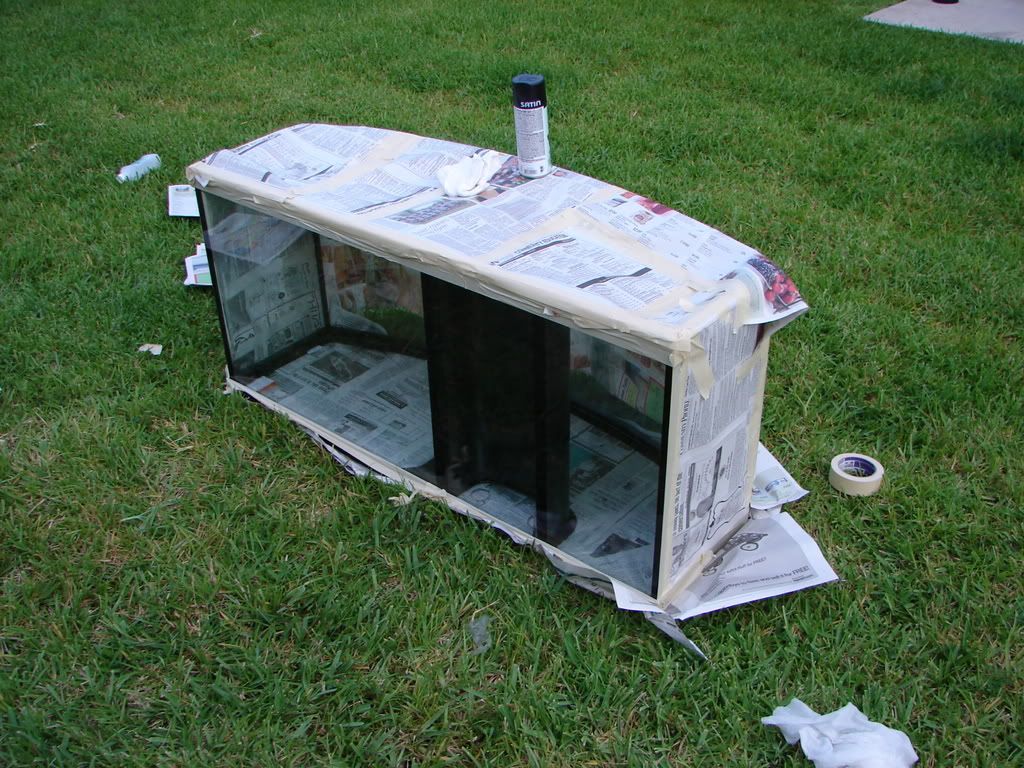 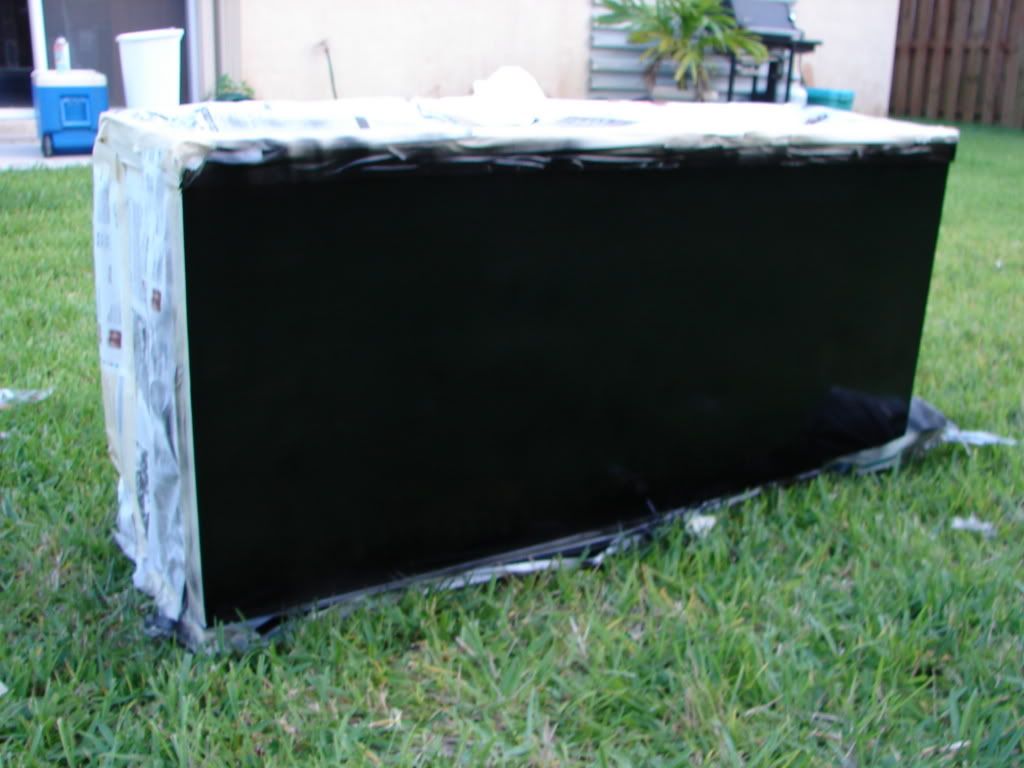 I used Black satin krylon fusion spray paint from Walmart...Thanks for the recommendation Cozzmolot. I havent removed the tape yet so it can dry well and i doesnt rip off a piece of paint...I'll post a pic of the new tank tomorrow unwrapped. |
|
|

|
|
|
#84 |
|
Registered Member
Join Date: May 2007
Location: Miami, FL
Posts: 2,405
|
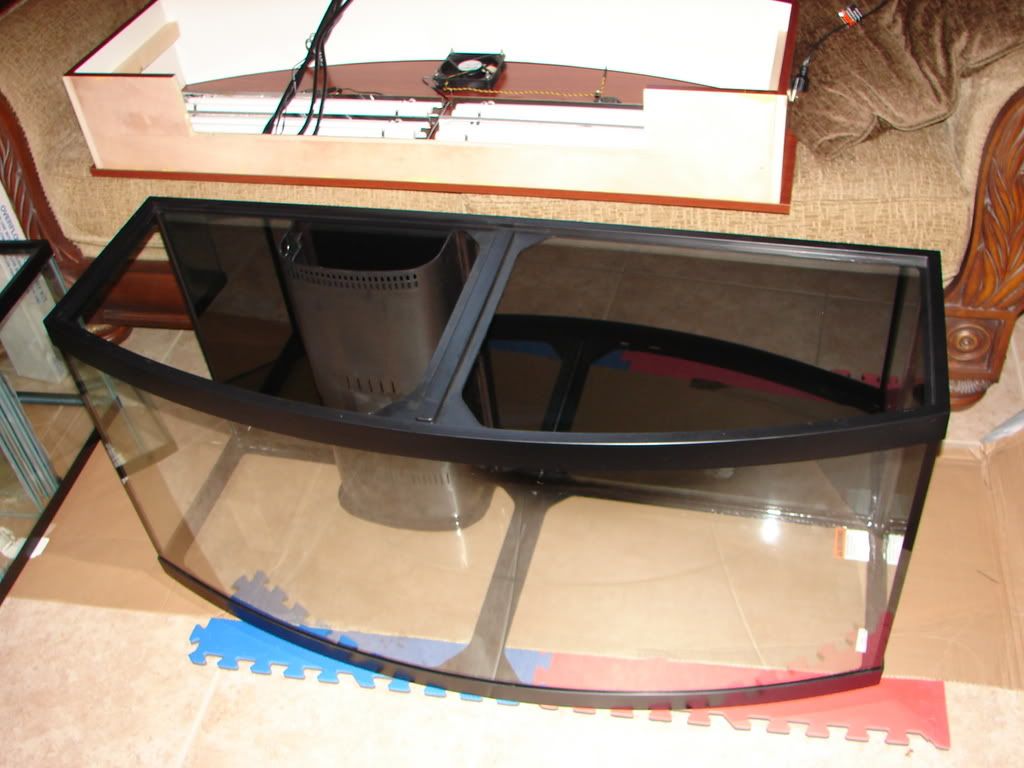
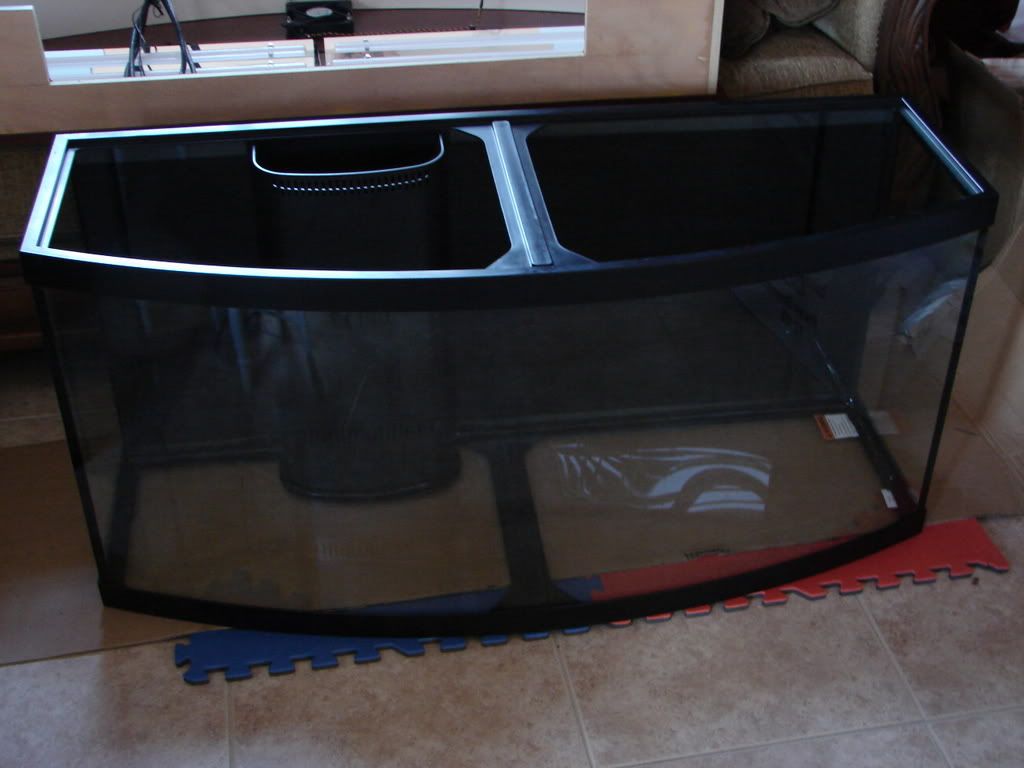
finished tank
|
|
|

|
|
|
#85 |
|
Registered Member
Join Date: Jun 2007
Location: Deep within the uncharted Amazon
Posts: 400
|
Yes it turned out very well
__________________
I am lost in every-way there is.............literally.............just plain LOST |
|
|

|
|
|
#86 |
|
Registered Member
Join Date: May 2007
Location: THE SUNSHINE STATE
Posts: 28
|
72 bow
ED THE PAINT JOB LOOKS GREAT AND I CANT WAIT TO SEE IT RUNNING.
|
|
|

|
|
|
#87 |
|
Registered Member
Join Date: May 2007
Location: Miami, FL
Posts: 2,405
|
Well, I made the most progress tonight (90% done with plumbing) and here are some pics...
JDRACO holding my new custom sump by Thesaent14 (thanks Manny its SWEET!!) 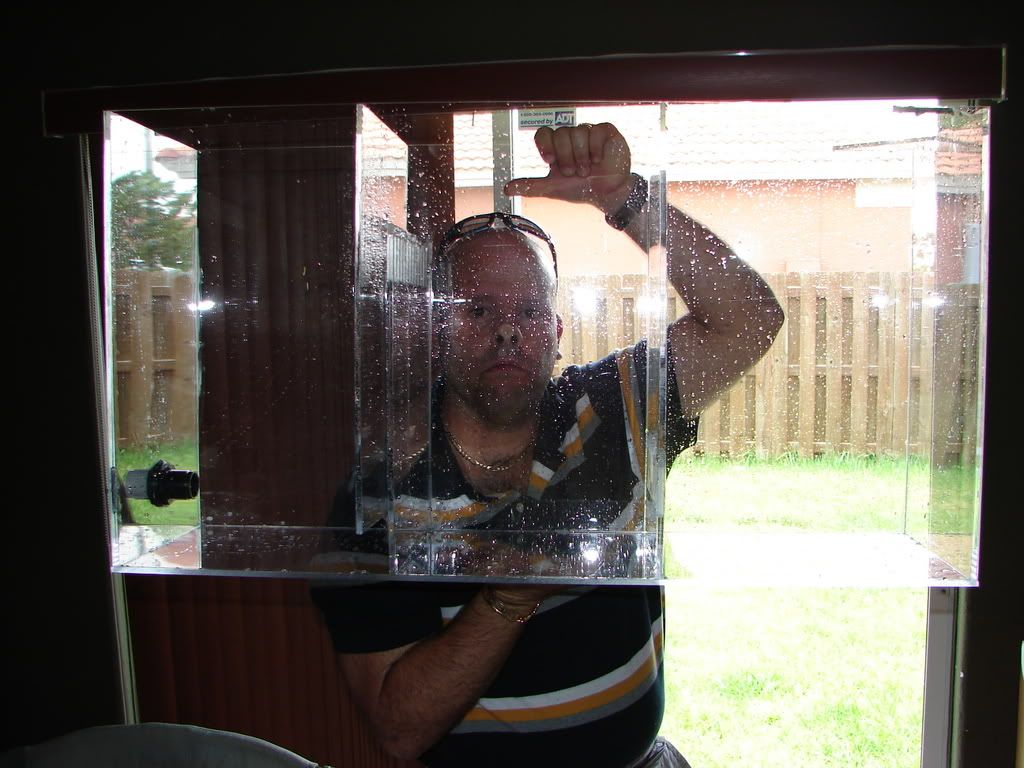 Heres the sump before she went to her final home inside my stand (i had to remove the entire top plywood to get it in...) 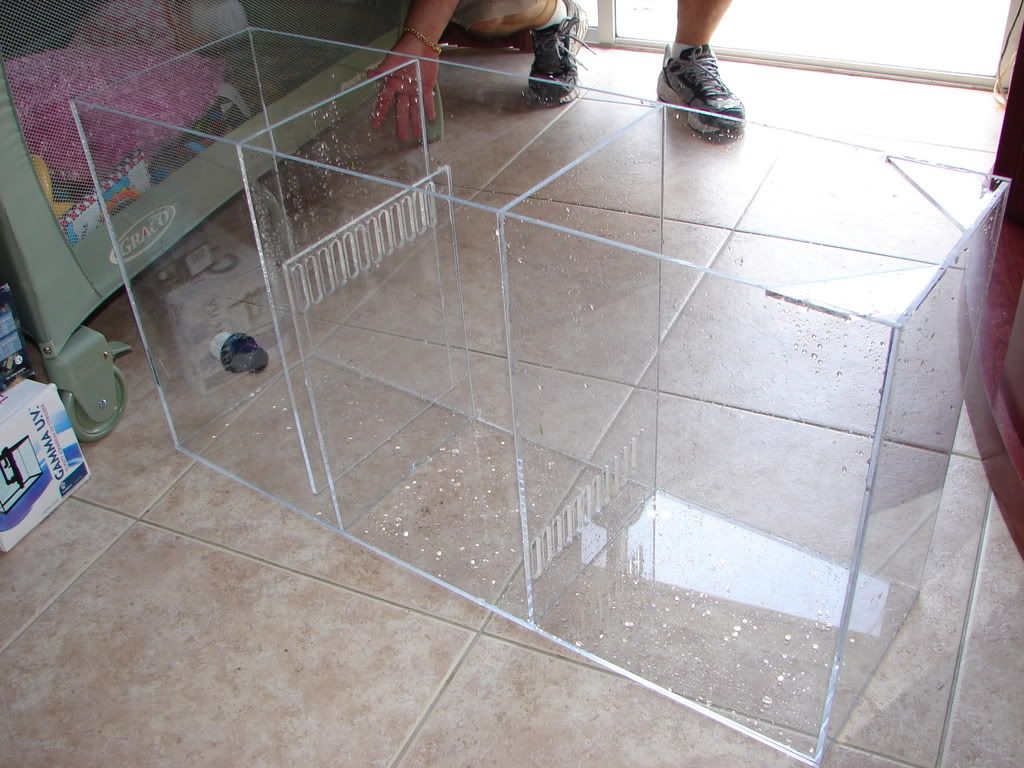 Heres some progress pics... 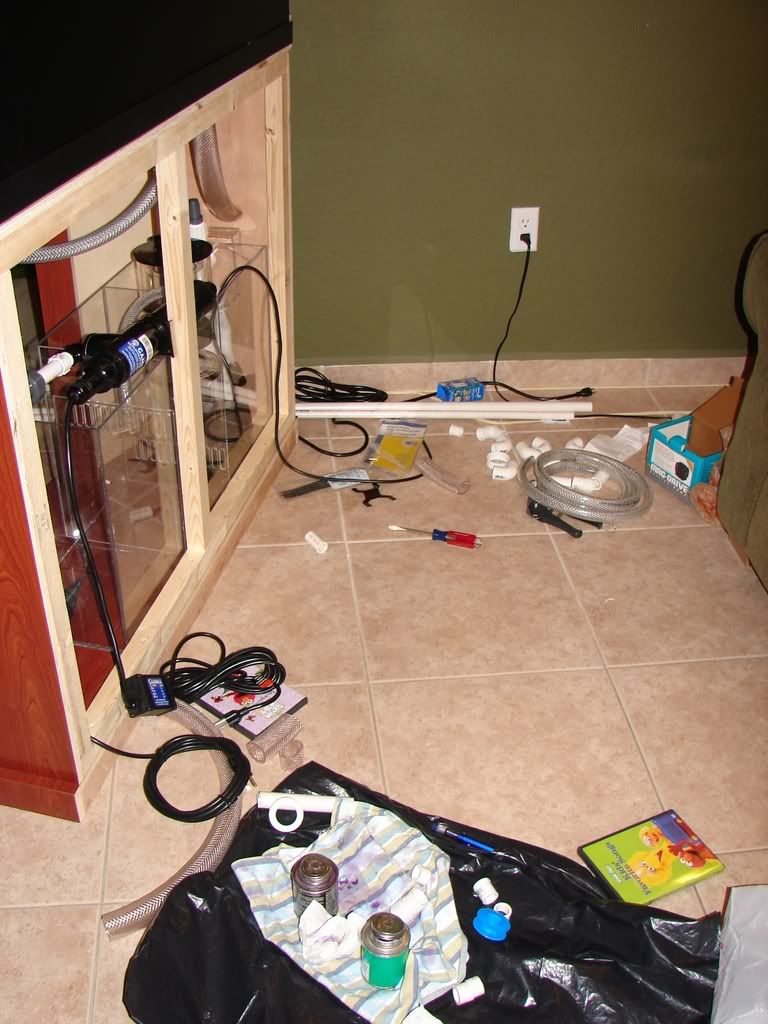 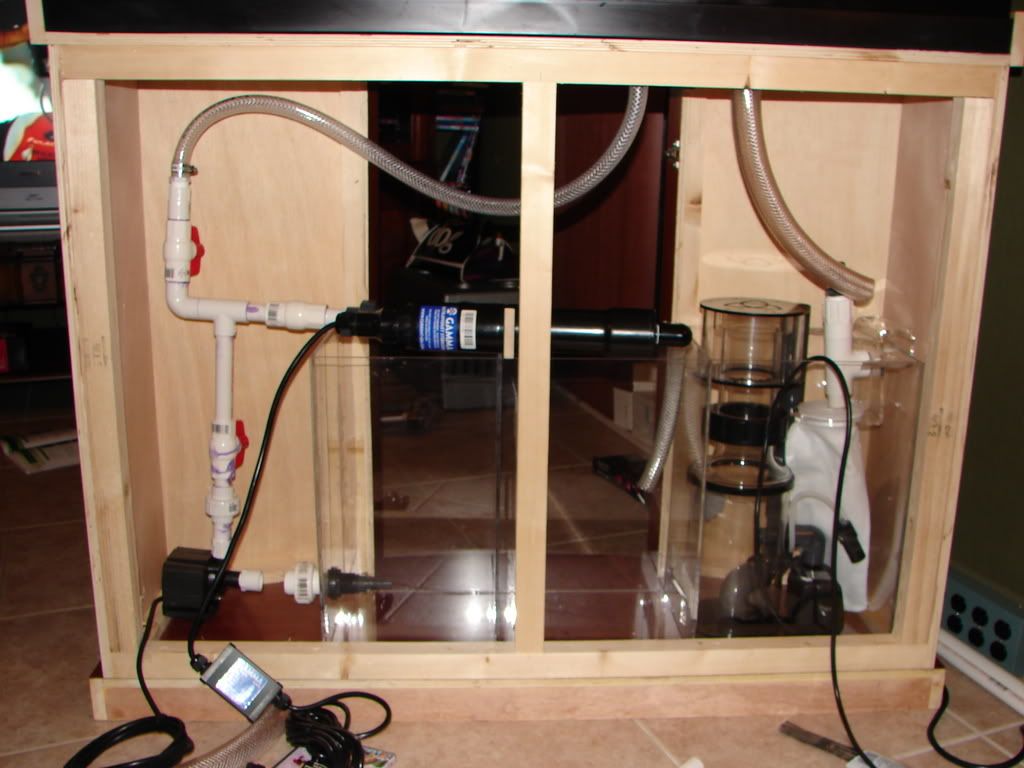 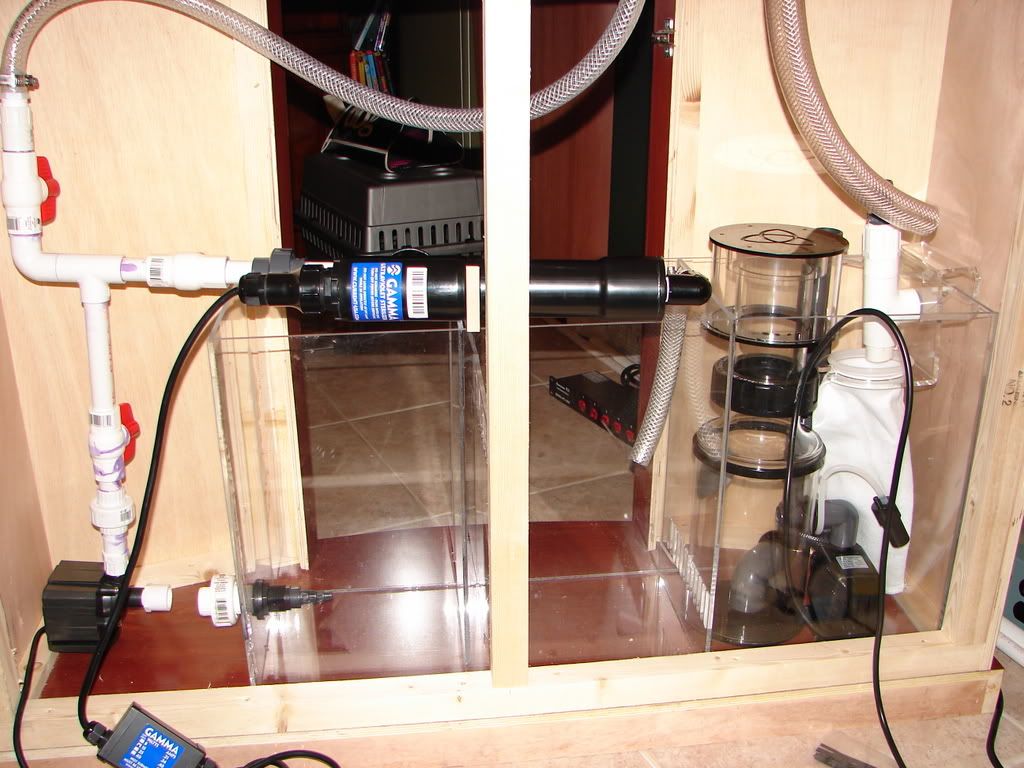 Guys...Thanks for keeping up with my thread and please post some opinions so i can continue to better my build. Hopefully she'll have rock and water by weeks end. P.S. Please excuse JDRACO in the 1st pic... hes a little slow. (thanks Joey for all your help you are the man!) |
|
|

|
|
|
#88 |
|
Registered Member
Join Date: May 2007
Location: Miami, FL
Posts: 2,405
|
I want to know if this is a good idea... I just cut some eggcrate to line the bottom of my tank and set my LR on. Then i will set in the sand (2" or so) and i will follow that with the water. I always thought it is good to get the rock off the glass so i thought what better than eggcrate. Is this setup a good way to go? Will i have issues with fish trying to burrow and running into the crate or is a 2" sandbed deep enough to avoid that potential problem???
tips please |
|
|

|
|
|
#89 |
|
Moved On
Join Date: Sep 2002
Location: Ft Worth, Tx
Posts: 43,217
|
Normally I would recommend some pink foam under the sump in the stand. http://www.owenscorning.com/around/i...s/foamular.asp
Home Depot sells 4' x 8' sheets for $11 that are 3/4" thick. You don't need any eggcrate in there, just some sand. I wouldn't even put live rock in, because once your macro algae takes hold the rock is useless to be used. I have a bunch of LR rubble in my refugium that I can't even use to mount frags because of the risk of introducing macro algae in the reef. Looks very nice. |
|
|

|
|
|
#90 |
|
Registered Member
Join Date: May 2007
Location: Miami, FL
Posts: 2,405
|
Well, Im pretty much done with the plumbing and electrical (rock and water tomorrow hopefully). I even hooked up a dj power center and all my ballasts are now in. I changed the plumbing a little bit especially the hose setup to optimize my flow. Heres a before and after..
Before 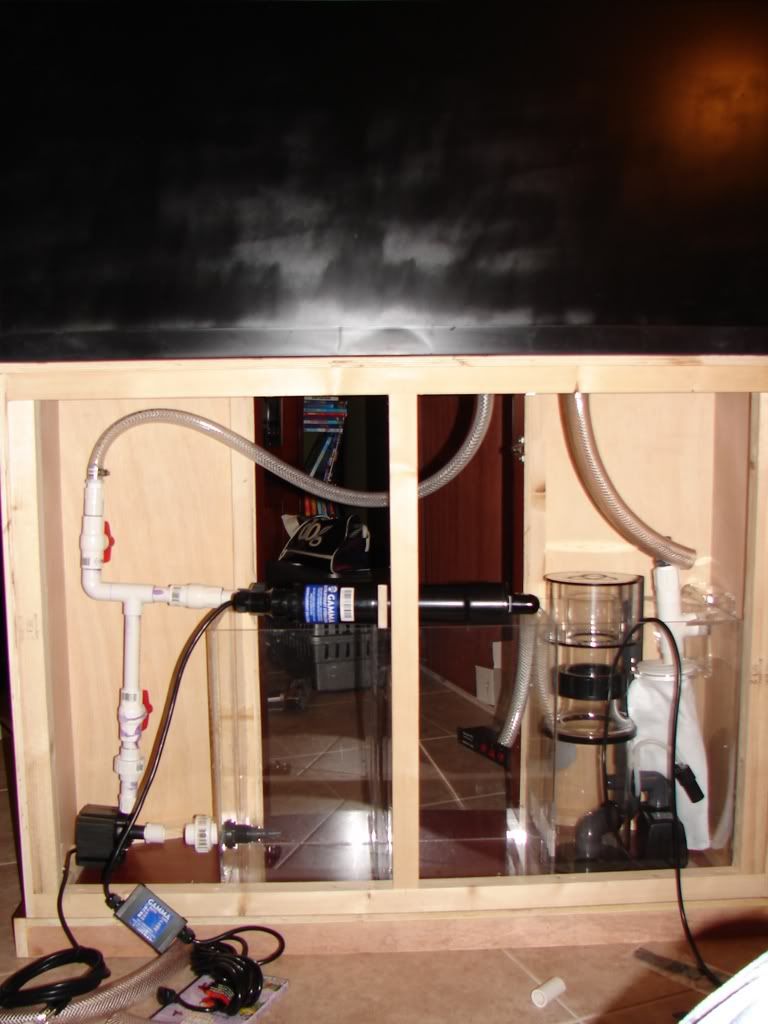 After 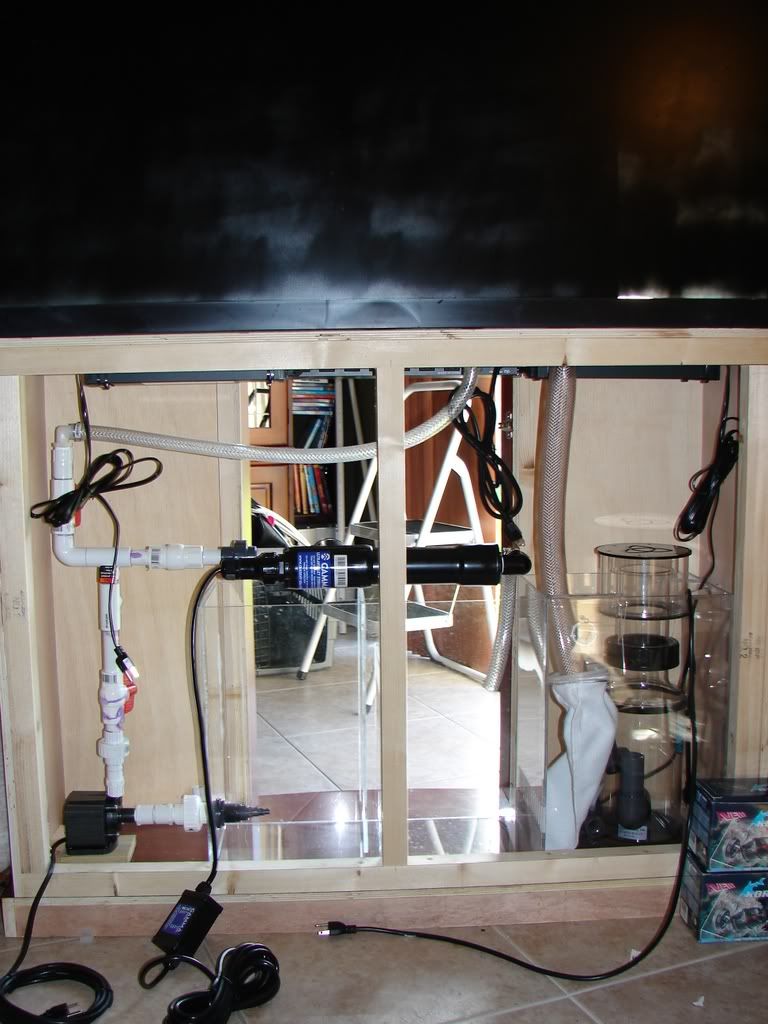 heres the front w/ the rocker switches (minus the door) 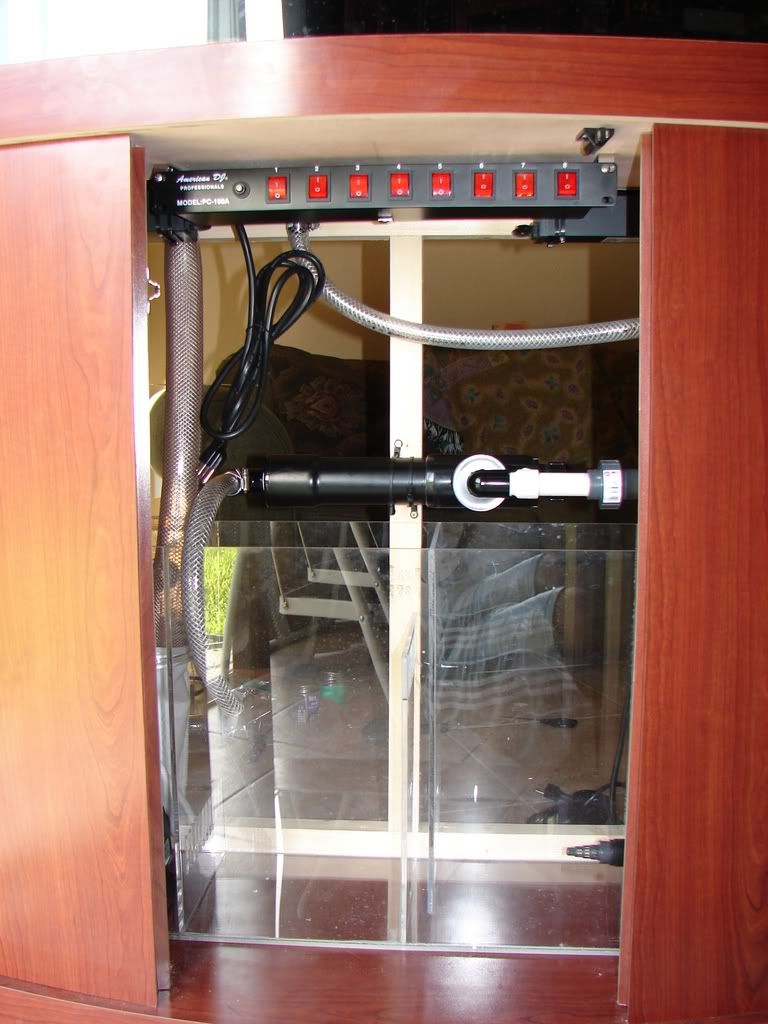 heres a pic showing the ballasts and rear of the dj power center 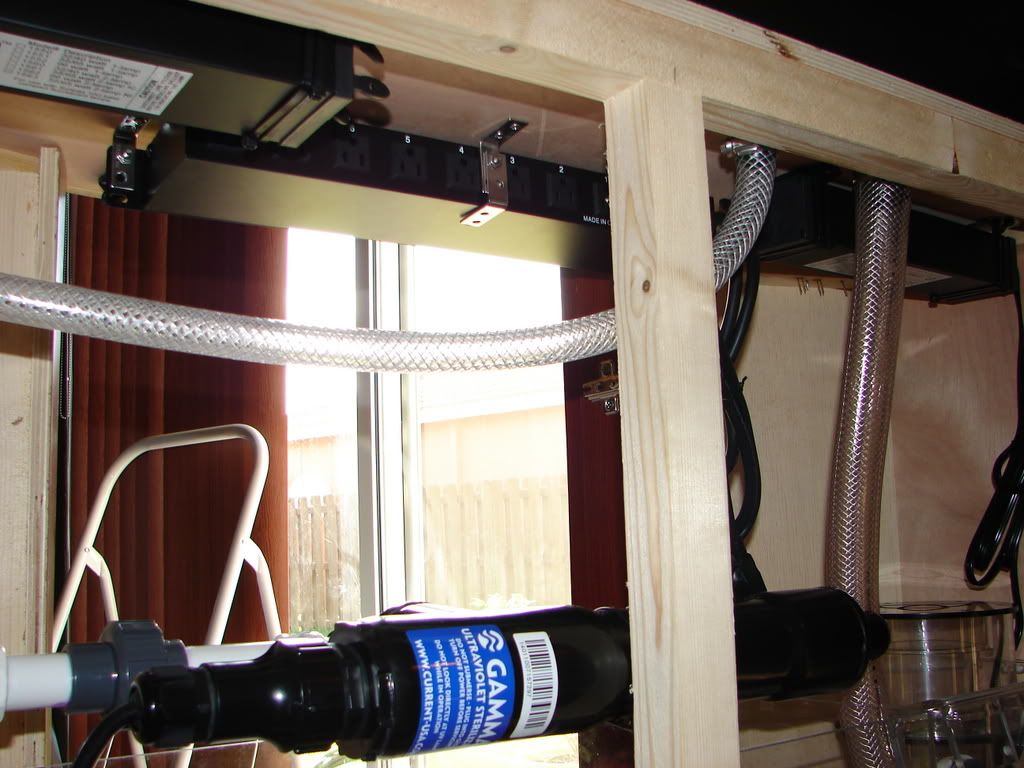 And heres a GFCI I put in (notice the blood on the switch... ive cut myself like 5 times nearly needing stitches on one...) 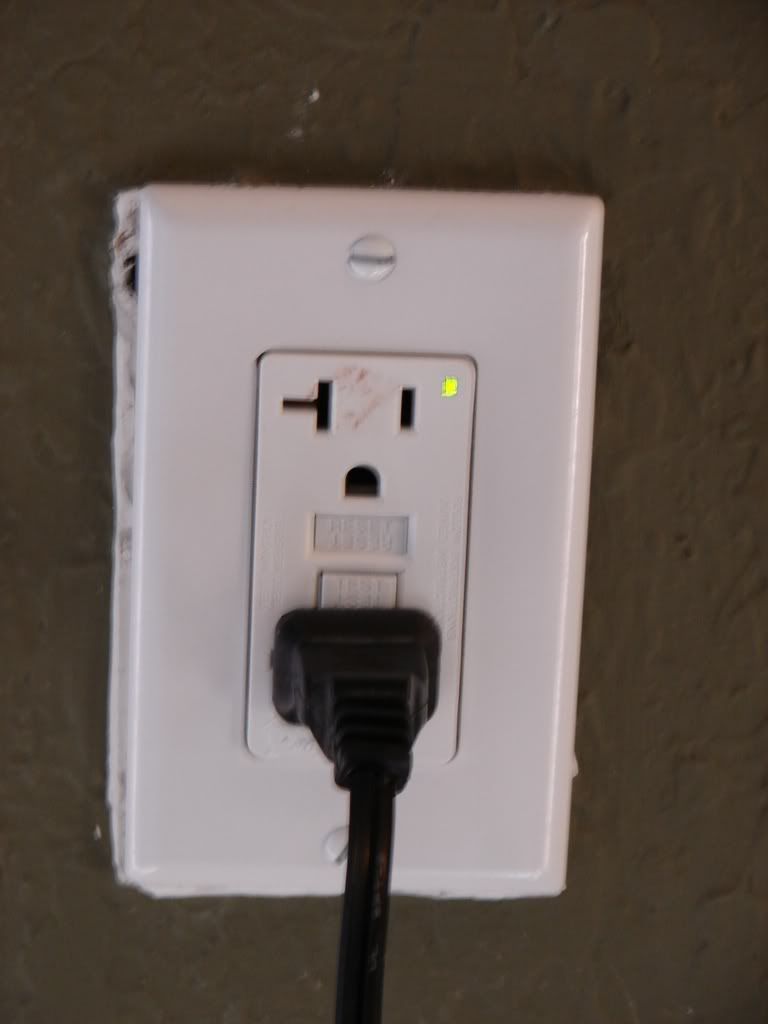 I want to thank my buddy Joey that helped me all day yesterday and the wife for supporting me and even staying home today from work and throwing me a hand. Thanks for viewing... |
|
|

|
|
|
#91 |
|
Moved On
Join Date: Sep 2002
Location: Ft Worth, Tx
Posts: 43,217
|
I like how you secured the DJ station. That should work well. You did a nice job, minus the blood-loss.
The strainer in the sump (going to the return pump) will need to be removed often to avoid clogging up. They make better ones that allow more flow yet still prevent anything large going into the impellar. |
|
|

|
|
|
#92 |
|
Registered Member
Join Date: Aug 2005
Location: Vermont
Posts: 1,982
|
I hate the fact that AGAs new Megaflow kits use barbed fittings for flexible tubing!
 My 180 has the same type, but I much prefer the older glueable PVC ones my 72 came with. When I set up my 180 again shortly I'm going to ditch those barb fittings. My 180 has the same type, but I much prefer the older glueable PVC ones my 72 came with. When I set up my 180 again shortly I'm going to ditch those barb fittings. Looking good! I really like that stand and canopy. Its MUCH better looking than my plain old AGA stand with temporary (now 2 year old) ghetto light setup.
__________________
PBITAWA! Current Tank Info: None now. Past- 180g w/ 100g basement sump and 20g 'fuge. H & S skimmer, T'5s & Tunze |
|
|

|
|
|
#93 |
|
Registered Member
Join Date: May 2007
Location: Miami, FL
Posts: 2,405
|
melev, a few posts ago where i asked about the eggcrate i meant it in the main tank not the fuge (sorry for not specifying). Will the eggcrate be a good idea to keep the rock of the glass bottom? Will I have issues with certain fish/critters when they try to dig and run into eggcrate? Planning on a 1-2" sandbed.
Also, the strainer is barely in the bulkhead and comes right out. If it becomes an issue with clogging i'll definately get a more open model. Oh and thanks for the replies and all your help. Poppin, thanks for the kind words and chime in if you see something i can do better please. |
|
|

|
|
|
#94 |
|
Moved On
Join Date: Sep 2002
Location: Ft Worth, Tx
Posts: 43,217
|
I don't see any need or value to putting eggcrate inside a DSB. Just put your sand in the tank and the LR. Even with a 2" sandbed, I would put the rock on top of the sand.
People that don't use sand use Starboard (cutting board material) to protect the bottom glass panel. |
|
|

|
|
|
#95 |
|
Registered Member
Join Date: May 2007
Location: Miami, FL
Posts: 2,405
|
Im having leaking problems (from my mag 7) so im taking it off and replacing with a little giant right now....pray for me! Ill post some fully fuctional pics later ...hopefully.
here are some pics... Overall 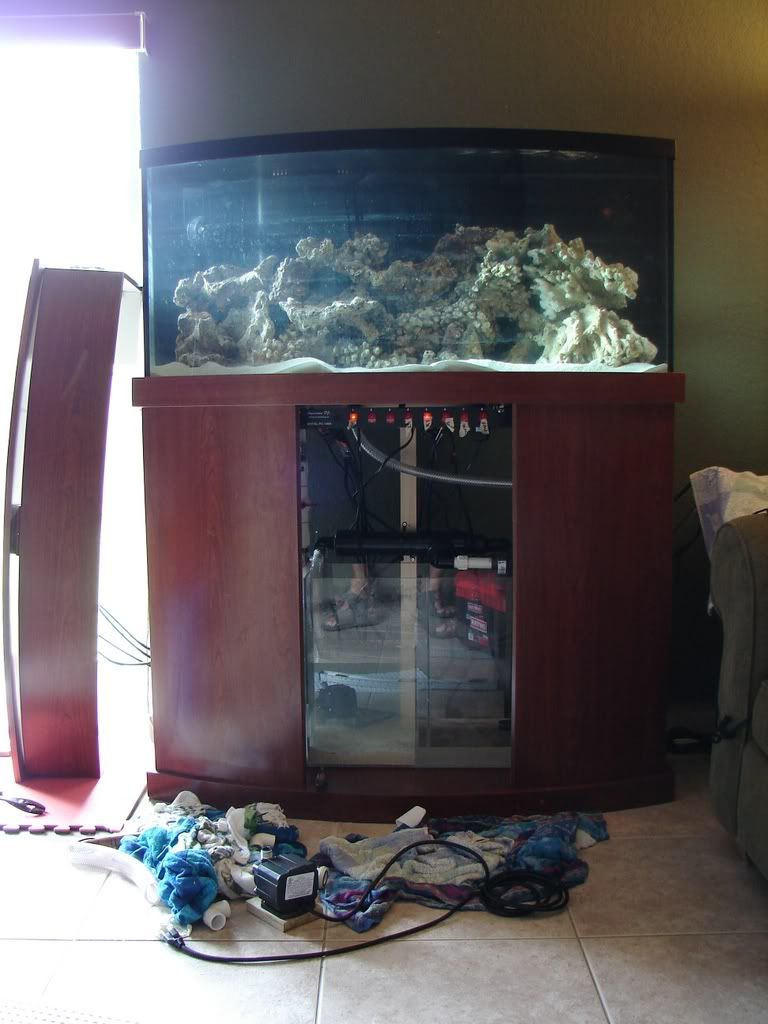 Left side of tank 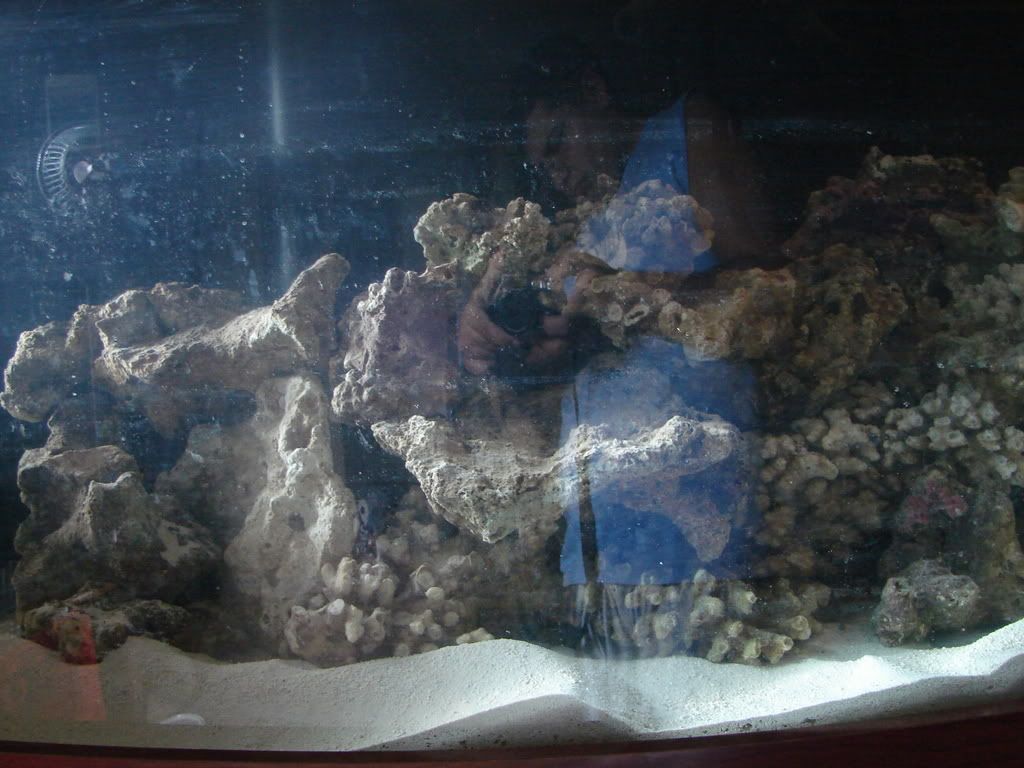 Right side 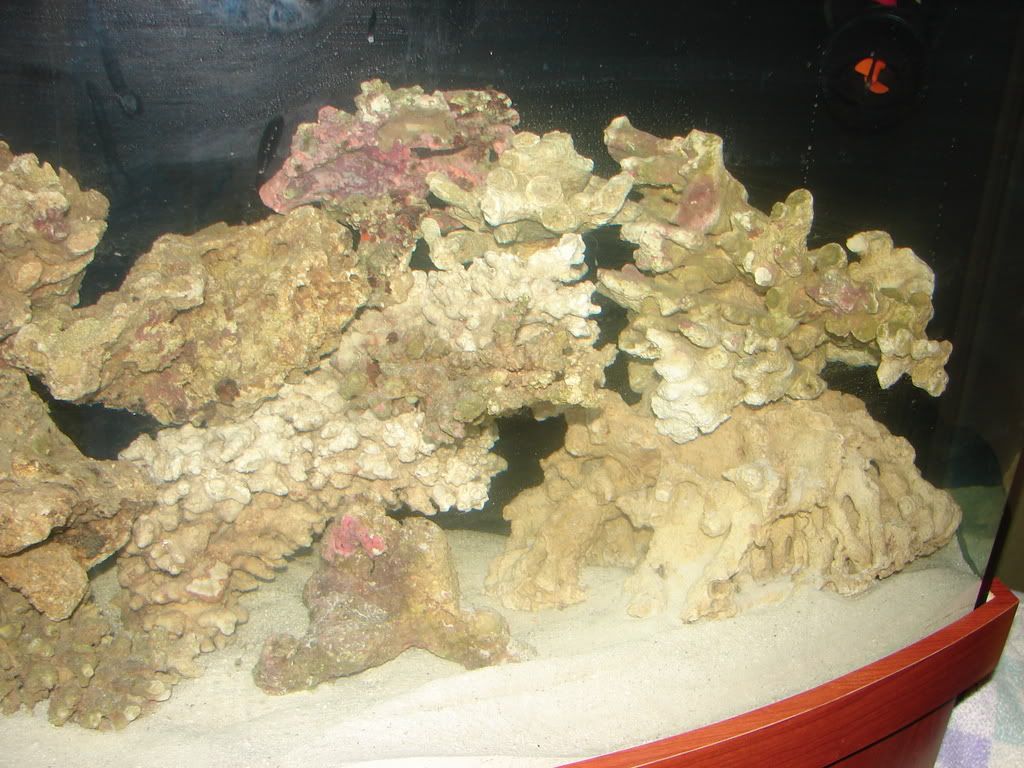 upclose overall 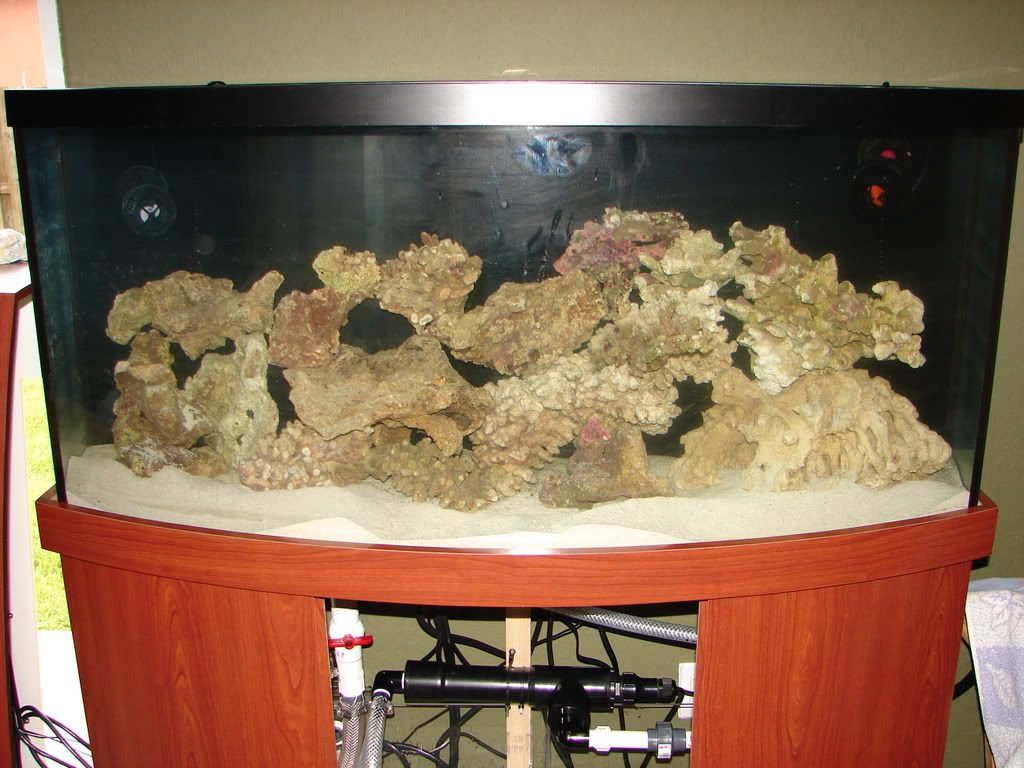 Euro RS100 cranked up for the 1st time... 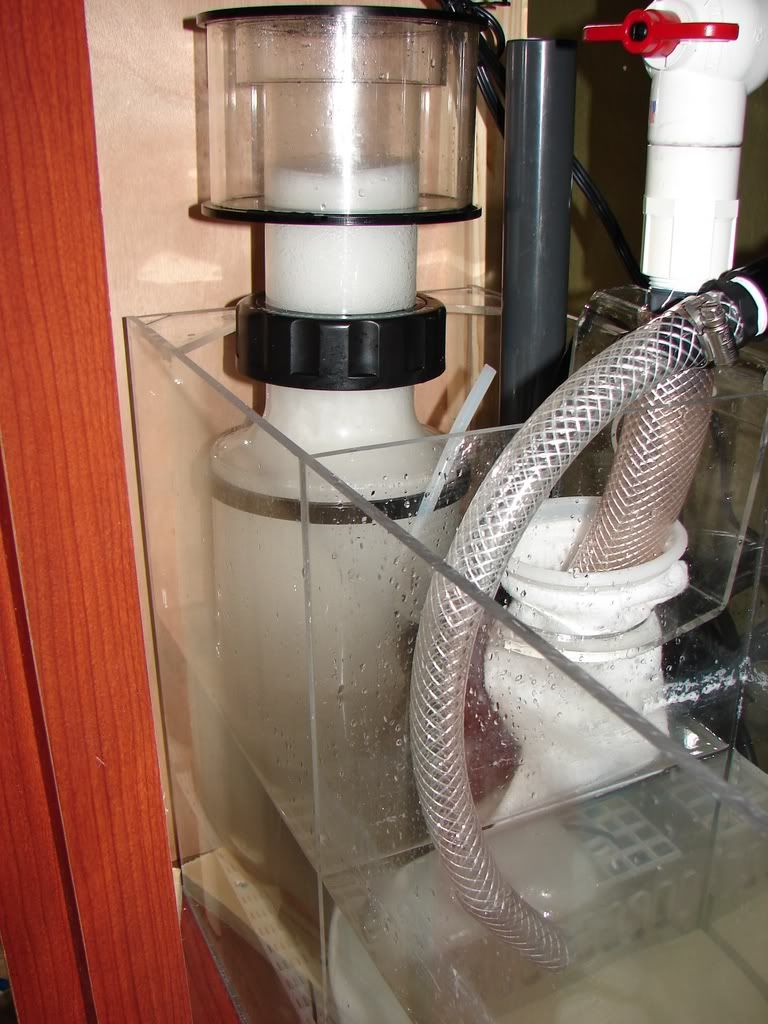
|
|
|

|
|
|
#96 |
|
Registered Member
Join Date: Apr 2007
Location: Indianapolis, Indiana
Posts: 114
|
YAAAY!!! looking good so far man!
|
|
|

|
|
|
#97 |
|
Registered Member
Join Date: May 2007
Location: Miami, FL
Posts: 2,405
|
Heres some pics of the system setup and running (the door is still off as i plan on doing a little carving out of the stand to better sit my pump on monday)
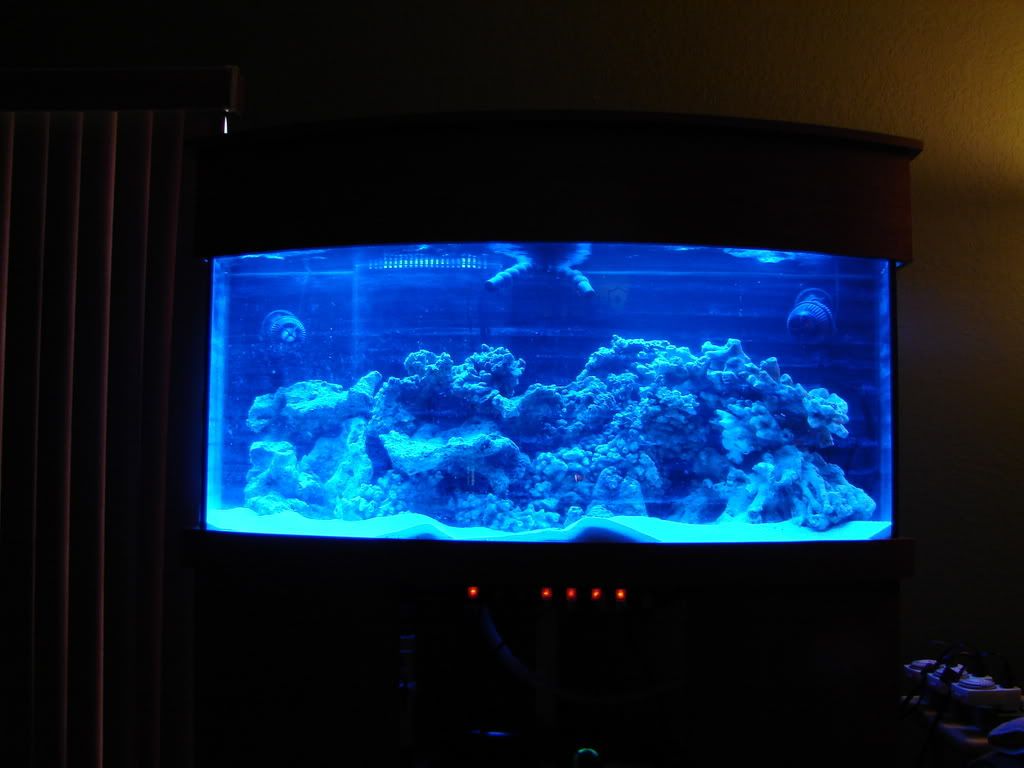 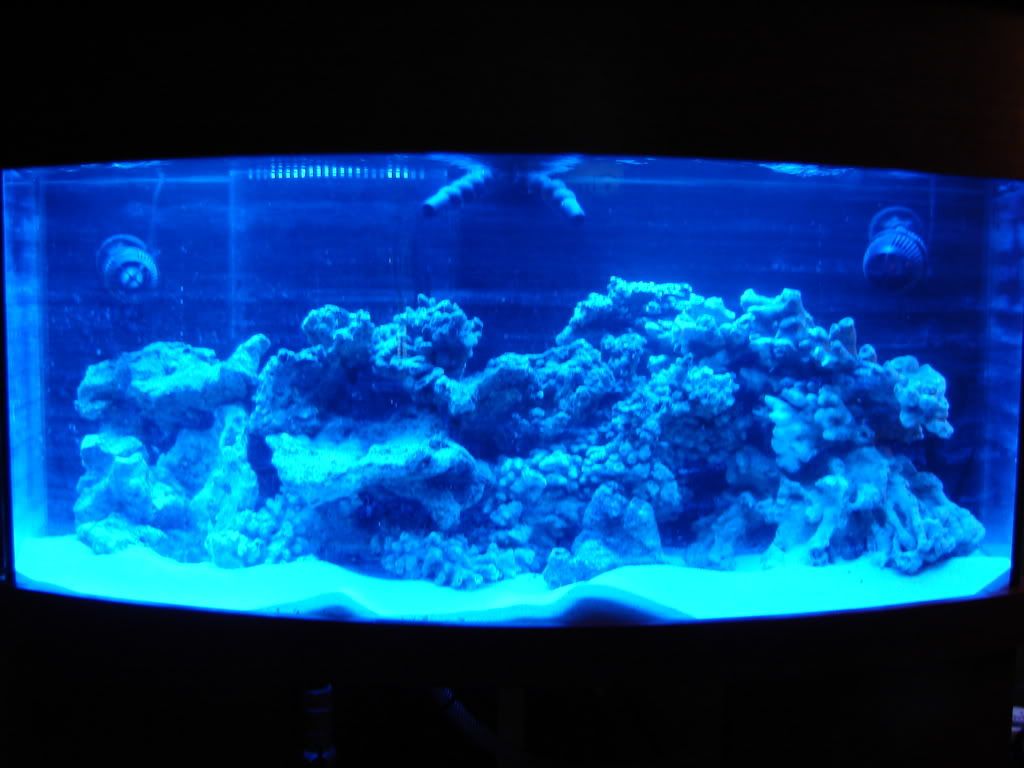 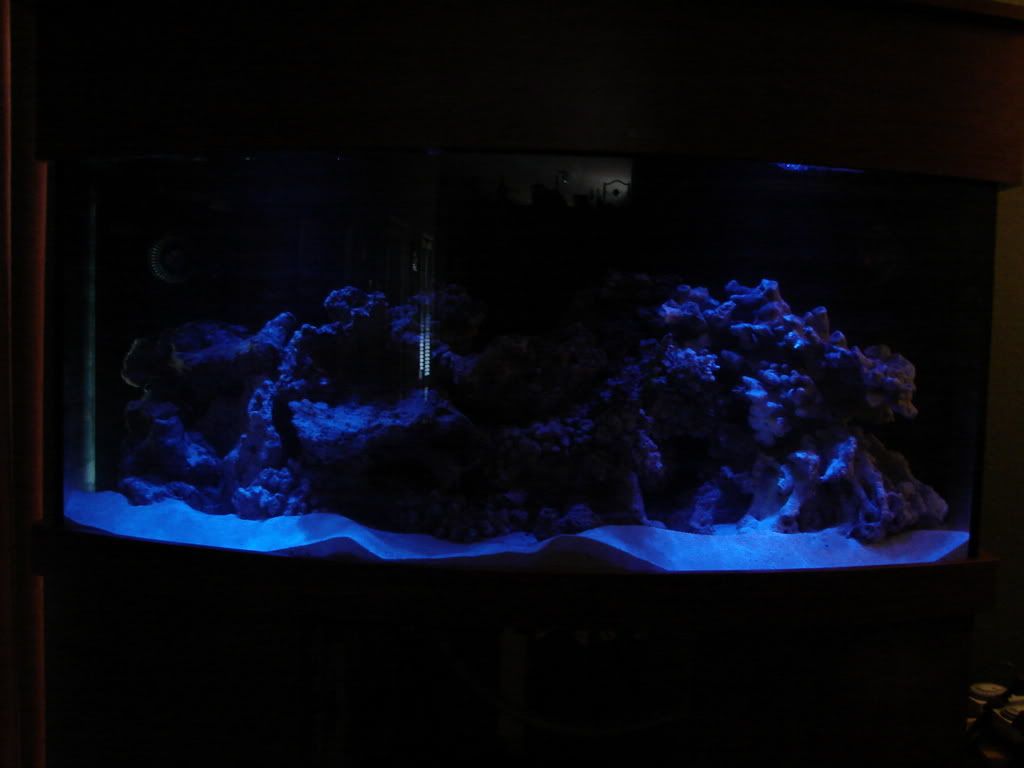
|
|
|

|
|
|
#98 |
|
Moved On
Join Date: Dec 2006
Location: Indiana
Posts: 8,375
|
Looks good man, pry the only different things i would have done would have been 3.5" sandbed and t5 lights, other than that your looking very nice. Like the stand and canopy, very sharp.
|
|
|

|
|
|
#99 |
|
Moved On
Join Date: Sep 2002
Location: Ft Worth, Tx
Posts: 43,217
|
You are on your way now...
|
|
|

|
|
|
#100 |
|
Premium Member
 Join Date: Jan 2007
Location: Boca Raton, FL
Posts: 223
|
Question with your sump: Is that center section for a refugium? I just picked up a used 72 bowfront, with accompanying custom sump. The center section in my sump is the only one large enough to be the refugium and I am concerned there were be too much flow through it.
|
|
|

|
 |
|
|