
|
|
 12/21/2013, 05:47 PM
|
#126 |
|
Registered Member
Join Date: Oct 2010
Location: Los Angeles, CA
Posts: 350
|
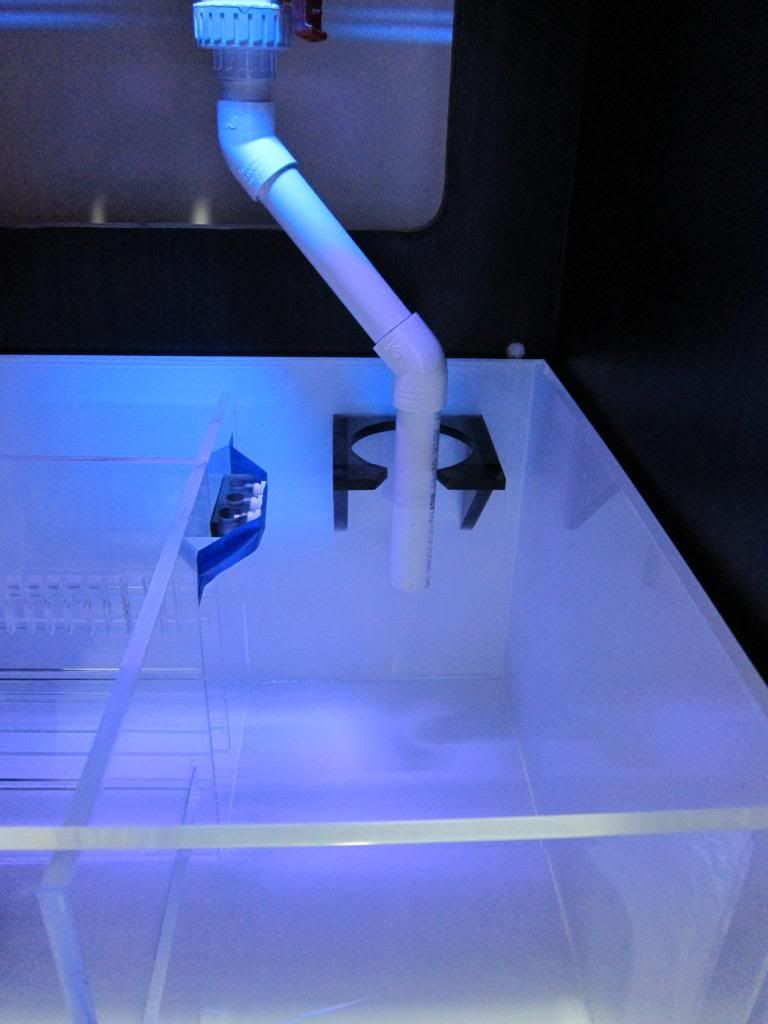
Probe holder is in place, return pumps silicone feet glued in, and rubber mat installed underneath the sump. I need to shorten my hard plumbing for the return because the barb fittings are touching together. Once I get that done, I'm going to use silicone tubing to install the pump. Hopefully this will get rid of the vibrations and humming I'm i'm hearing.
__________________
SFVR Member Cadlights 50G Artisan (Rebuilding/Upgrading) 10 Gallon Project |

|

|
|
12/24/2013, 08:24 PM
|
#127 |
|
Registered Member
Join Date: Oct 2010
Location: Los Angeles, CA
Posts: 350
|
Literally, I got wood
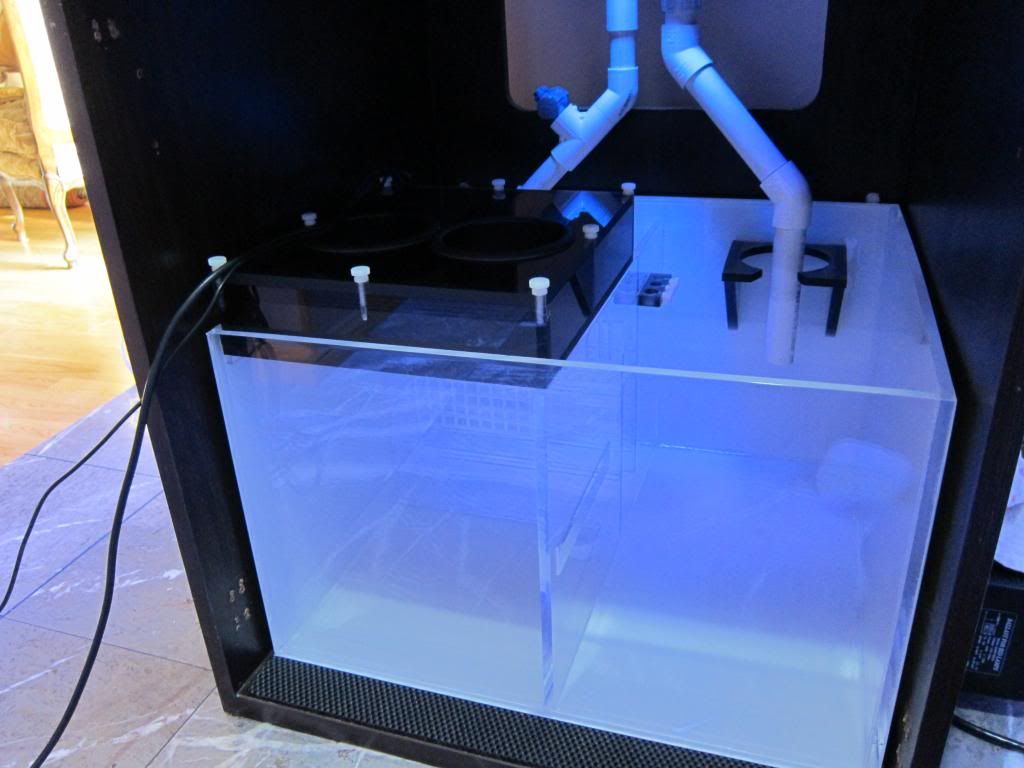
 Yesterday I picked up the 3/4" Oak plywood that I had cut for me from one of my local wood shops. If anyone is around the Los Angeles area, House of Hardwoods is amazing. They can cut and make anything with top notch quality. I was a bit worried that my cuts wouldn't be even but i was I very pleased how they came out. They even gave me the scraps, which were some pretty big pieces. I'm going to have these guys build me a stand for my next future upgrade. The Kreg Jig is my new favorite tool. So simple to use and drills amazing angled holes. You guys can see I drilled a few pieces already. They came out great. Those are all the holes I need to put this stand together. I also need to get some plugs to cover some of the holes so they wont be such an eye soar. Not sure if I'm going to work on the stand tomorrow because its Christmas  but the day after, I'm going to drinkin a few cold ones and get to work. I'm calling this build/stand the Bio-Mech Control Unit. but the day after, I'm going to drinkin a few cold ones and get to work. I'm calling this build/stand the Bio-Mech Control Unit.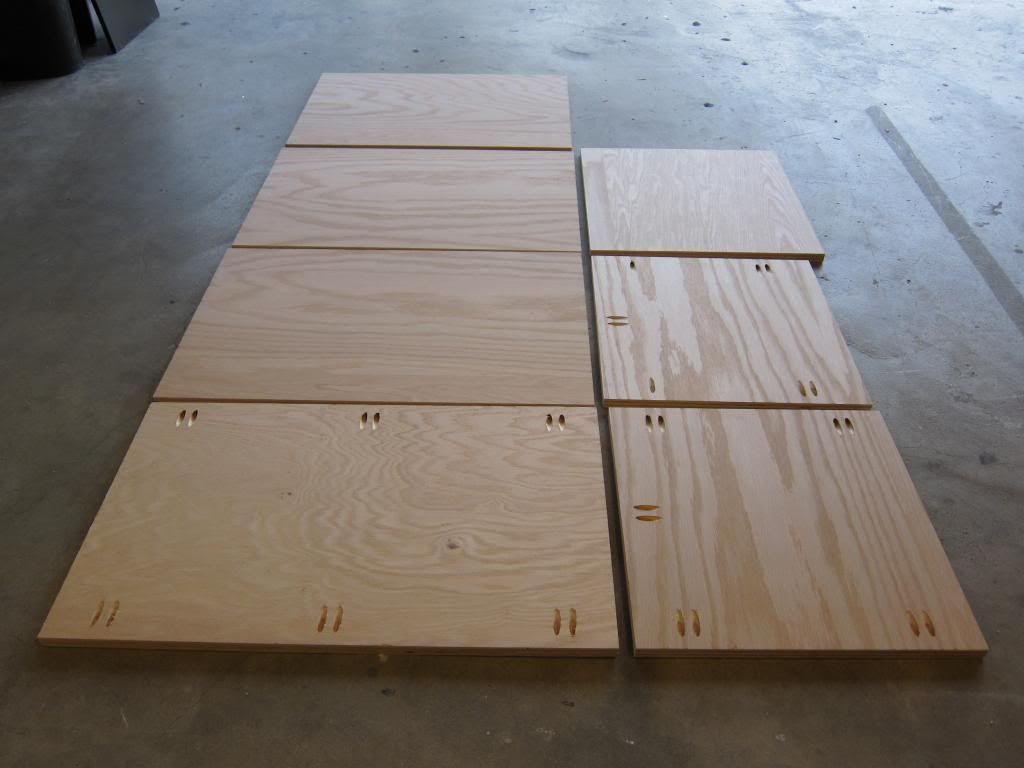 I also finished up my return line. I shorted the pipe so I can use a piece of silicone tubing. I got a feeling this thing is going to be dead silent. Well, at least I hope so. 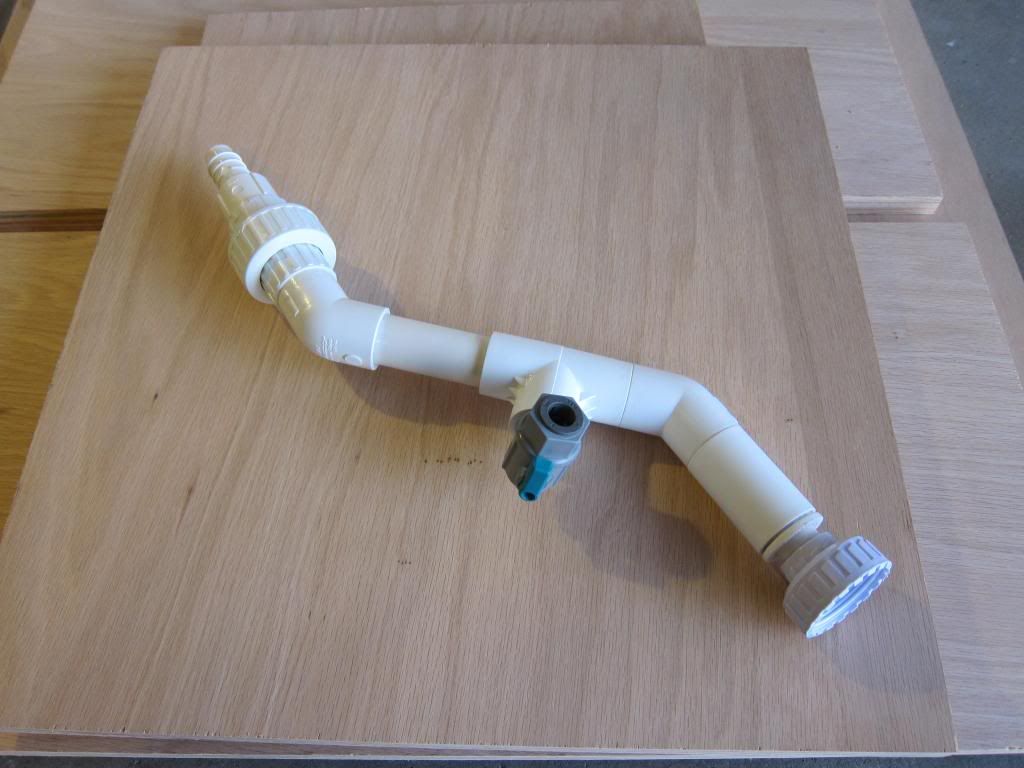 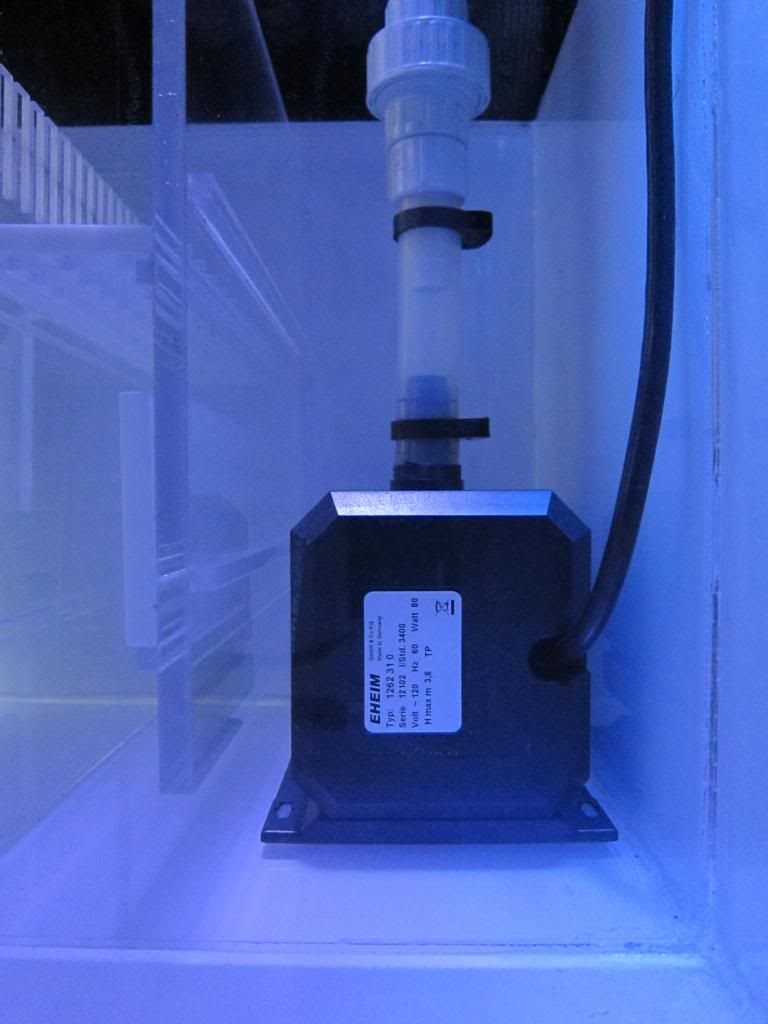 Here's a shot of the tank since I haven't posted one in awhile. I've been keeping her clean and wrapped up so she doesn't get dirty. Yes its a she, leave me alone :P 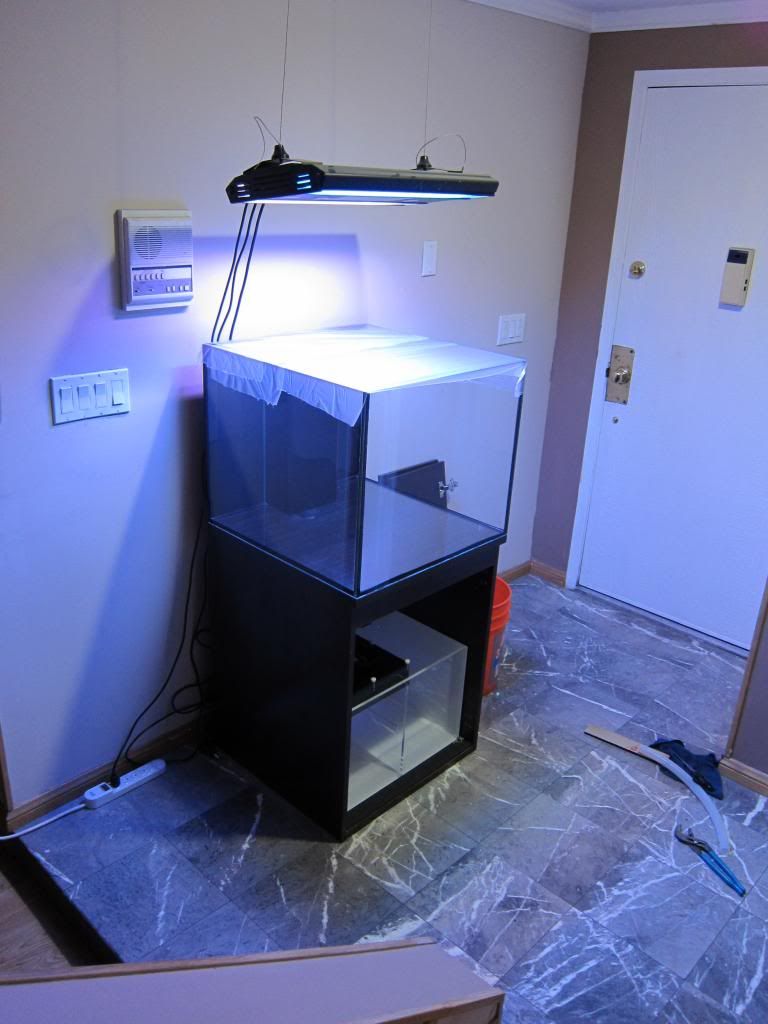
__________________
SFVR Member Cadlights 50G Artisan (Rebuilding/Upgrading) 10 Gallon Project |
|
|
|
|
12/26/2013, 08:19 PM
|
#128 |
|
Registered Member
Join Date: Oct 2010
Location: Los Angeles, CA
Posts: 350
|
Update Time!!!!
First of all, I hope all of you had a wonderful Christmas. Hopefully you got some new goodies for your tanks and more Finally, the thing I've been waiting for to get my tank to the next level of being complete. It's so close to being finished but I still need to wait for a few more things to come in the mail. The stand is basically done. All that is left is to install the hinges for the top and front doors. I want to use Euro Hinges on the front door but all the jigs that cut those holes are like $200+ and I'm not going to fork over that much doe for 2 holes. So I bought a cheapy one that I hope will do the trick. Wish me luck on not f###ing up. After that is done, I'm going to stain it as close as possible to my DT stand. It's a dark walnut laminate, so I bought dark walnut stain. Might have to give it a few coats though. Then I'm going to paint the inside of the stand white with exterior paint and go over it with a polyurethane coating to give it an extra seal. Before I paint it, I need to retrofit all my electronics into their places, drill my holes for wire management and plumbing. Here's some of the progress I made today. Built the stand and placed it where it's going to be. I retrofitted my ATO reservoir, dosing containers, and bio pellet reactor to see how everything fit. I also ran into a problem I didn't think about when I was designing the placement of my equipment with SketchUp. I wanted to have my carbon/GFO reactor in front of my bio pellet reactor but then realized it was completely in the way of all the plumbing. So i was pretty frustrated. It must have happened for a reason because I found a much better place for it and the back pressure wouldn't such an issue. I actually like this spot much better in my DT stand. 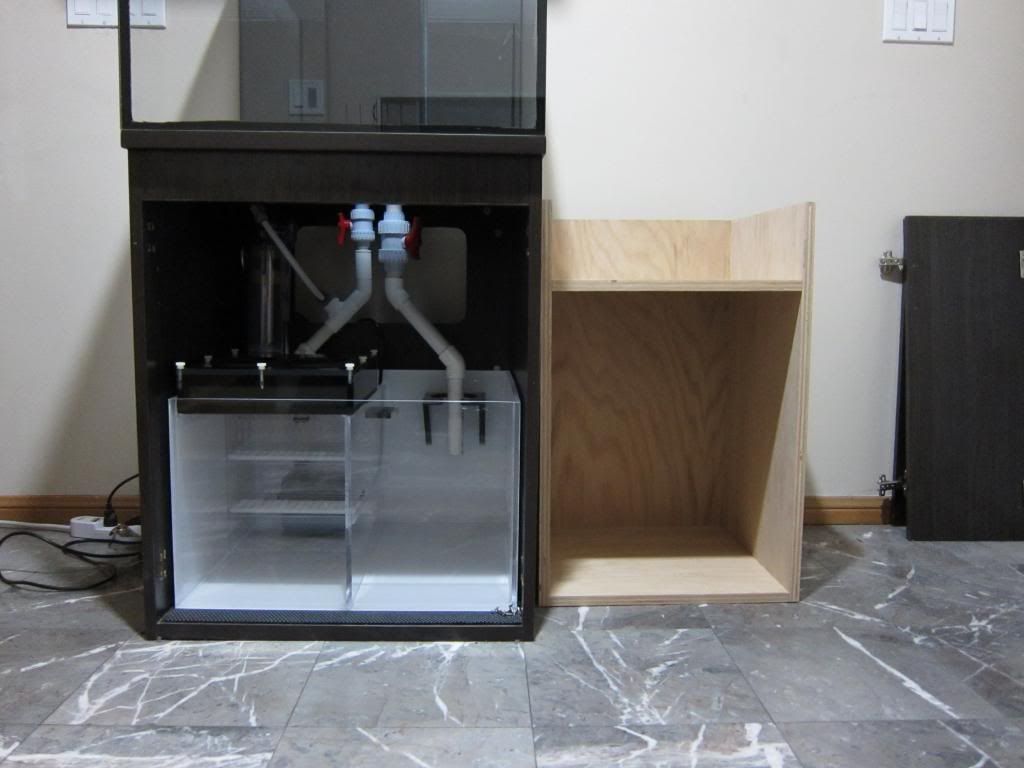 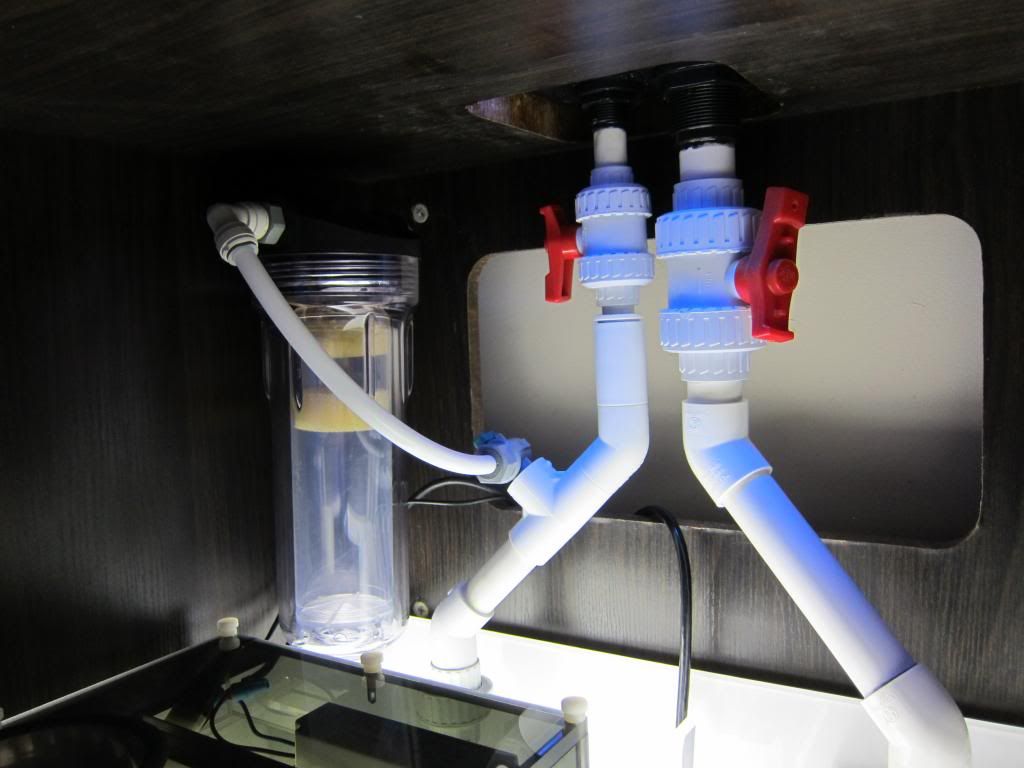 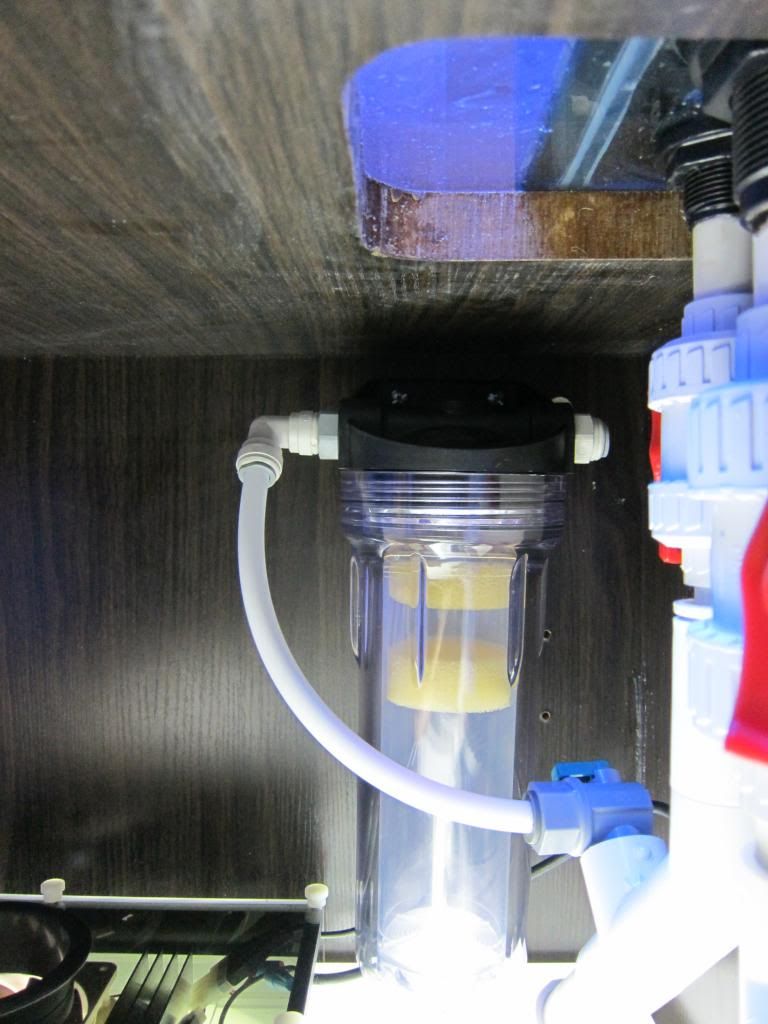  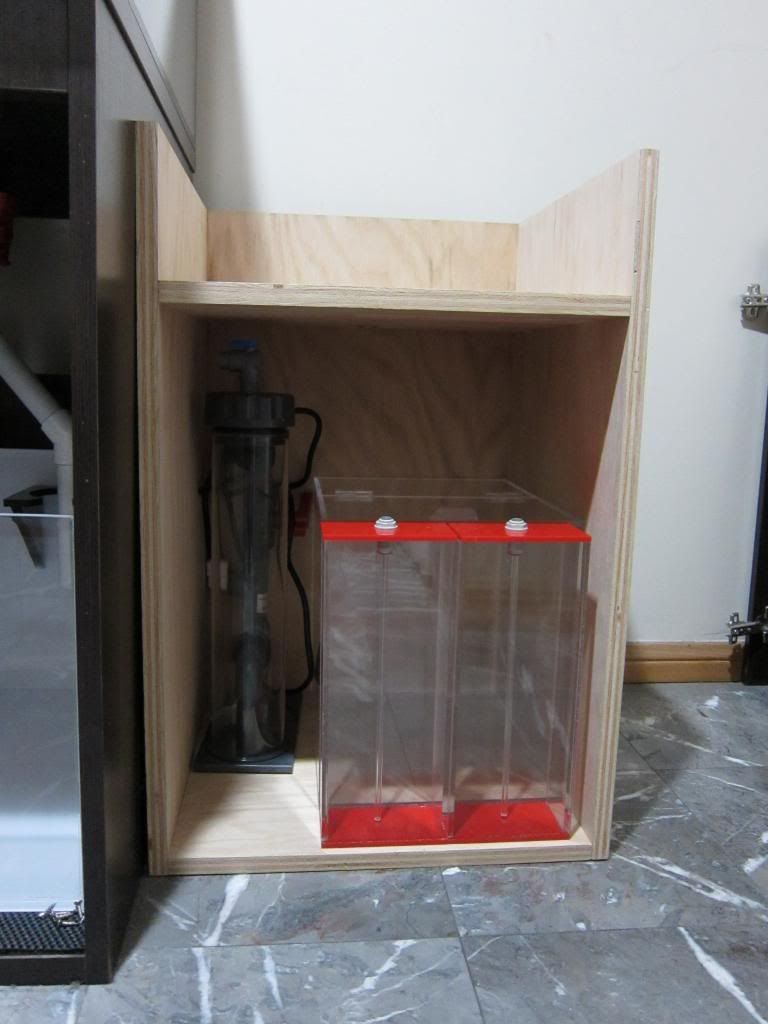 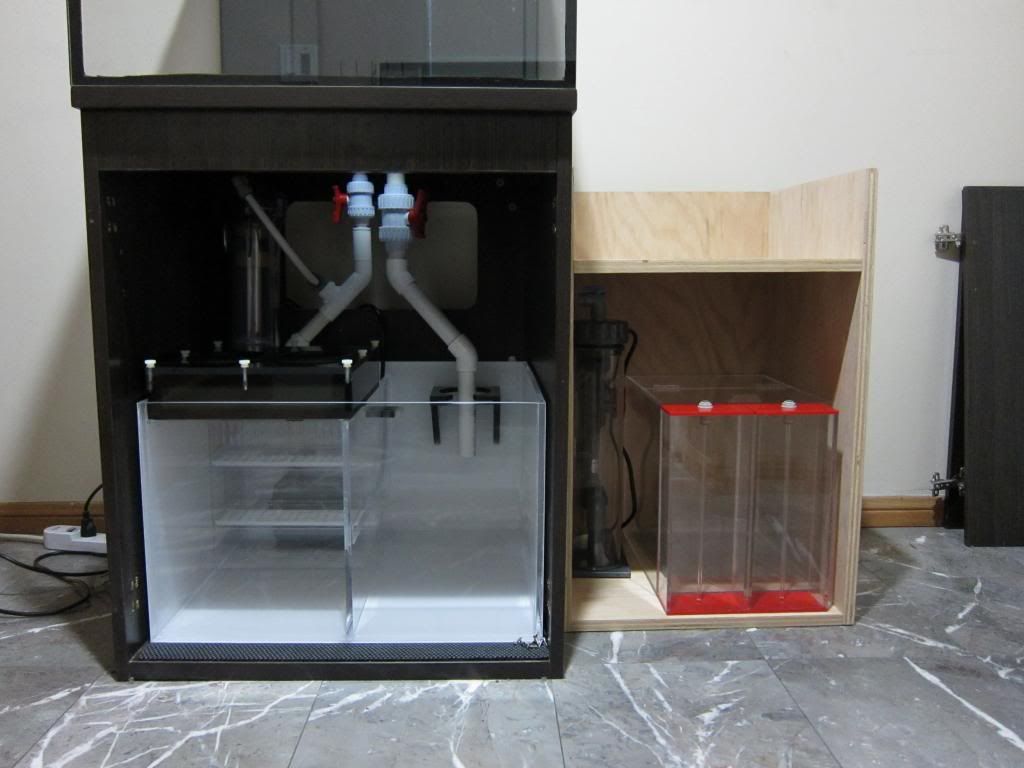
__________________
SFVR Member Cadlights 50G Artisan (Rebuilding/Upgrading) 10 Gallon Project |
|
|
|
|
12/26/2013, 11:32 PM
|
#129 |
|
Registered Member
Join Date: Jan 2007
Location: menifee So cal
Posts: 11,042
|
Tip on staining if you get the all in one stain and varnish makes sure you continually stir it, if not it will do a nice little skid mark right where you do not want it.
|
|
|
|
|
12/27/2013, 03:15 AM
|
#130 | |
|
Registered Member
Join Date: Oct 2010
Location: Los Angeles, CA
Posts: 350
|
Quote:
Not sure if its all in one but I'll make sure i keep stirring it anyway.
__________________
SFVR Member Cadlights 50G Artisan (Rebuilding/Upgrading) 10 Gallon Project |
|
|
|
|
|
01/07/2014, 06:06 AM
|
#131 |
|
Registered Member
Join Date: Oct 2010
Location: Los Angeles, CA
Posts: 350
|
BioMech Control Unit Update!
Just finished staining and painting the stand today. I still need to get some grommets for the wiring holes, a wire management box, and some hinges for the doors. Once I get those, I'll start arranging my Apex and all the other goodies. The piece that's hanging off the shelf is a bracket that's going to hold the BRS dosing pumps. It is sitting directly over where my dosing containers are going to be. It's also going to hide some of the wiring for a cleaner look. It's my favorite part of the stand. The stand is lighter in color compared to my DT stand but it really isn't that bad in person. I can't even tell when the light in the room is off ( which is always off ) and the light fixture on the tank is on. Overall, I'm very pleased how it came out. My first time building anything like this from scratch. Enjoy the pictures. I'll post an update once I get in the pieces to finbish it up 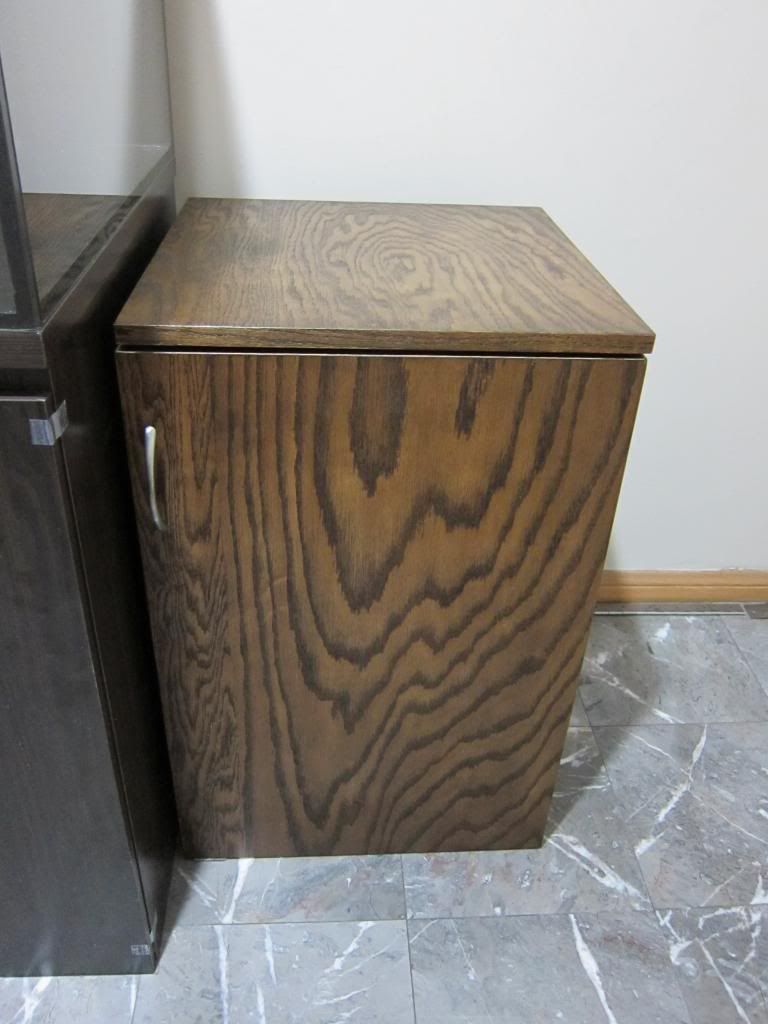 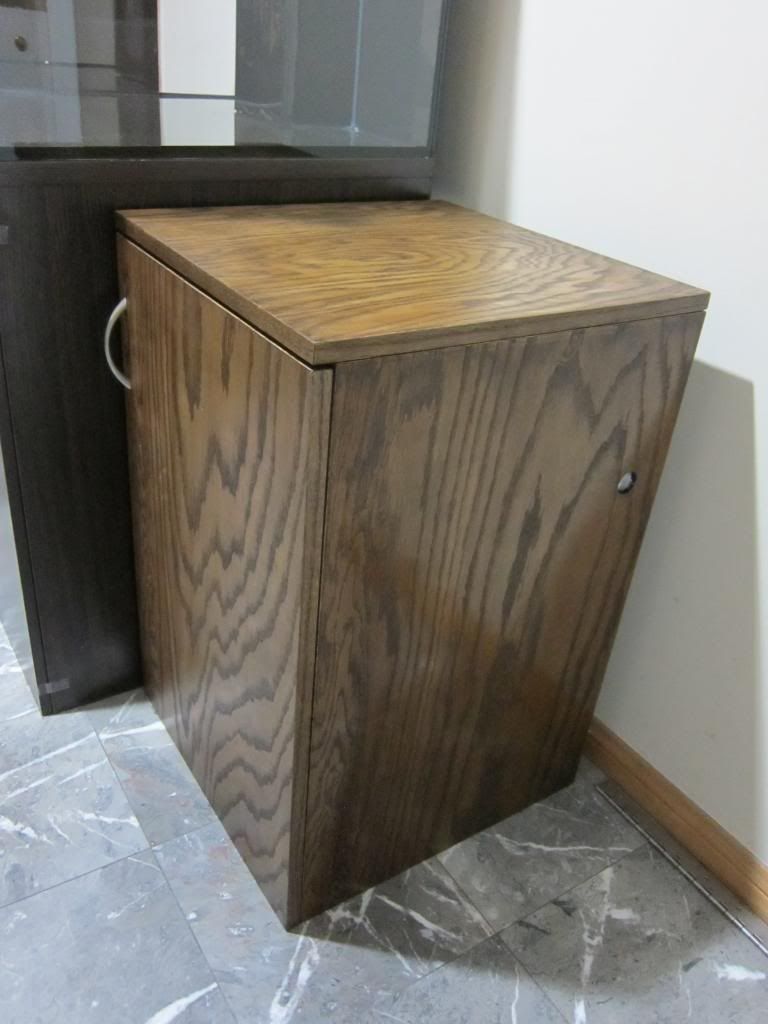 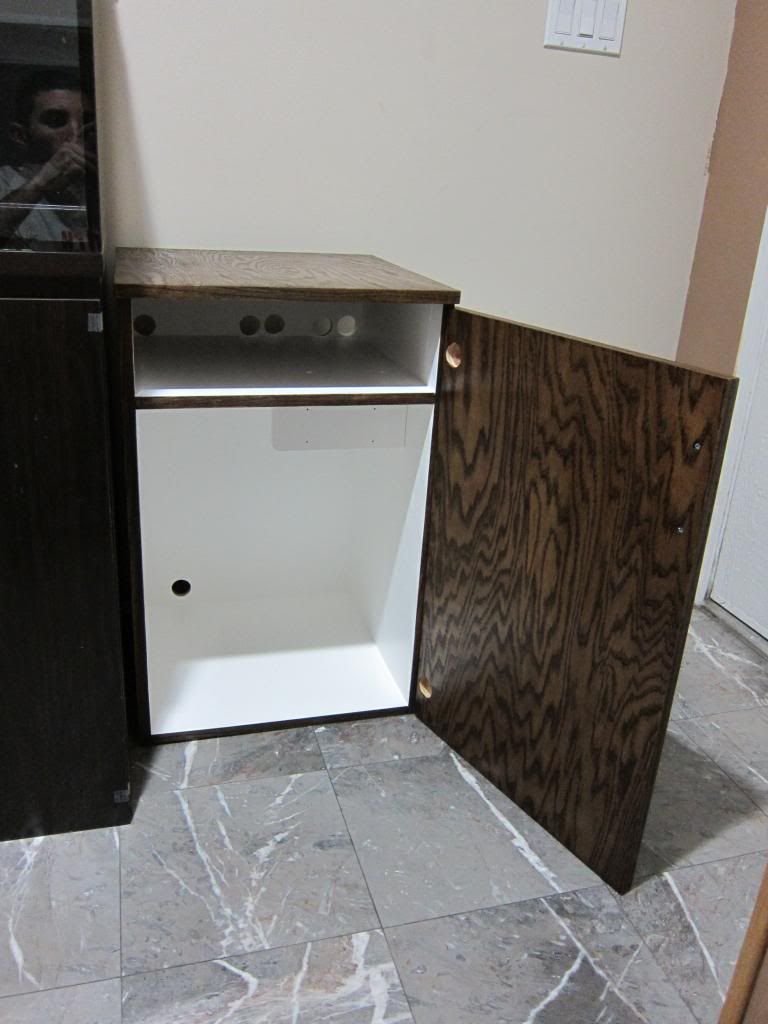  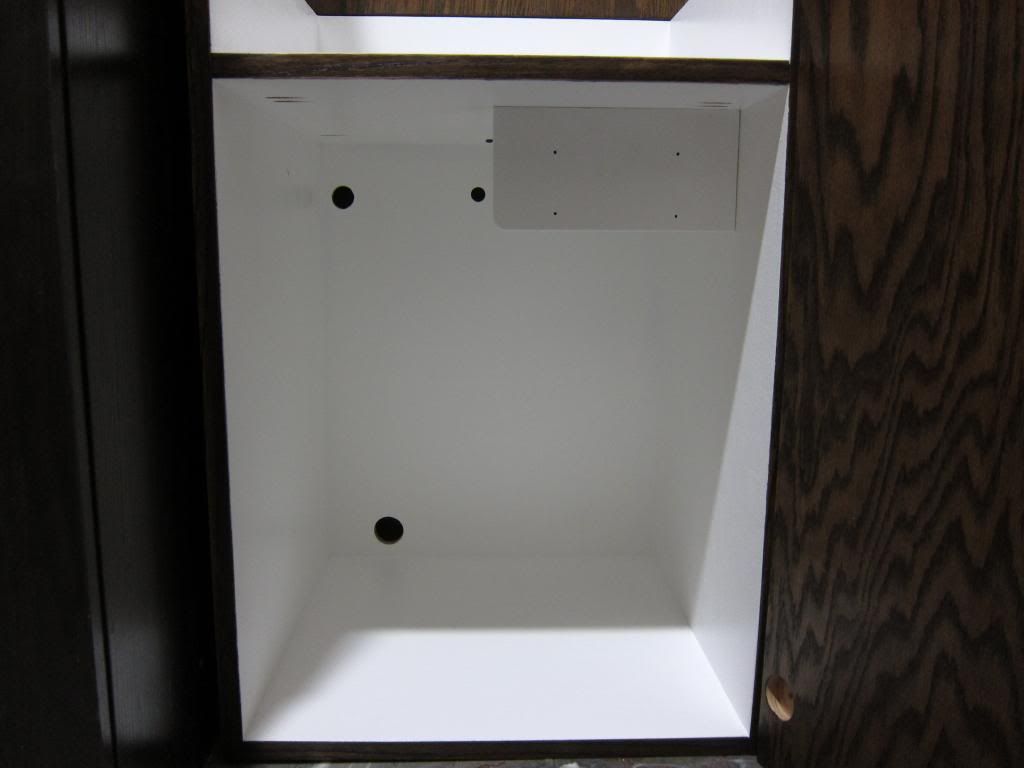 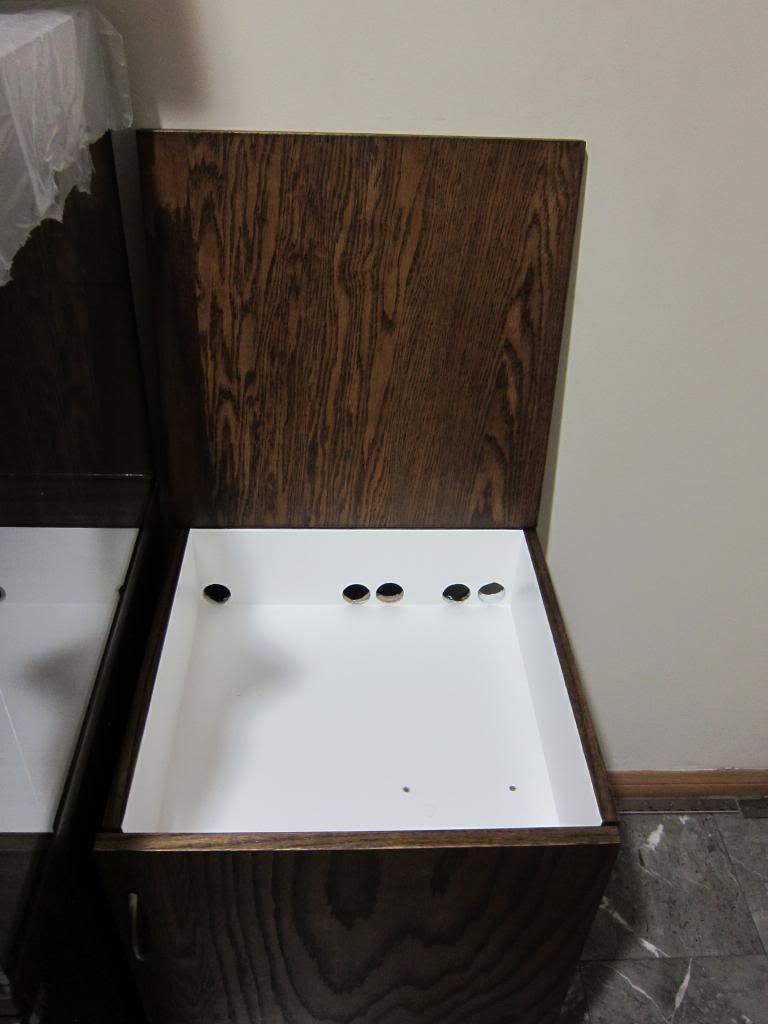
__________________
SFVR Member Cadlights 50G Artisan (Rebuilding/Upgrading) 10 Gallon Project |
|
|
|
|
01/07/2014, 07:00 AM
|
#132 |
|
Registered Member
Join Date: May 2006
Location: Streamwood,IL
Posts: 677
|
Looks great!
__________________
48x36x20h tank & 40x20x16h Sump - NanoSeaCreations 2x MP40 Quiet Drives, SKIMZ SM161 , Water Blaster HY-7000 Return ATI T5/LED 48"Powermodule, Apex with all the goodies,2 BRS Reactors |
|
|
|
|
01/10/2014, 06:47 PM
|
#133 | |
|
Registered Member
Join Date: Oct 2010
Location: Los Angeles, CA
Posts: 350
|
Quote:
__________________
SFVR Member Cadlights 50G Artisan (Rebuilding/Upgrading) 10 Gallon Project |
|
|
|
|
|
01/10/2014, 06:48 PM
|
#134 |
|
Registered Member
Join Date: Oct 2010
Location: Los Angeles, CA
Posts: 350
|
BioMech Control Unit Update Pt.3
So the stand is starting to look like something instead of just an empty box. It's not quite done yet but about 80% complete. I still need to get the grommets for the holes. Haven't been able to find any at my local home stores but I ordered some from Amazon that should be here by next week. I also need to mount the Votech Controllers and Apex Leak Detection Module. Other than that, the stand is basically done. Once everything is in place I'm going to organize the wires in a wire management box which will be mounted on the back of the stand. I've already plumbed the dosing pumps and the Reef Dynamics bio pellet reactor. I used John Guest fittings and bulkheads to give the stand a cleaner look and easy accessibility for maintenance. If you guys can see the red tube that goes into my ATO reservoir, that is the fill port I had mentioned earlier. I will be able to top off, through siphon, from outside the stand. I'll show you guys how that will be done. Just one of those set it and forget it kind of deals. Just for extra assurance, I put locking clips on the fittings so i get a nice seal and prevent leaking. My next update will be when this is complete and ready to run Time to start working on my aquascape. Got 50lbs on reef cleaners dry rock and I got some really nice pieces. John knew exactly what I wanted and thats what I got. Time to get messy.  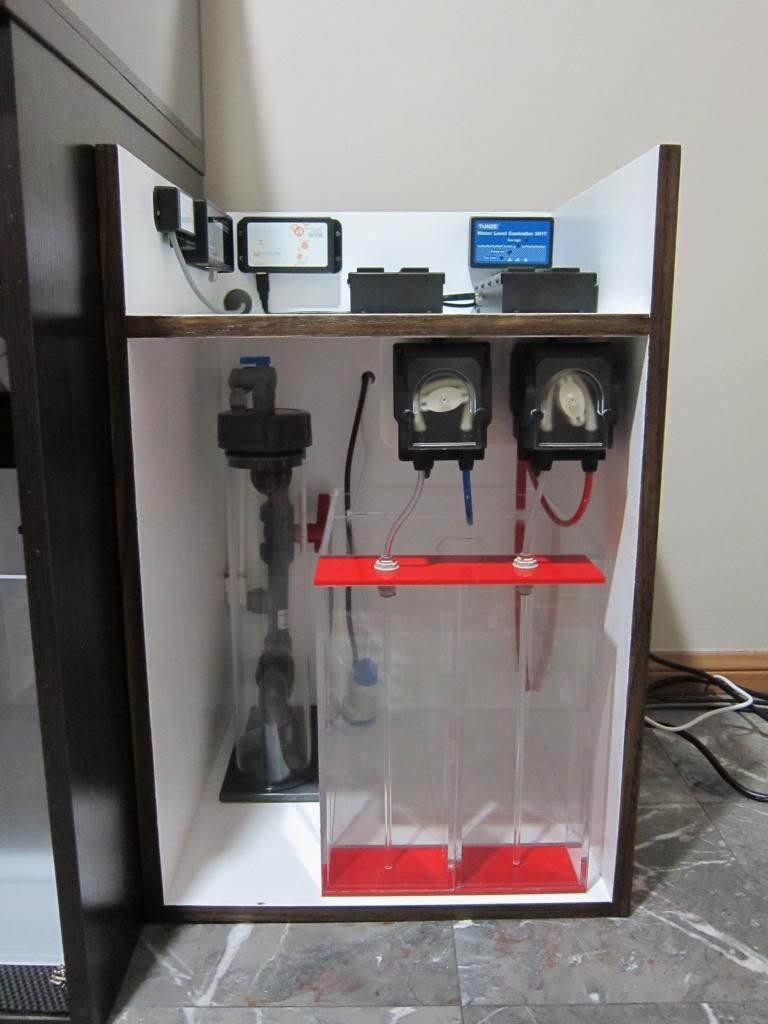 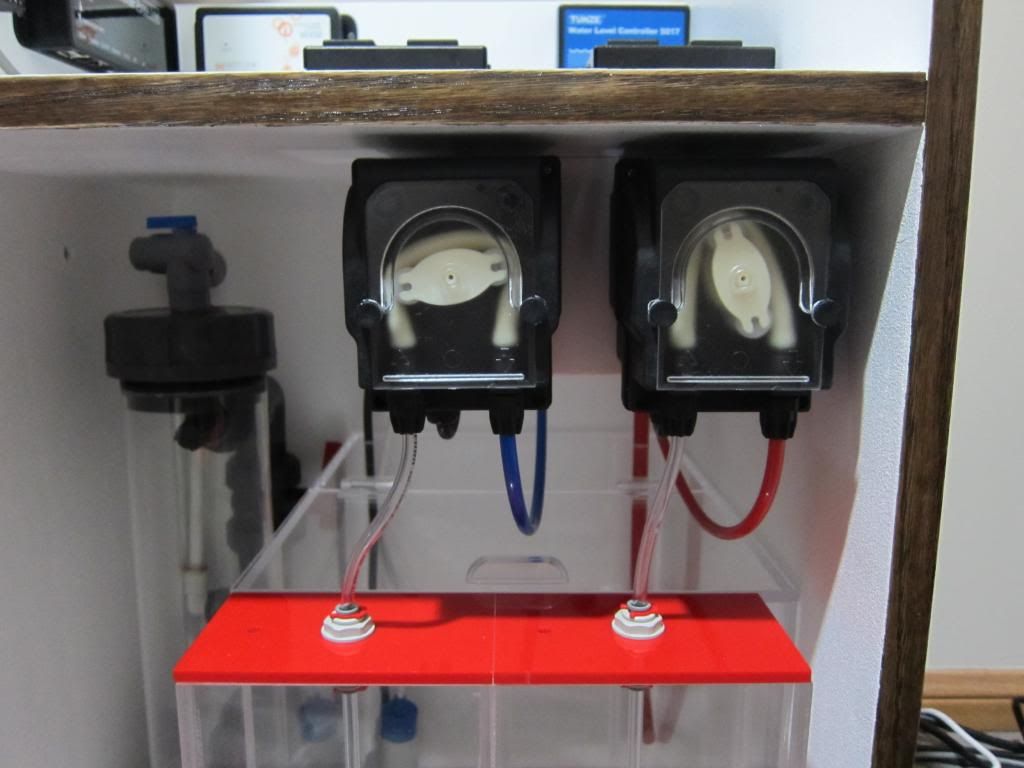 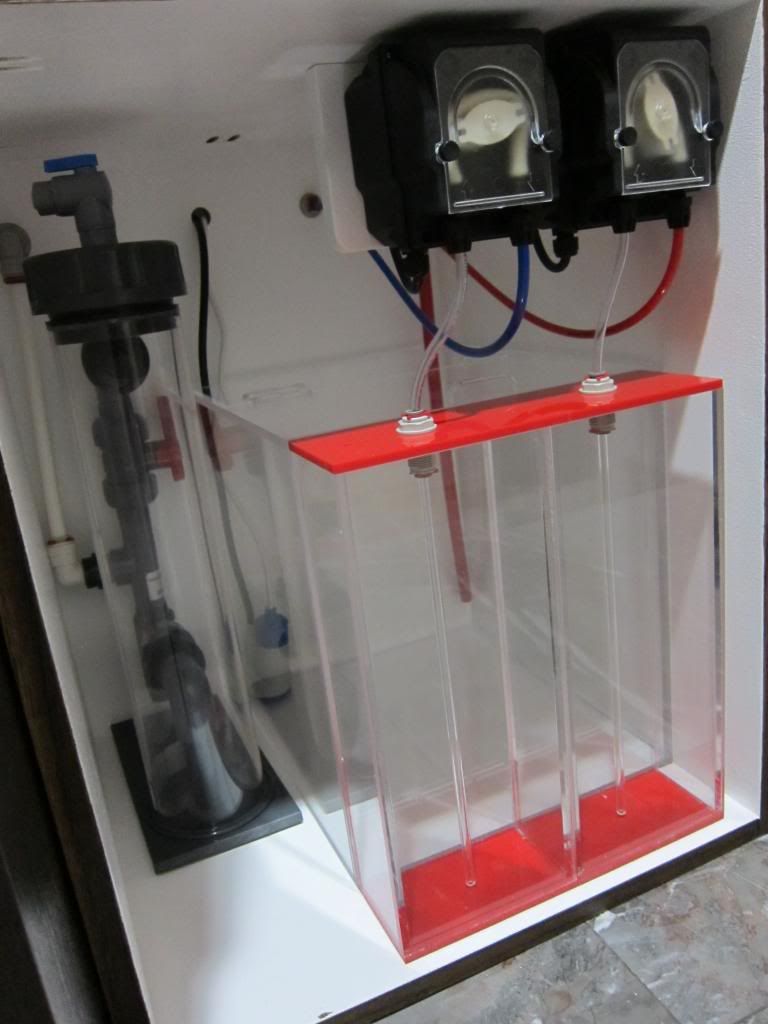 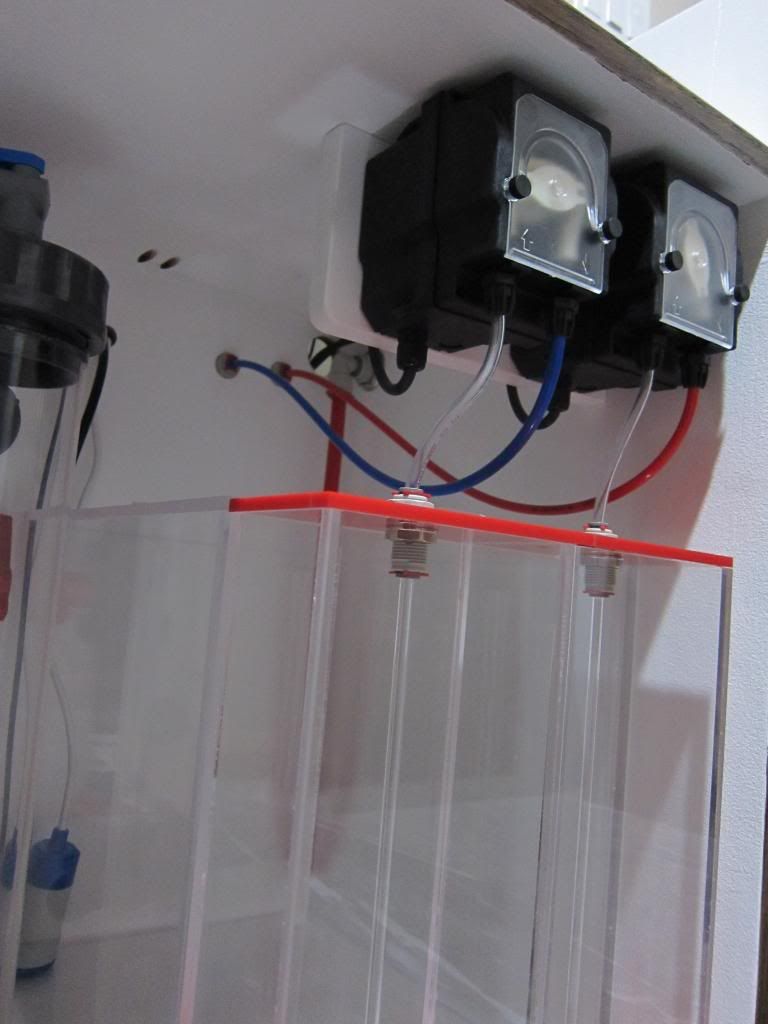 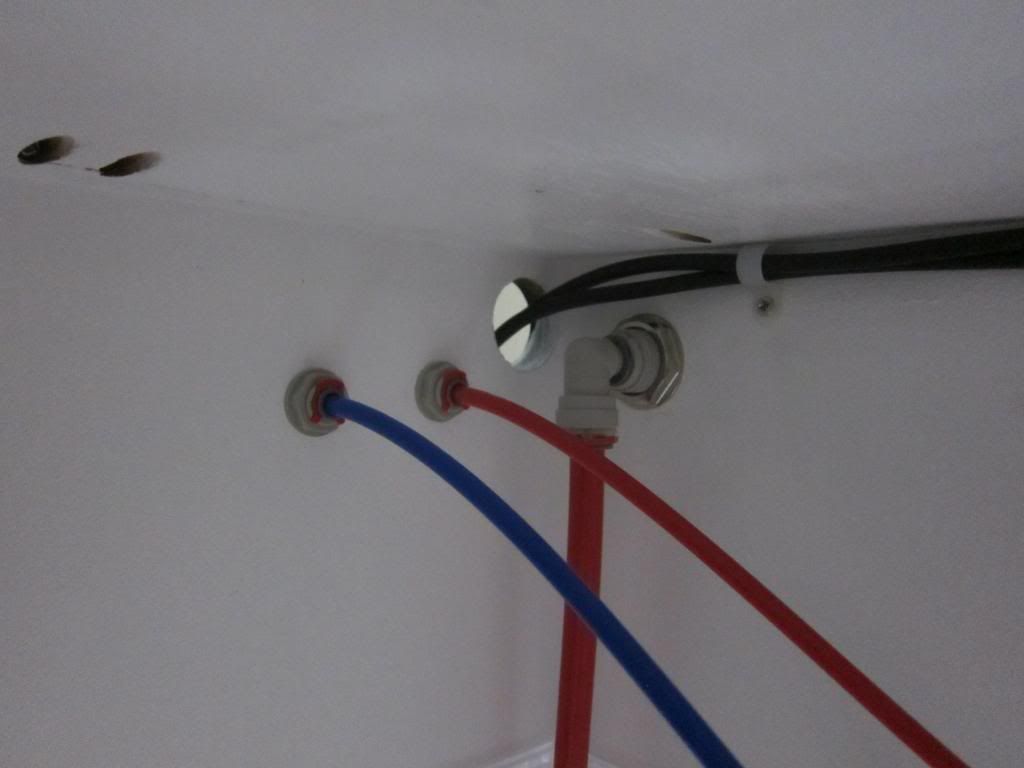  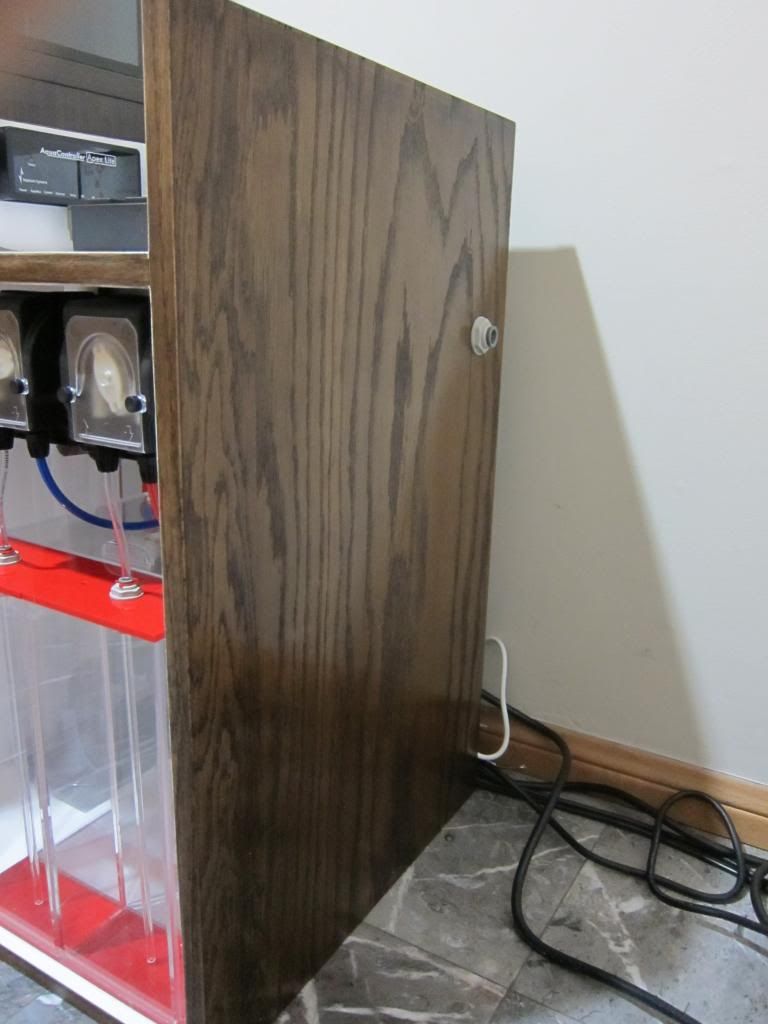 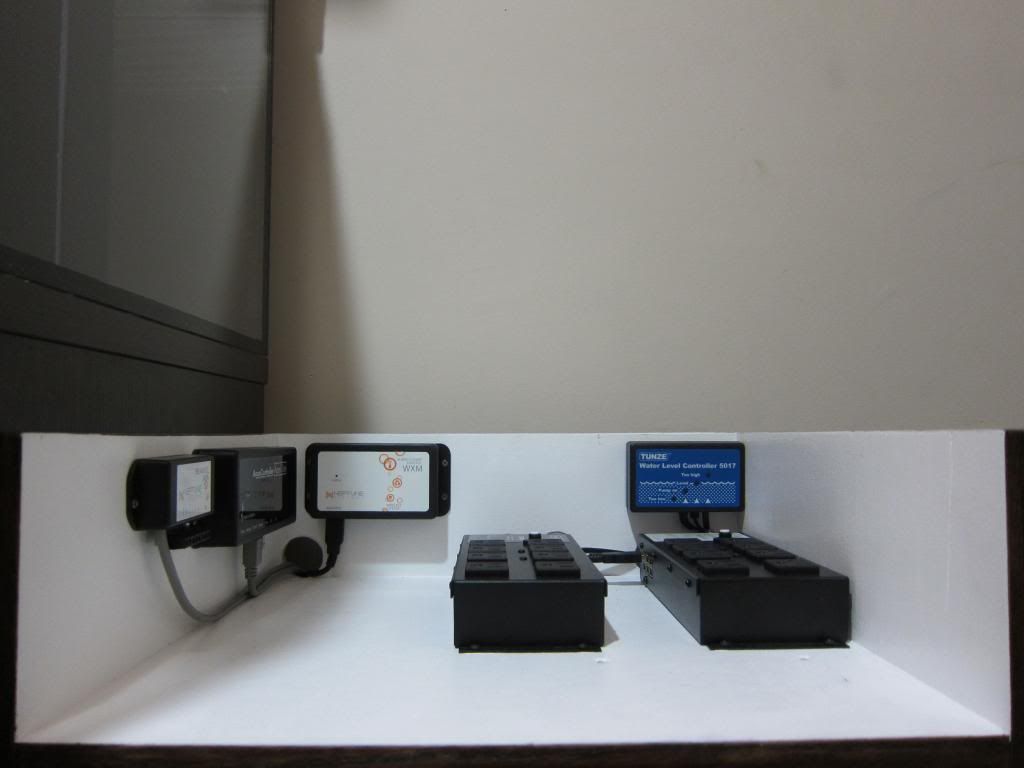
__________________
SFVR Member Cadlights 50G Artisan (Rebuilding/Upgrading) 10 Gallon Project |
|
|
|
|
01/23/2014, 09:54 PM
|
#135 |
|
Registered Member
Join Date: Aug 2012
Location: Lowell, MA
Posts: 55
|
looks great where did you get that dosing container?
__________________
Cadlights 39G Pro-Series (Rimless) / 15 Gallon Sump / MP10es + (2) Tunze 6045 / SWC Xtreme Protein Skimmer / RKL / Cadlights Bio-Reactor/ AI Vega / Current Tank Info: 57G Deep Blue Rimless |
|
|
|
|
03/22/2014, 10:07 PM
|
#136 |
|
Registered Member
Join Date: Mar 2010
Location: orlando
Posts: 406
|
I think he made it.
|
|
|
|
|
03/23/2014, 03:50 PM
|
#137 |
|
Registered Member
Join Date: Apr 2013
Posts: 8
|
Hey reevo, are u feeding your Ato to the top of your tank? Also, what chamber are u putting your sensor? Thanks bro, love your tank!!
|
|
|
|
|
04/08/2014, 09:02 PM
|
#138 |
|
Registered Member
Join Date: Jun 2006
Location: Chicago
Posts: 507
|
update?
__________________
100g reef Current Tank Info: 50g cube reef, 16 gal nano, 100gal FOWLR to be build at some point this year |
|
|
|
|
04/18/2014, 01:55 AM
|
#139 | ||
|
Registered Member
Join Date: Oct 2010
Location: Los Angeles, CA
Posts: 350
|
Quote:
Quote:
Yes my ATO is to top off the tank. ATO should only be placed in in your return chamber because it is the only place where the water level fluctuates. Sorry i havent posted an update or responded to anyone's post in awhile. I haven't been very active on RC or with my tank. The tank is ready for water but I'm holding off due to random earthquakes happening in California. I dont have much faith in my stand if **** decides to hit the fan. So i'm just kind of holding off until things settle down. Call me woose or whatever but im in no rush. I'm itching to fill it up 
__________________
SFVR Member Cadlights 50G Artisan (Rebuilding/Upgrading) 10 Gallon Project |
||
|
|
|
|
04/27/2014, 05:24 PM
|
#140 |
|
Registered Member
Join Date: Mar 2010
Location: orlando
Posts: 406
|
Want to see more.
|
|
|
|
|
01/12/2016, 10:13 PM
|
#141 |
|
Registered Member
Join Date: Nov 2006
Location: van nuys, CA
Posts: 685
|
update ?
|
|
|
|
|
03/03/2016, 01:52 AM
|
#142 |
|
Registered Member
Join Date: Oct 2010
Location: Los Angeles, CA
Posts: 350
|
This is a sad day because I have to sell my tank
 Thank you guys for following my building, sharing your input, and all the nice words. it was a lot of fun when it lasted but it's time to go. I didn't even get a chance to get it wet. I can't afford to have this pleasure anymore but I will again in the future. As for now, I'm selling everything. I'm going to make another thread of all the equipment and tank for sale. I'll still answer any questions you guys may have. Thanks again, ReeVo
__________________
SFVR Member Cadlights 50G Artisan (Rebuilding/Upgrading) 10 Gallon Project |
|
|
|
|
04/06/2016, 04:52 PM
|
#143 |
|
Registered Member
Join Date: Oct 2010
Location: Los Angeles, CA
Posts: 350
|
__________________
SFVR Member Cadlights 50G Artisan (Rebuilding/Upgrading) 10 Gallon Project |
|
|
|
 |
| Tags |
| bio pellets, cadlights, reef dynamics, vertex omega, vortech |
|
|


