

|
 |
|
|
#51 |
|
Registered Member
Join Date: Jul 2005
Location: Tampa, FL
Posts: 78
|
|
|
|

|
|
|
#52 |
|
Registered Member
Join Date: Jul 2005
Location: Tampa, FL
Posts: 78
|
So one day I came home to check on the tank and noticed some water on the stand just at the base of the display tank. I looked everywhere for a leak and couldn’t find anything. This was somewhat relieving because I figured it must be coming from the plumbing in the back, which would be a relatively quick fix.
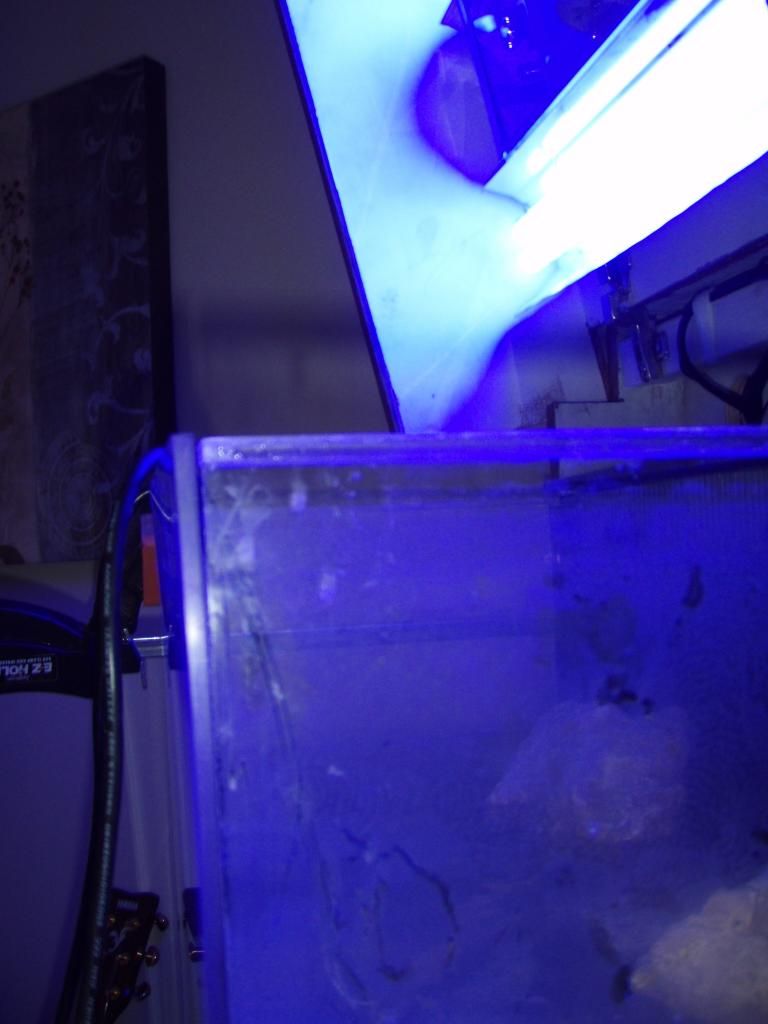
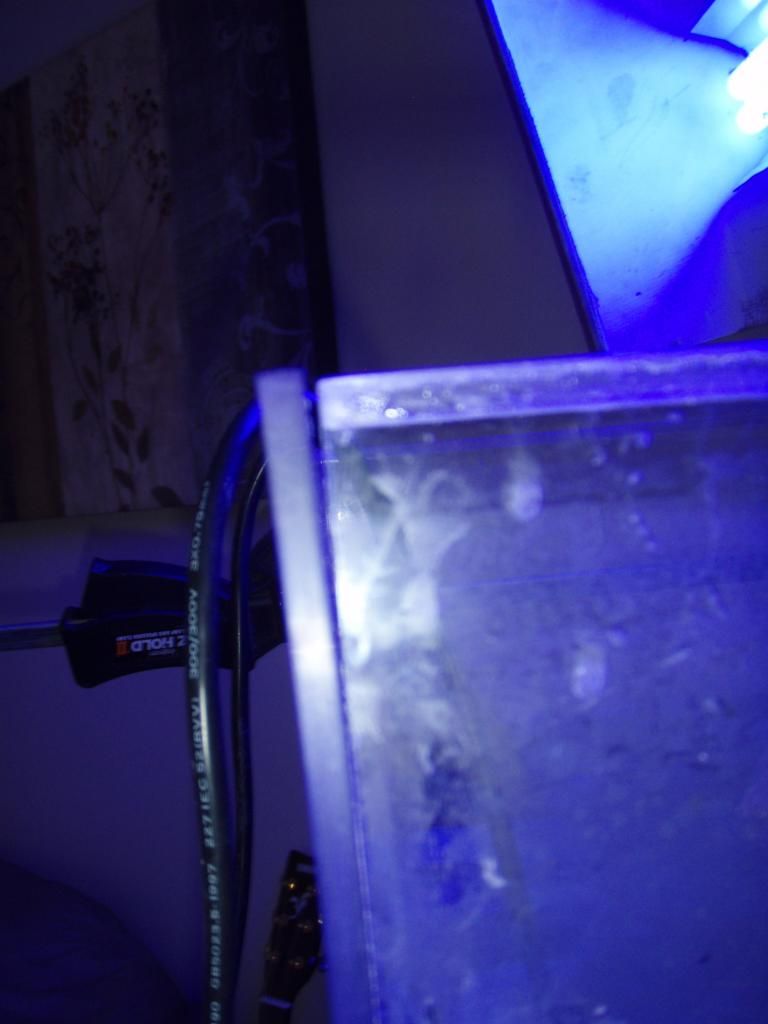
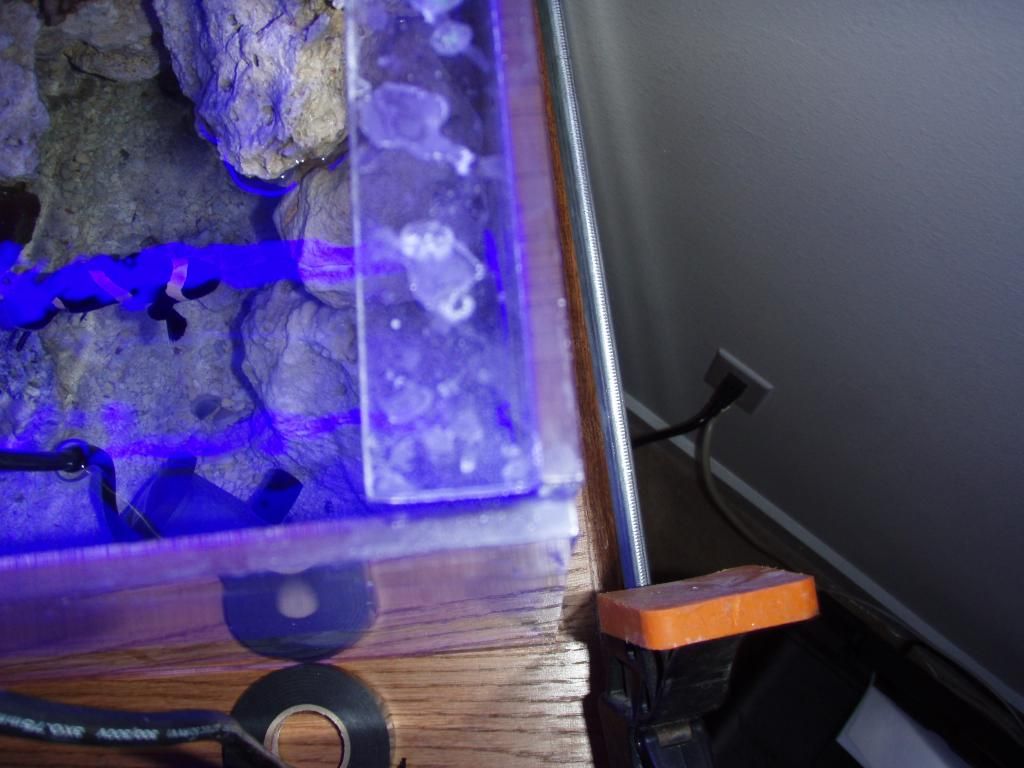
I then started the tedious process of draining the display enough to where I could move the stand and get to the plumbing in the back. Once I did and pulled the stand out, I still couldn’t find anything, but I tightened up the attachments and put some extra sealant on all the pvc. I left the stand pulled out so I could recheck once the tank was refilled and cleaned up the puddle of water and refilled the tank. I didn’t see any more leaking but I knew it was a small leak from the small amount of water so I checked again a few hours later and there was the puddle again. Frustrated, I did a much more thorough inspection and that’s when I found the leak. It was a tiny hairline separation between the front panel and the right side just at the top. I had a feeling at this point that this was going to be a huge deal but I did what I could to fix it. I drained the display again so the water level was below the bottom of the leak and dried the point where they joined. I then applied the acrylic solvent just as I had when I built the tank and put some long clamps nice and tight on the side of the tank. I let it sit for a couple days and then I removed the clamps and it seemed secure so I refilled the tank. The issue was solved, for a few days. The leak then started again only this time it was much worse.    
|
|
|

|
|
|
#53 |
|
Registered Member
Join Date: Jul 2005
Location: Tampa, FL
Posts: 78
|
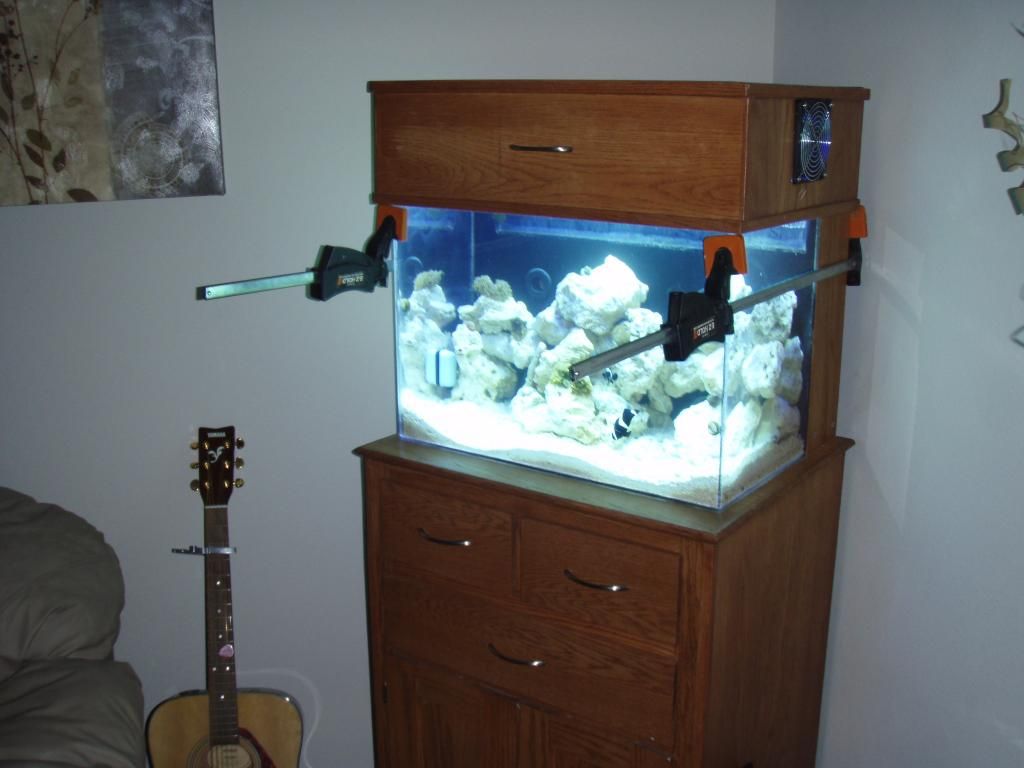
The thing I was concerned about was an explosive failure when I wasn’t home, where the whole joint splits open, I lose all of the water and everything runs dry and dies. I repeated the fixing process though hoping I could figure it out. I resanded what I could get to to hopefully restrengthen the bond, and I left the clamps on a lot longer this time, even after the solvent set.
 If you’re wondering why there is a clamp on each side, it wasn’t because there was a leak on the left too. It was because once I had clamped the right side, it was pulling the left side of the tank away from the back so I clamped that side too to avoid putting stress on the plumbing behind the display tank. |
|
|

|
|
|
#54 |
|
Registered Member
Join Date: Jul 2005
Location: Tampa, FL
Posts: 78
|
And the saddest part, and final chapter of my story…
The repairs were getting more and more difficult and time consuming, so I decided it was time to move the livestock to a temporary tank, remove ALL of the water from the display tank, and completely fix it. I put the livestock in a small 5 gallon tank with a heater, pump and simple lighting and began work on the display. I put a new brace across the entire front panel, and reapplied the solvent to the leak. It was clamped and set for a couple days. One day I came home from work and all the livestock was dead. I felt the water and it was about 60 degrees. Apparently what happened was the heater that I was using had died. Interesting odds, that the heater would break during the two days the temperature wasn’t being monitored by the reefkeeper controller, but such is life I suppose. The good news was that the leak was completely fixed and didn’t leak anymore. Too little too late though. With my work getting busier so less time to deal with any issues that might come up in the future, and the fact that I no longer had livestock to care for, I figured it would be a good time to break it down so I could make some of the major changes that needed to be made. Since then, life has taken over, the system has yet to be started up, and all the components have been up for sale since then. |
|
|

|
|
|
#55 |
|
MantisOholic
Join Date: Jul 2011
Location: Washington DC
Posts: 1,946
|
For such a well planed out system to be so full of minor complications is just frustrating. So upon the completion what is your futer plans for reef keeping? Are you going to return to diy reef keeping? If so I hope to see it. Your problems have taught you so much I bet next time you tank will be built like a tank with back up systems for back up systems. Reinforced seems on overlly thick panels and a armed guard patrolling the tank.
Great write up and sorry for all your stress.
__________________
No there is no such thing as over filtering a tank. Slow is smooth, smooth is steady, and steady is fast. Current Tank Info: Enough to be considered an addict. |
|
|

|
|
|
#56 |
|
Registered Member
Join Date: Jan 2012
Location: Lancaster,PA
Posts: 1,720
|
It sucks, but welcome to the wonderfully frustrating world of DIY. I fried my computer last week while building a microprocessor controlled doser.
Hope you have time to get back to the hobby in the near future, your build was beautiful. |
|
|

|
|
|
#57 | |
|
Registered Member
Join Date: Jul 2005
Location: Tampa, FL
Posts: 78
|
Quote:
If I take on another big project I'll make another build forum so I can further embarrass myself with all my mistakes. Haha |
|
|
|

|
|
|
#58 |
|
MantisOholic
Join Date: Jul 2011
Location: Washington DC
Posts: 1,946
|
Start building some reactors and a protein skimmer design a killer sump for this equipment then after getting totally carried away pick a tank to connect it to. Petco by my place as 40 breeders for $40 again. Hint hint
__________________
No there is no such thing as over filtering a tank. Slow is smooth, smooth is steady, and steady is fast. Current Tank Info: Enough to be considered an addict. |
|
|

|
|
|
#59 | |
|
Registered Member
Join Date: Jul 2005
Location: Tampa, FL
Posts: 78
|
Quote:
|
|
|
|

|
 |
| Tags |
| acrylic aquarium, build thread, nano build |
|
|