


|
 |
|
|
#1 |
|
Registered Member
Join Date: Jul 2014
Posts: 38
|
Rapid LED Dual Aurora Puck Light - The Budget Radion
The dual Aurora puck kit is basically a budget Ecotech Radion that’s sold in DIY solderless kit form by Rapid LED, it’s available with a number of options but the kits I bought include,
• Two Aurora Pucks (21 LEDs each) • Two regular lenses • One 6" x 20" premium enclosure, with splash guard. • 2 x LDD-700H drivers and 2 x LDD-1000H drivers + LDD-H-4 board + SE-350-48 power supply • 1 set Arctic Alumina thermal adhesive • 4 Driver Jumpers • 4 Solderless LED Plugs • 5 feet of black bulk wire • 5 feet of red bulk wire • 4 Puck to Puck connector wires (6" long) • One 92mm frameless fan (not pictured) per heatsink • One 12V Adapter (not pictured) per heatsink • One Y-shaped Hanging Kit (not pictured) per heatsink Here’s one Aurora puck, the dual kit simply uses two of them 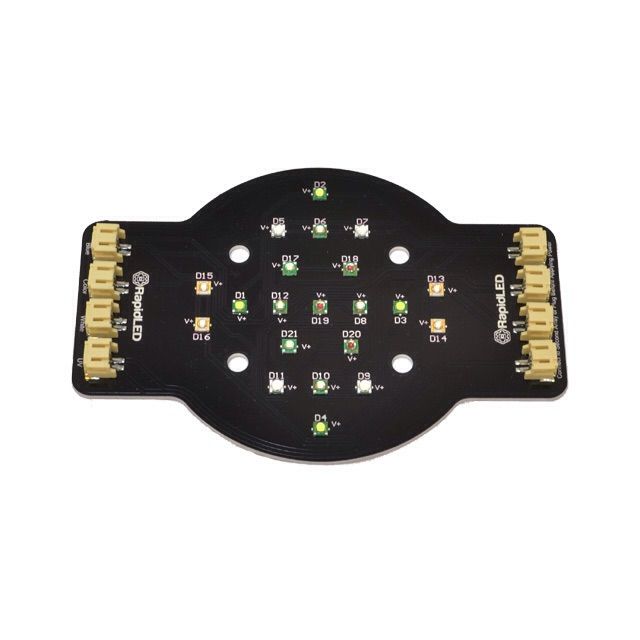 Each Aurora puck array has 4 channels setup like this, Channel 1 : Blue – 4xCree XT-E Royal Blue, 3xCree XP-E Blue Channel 2 : Colour – 2xCree XP-E Green, 1xCree XP-E Blue, 2xCree XP-E Red, 1xCree XP-E Red-Orange Channel 3 : White – 4xCree XP-G Cool White Channel 4 : UV – 4x SemiLED Violet UV Using the LDD-H drivers I’ll be driving them at, Channel 1 : Blue - 1000mA Channel 2 : Colour - 700mA Channel 3 : White - 1000mA Channel 4: UV - 700mA The delivery of six Dual Aurora Puck kits arrived 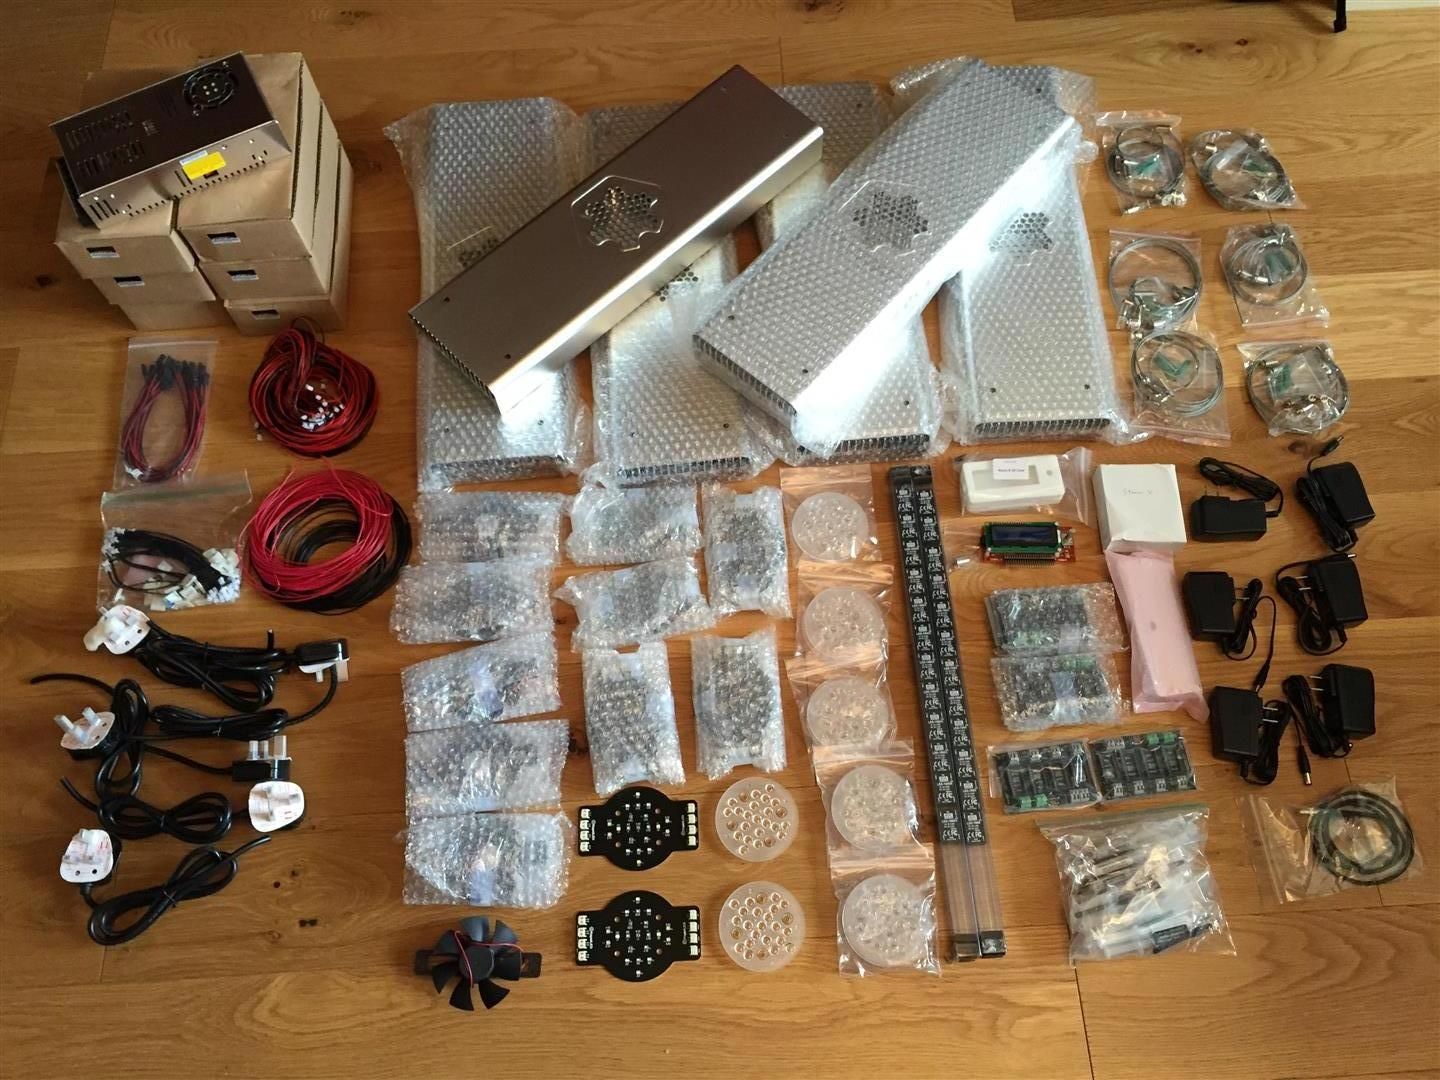 The lights are controlled by a Coralux Storm X controller, 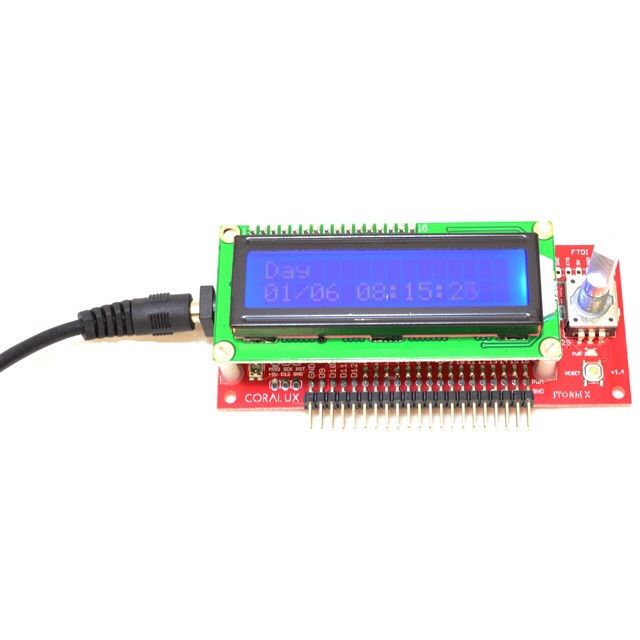 The controller comes with the following features, 16x2 Character LCD Display 16-channel 12-bit PWM 4096 Dimming Levels Real-Time Clock Module Manual Sunrise/Sunset Time Geolocated Sunrise/Sunset Staggered Sunrise/Set Delays Smooth Ramp Dimming Smooth Ramp Clouds Cloud Channel Clustering Lightning Storm Effects Moon Phase Simulation Upgradeable via FTDI Arduino Compatible Auto-dimming LCD I chose the 3D printed case option for the controller, in white, once assembled it became clear colour choice was a mistake, should’ve went with black. 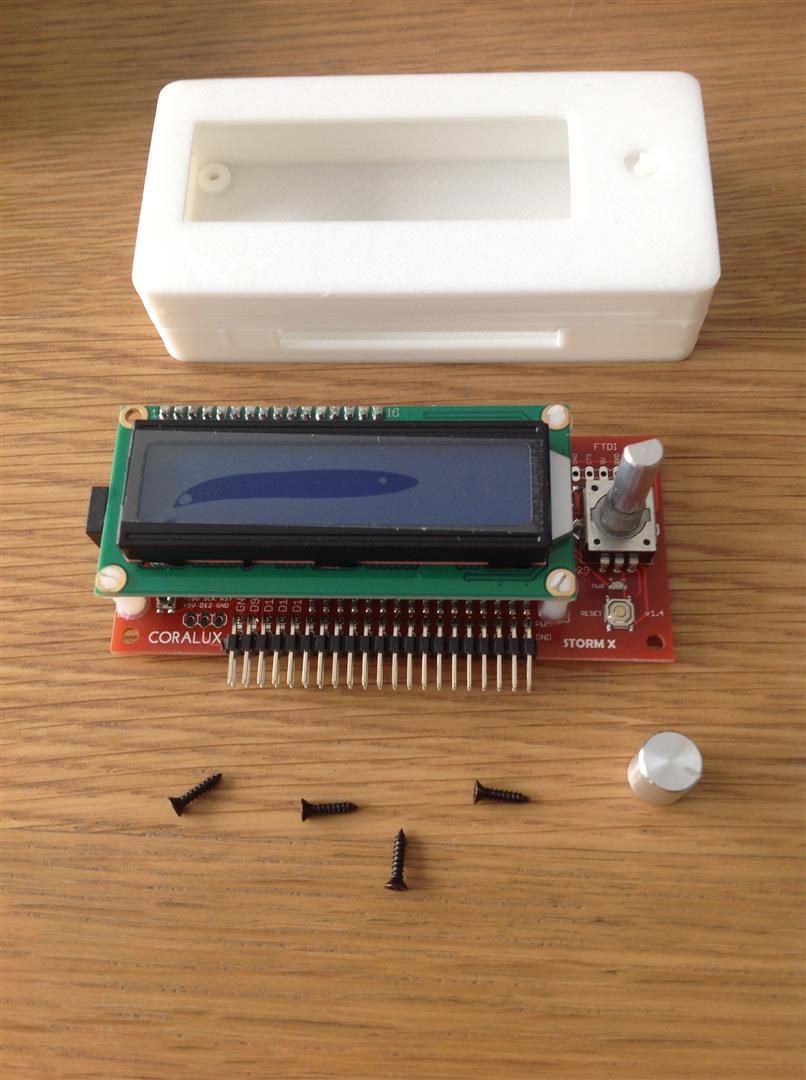 The case is held together with 4 screws and sandwiches the controller like so 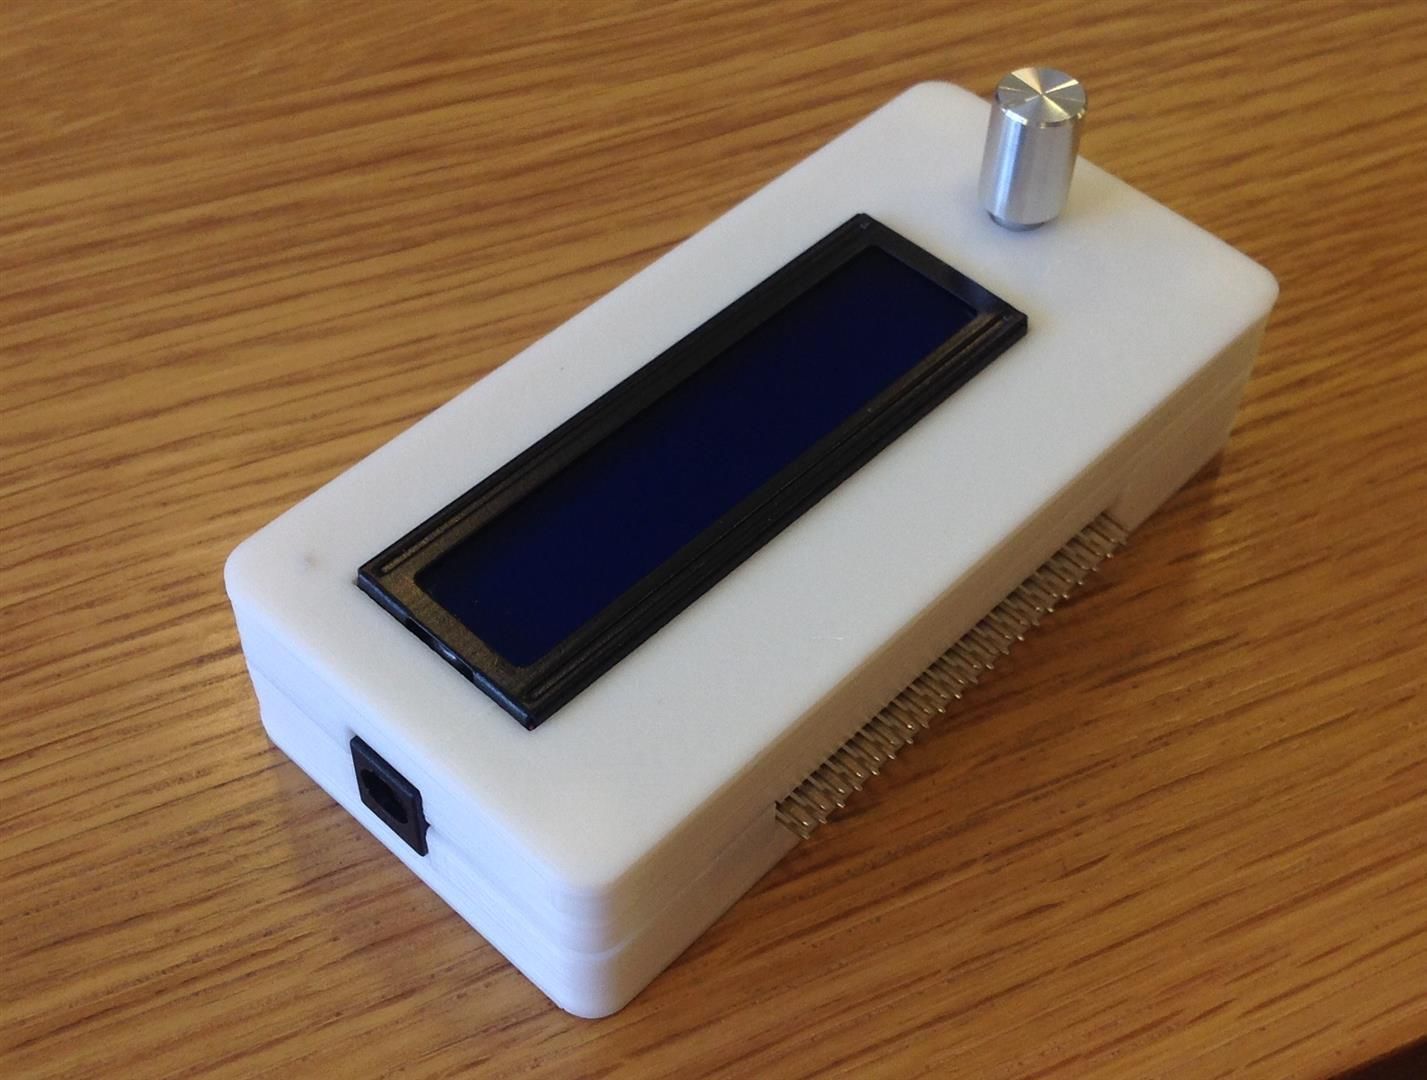 Here’s the controller circuit board layout and pin layout for future reference 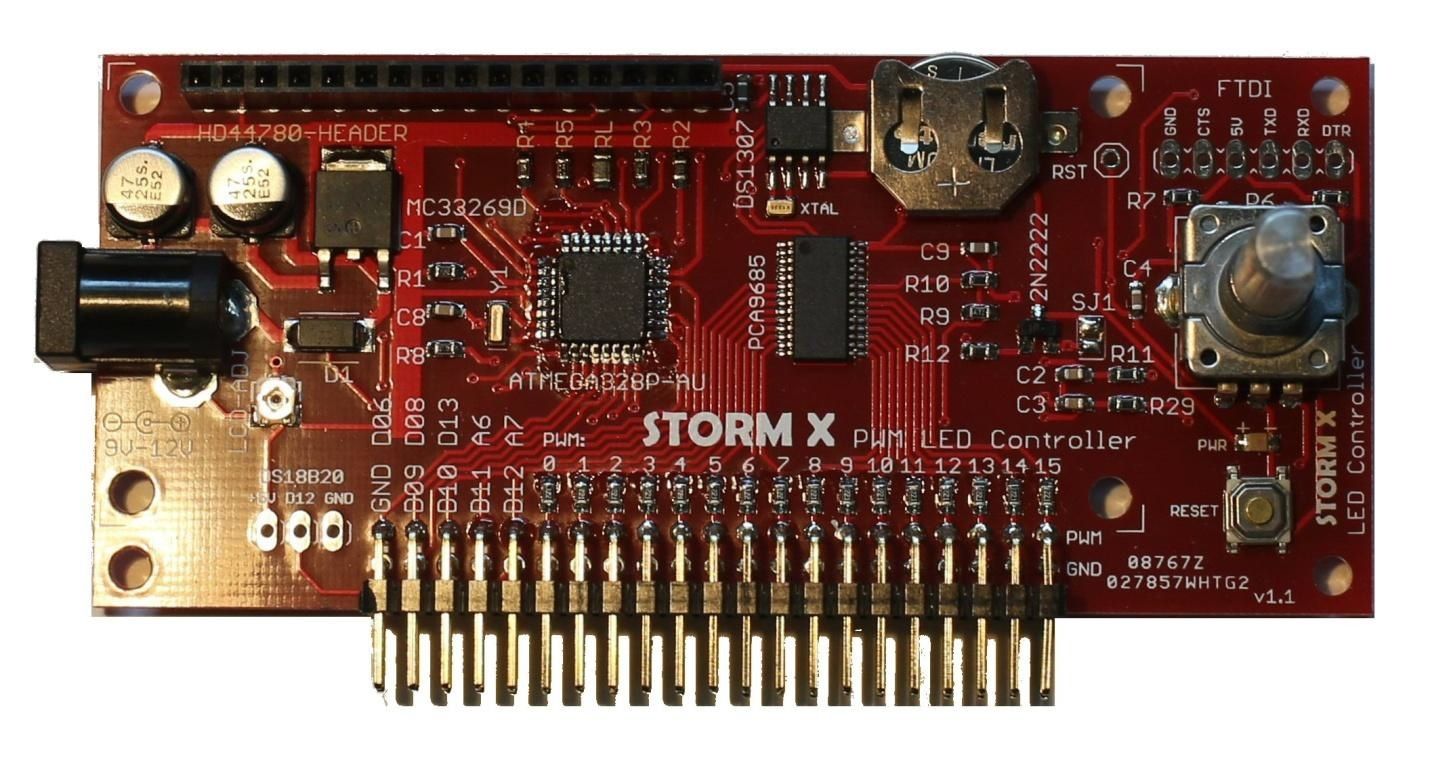 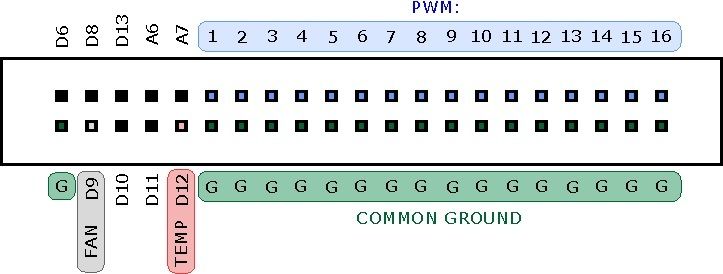 One LDD driver board, each light unit needs one of these 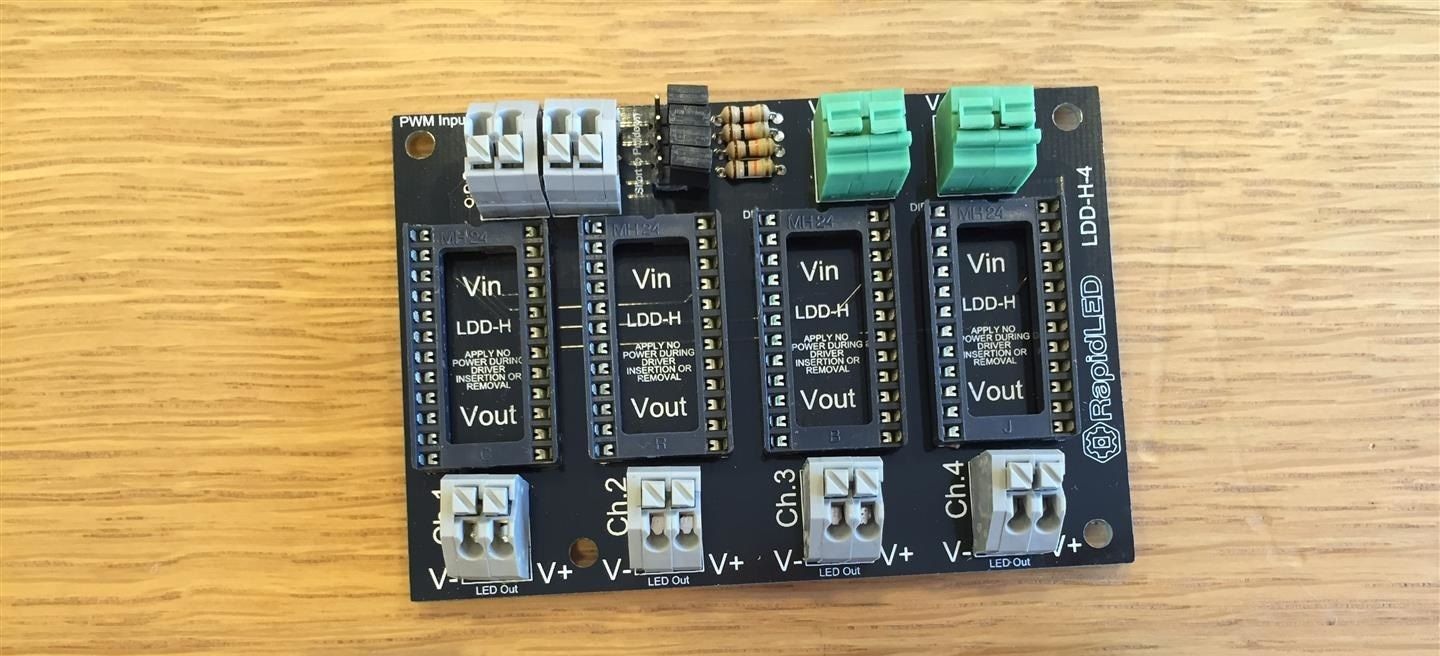 A set of four Mean Well LDD-H drivers, these control the LED channels, one for each of the four channels. The LDD-700H are constant current of 700mA and the LDD1000-H are constant current of 1000mA.  The drivers have pins on the base of them, the driver board has holes to accommodate the pins, the drivers simply push into the board to install. Make sure they are fitted in the correct orientation like the photo below, with the Vin side of the LDD-H driver at the top side of the board identified by PWM INPUT in the corner and the Vout side of the driver at the Ch1, Ch2, Ch3, Ch4 side of the board. 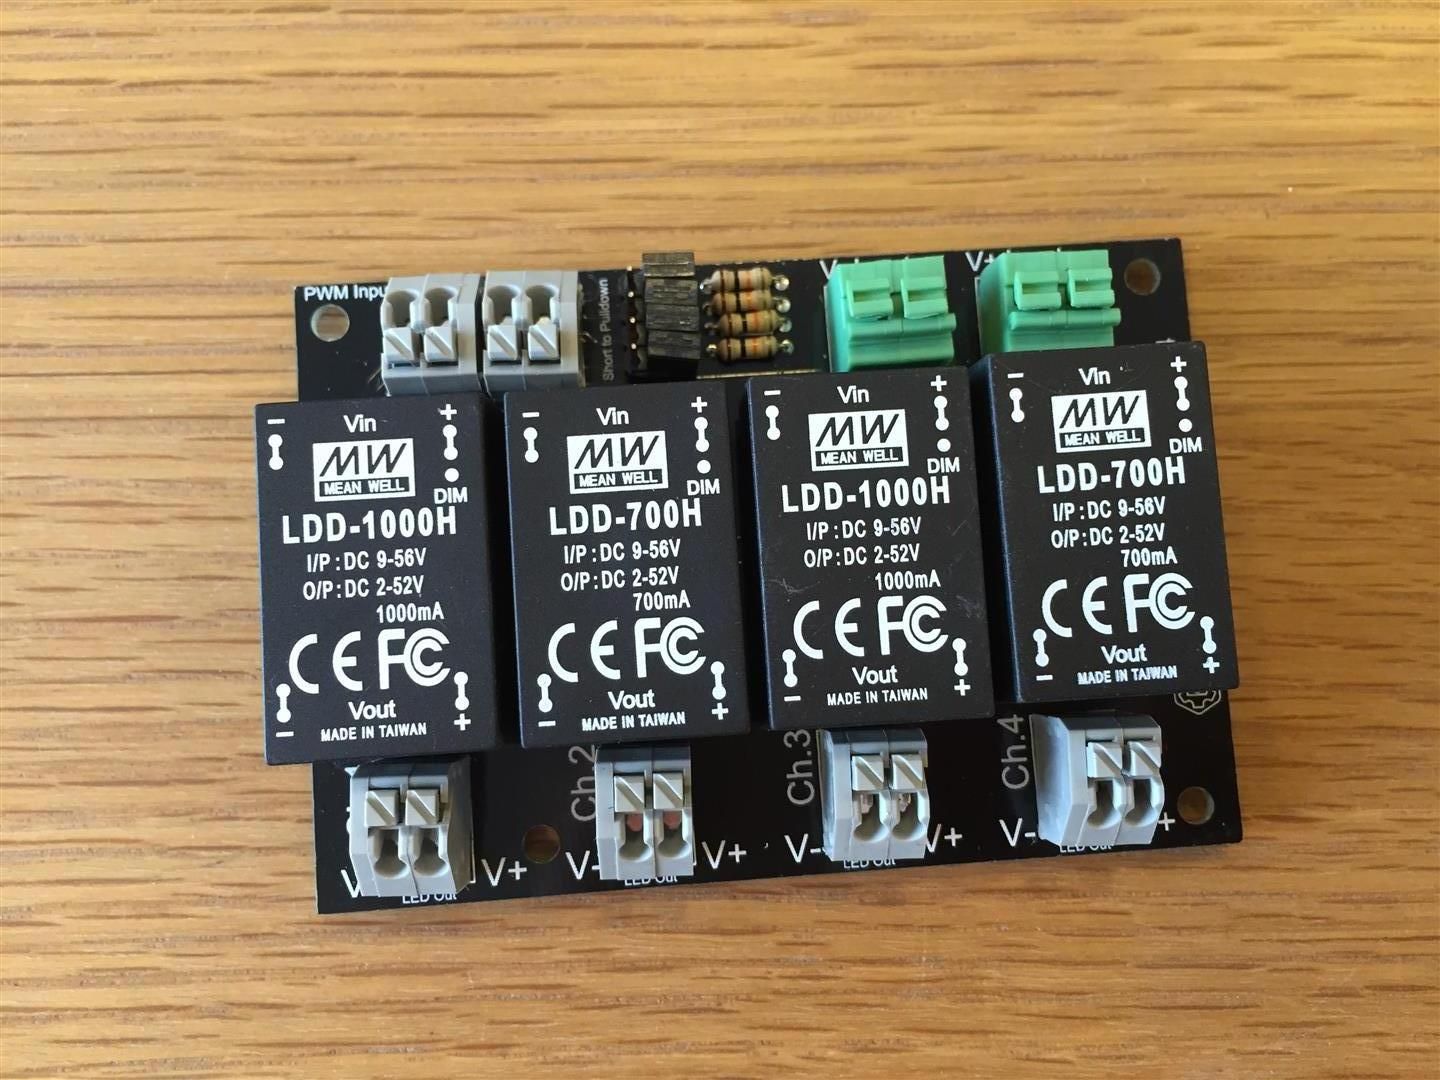
|
|
|

|
|
|
#2 |
|
Registered Member
Join Date: Jul 2014
Posts: 38
|
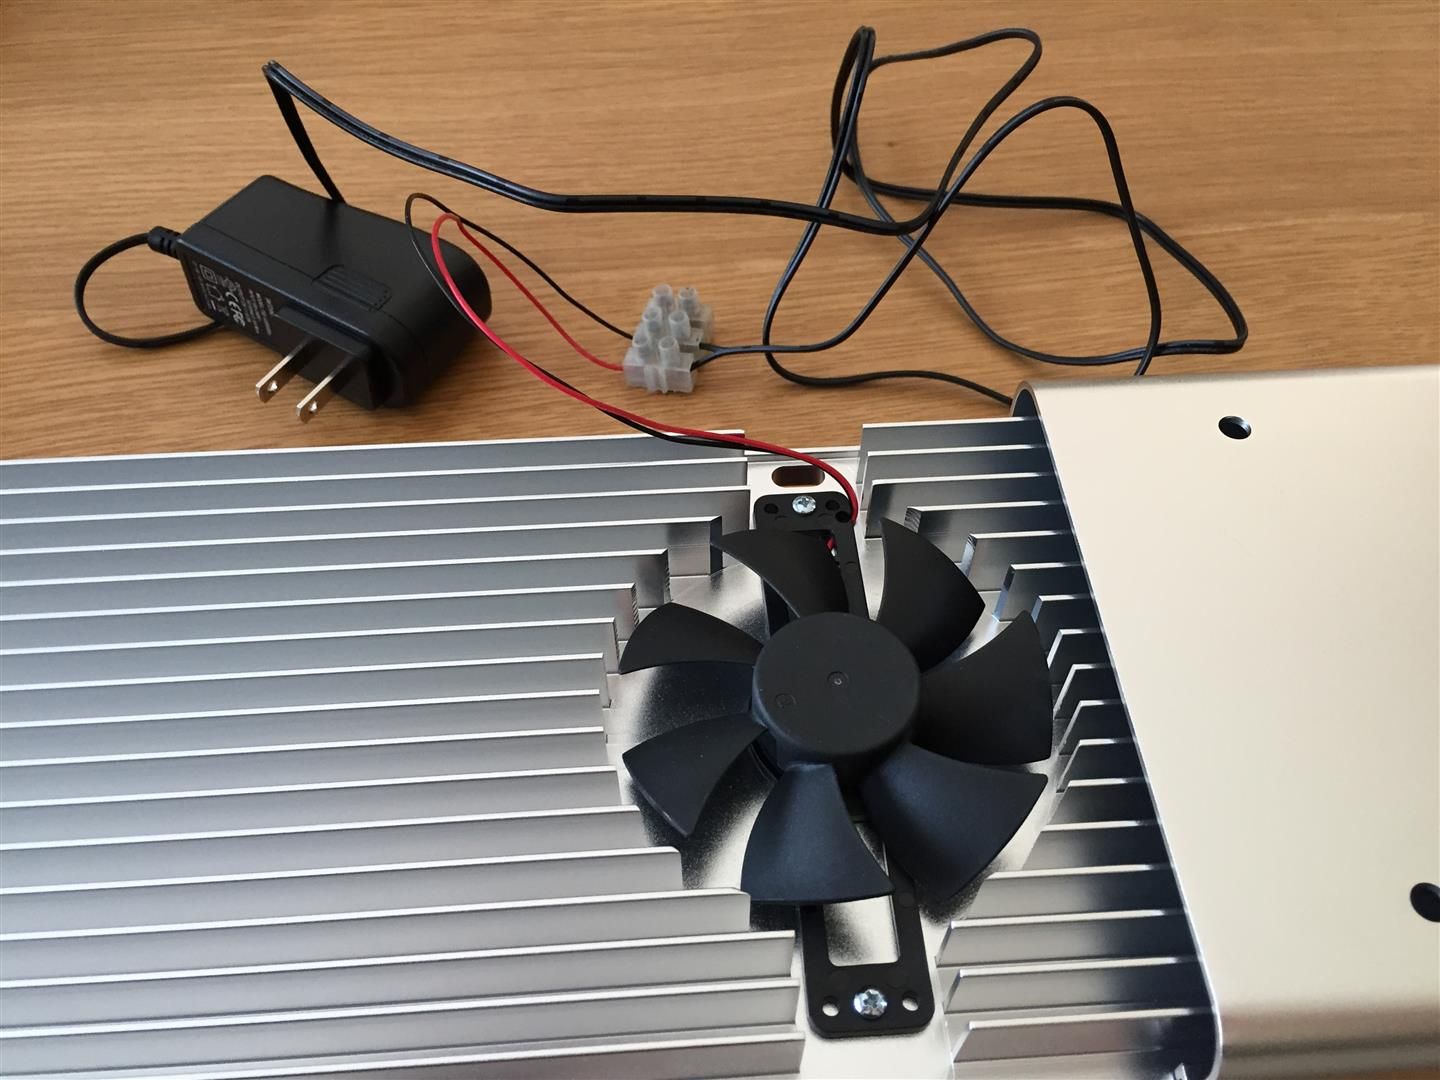
The 92mm fan fits into the machined out recessed area of the heatsink and is secured with two screws.
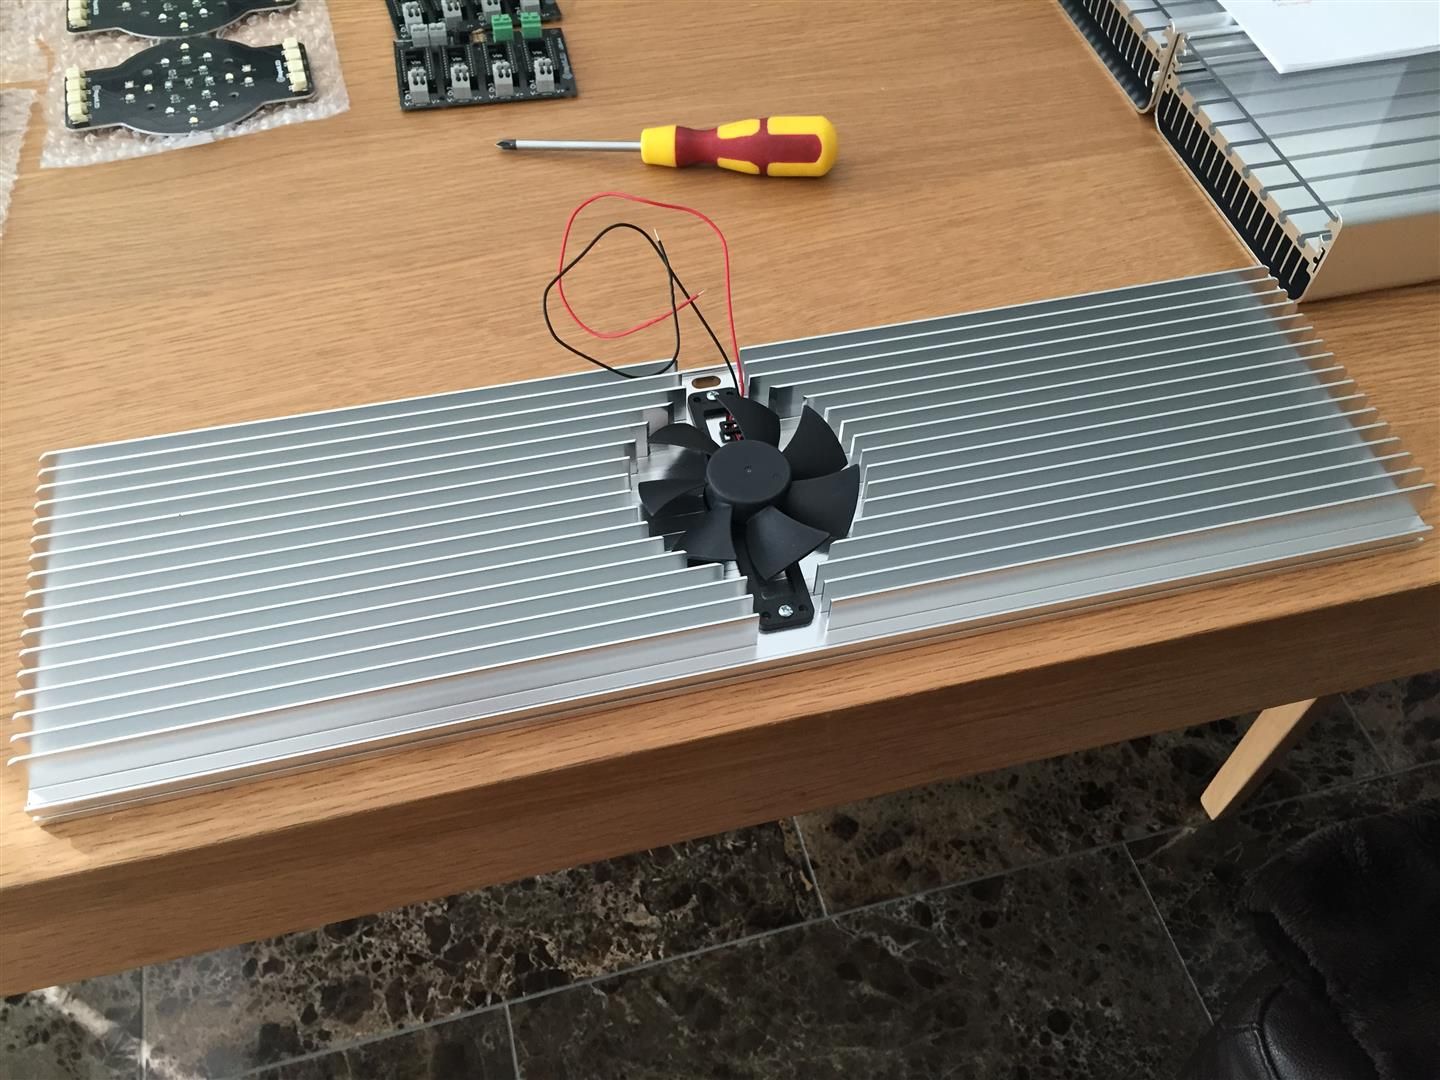 The heatsink slides nicely into the guides on the inside the case 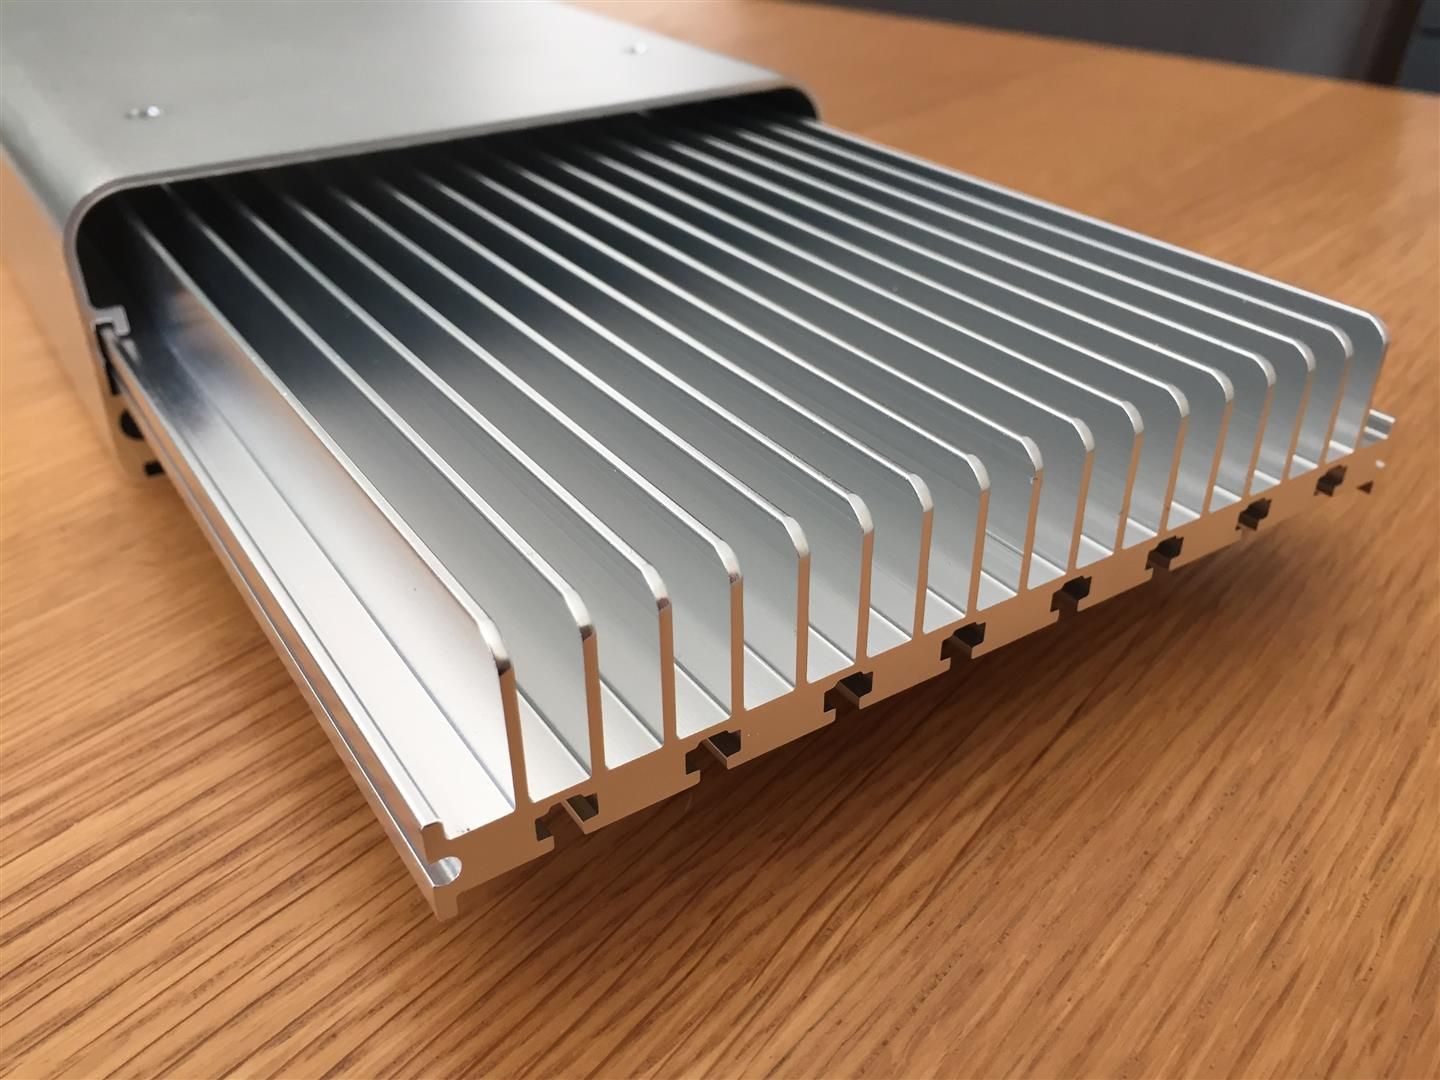 The fan pulls air in through the holes in the top and forces it along the length of the heat sink and out at the sides 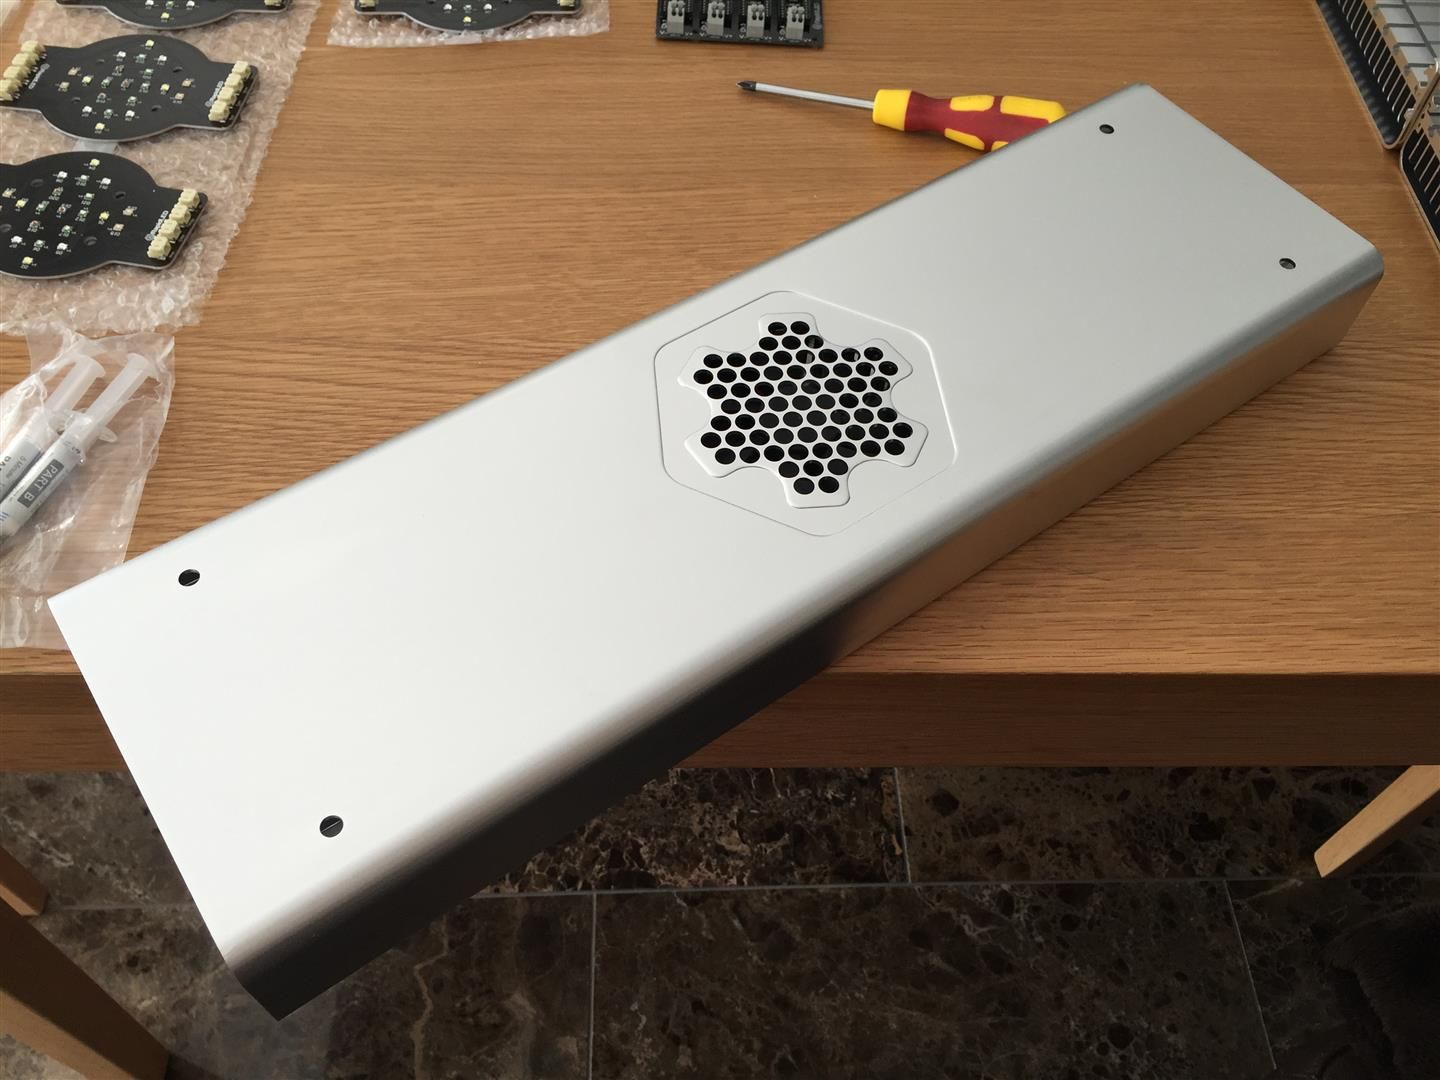 Mix an equal but small quantity of both parts of the thermal adhesive and apply it to the lens mounting points, one thing to remember is this mixture only has a working time of 5 minutes, so the quicker you mix it and use it the better. 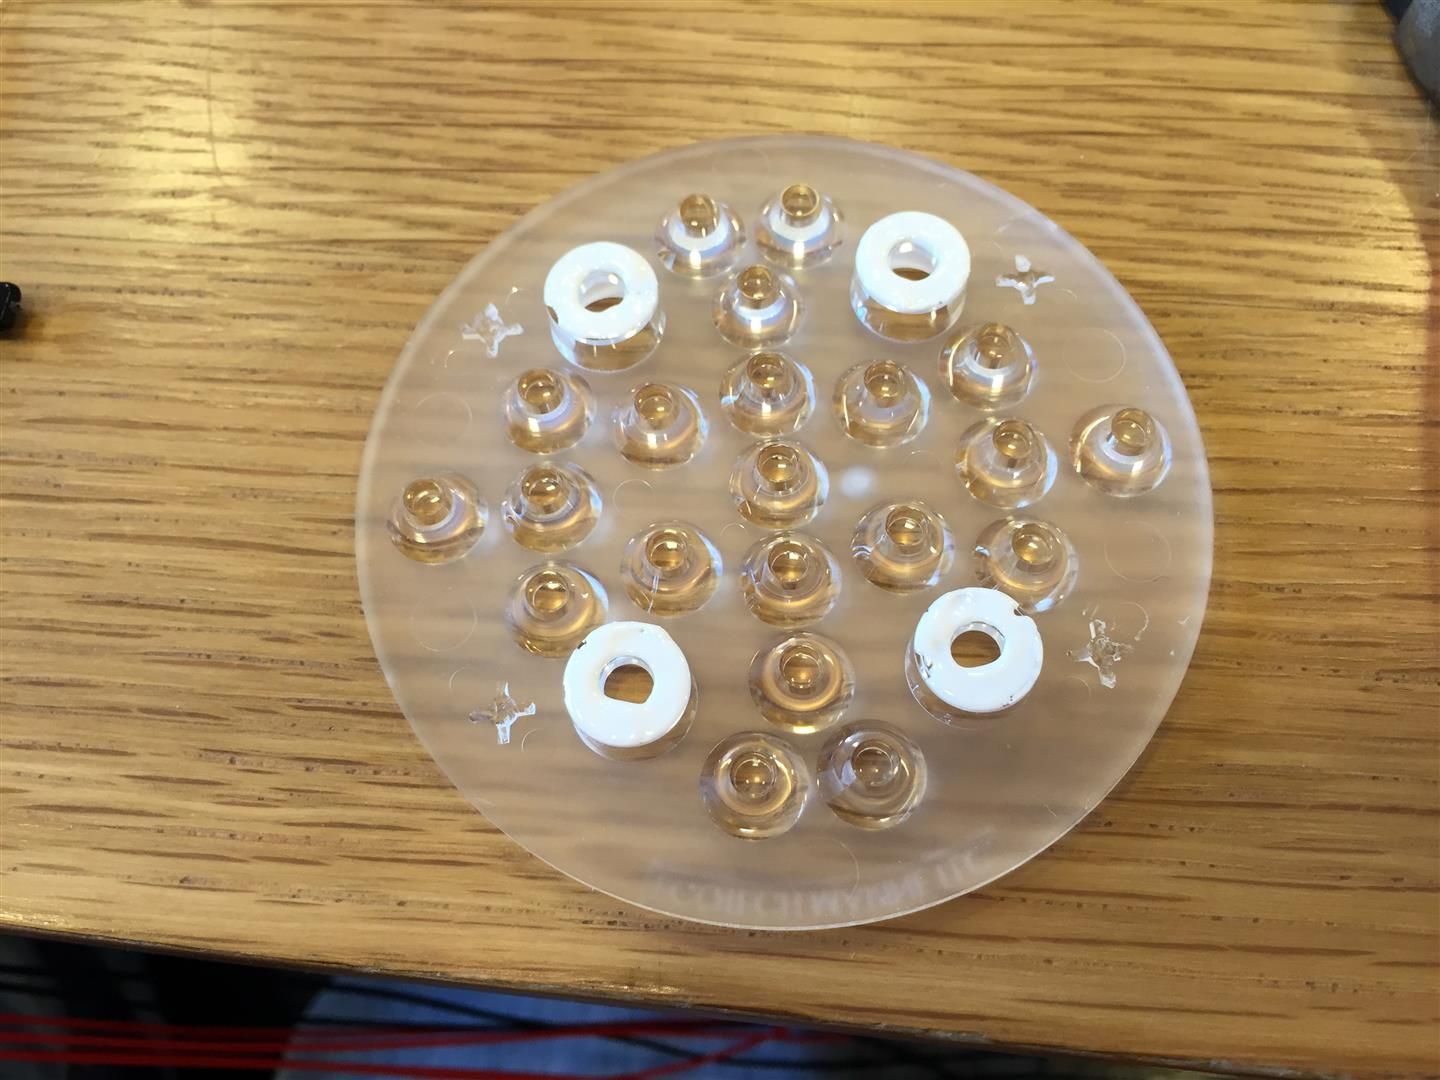 The lens was then placed onto the Aurora puck and a reasonably heavy object (a book etc) was rested on the lens to ensure a good contact while the adhesive sets, I left it for an hour until handling it again. An hour later it looked like this 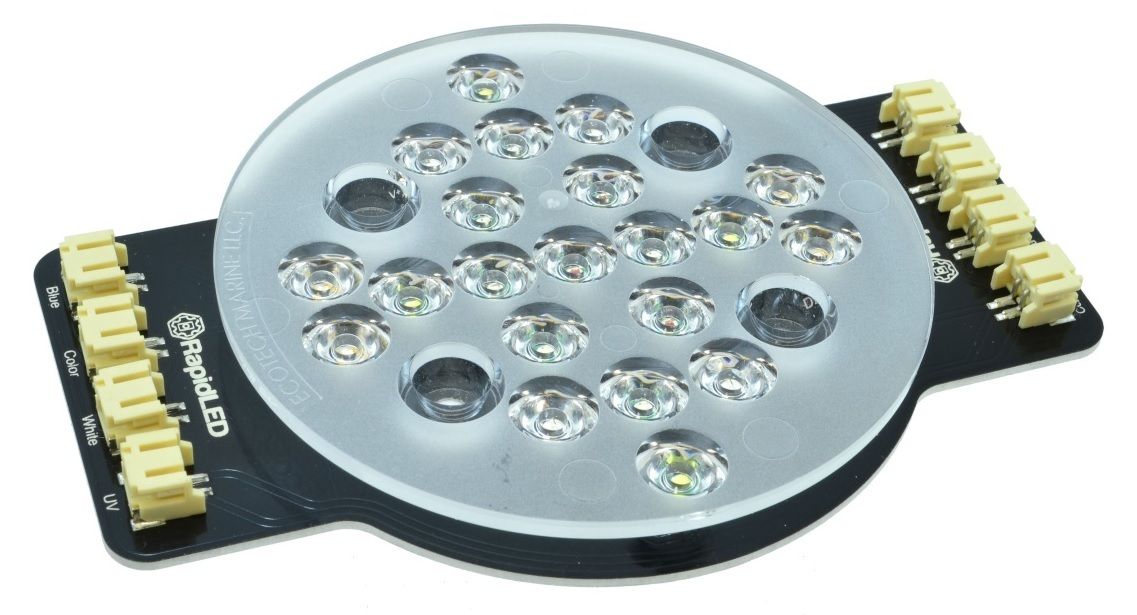
|
|
|

|
|
|
#3 |
|
Registered Member
Join Date: Jul 2014
Posts: 38
|
Wiring terminology for the next bit
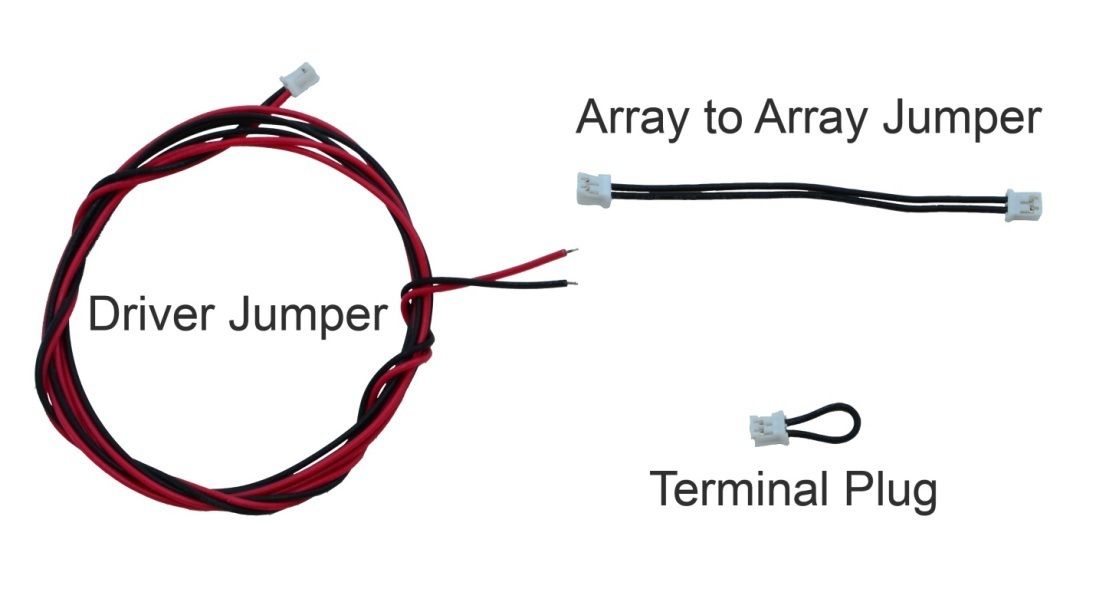 Insert a terminal plug into each of the terminals at the side of one of the pucks labelled “connect to second array or plug before applying power” 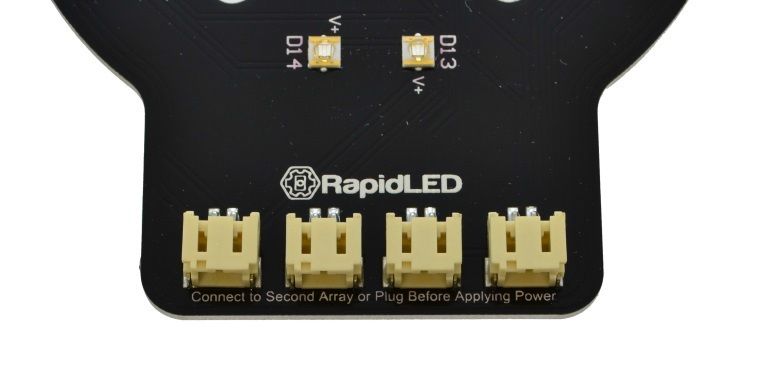 On the opposite side of the same puck, insert an array to array jumper into each of the terminals labelled “blue, colour, white, UV” 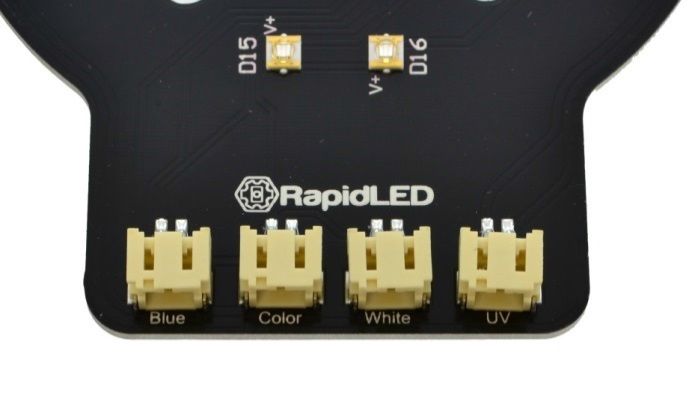 The other side of the array to array jumpers should be plugged into the second Aurora puck on the terminals labelled “connect to second array or plug before applying power”, making sure they are connected like the image below and not crossed over. 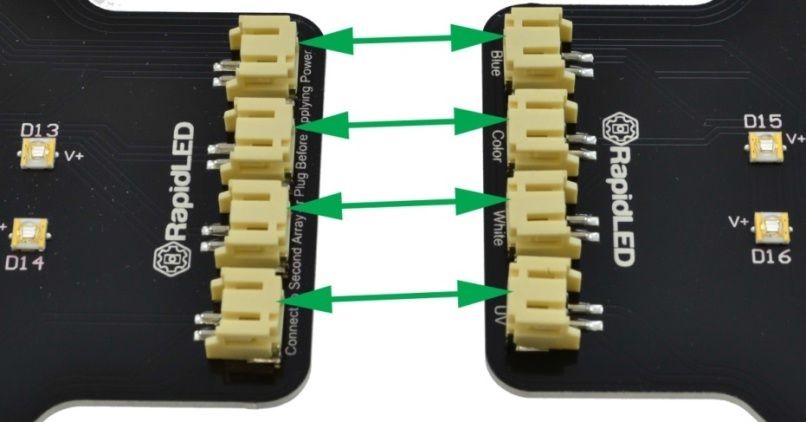 Finally connect the driver jumper wires into the “blue, colour, white, UV” terminals  Decide where you want to mount your pucks on the heatsink, presumably nice and central, then apply equal amounts of both parts of the thermal adhesive onto the back of the pucks 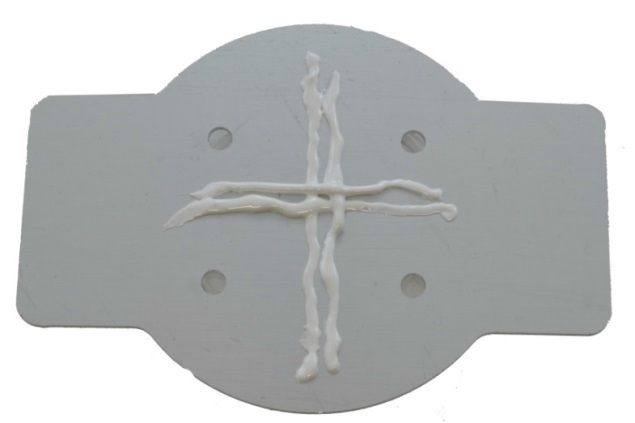 Mix it thoroughly and spread it around covering all of the back of the area that the LED’s are mounted too, do this quickly as the thermal adhesive only has a working time of 5 minutes remember. 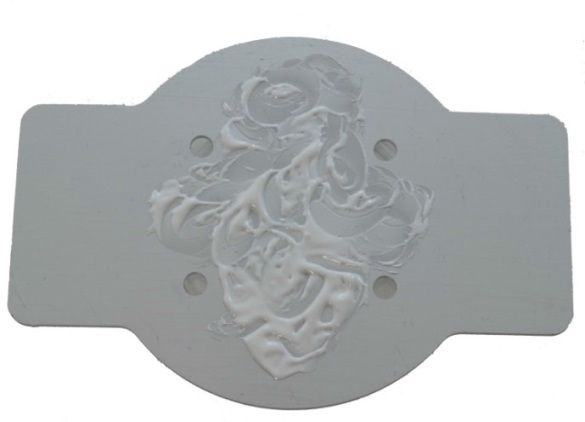 Place the pucks on the heatsink where you would like them, then place a reasonably heavy object (like a book) onto the lenses and leave them for an hour. After the hour is up you’ll have something that looks like this 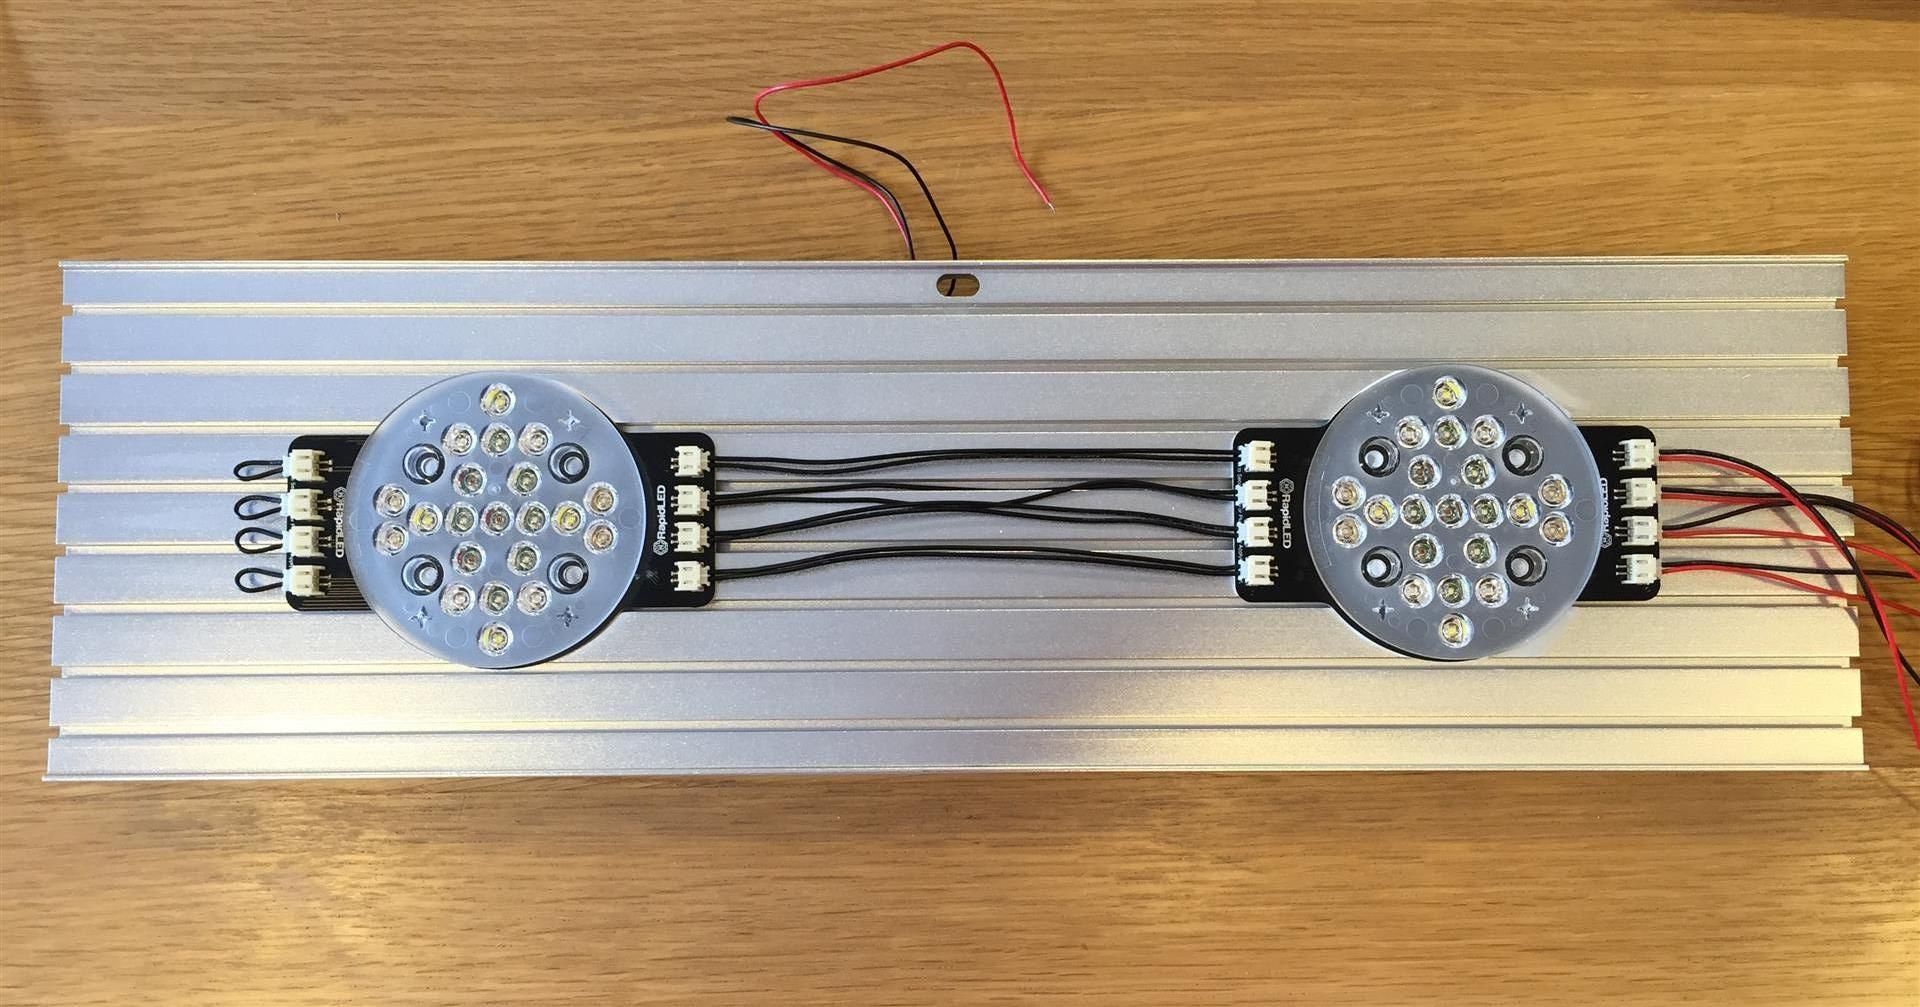 The eagle eyed people may have noticed that the lenses used are actually the same ones used on the Ecotech Radion lights, which can’t be a bad thing given that the Radions are massively popular! 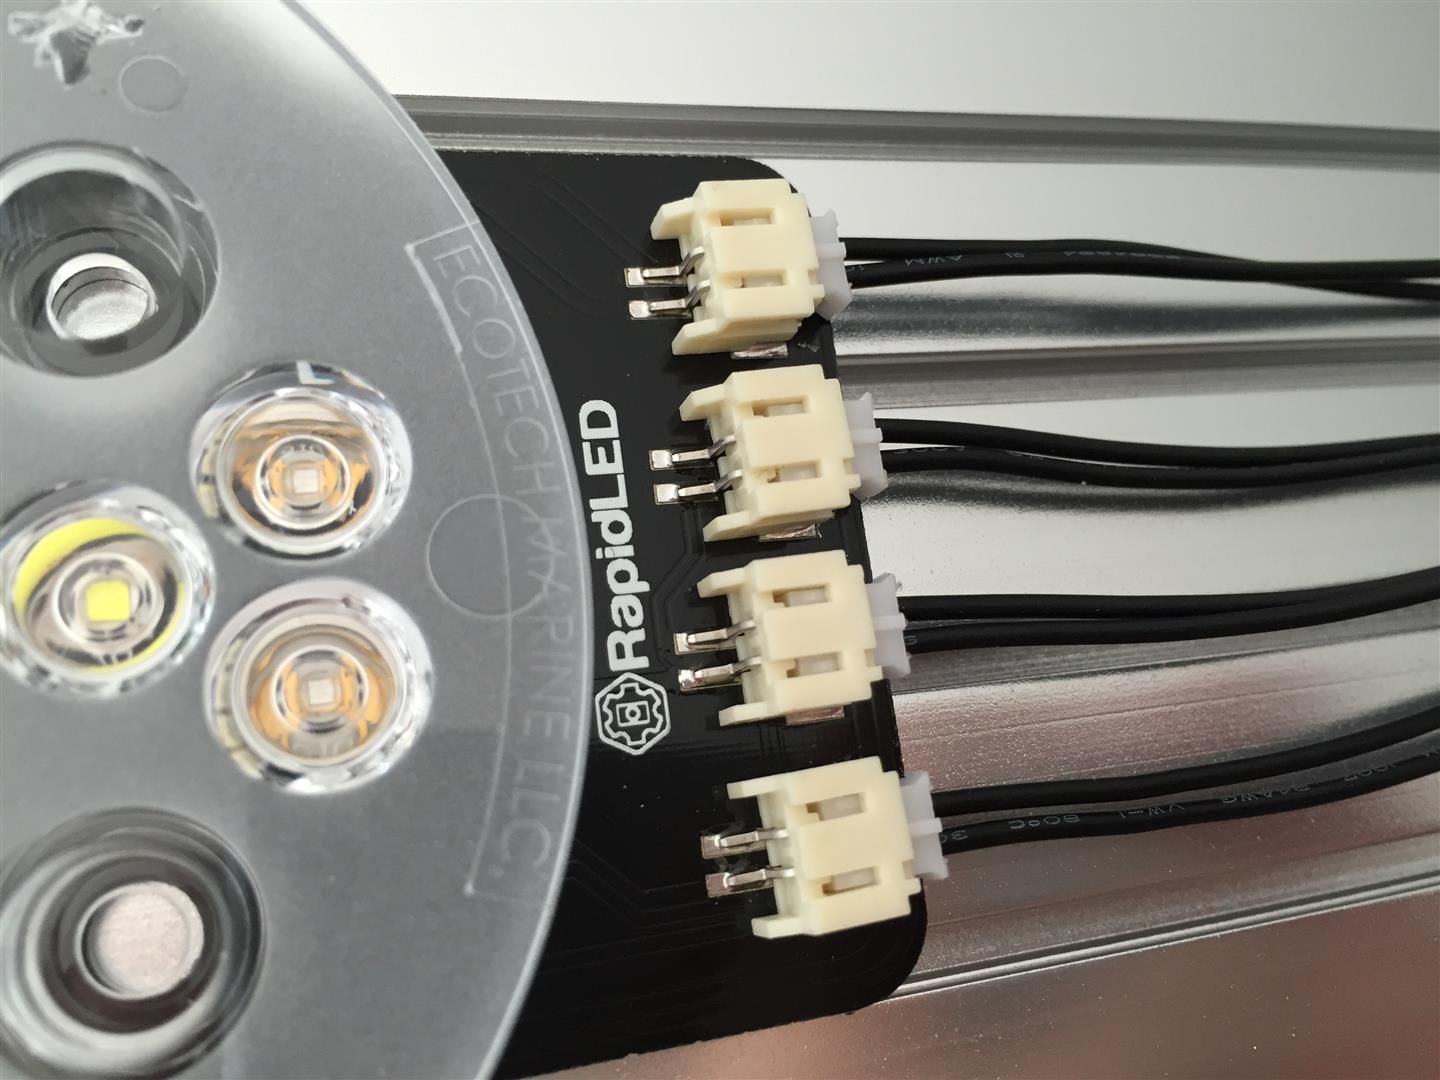
|
|
|

|
|
|
#4 |
|
Registered Member
Join Date: Jul 2014
Posts: 38
|
The connector plug was cut off the end of the wires of one 110-220V to 12V 0.5A transformer, the insulation removed and screwed into some terminal block. The fan wires were then connected up and the transformer plugged into a power outlet. Once the fan was proved to be spinning correctly, the wiring was disconnected. I’m not exactly sure which way I’ll be controlling/powering the fans but will come back to that later.
 This is an end plate, there are two fitted to each heatsink/enclosure which will stop the heatsink sliding out when you’re handling the light, which is really useful as I nearly dropped the heatsink already, fit it as soon as you can!! 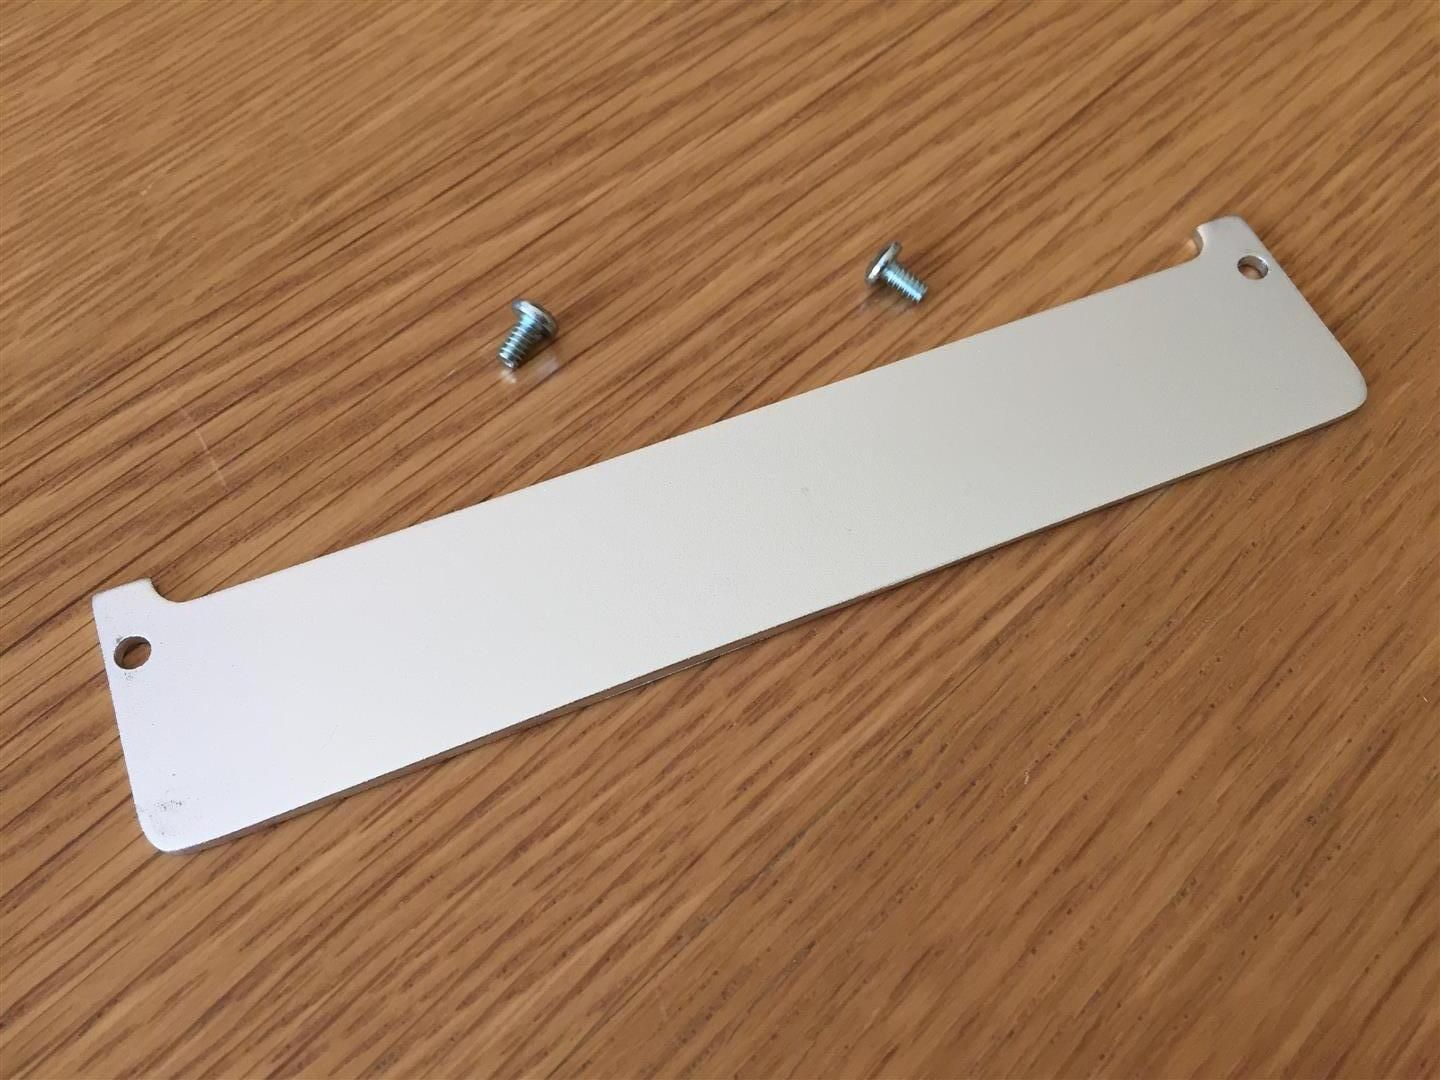 It simply screws in like so, you can see the acrylic splash guard is installed too 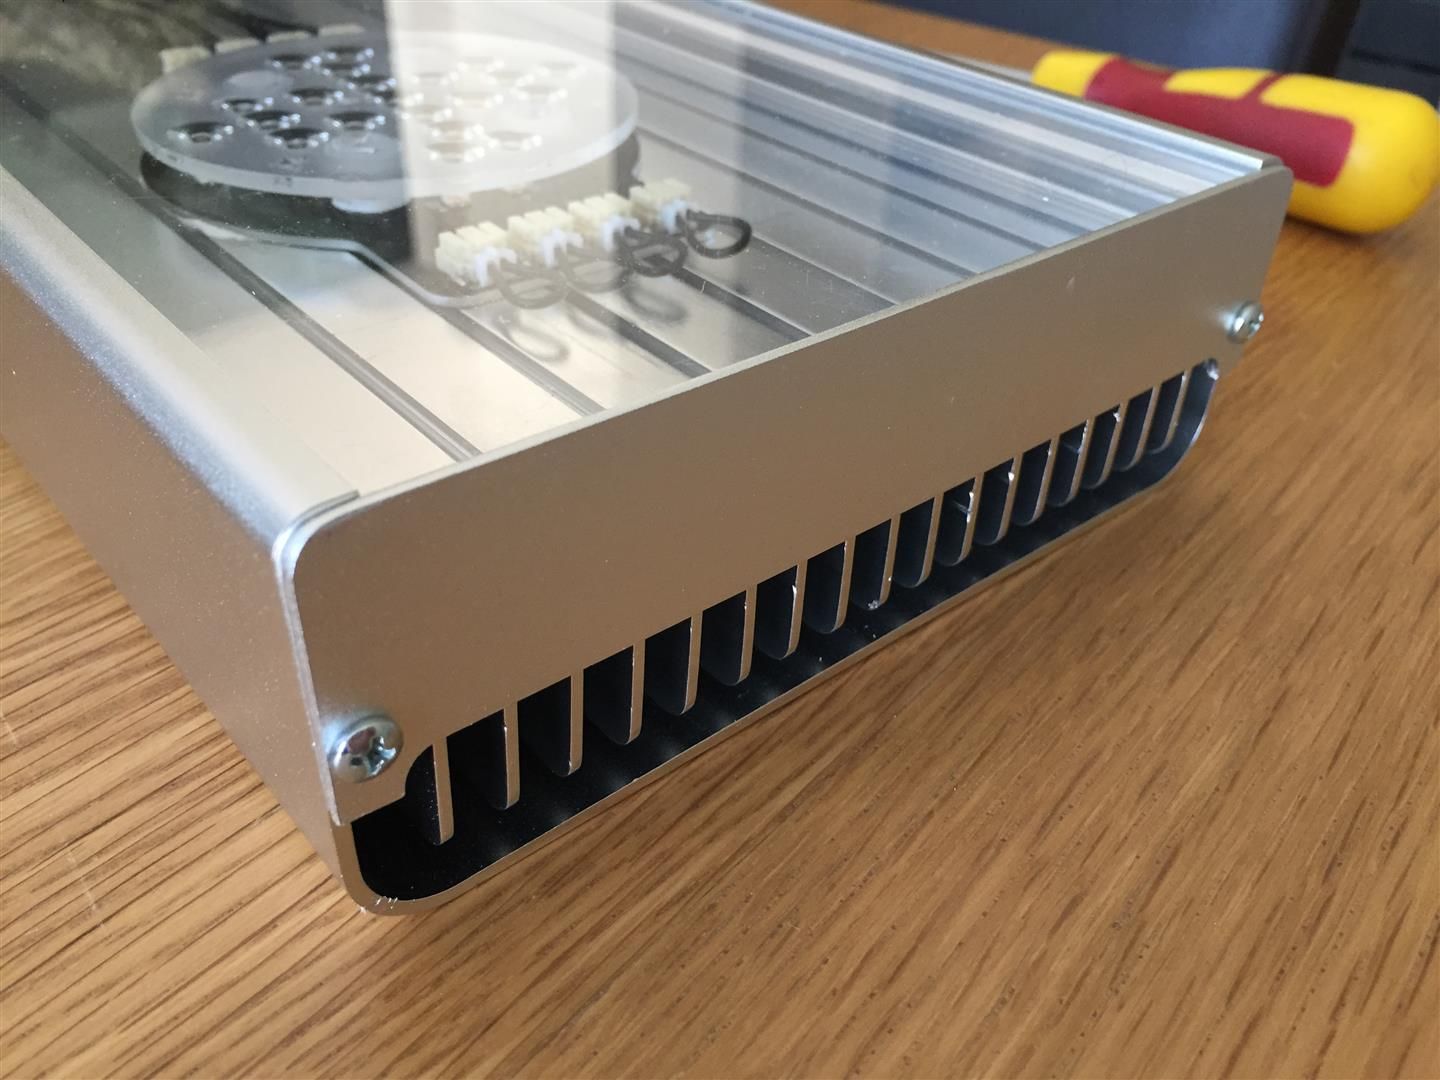 Remove the insulation from the wires of the 3 core flex and connect to the SE-350-48 power supply unit 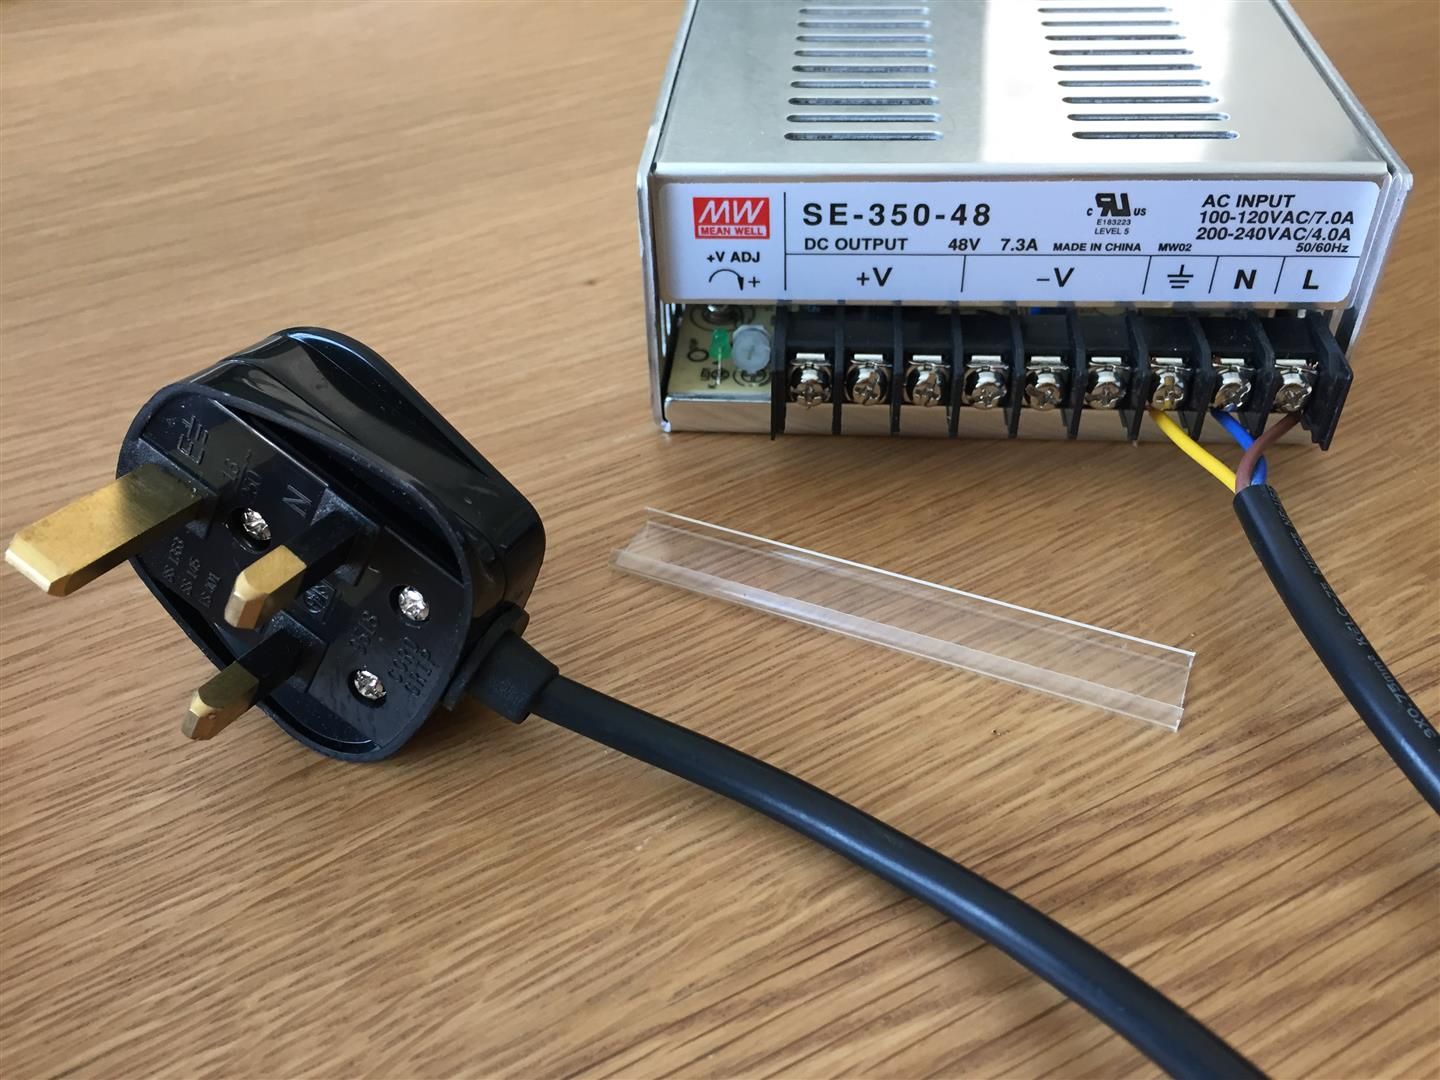 Ensure the voltage selector switch on the side of the PSU is in the correct position for your chosen supply, in this case 230V. 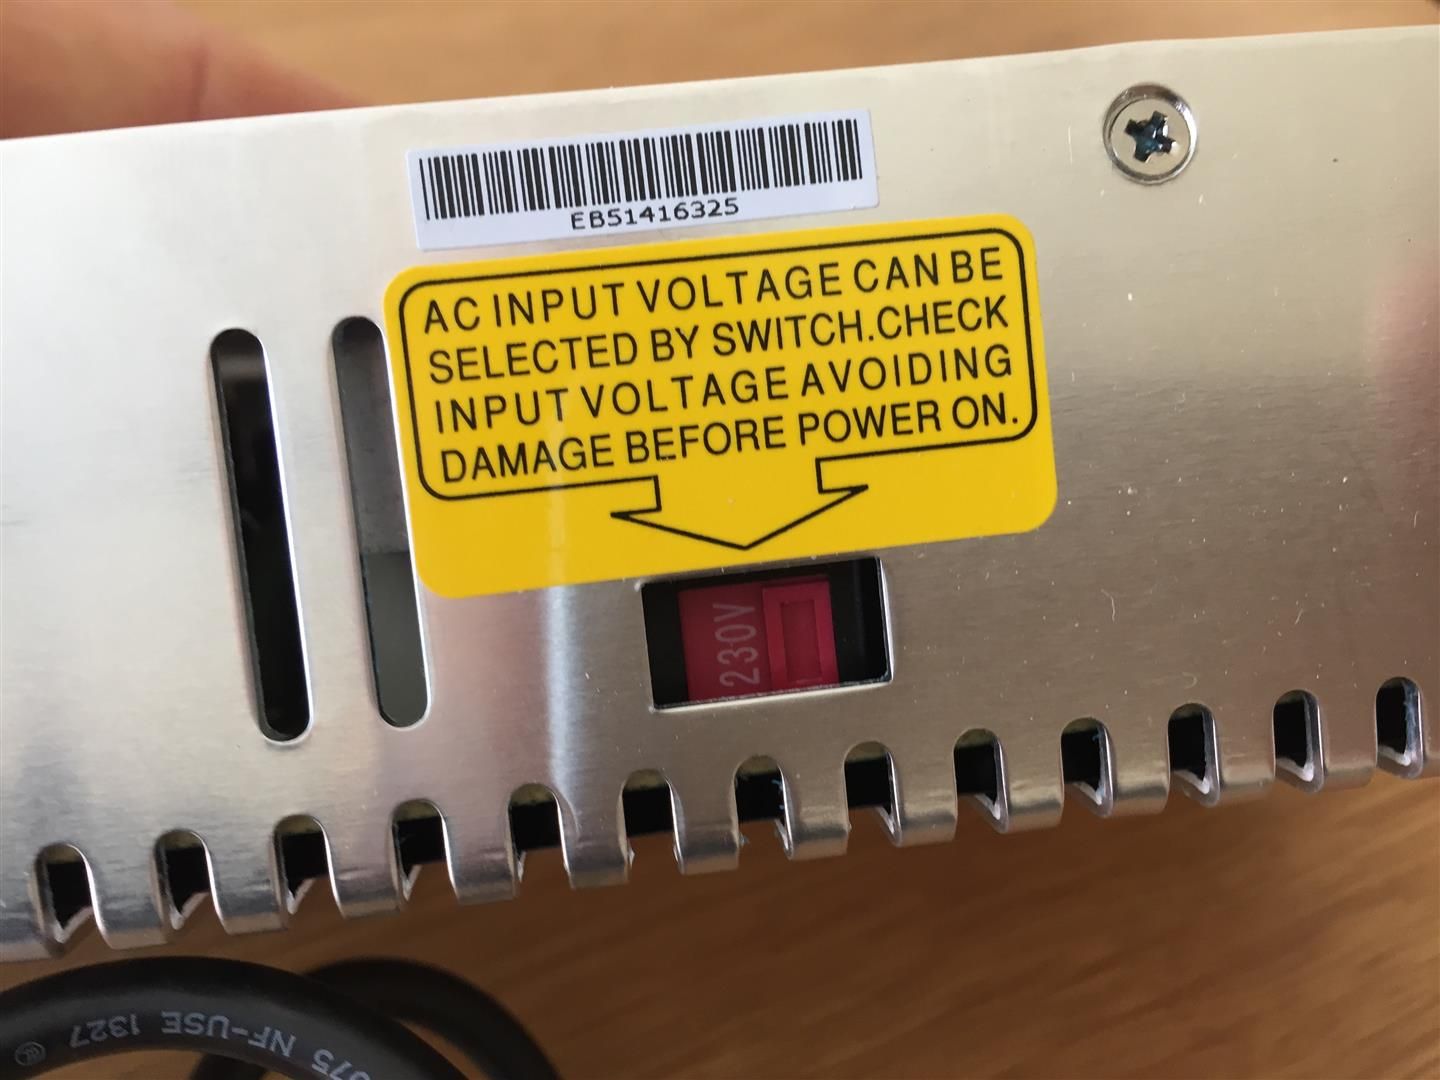 Cut a length of black and a length of red wire, strip off the insulation at each end and connect the red wire to the PSU DC OUTPUT +V and the black wire to the DC OUTPUT –V terminal 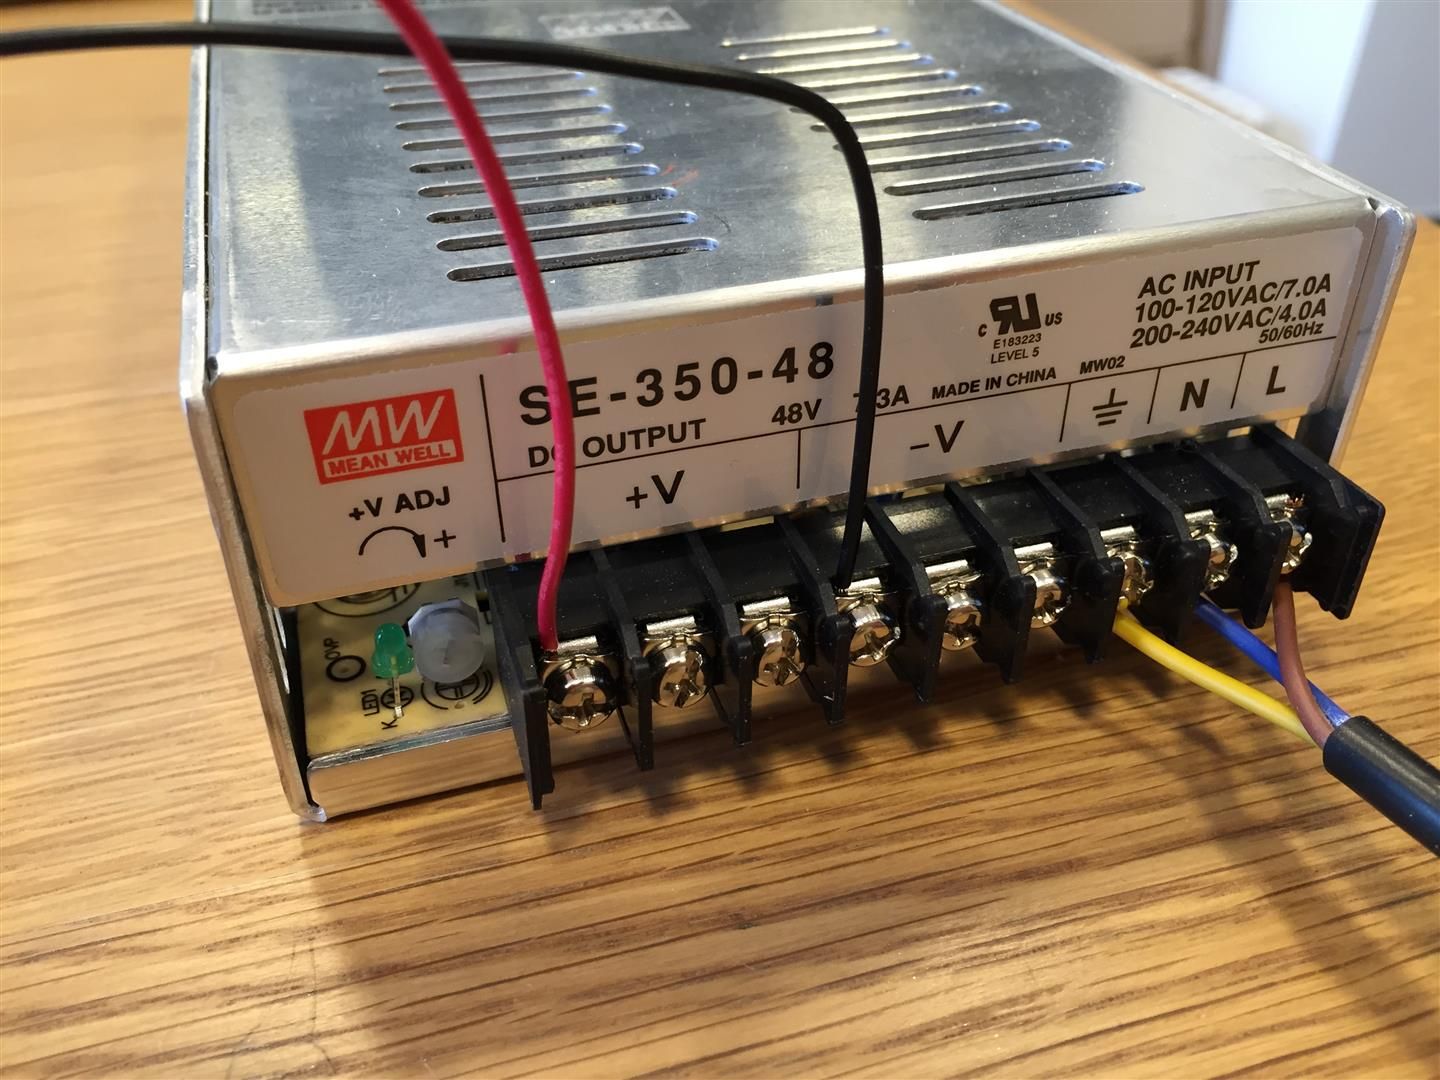 Insert the other ends of the red and black wires into the LDD-H driver board terminals, black wire to V- inputs and red wire to V+ inputs. 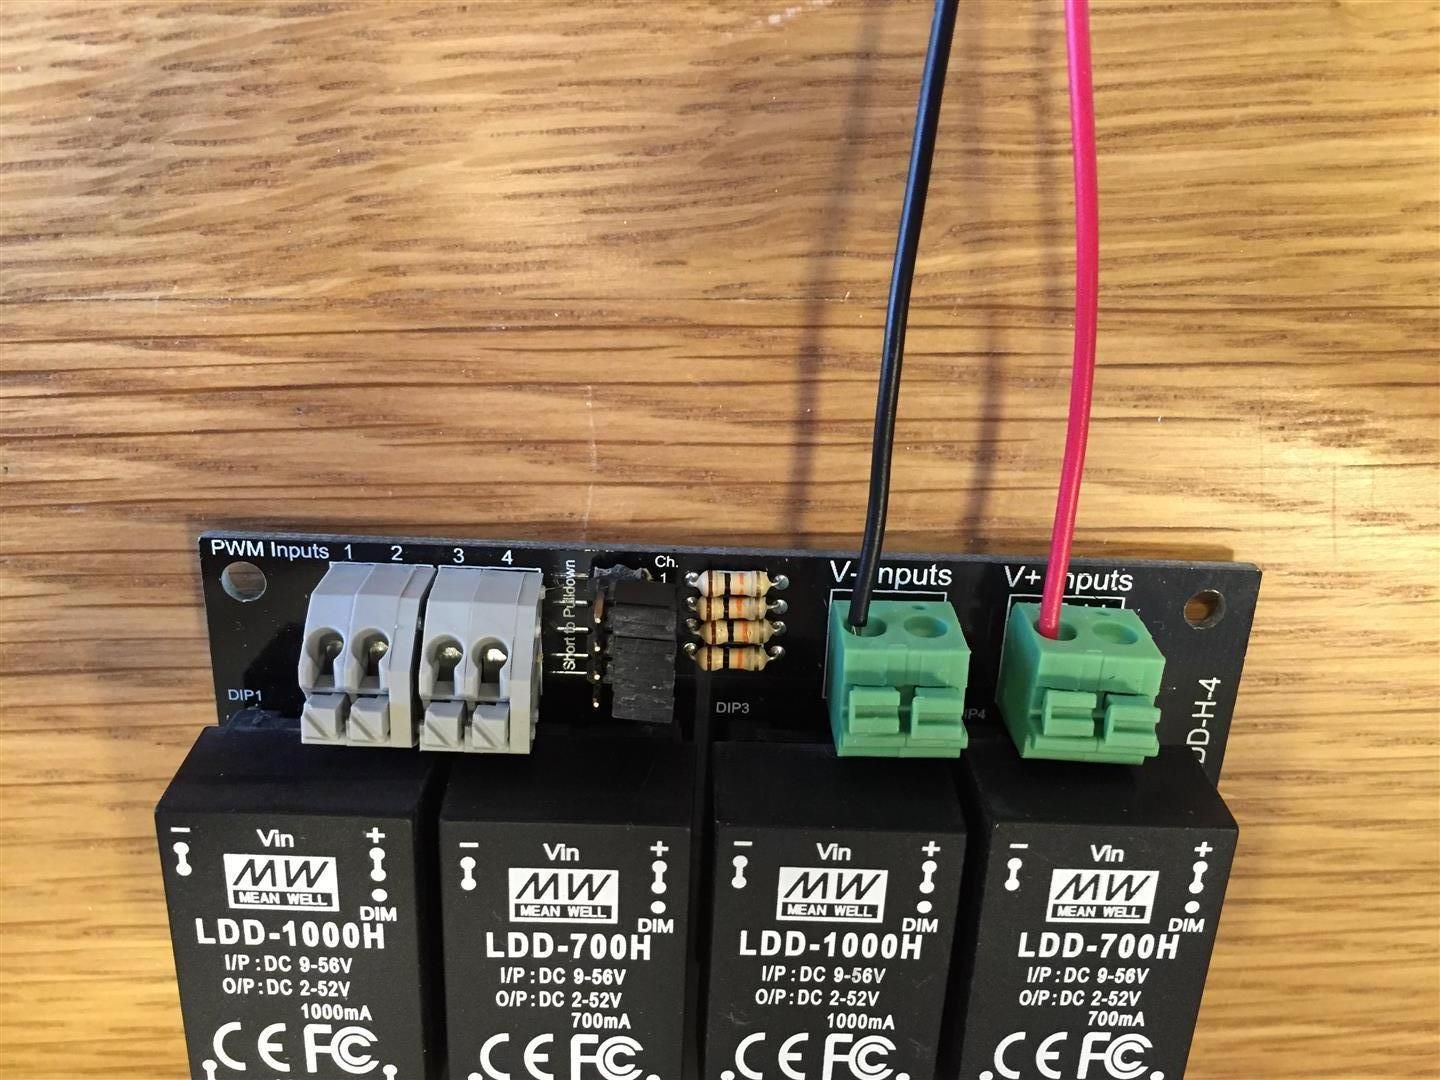 You should have something like this 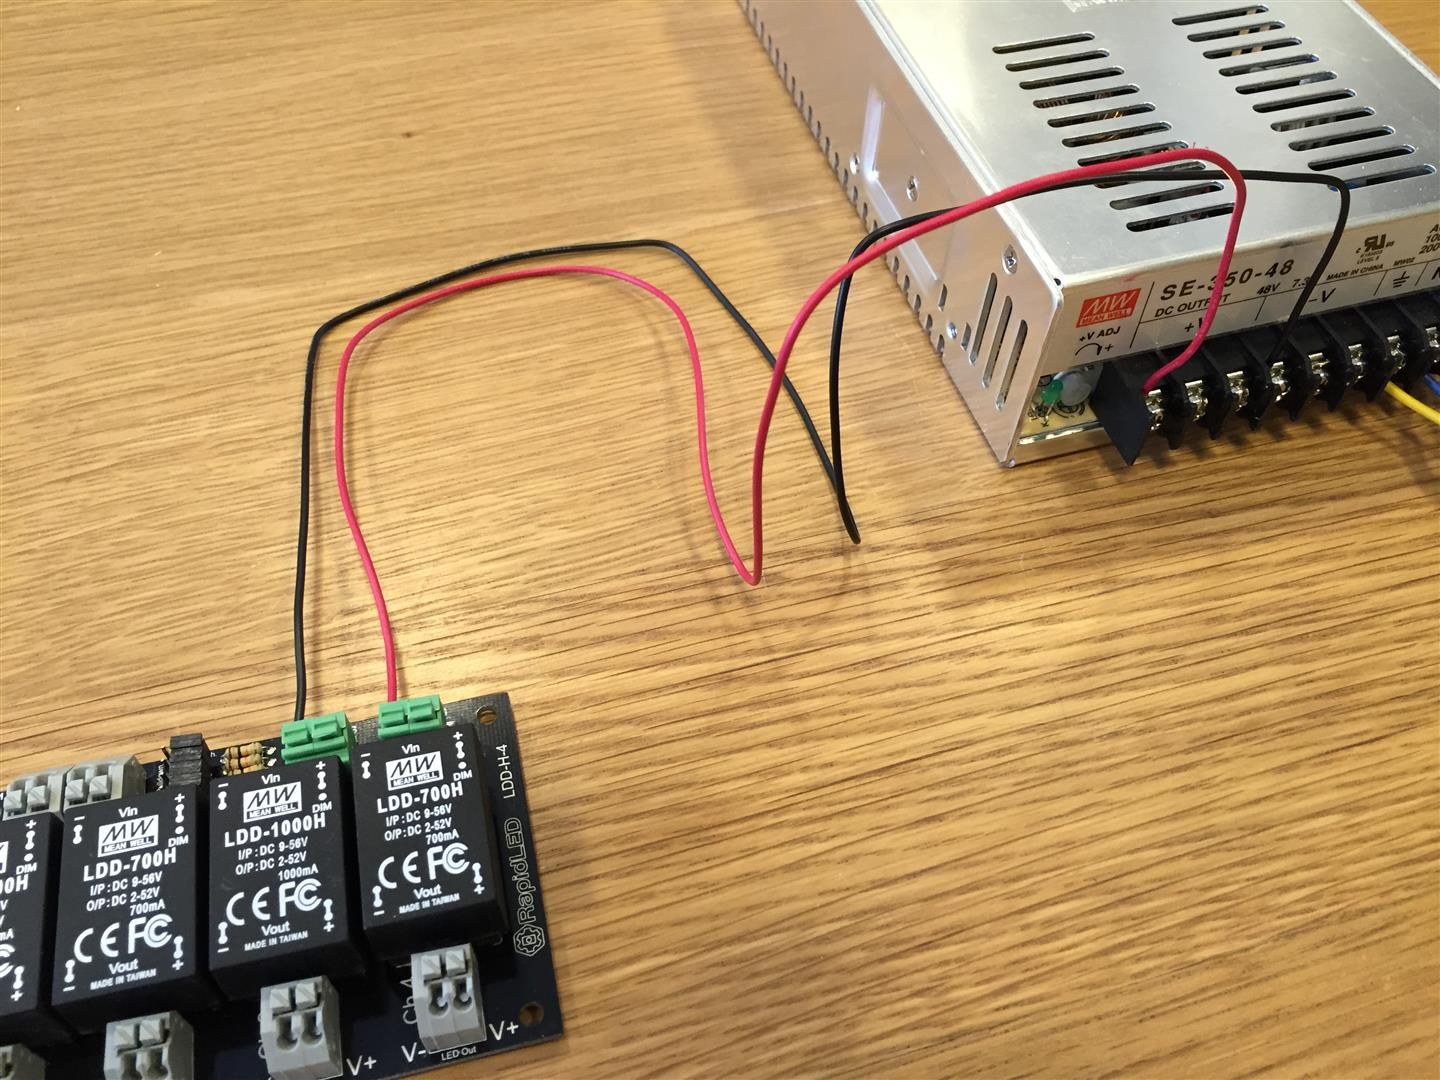
|
|
|

|
|
|
#5 |
|
Registered Member
Join Date: Jul 2014
Posts: 38
|
Insert a Storm jumper cable into terminal PWM 1 and Ground as per the photo below, check the Storm X pin layout earlier in the thread for pin locations. Ensure the black wire is at the bottom and the red at the top.
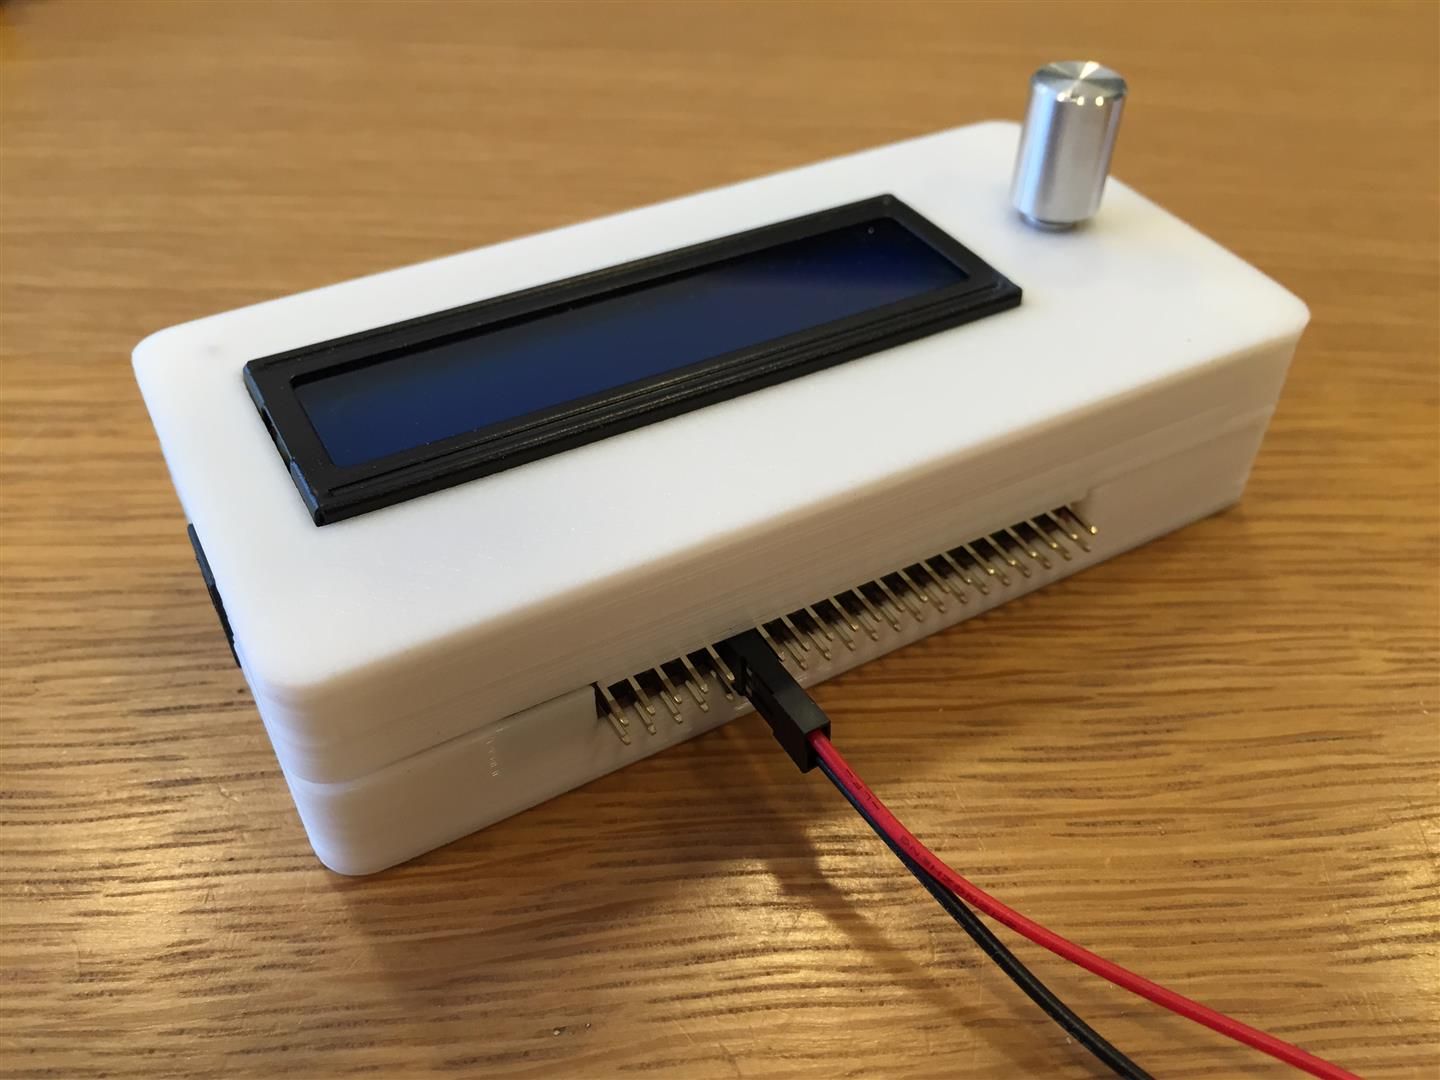 Insert three more Storm jumper cables into terminals PWM 2, 3 and 4, then cut the plugs off the other end of the wires, remove the insulation and twist the black wires together. 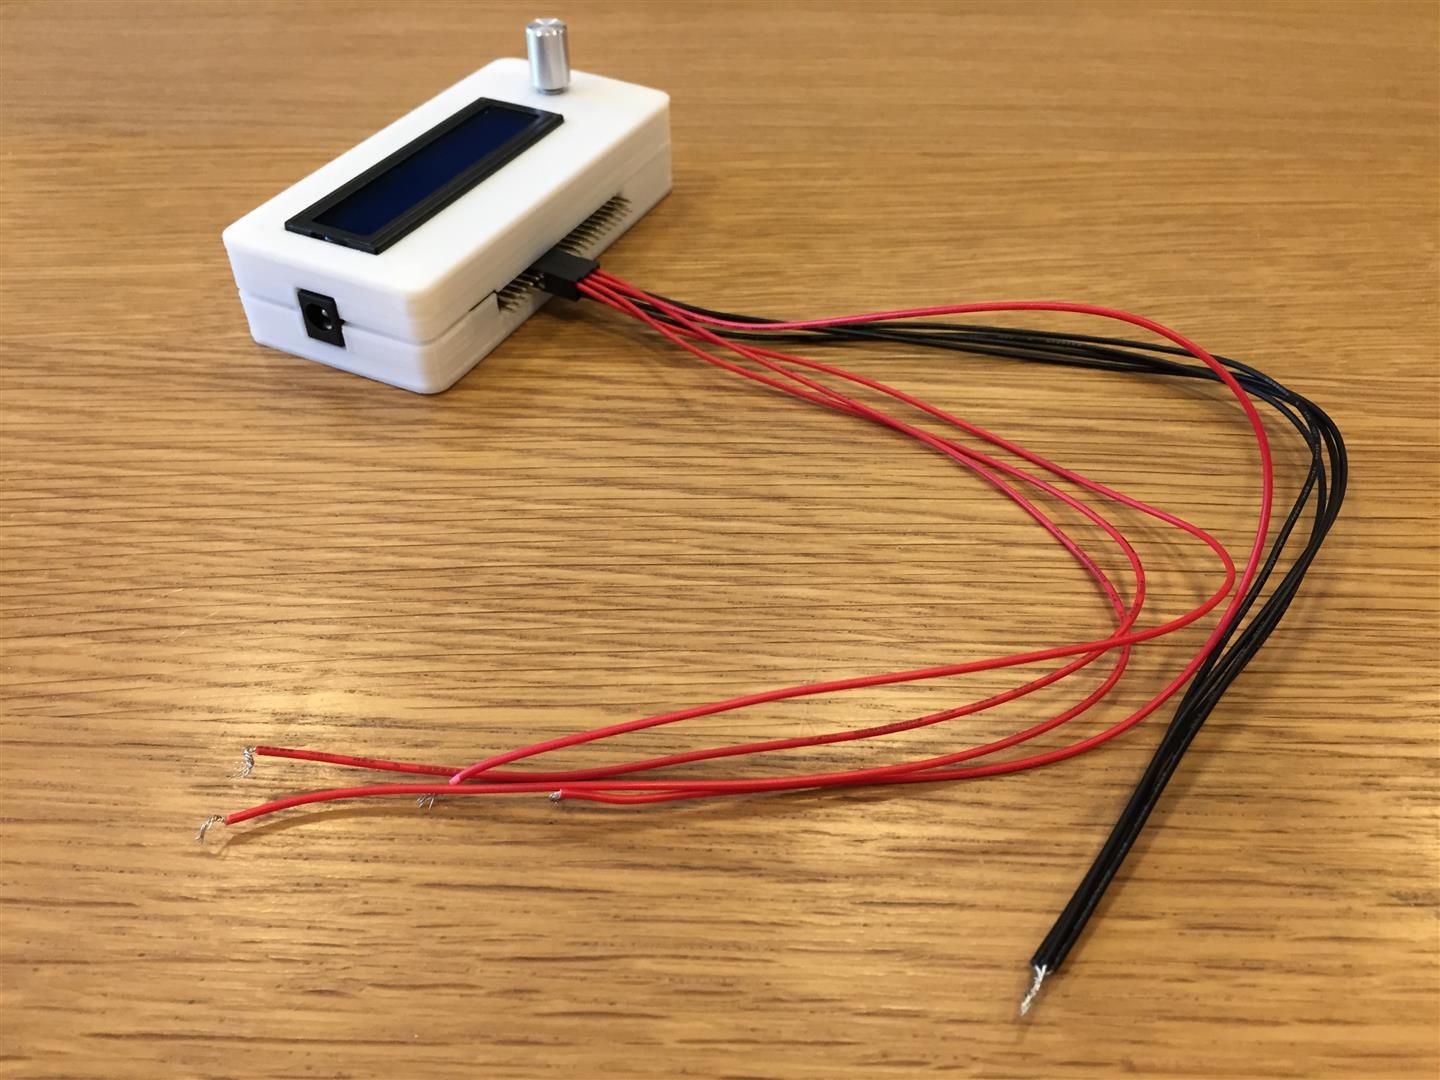 Connect the twisted together black wires to the LDD-H driver board at terminal V- Inputs. Connect the red wire from Storm X controller terminal PWM 1 to LDD-H driver board terminal PWM Inputs 1, then connect red wires at Storm X terminals PWM 2, 3 and 4 to LDD-H driver board terminals PWM inputs 2, 3 and 4 respectively. 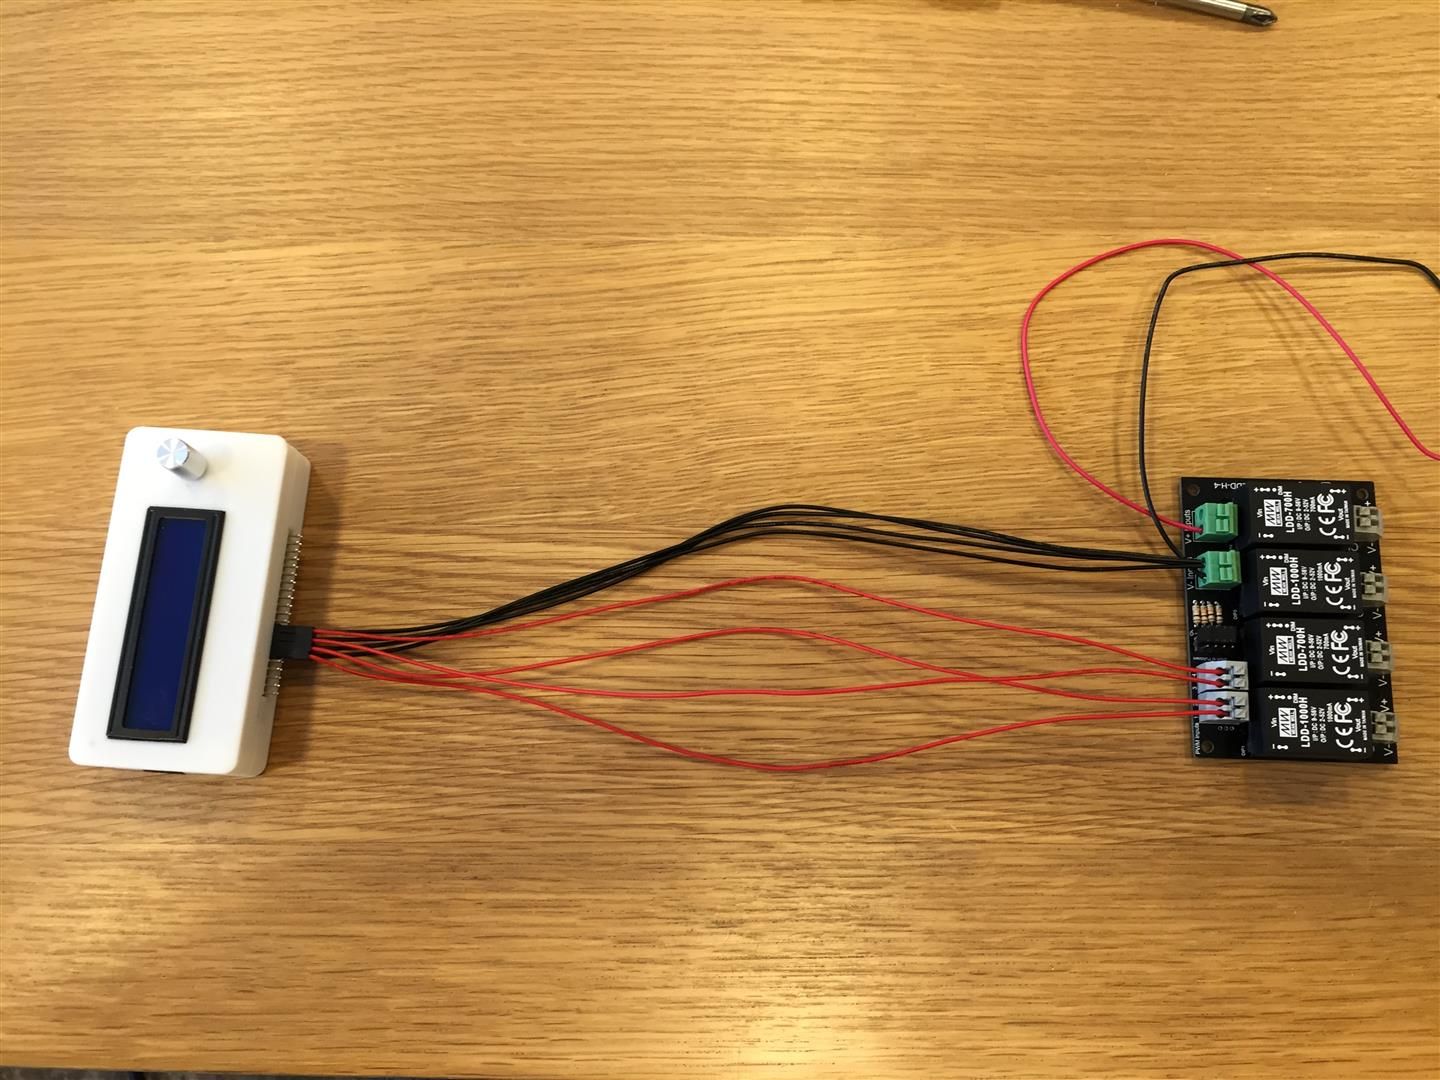 Next, connect the driver jumpers from the Aurora puck to the LDD-H driver board as follows, Aurora puck Blue terminal, red wire to LDD-H driver board Ch.1 V+ terminal, black wire to Ch1. V- Aurora puck Colour terminal, red wire to LDD-H driver board Ch.2 V+ terminal, black wire to Ch2. V- Aurora puck White terminal, red wire to LDD-H driver board Ch.3 V+ terminal, black wire to Ch3. V- Aurora puck UV puck terminal, red wire to LDD-H driver board Ch.4 V+ terminal, black wire to Ch4. V- 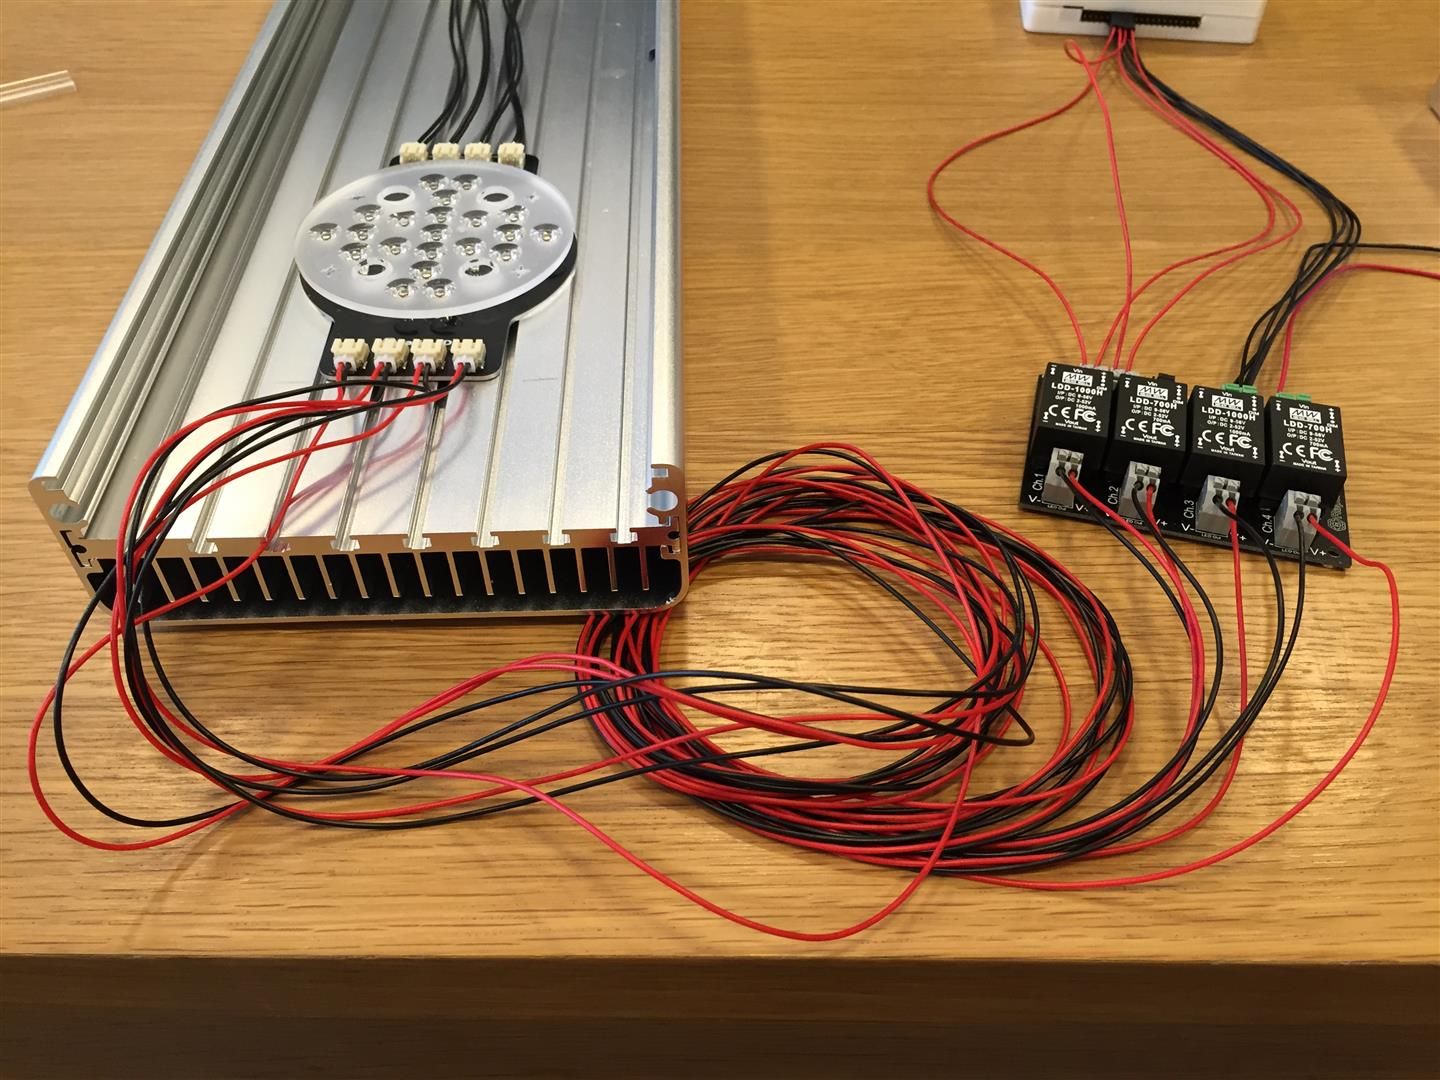 Connect the 100-240V AC to 9V 1A transformer to the Storm X controller 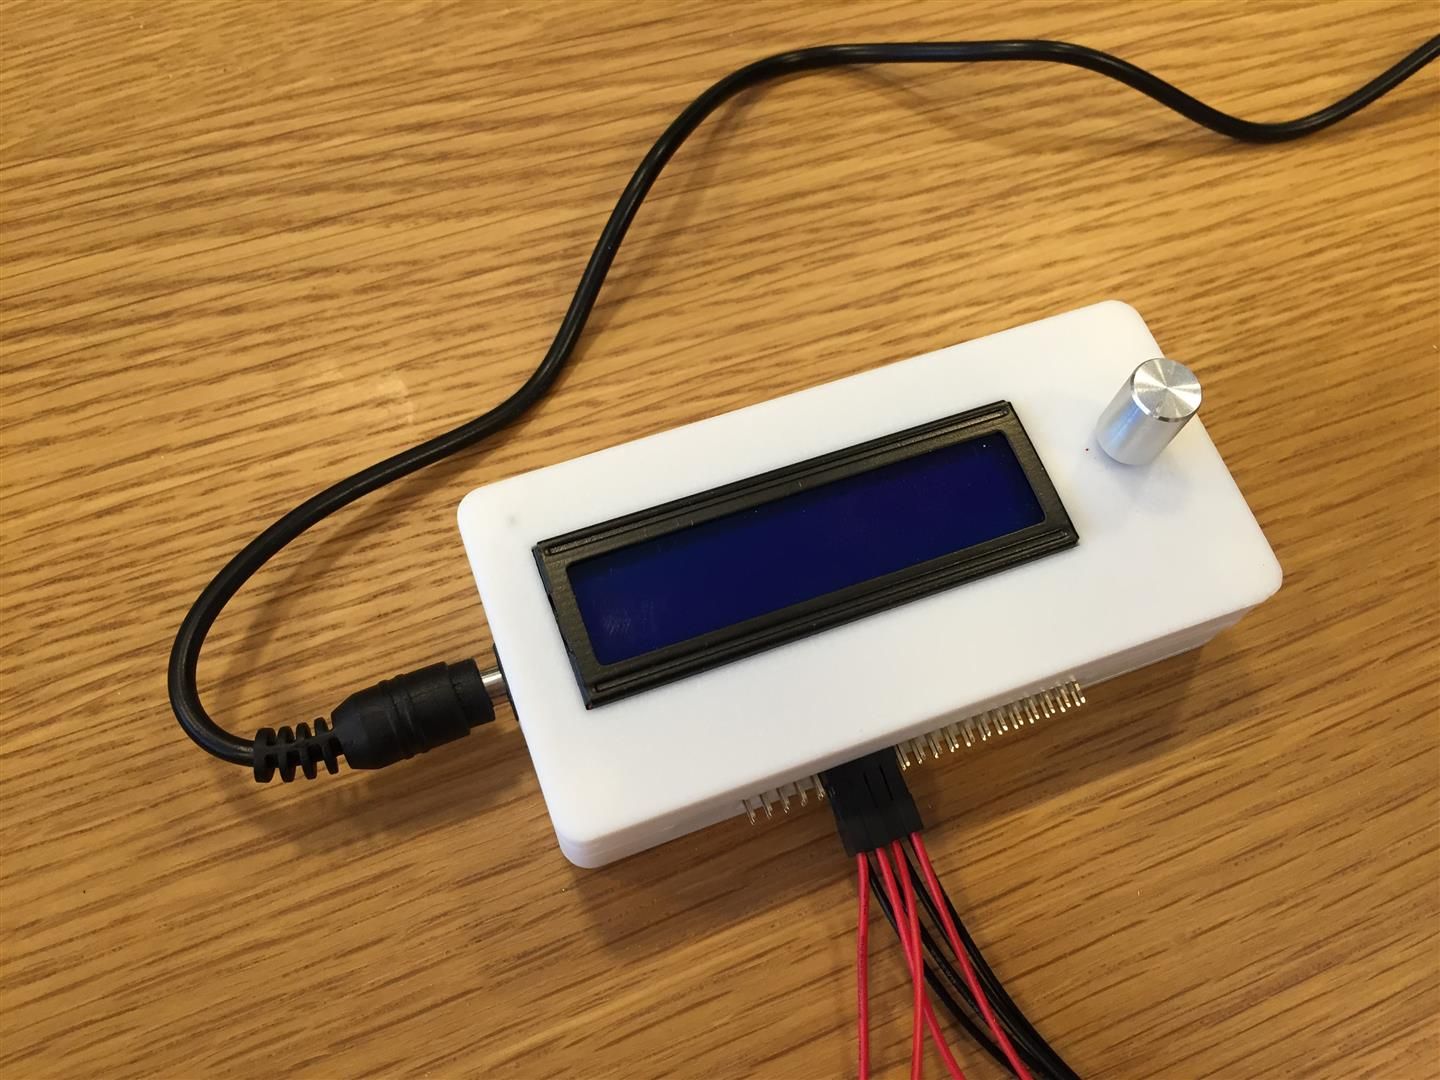 Plug in and switch on the transformer and the Storm controller will light up, this one showed Night, todays date and time. 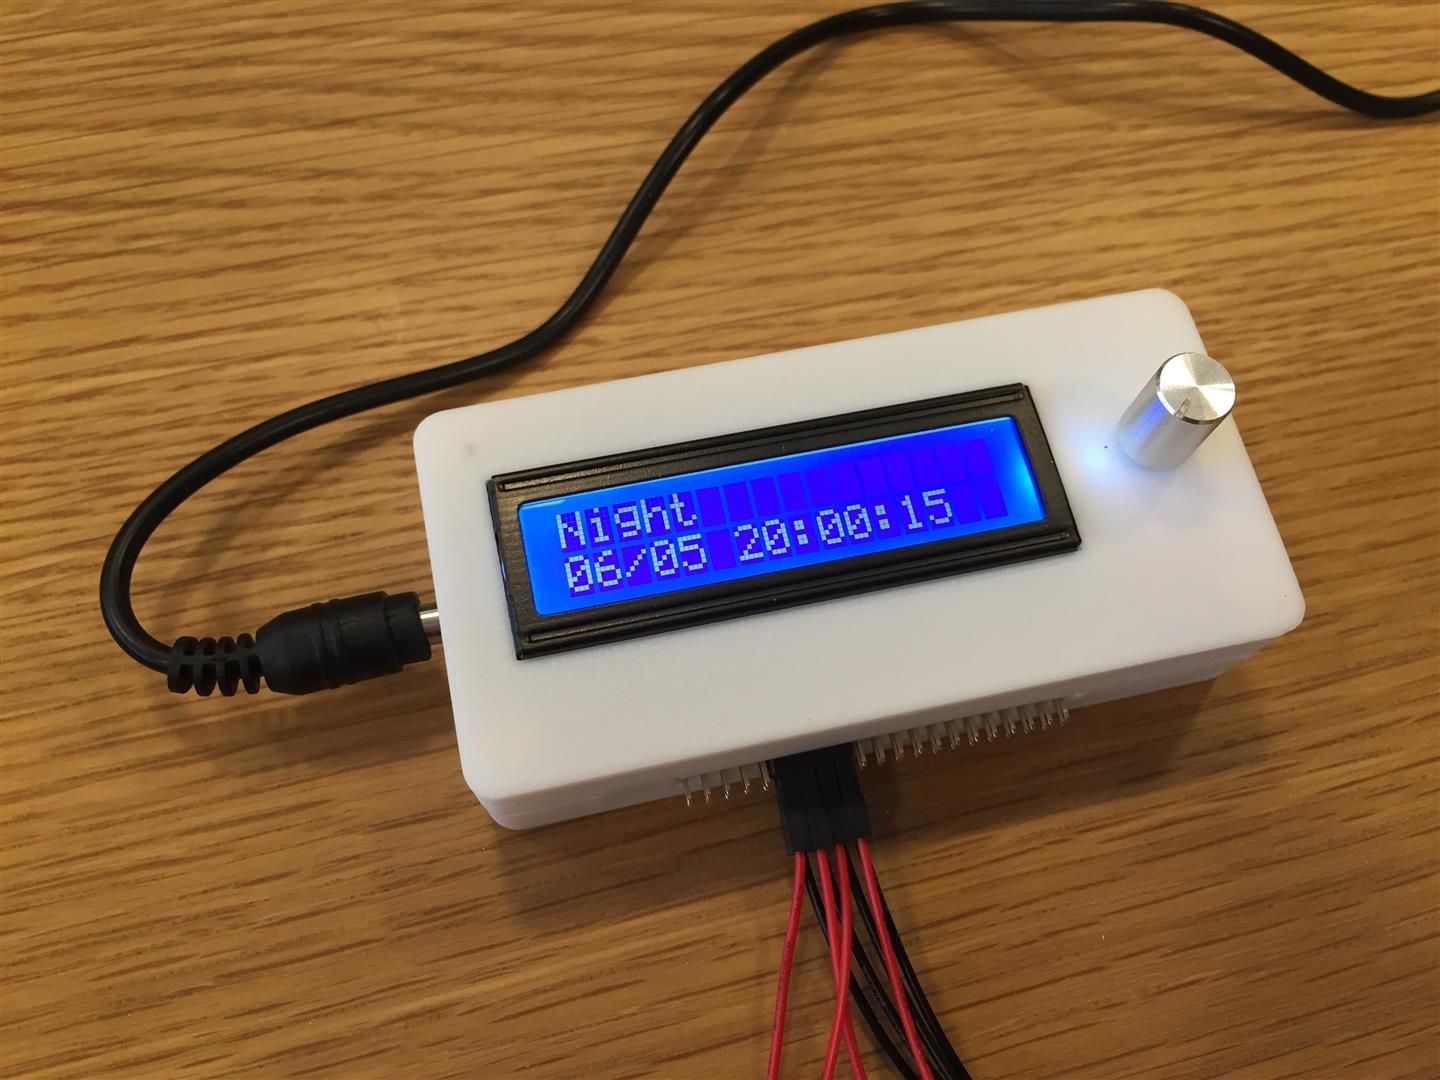 Press the knob on the Strom X controller until Manual (0) is displayed, the LED lights will be completely off. 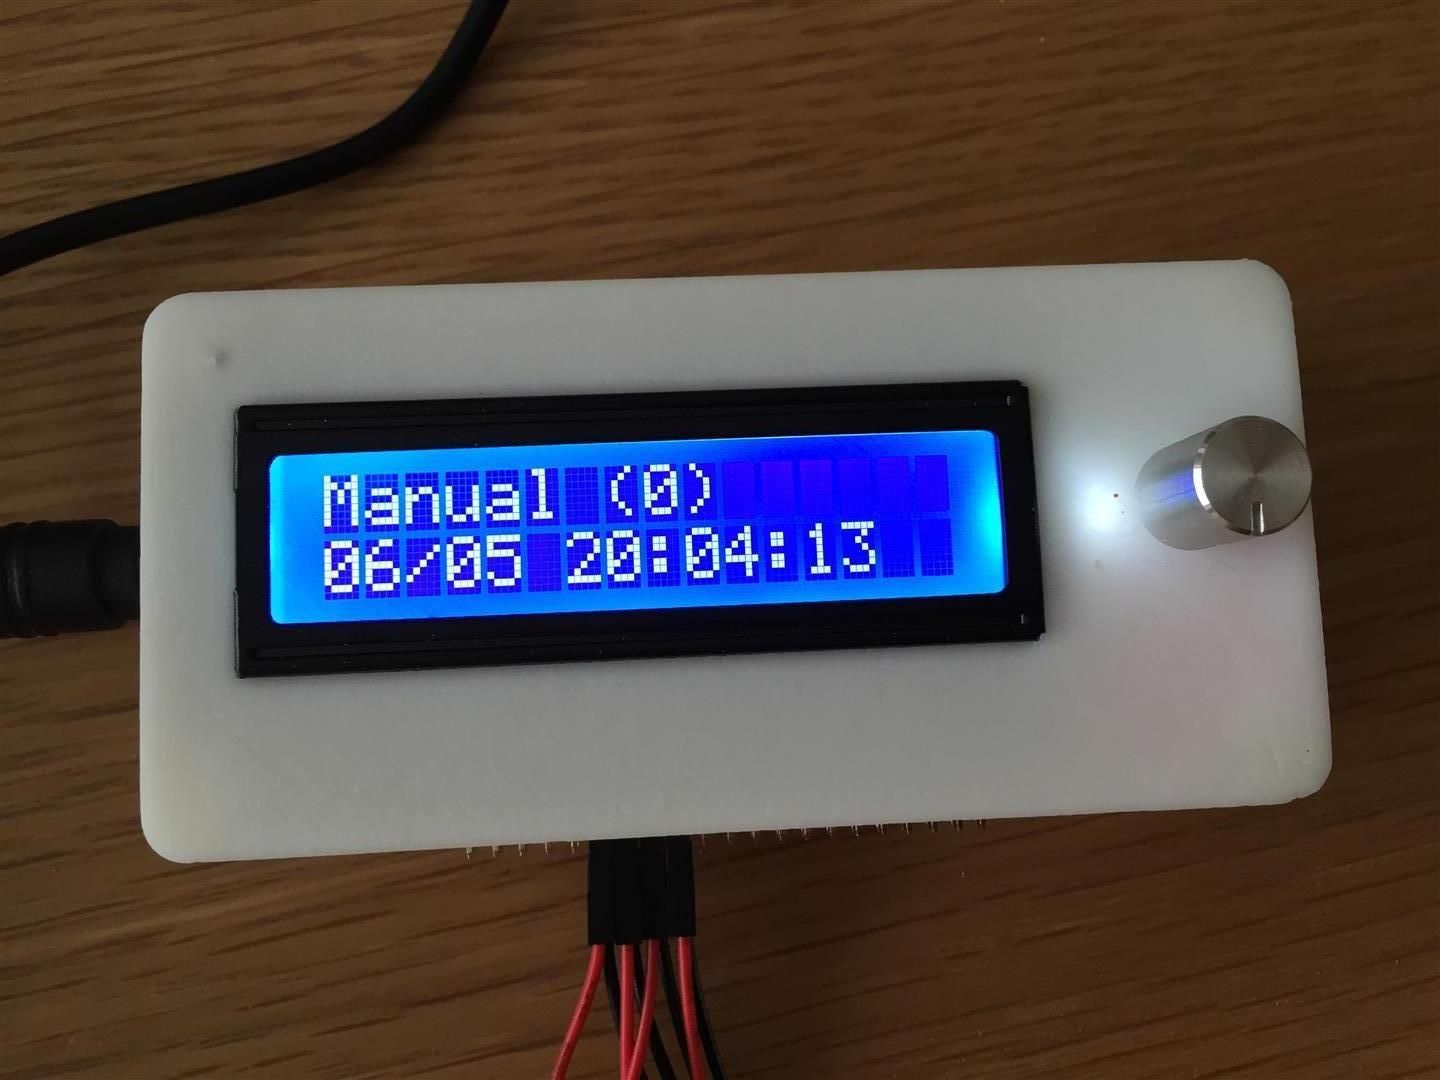
|
|
|

|
|
|
#6 |
|
Registered Member
 Join Date: Apr 2008
Location: Grove City, Ohio
Posts: 10,806
|
well don't stop here for god's sake man!!!
and very nice so far. for those of us who want to diy, but just haven't done lights becasue, well, they're lights and circuit boards, this is great!
__________________
I'll try to be nice if you try to be smarter! I can't help that I grow older, but you can't make me grow up! Current Tank Info: 120 mixed reef with 40b sump, RO 150 skimmer, AI Sol Blue x 2, and a 60g Frag Tank with 100g rubbermaid sump. 2 x Kessil A360w lights, BM curve 5 skimmer |
|
|

|
|
|
#7 |
|
Registered Member
Join Date: Jul 2014
Posts: 38
|
The following photo shows the position of the T5 and LED light resting on the brace bars of the aquarium
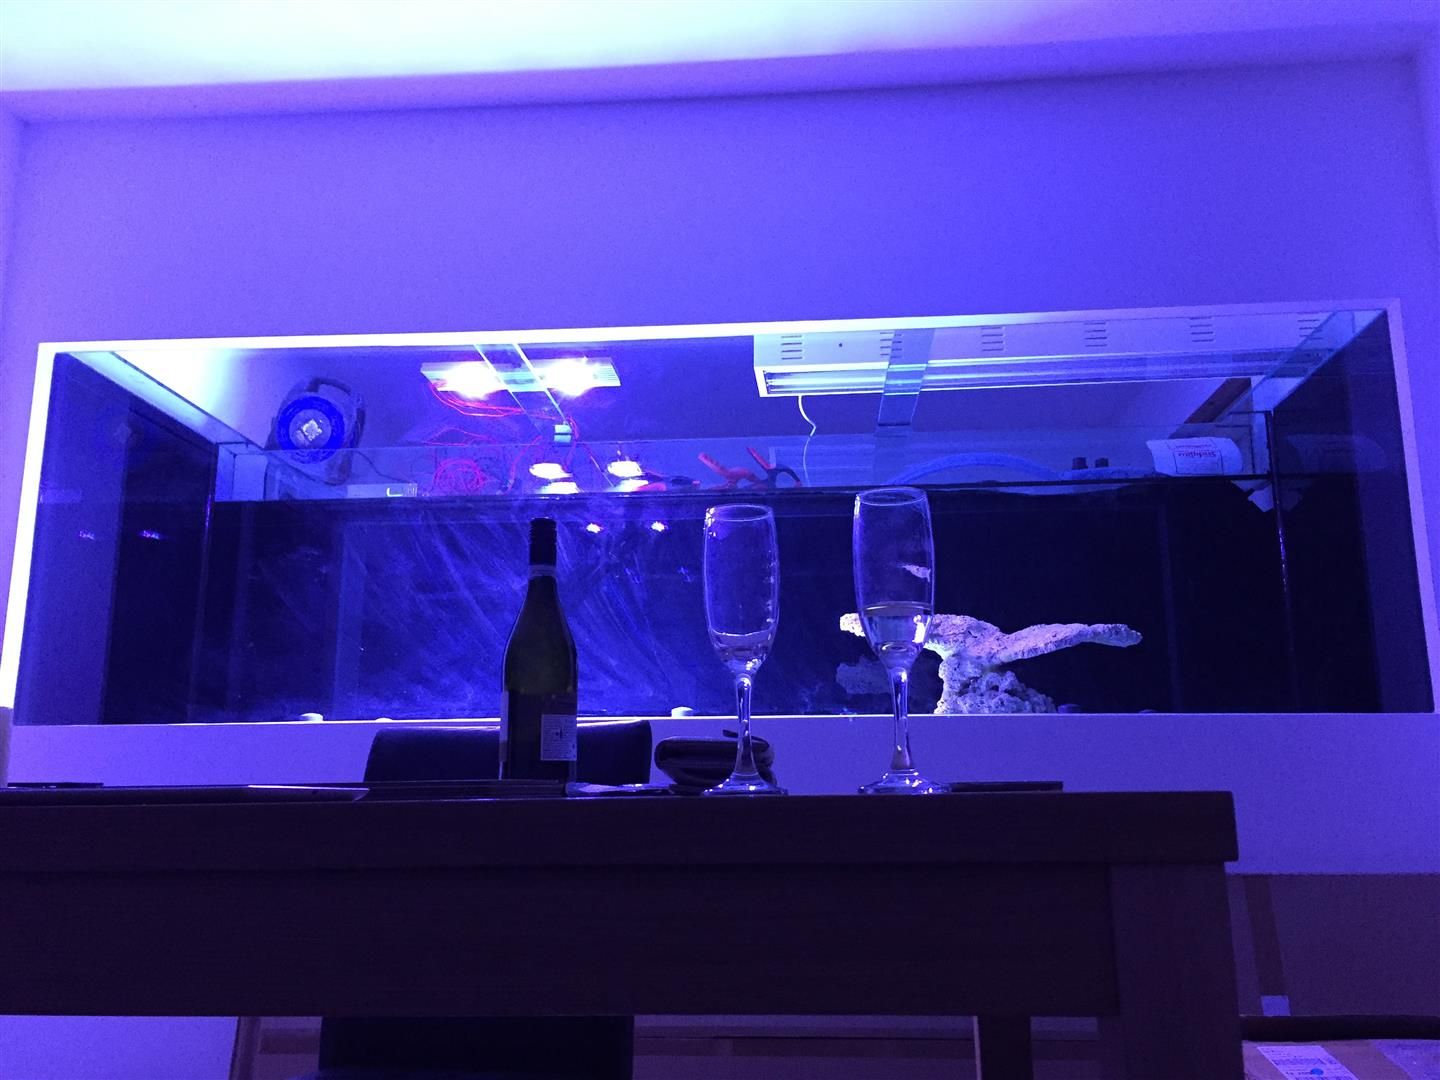 Dual Aurora puck all channels at 100% 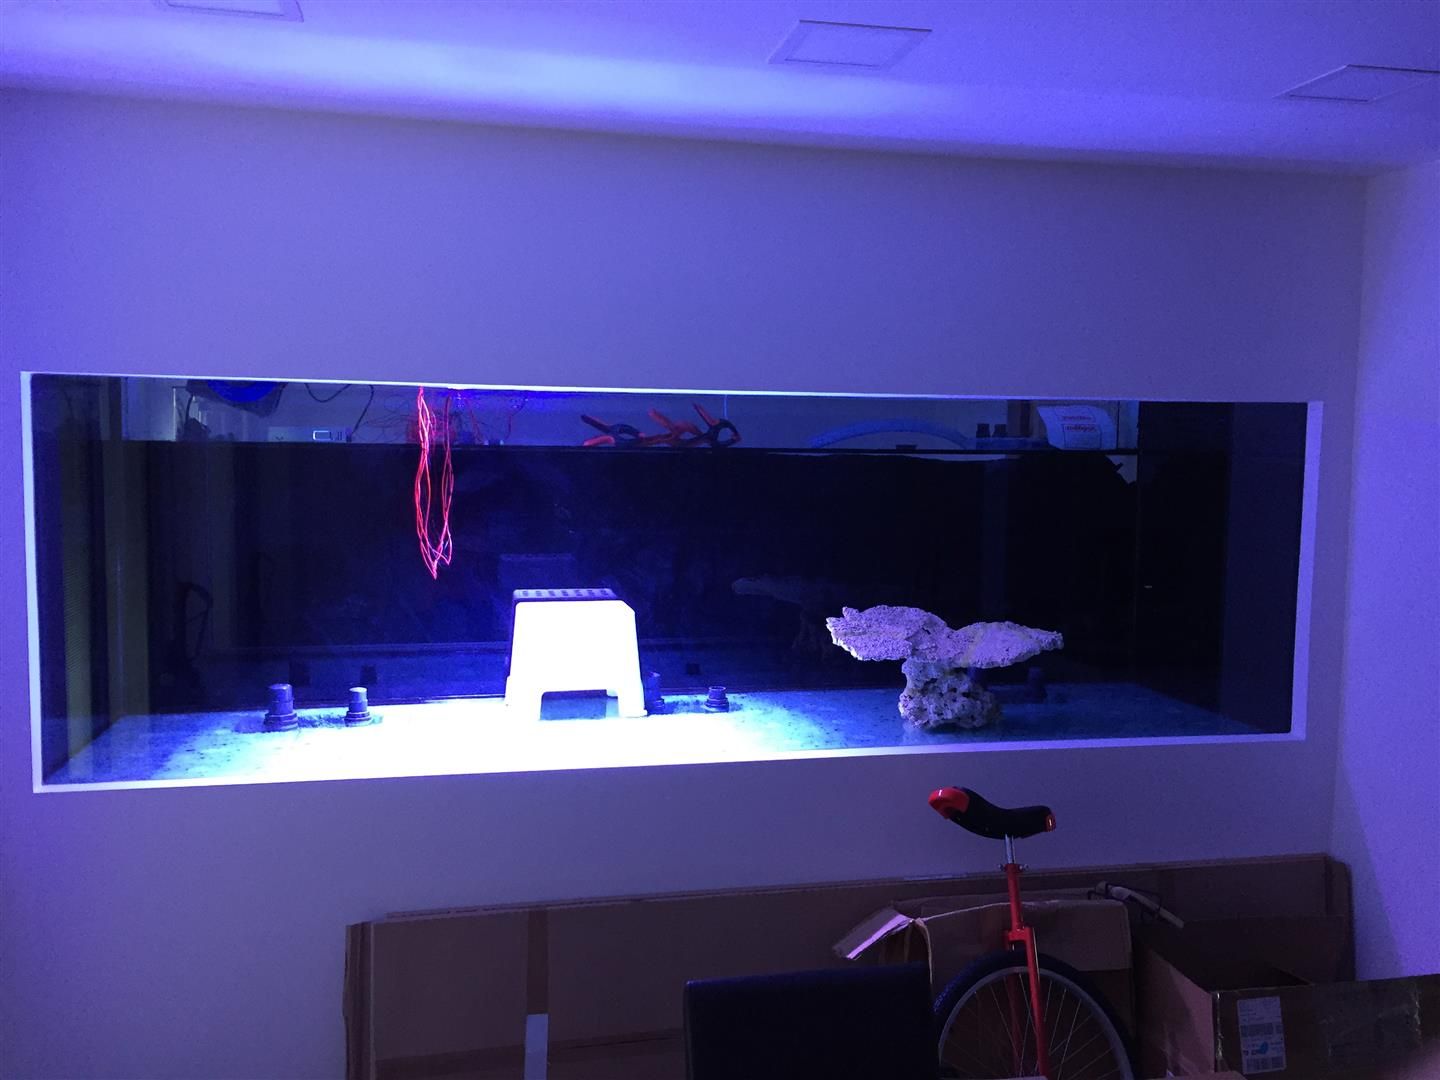 Comparison shot of 4x80W T5 lights, with ATI Coral Plus, Blue Plus, Purple Plus and Actinic tubes. 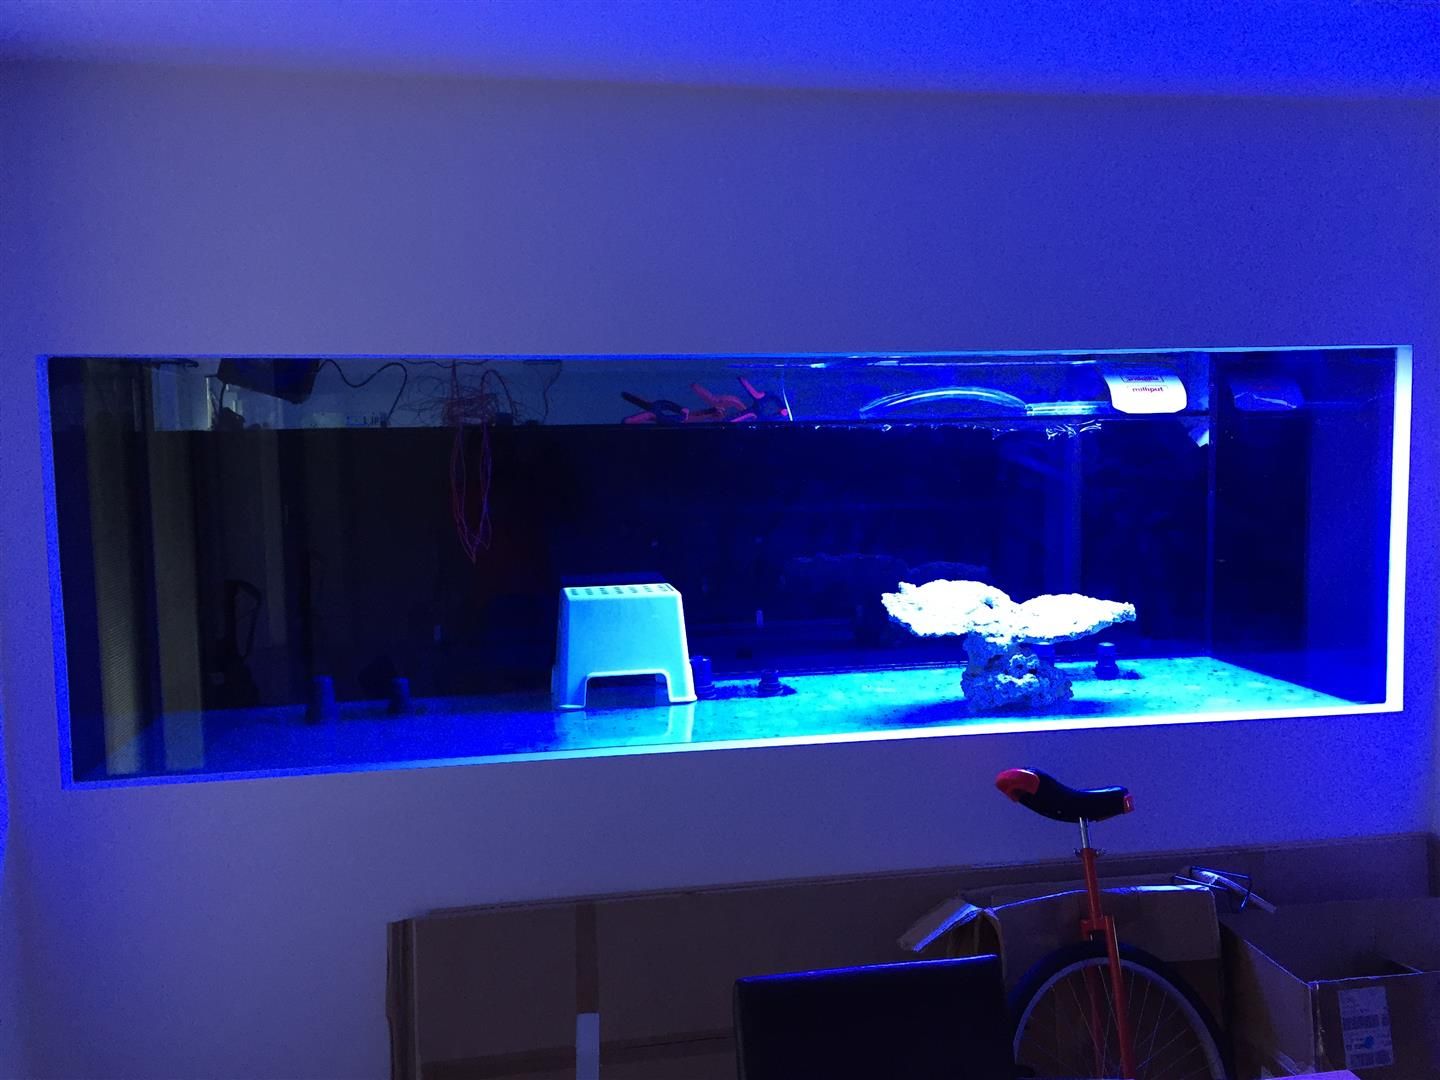 Aurora and T5 at the same time 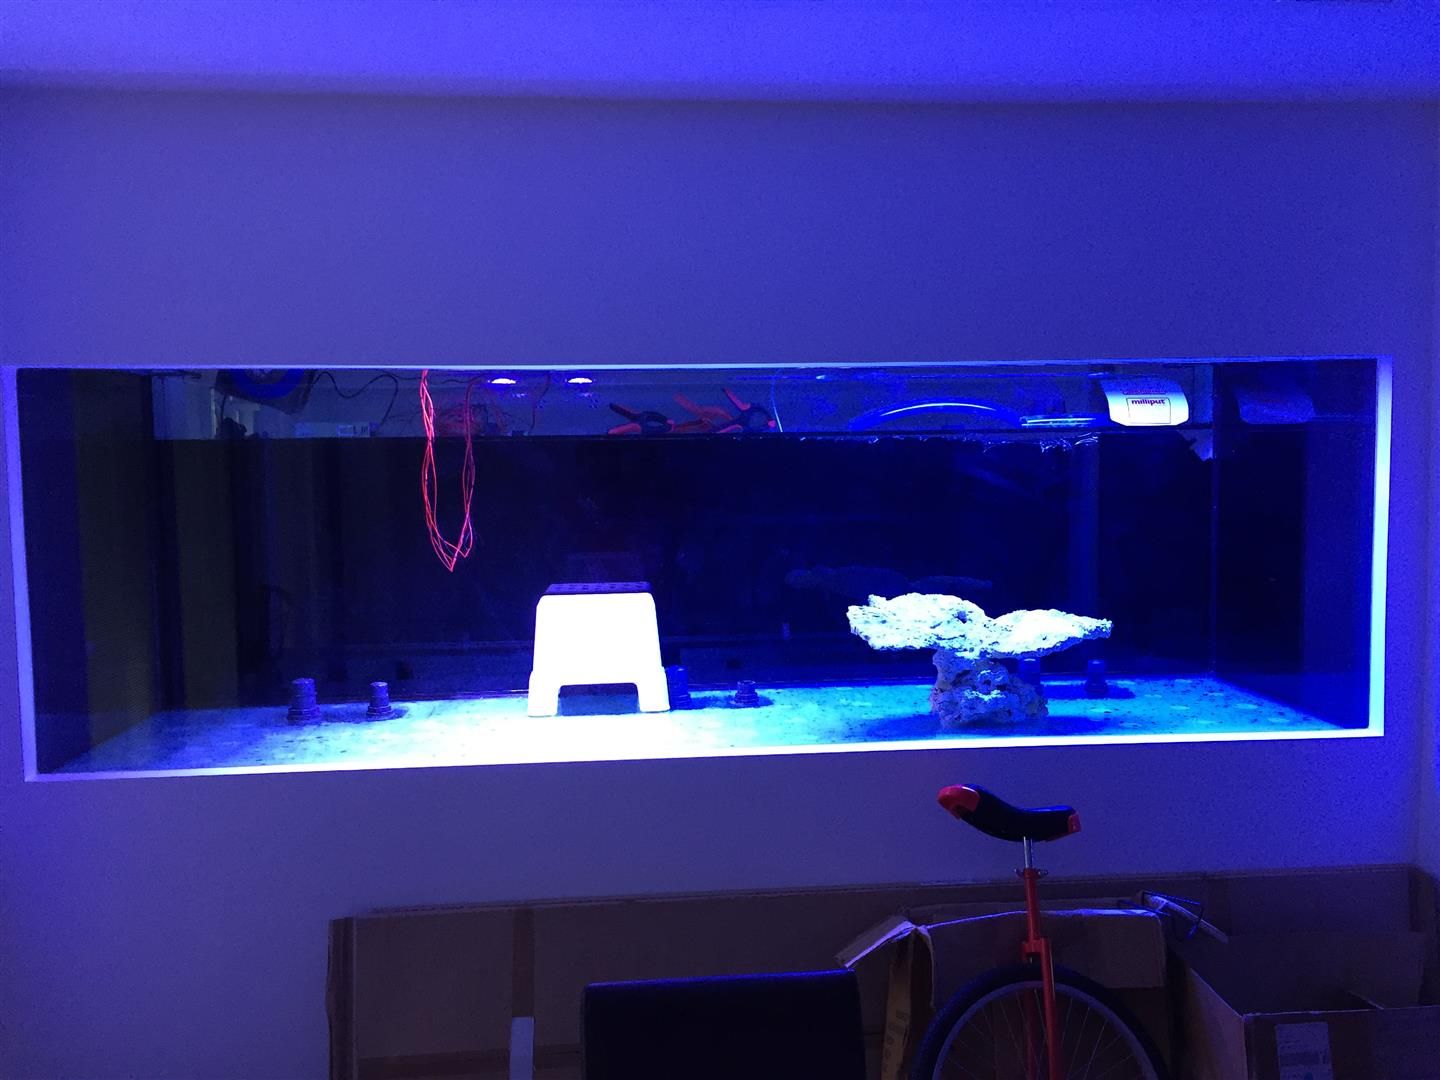 Aurora dual puck LED blue channel at 100% 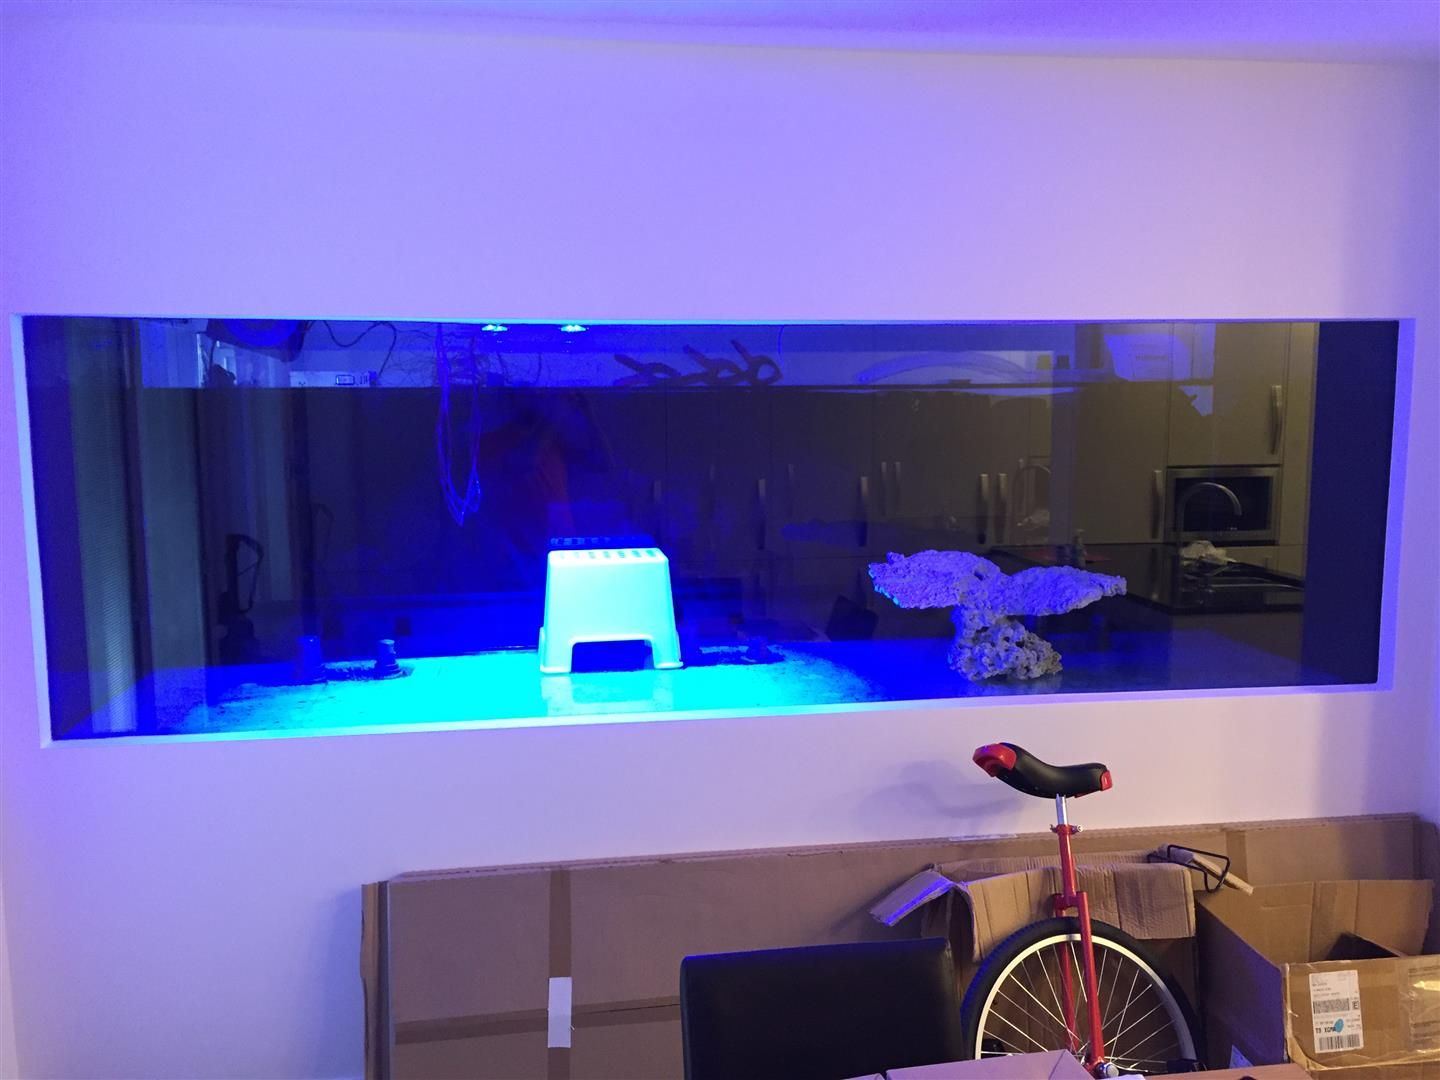 Aurora dual puck LED colour channel at 100% 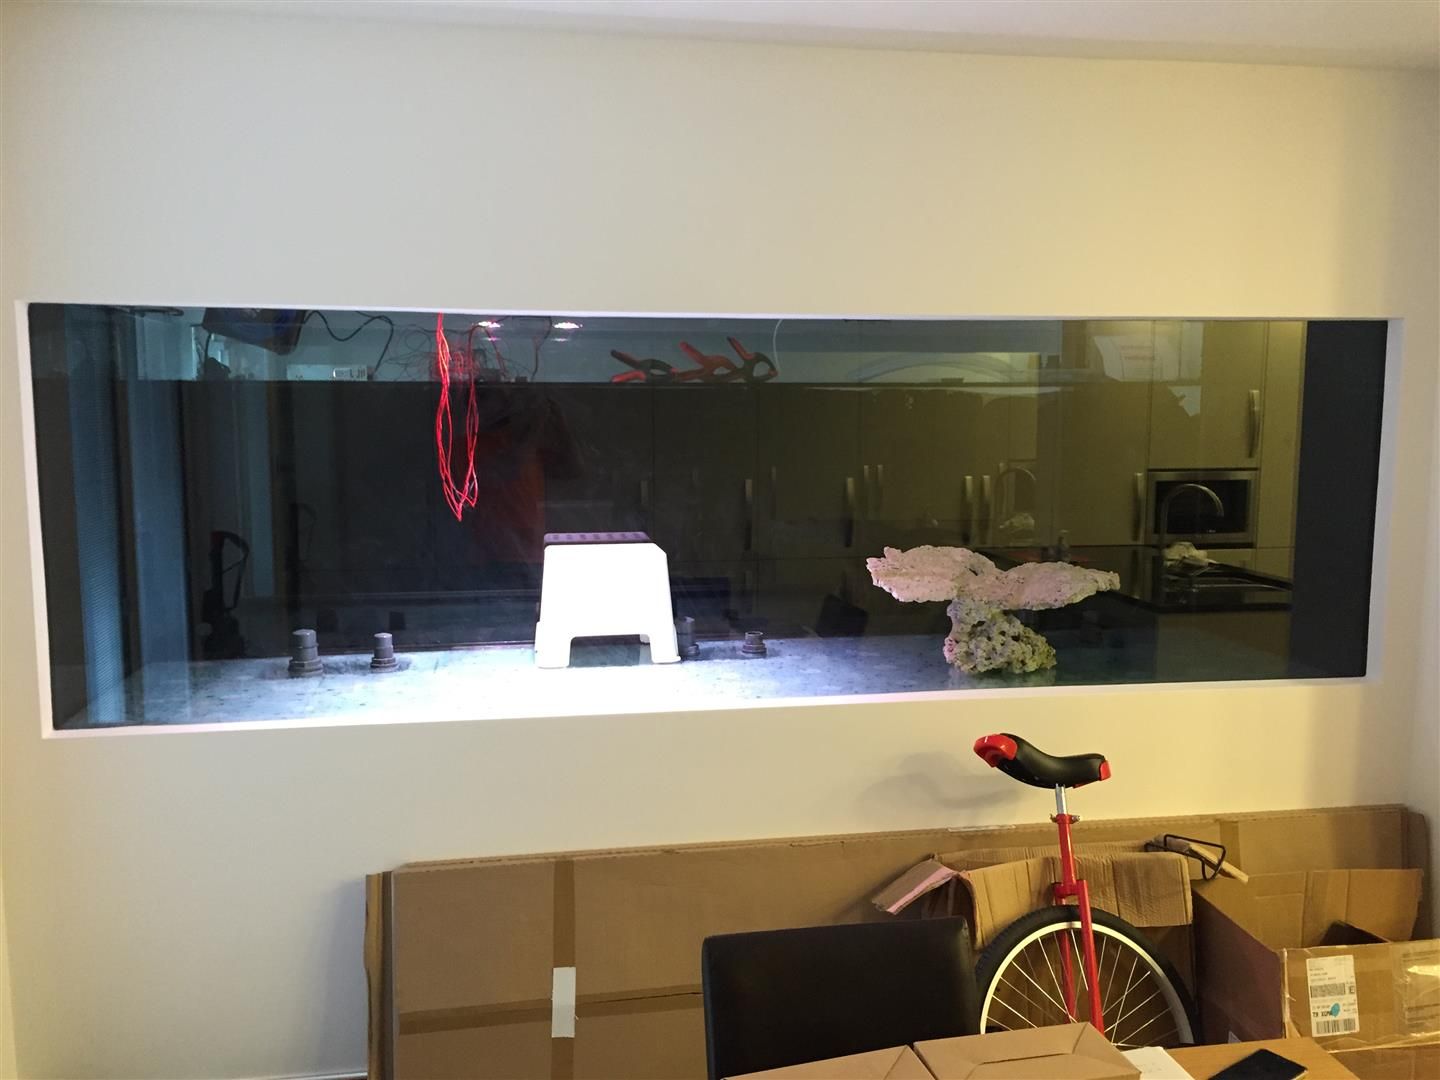 Aurora dual puck LED white channel at 100% 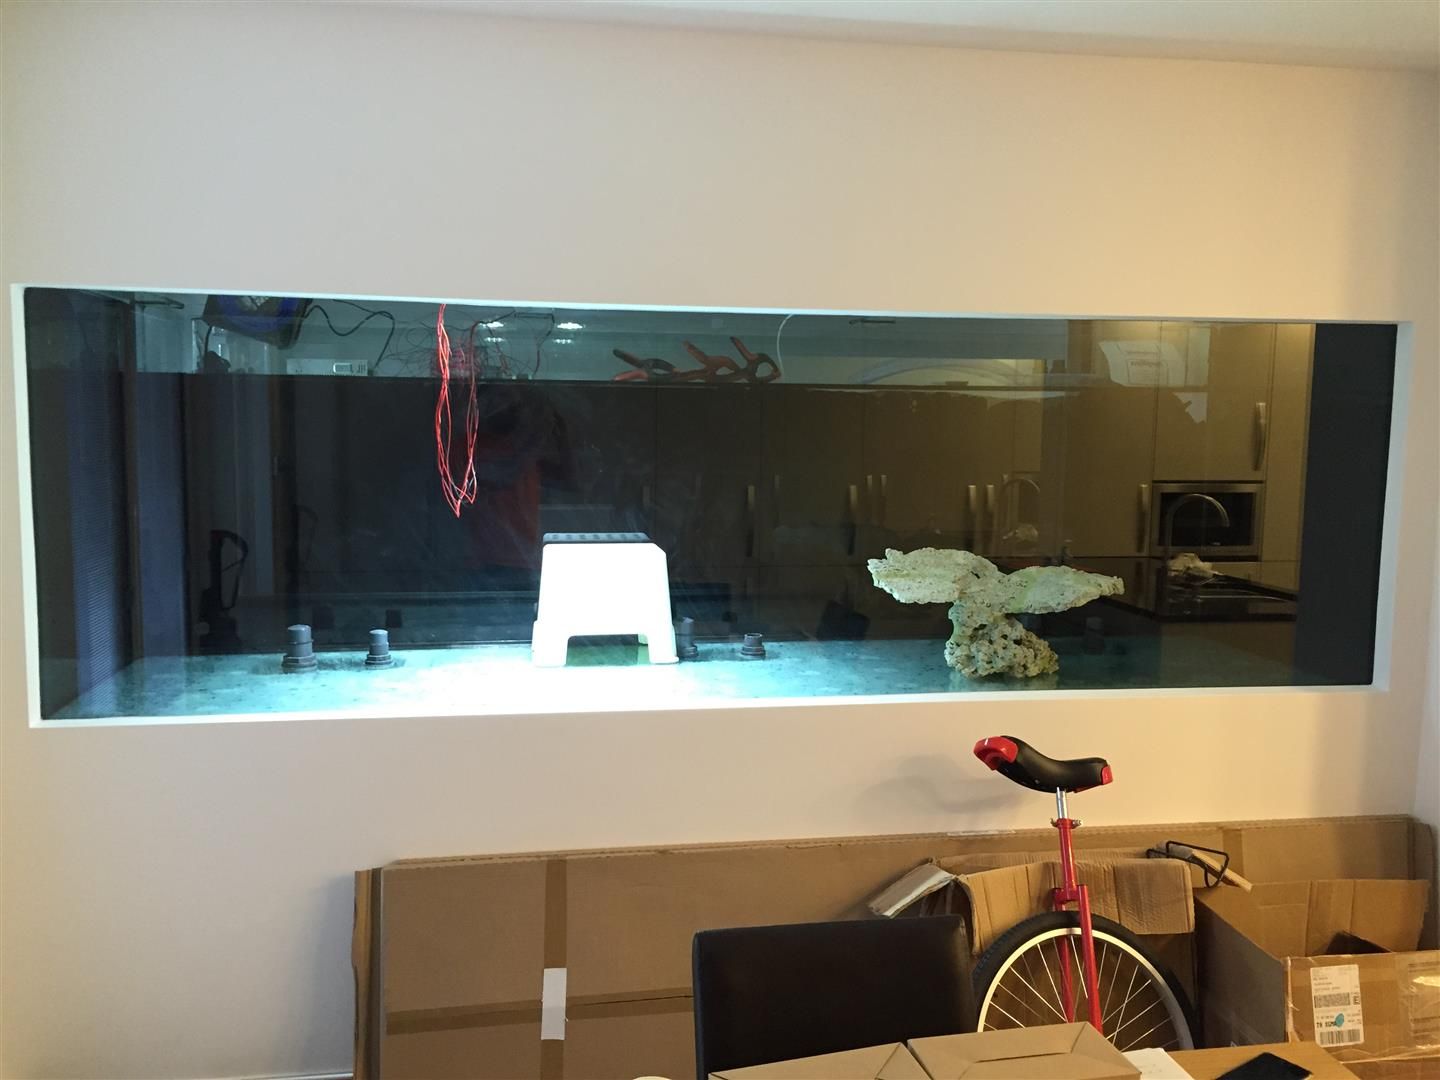 Aurora dual puck LED UV channel at 100% 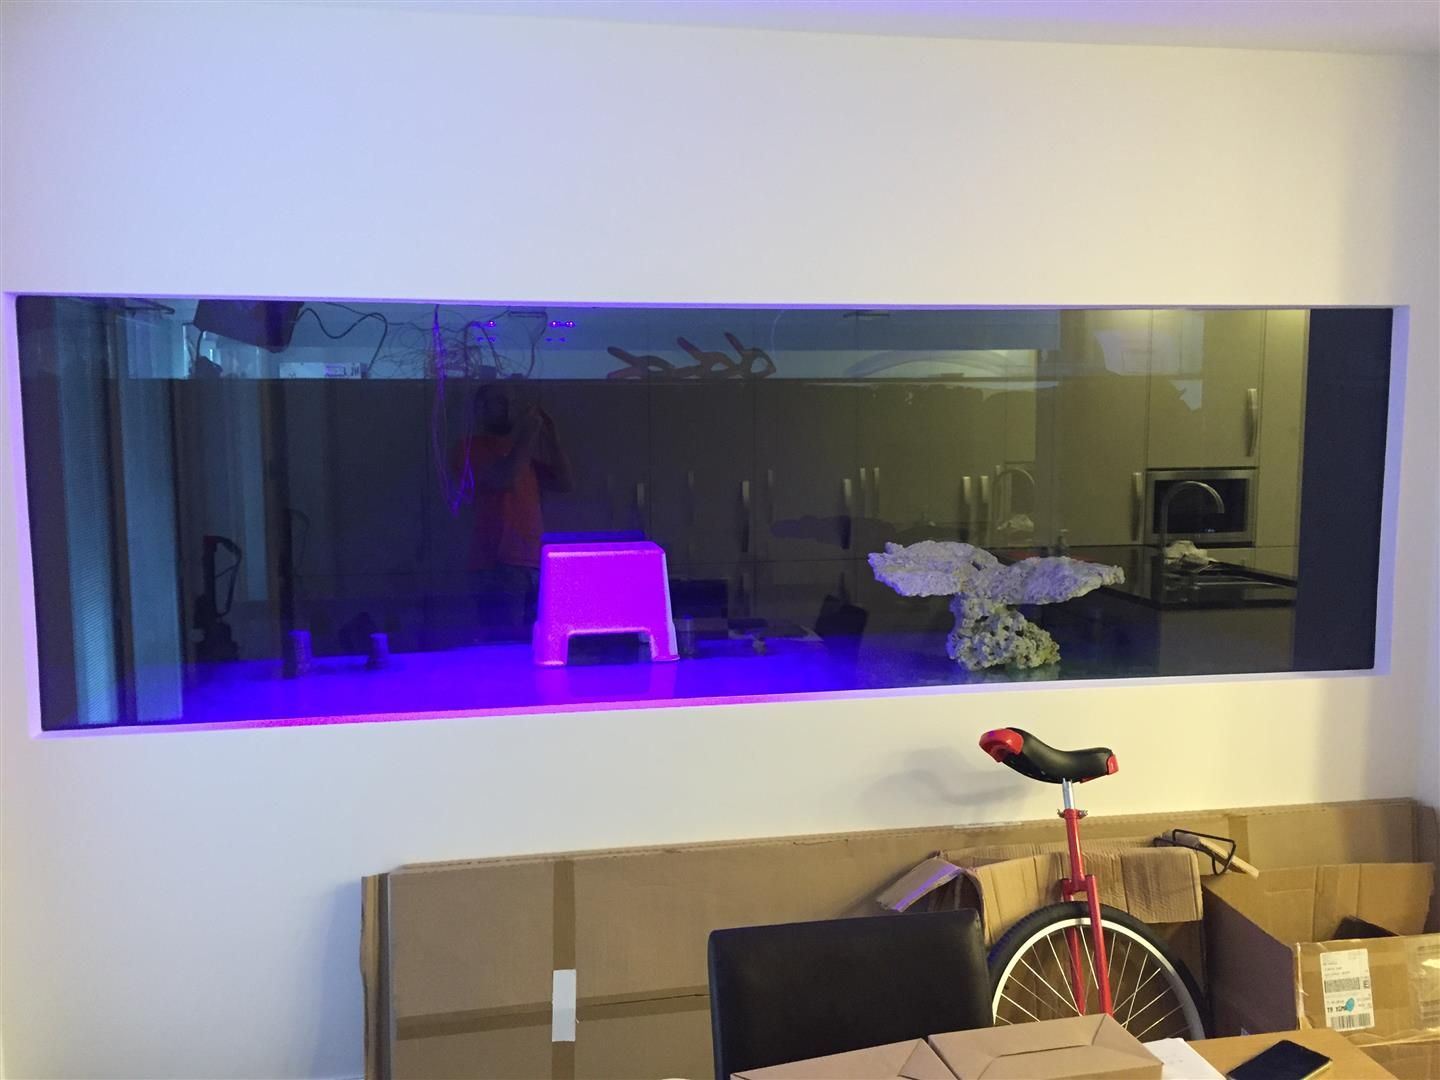 Later at night, while dark outside, all LED channels at 100% 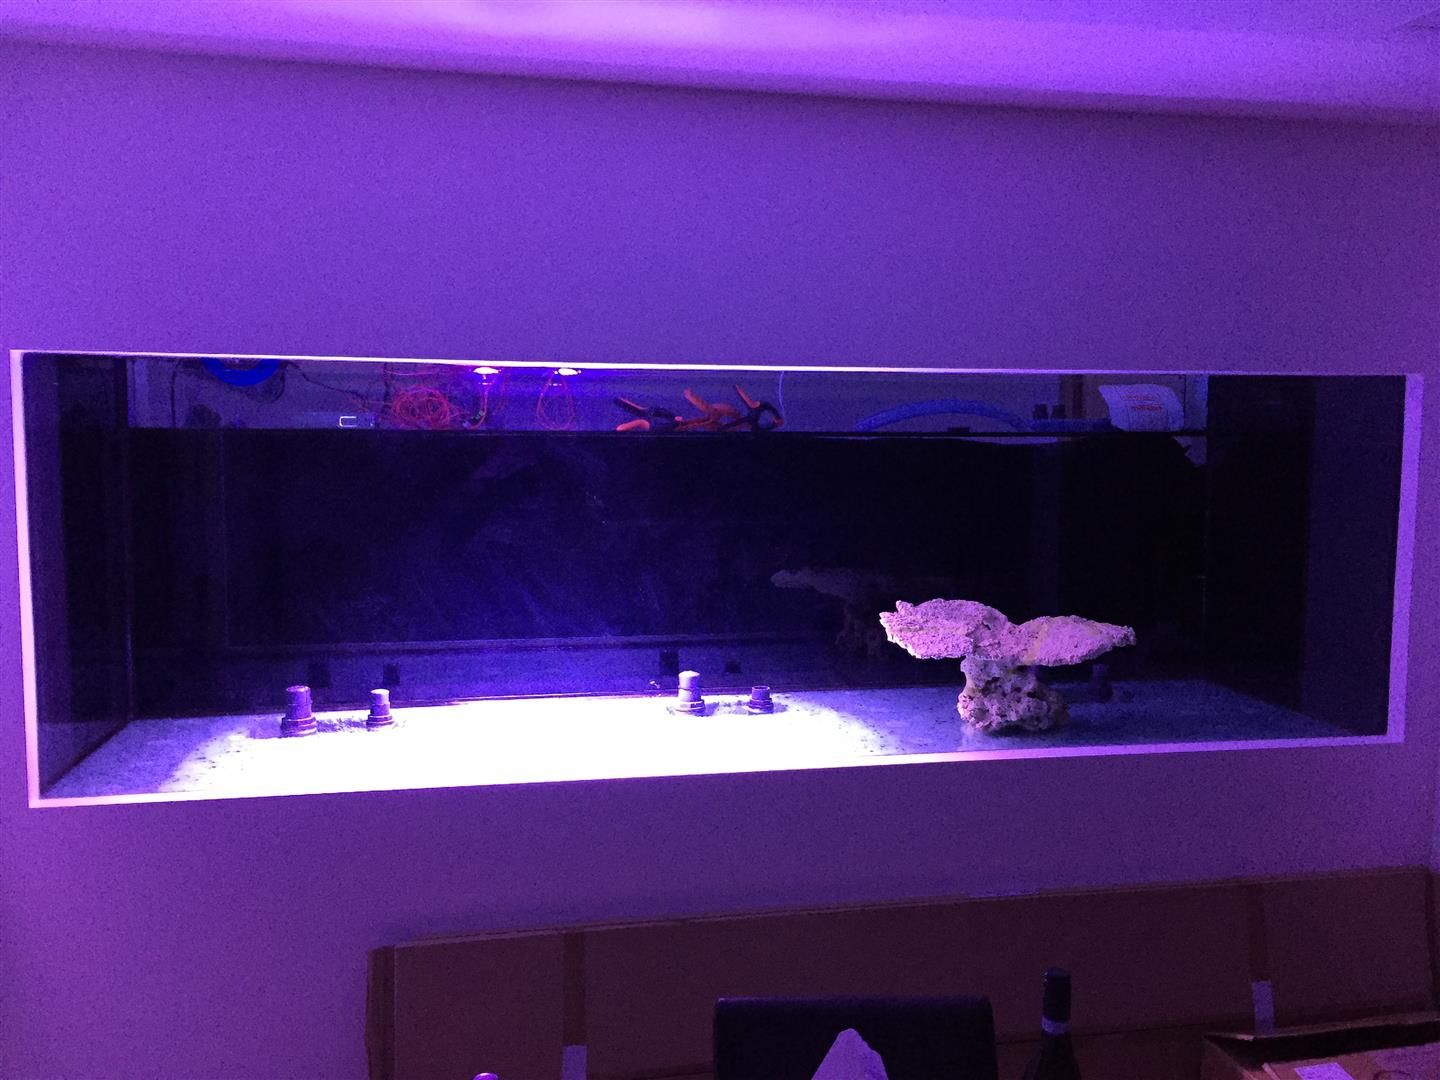 The room while all LED channels at 100% 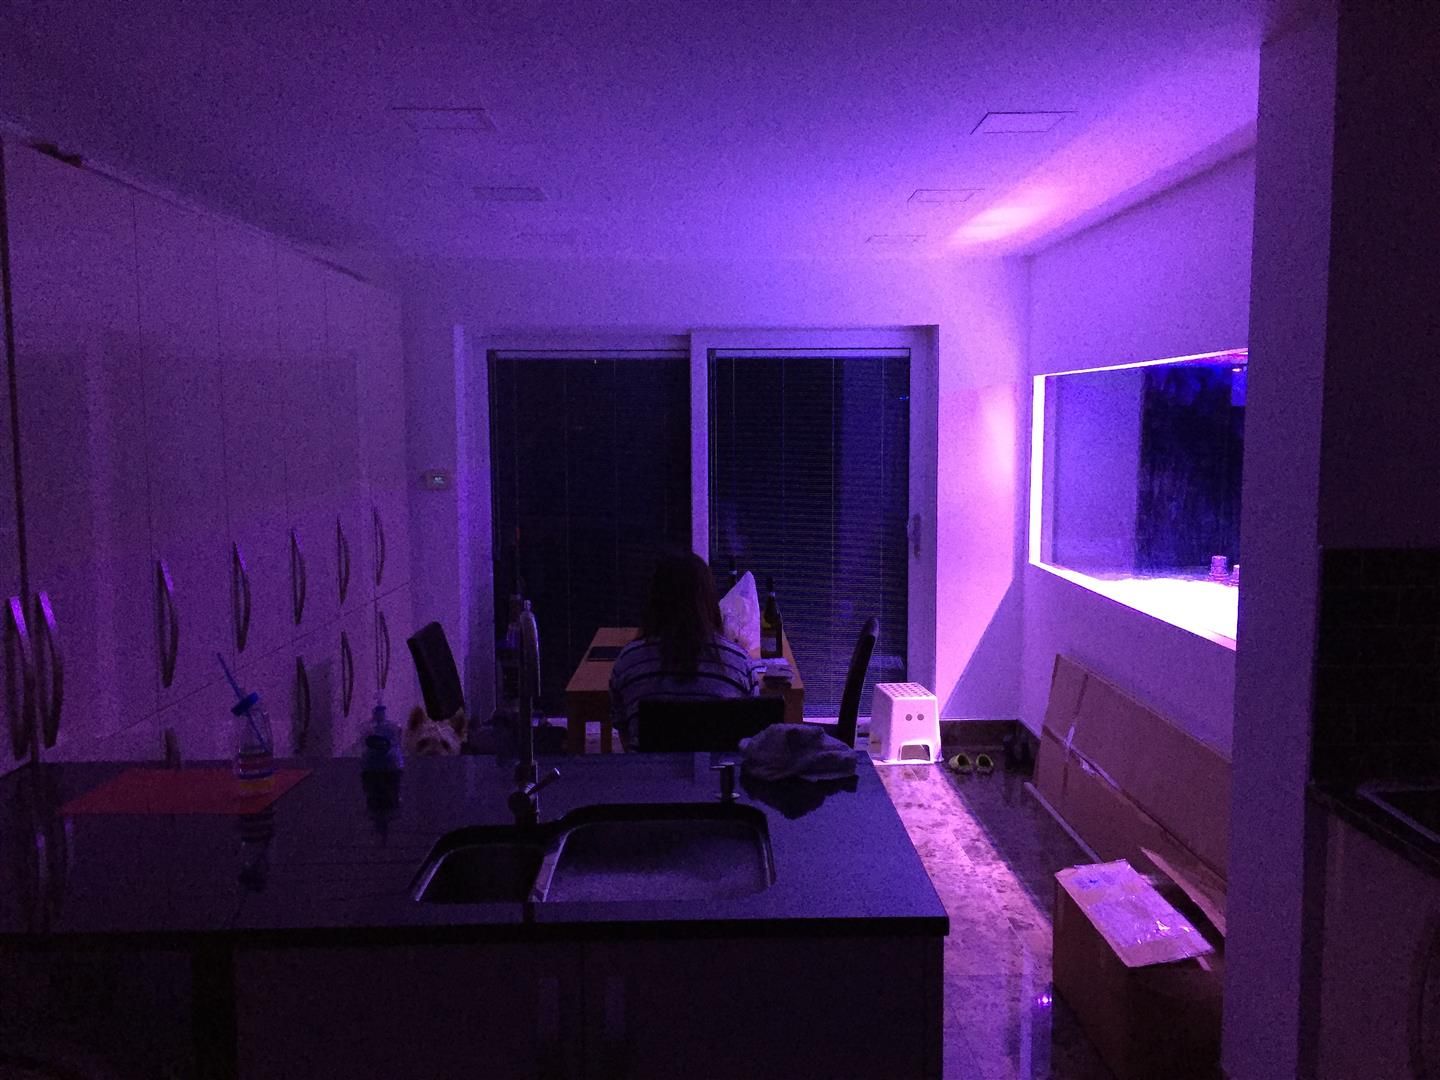
|
|
|

|
|
|
#8 |
|
Registered Member
Join Date: Jul 2014
Posts: 38
|
The coverage of one dual Aurora puck kit with regular lenses, all LED channels at 100%, for reference the tank is 36” deep and 36” front to back
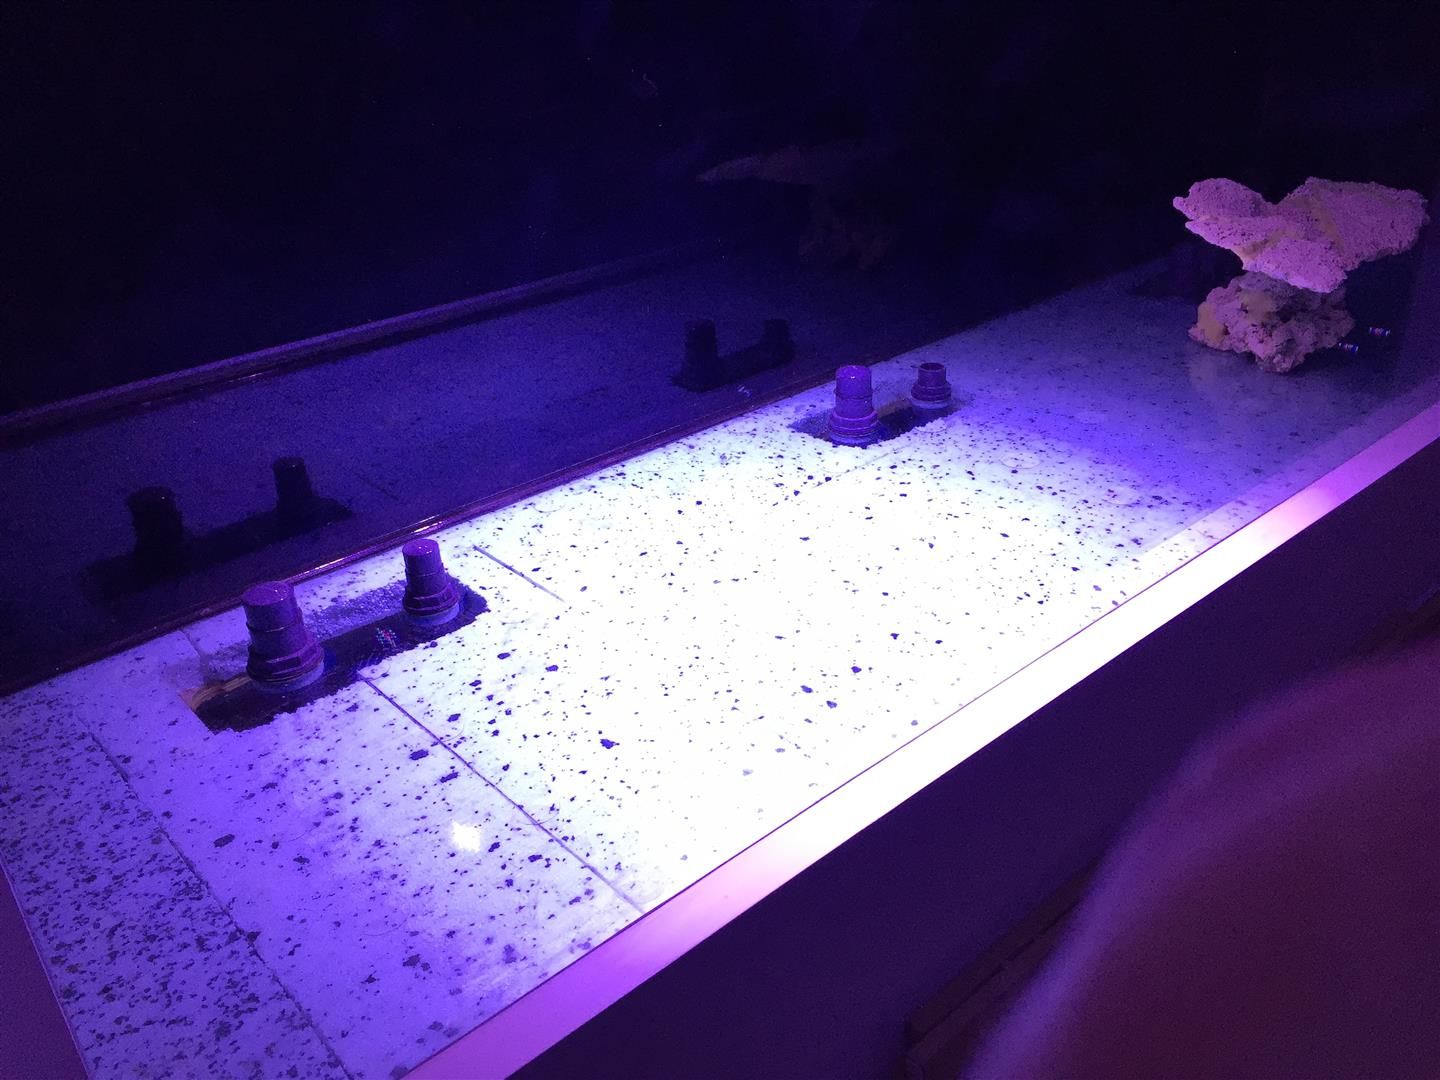 The rock work went into the tank yesterday and I temporarily rigged up 3 dual puck kits above the tank, they're equally spaced roughly 2 feet apart and only an inch above the brace bars. Here is one Aurora kit on it's own at the right side of the tank 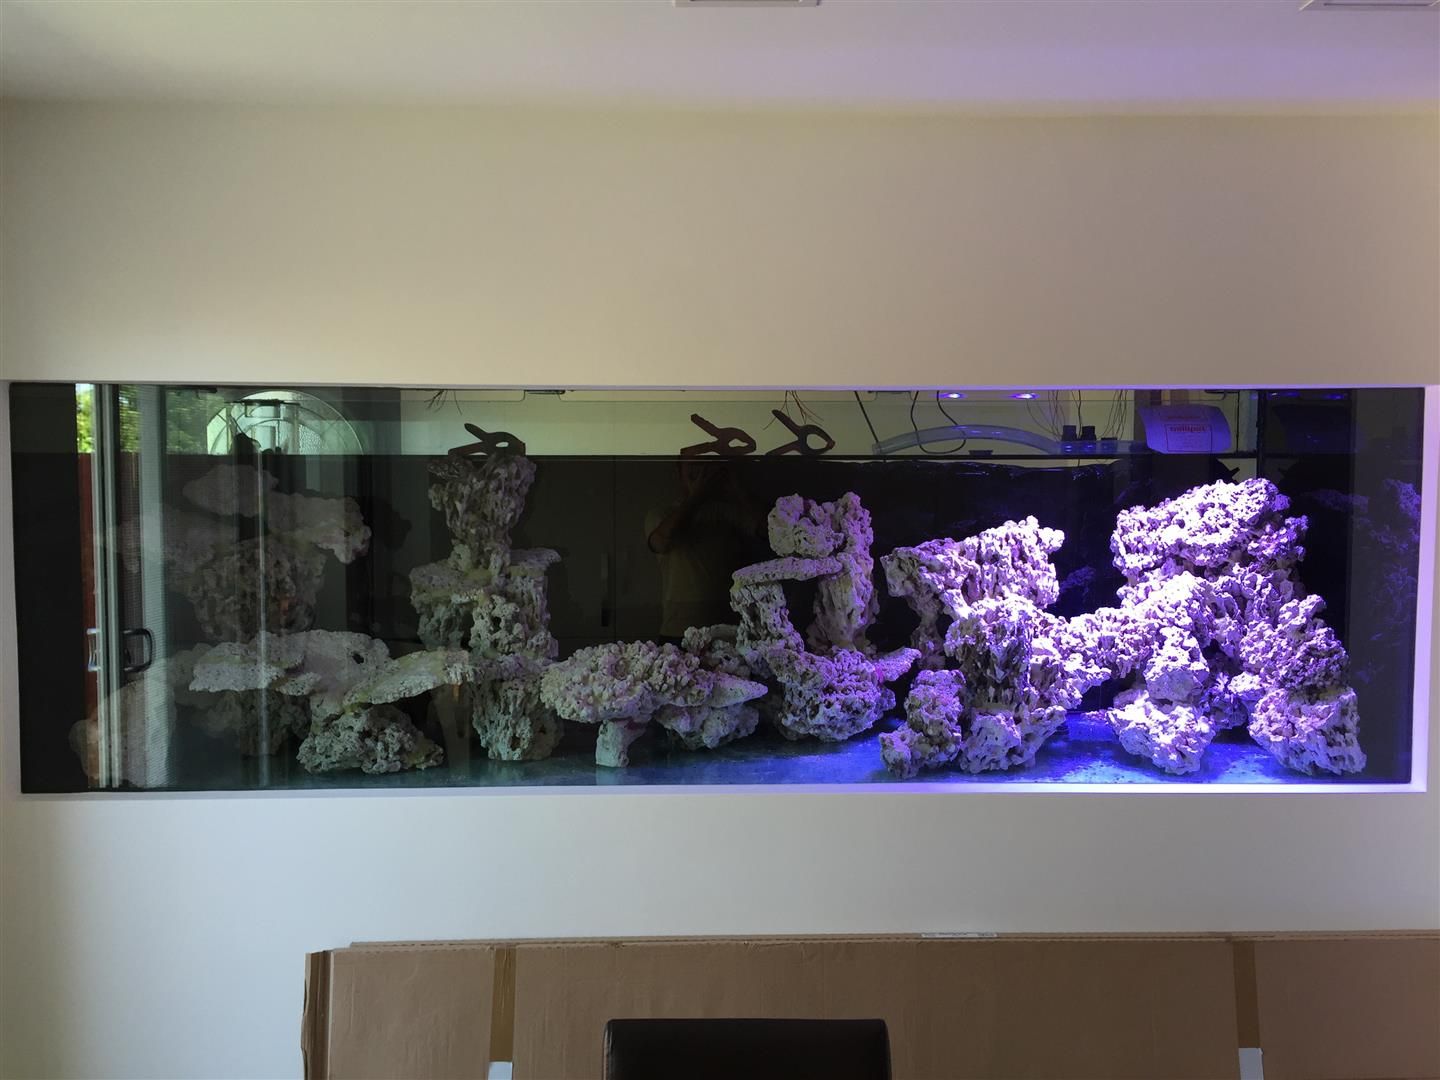 Here is all three Aurora kits on 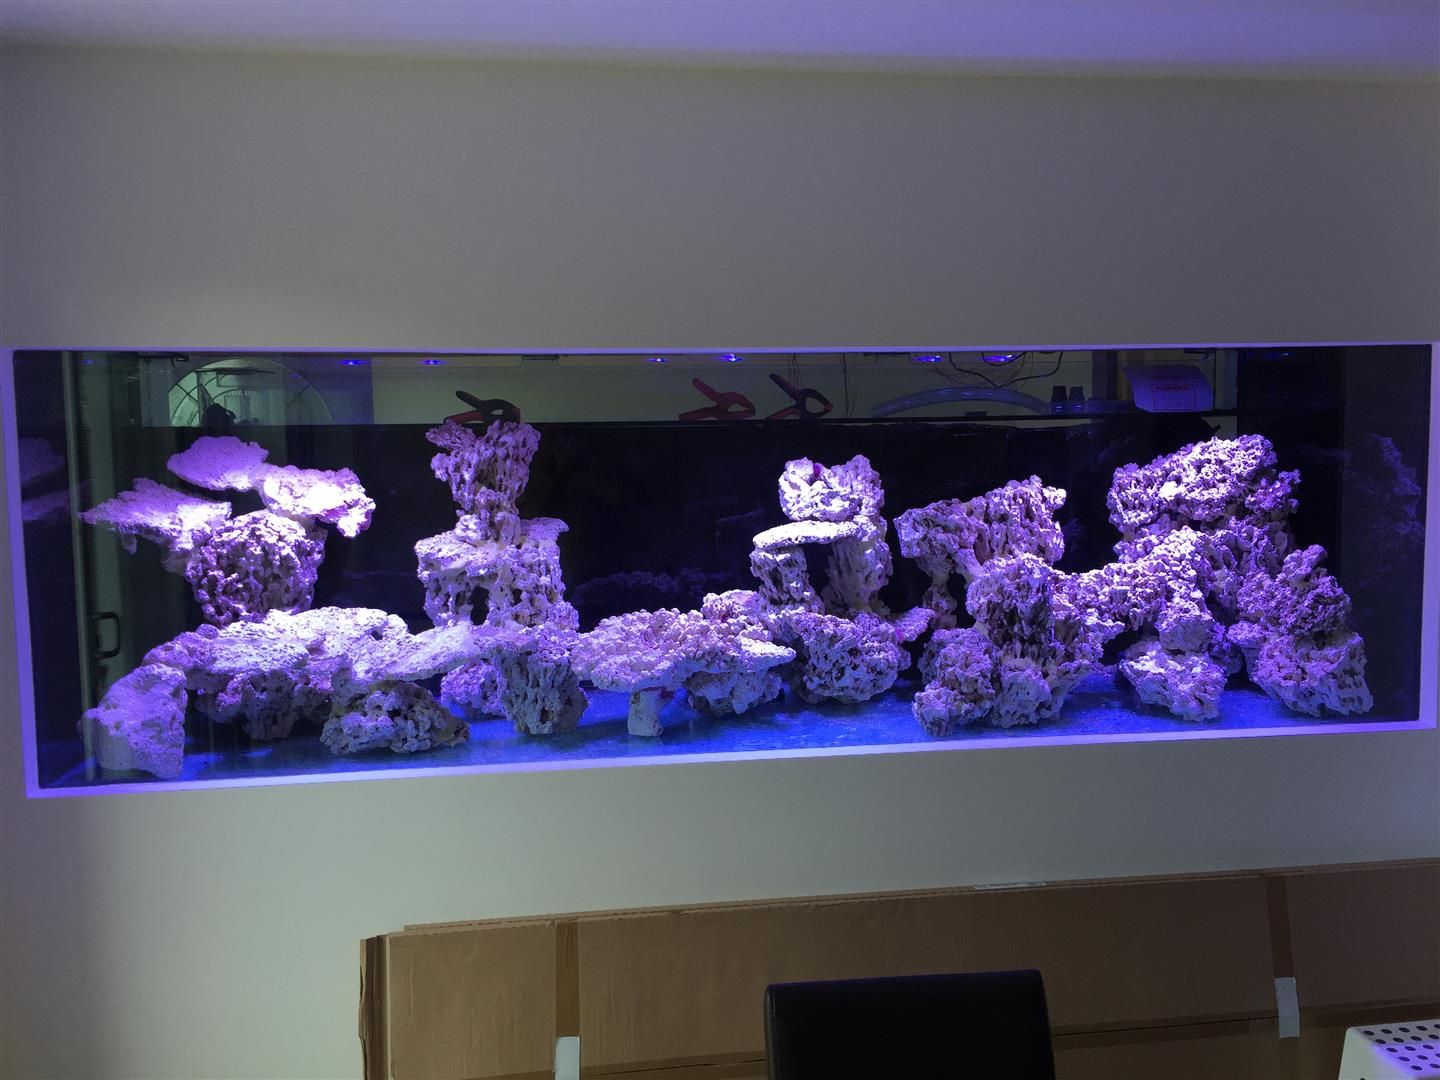 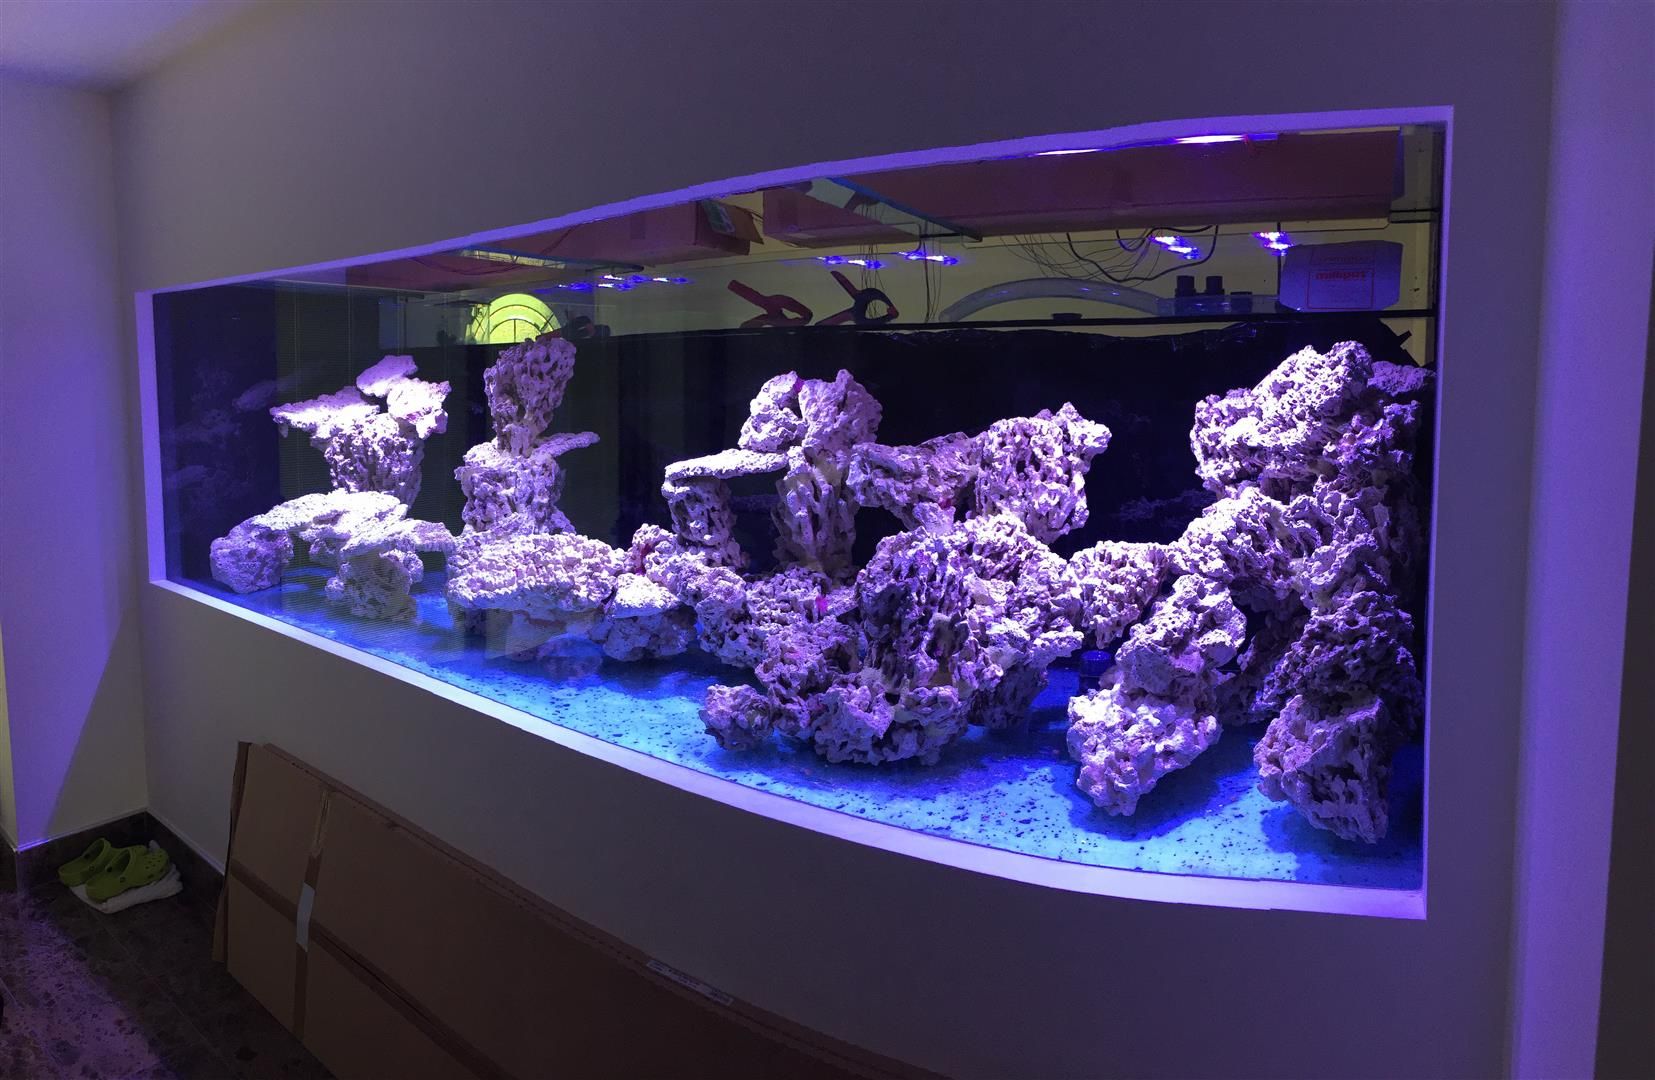 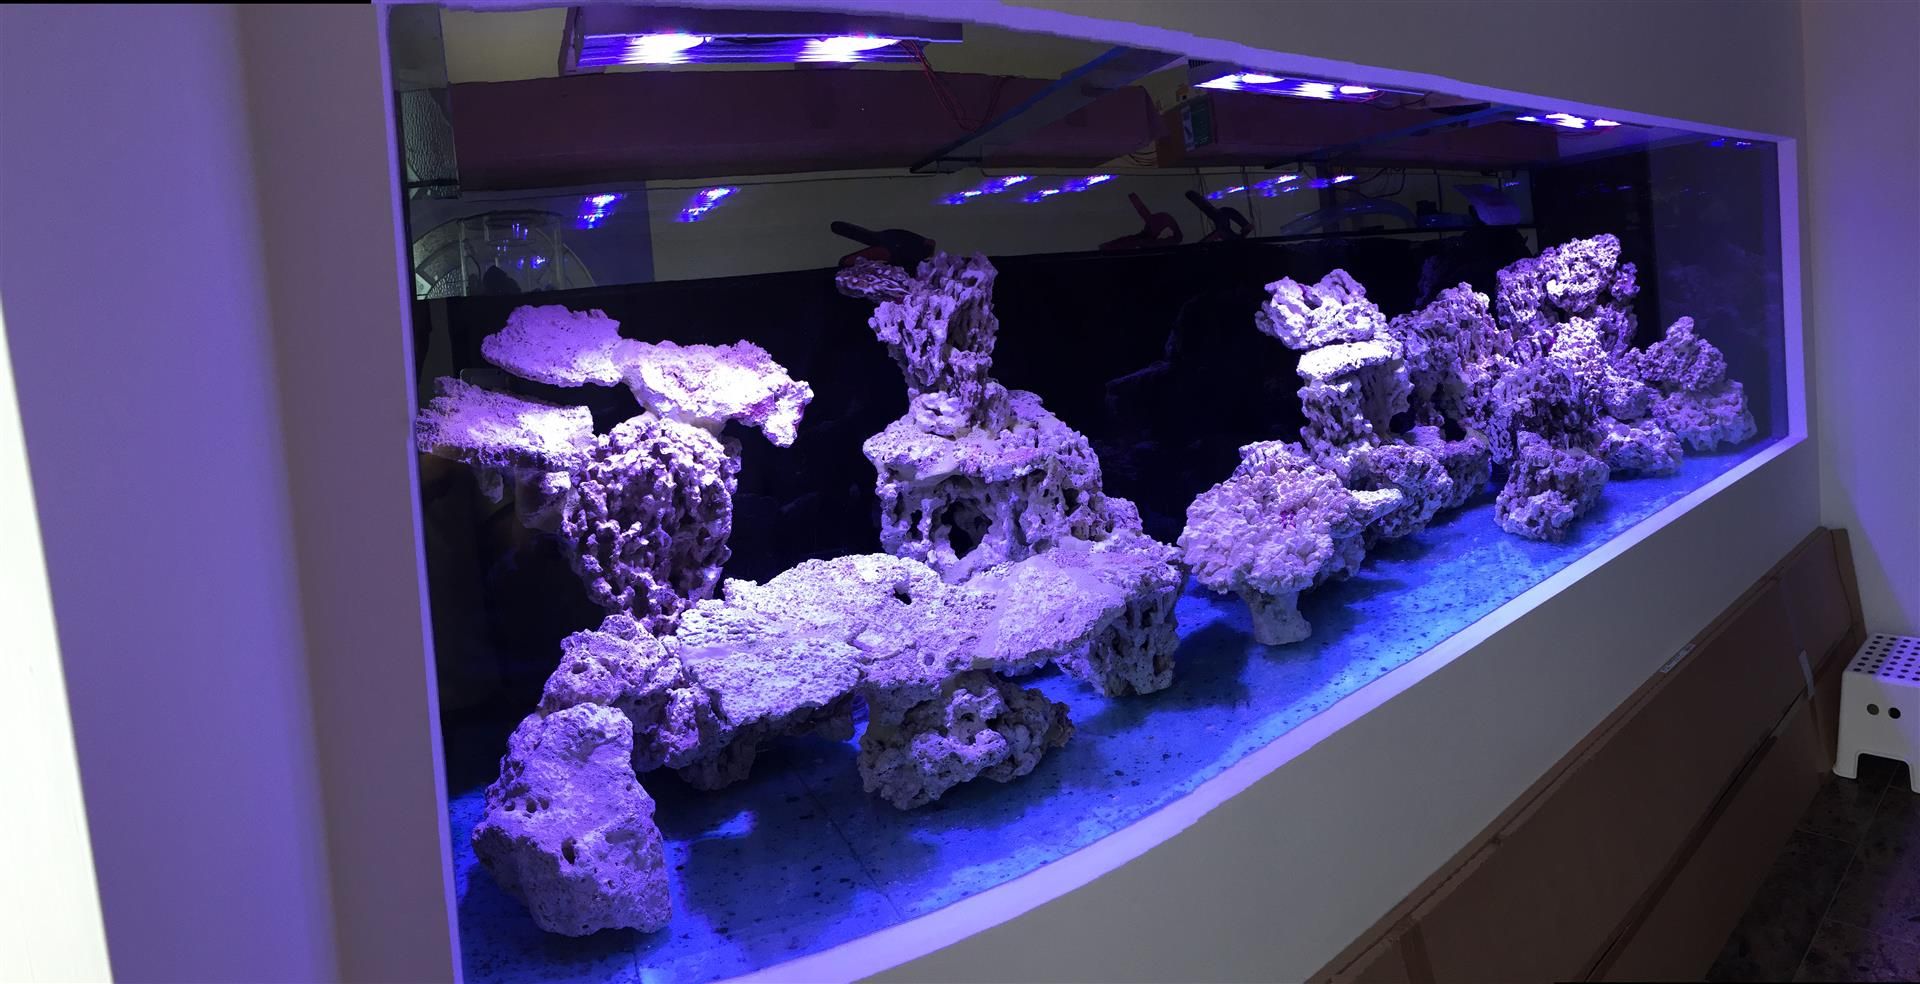
|
|
|

|
|
|
#9 | |
|
Registered Member
Join Date: Jul 2014
Posts: 38
|
Quote:
This is roughly where it's at for now, been busy trial mounting the lights recently, on rails to get them to move in and out to allow for tank maintenance and tube changes etc. |
|
|
|

|
|
|
#10 |
|
Registered Member
 Join Date: Apr 2008
Location: Grove City, Ohio
Posts: 10,806
|
Once again - very nice. What is the length of the tank?
Anything in the way of PAR readings? (I know, I'm getting greedy)(Already been to RapidLED's website to check pricing)
__________________
I'll try to be nice if you try to be smarter! I can't help that I grow older, but you can't make me grow up! Current Tank Info: 120 mixed reef with 40b sump, RO 150 skimmer, AI Sol Blue x 2, and a 60g Frag Tank with 100g rubbermaid sump. 2 x Kessil A360w lights, BM curve 5 skimmer |
|
|

|
|
|
#11 |
|
Registered Member
Join Date: Jul 2014
Posts: 38
|
|
|
|

|
|
|
#12 |
|
Registered Member
Join Date: Jan 2013
Location: Miami, FL
Posts: 265
|
well done. $?
__________________
Easy does it... Current Tank Info: 40b. sps, Metal Halide,big skimmer,lots of flow, barebottom, natural seawater. |
|
|

|
|
|
#13 | |
|
Registered Member
Join Date: Jul 2014
Posts: 38
|
Quote:
Tank dimensions are 125" long, 39.5" tall, 36" deep, water height will be 36". Every once in a while RapidLED have discount deals, you can save up to 10-20% sometimes! 
|
|
|
|

|
|
|
#14 |
|
Registered Member
Join Date: Jul 2014
Posts: 38
|
|
|
|

|
|
|
#15 |
|
Registered Member
Join Date: Jul 2014
Posts: 38
|
|
|
|

|
|
|
#16 |
|
Registered Member
Join Date: Aug 2015
Posts: 102
|
What a great build thread
|
|
|

|
|
|
#17 |
|
Registered Member
Join Date: Feb 2015
Posts: 85
|
How much did kit cost to make
|
|
|

|
|
|
#18 |
|
Z&P Addict from IL
Join Date: May 2008
Location: Laveen AZ
Posts: 1,654
|
Great thread!!!
__________________
20 years from now you will be more disappointed by the things you didn't do than by the ones you did. Explore. Dream. Tank info: Mr Aqua Cube 18x18x18 and 15gal sump.. Current Tank Info: It's to small |
|
|

|
|
|
#19 |
|
Diver & Reef Aquarium Nut
Join Date: May 2012
Location: Sierra Vista, AZ
Posts: 1,127
|
We've been using the RapidLED Aurora Pucks since Nov 14. I don't have a current shot, but here are two. One from Nov 14 when the tank was cycling and then in April of this year, 2015.
|
|
|

|
|
|
#20 |
|
Registered Member
Join Date: Oct 2013
Location: 33612
Posts: 2,461
|
Fantastic build thread. One of the most detailed and step by step guides I have seen so far.
Also, is that a unicycle on one of the pictures?
__________________
32 gallon Biocube, DIY LEDs and Triton Method. My N=1 study of me, validated by me, and supported by completely anecdotal evidence, states that my advice is 100% correct, most of the time. |
|
|

|
|
|
#21 |
|
Registered Member
 Join Date: Jan 2007
Location: menifee So cal
Posts: 11,042
|
how much
|
|
|

|
 |
| Tags |
| aurora, led, radion, rapidled, storm |
|
|