


|
 |
|
|
#1 |
|
Registered Member
Join Date: Mar 2008
Location: Winnipeg, Manitoba
Posts: 32
|
Cheap DIY aquamedic/deltec style Kalk stirrer for under $50
I was looking online at various kalkwasser stirrers and thought to myself wow that's stupidly expensive for something that just stirs water. So I began looking on line for alternatives. Ii found was the magnetic type stirrers that have to intermittently come on and of and create a slurry and after that you had to wait about an hour before dripping it in with the top off water.
Doing some research it seemed that deltec and aquamedic style stirrers used stepper motors. These needed specialized controllers and knowledge of how they work etc etc. I wanted this kind of stirrer but with something simpler. Thinking about what i could used that rotated slowly. Then while grocery shopping with the gf, she came up with the idea of a rotisserie. Worth a shot. Went to the seasonal BBQ equipment and picked one up for around $30. I then picked up a round tupper ware container and it began! So here's a list of the parts I used:
And a list of tools and misc stuff:
First up here's what the rotisserie looks like. It has 2 plates held to the motor housing by 3 screws: 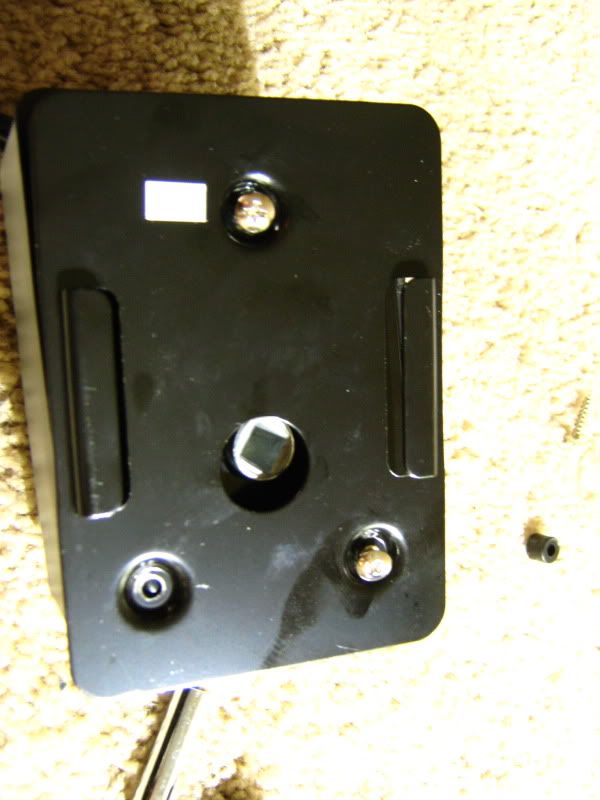 Unscrew the 2 plates to get at the coupler that slides over the motor axle. Pull out the coupler: 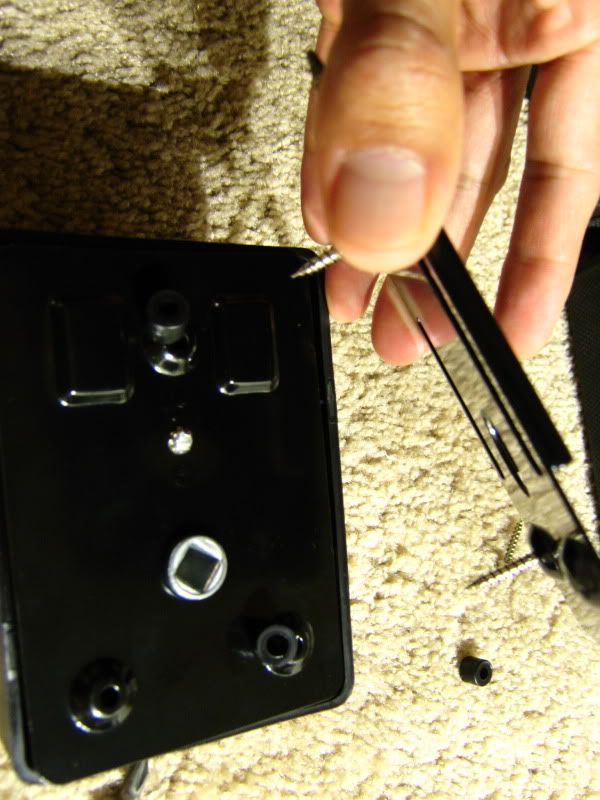 Next measure up your acrylic and cut it to slightly shorter than the depth of your container minus the diameter of the tube. Start heating up the end of the acrylic tube with a heat gun until it gets slightly flimsy: 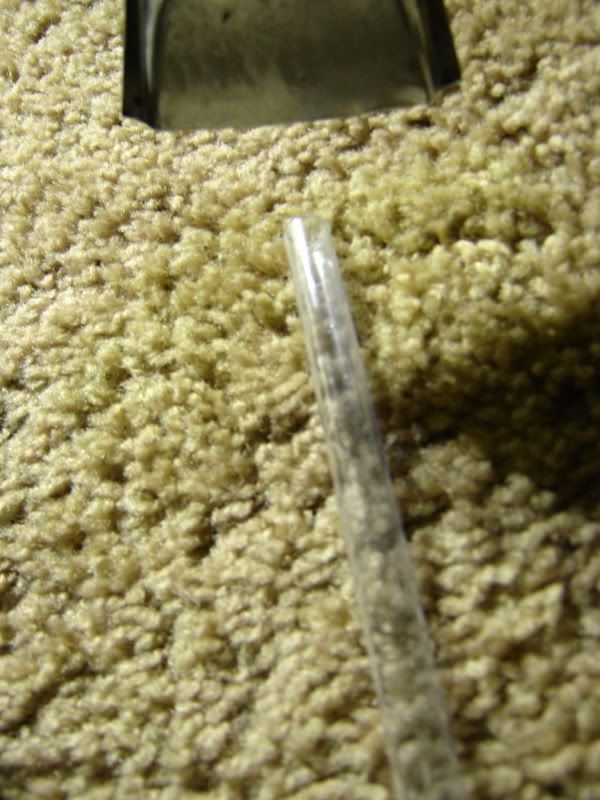 Push as much as the softened tip into the coupler as you can. The coupler is square in shape so you'll have to somewhat smoosh it in. Lie it on the ground making sure it's as straight as possible and let it cool for a few seconds. 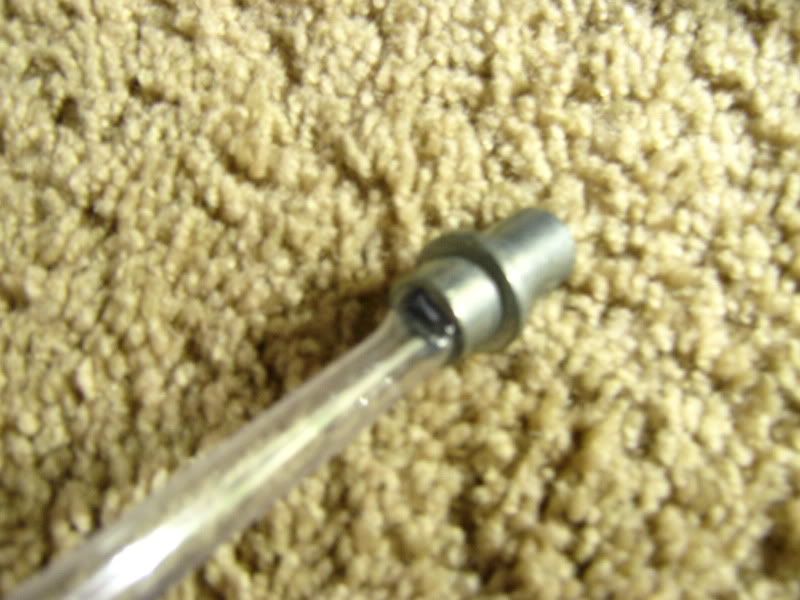 Once it's hardened enough you should be able pull it out and put it in a certain way: 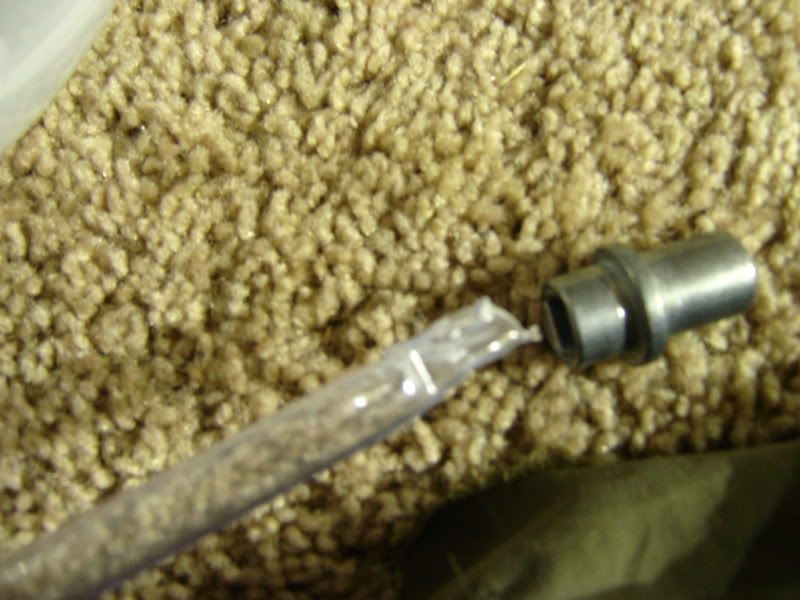 Remove it from the coupler and fill the square hole with silicone: 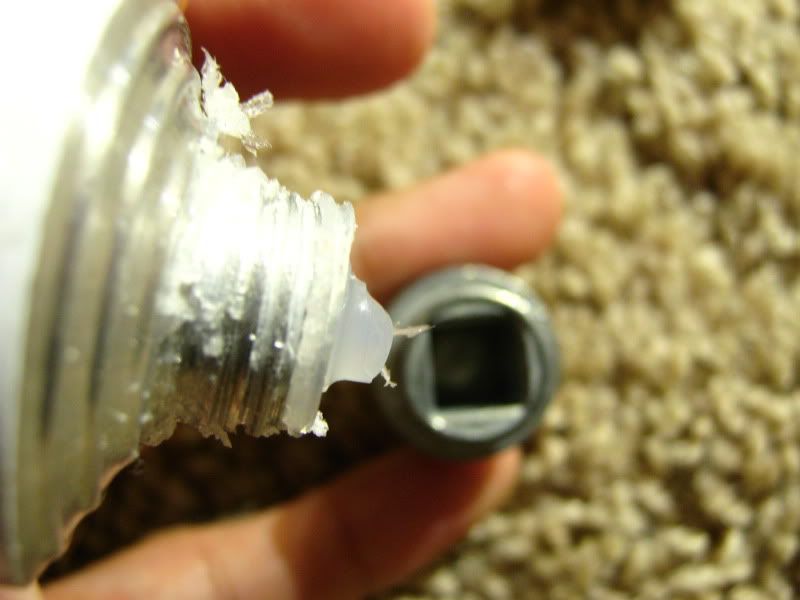 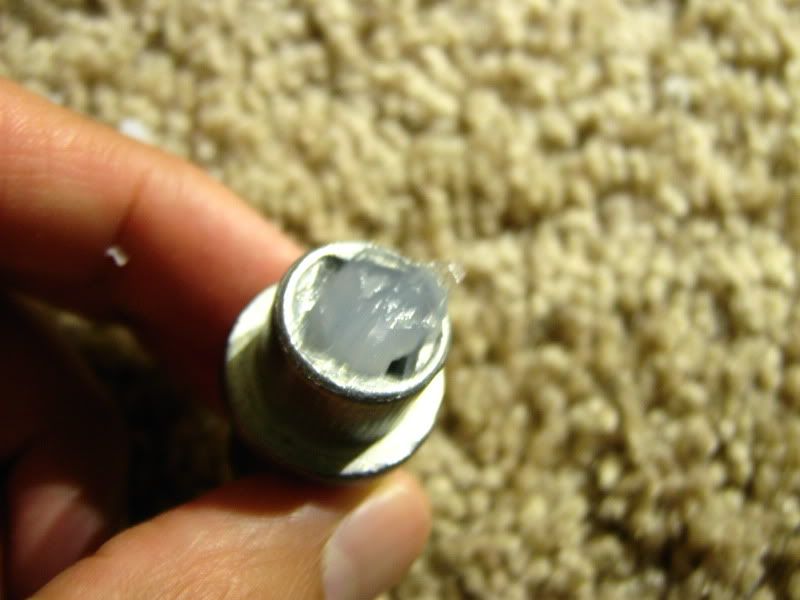 push the melted end of the acrylic rod back inside and set it aside to cure: 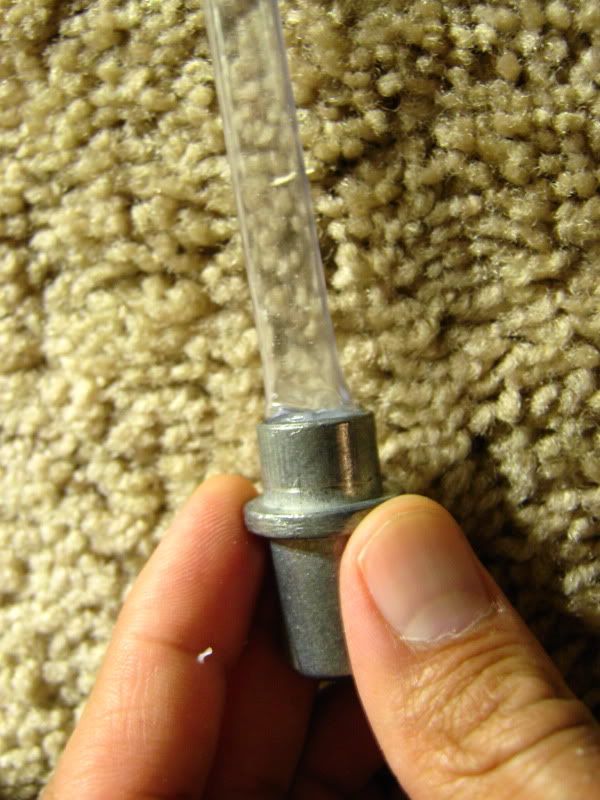
|
|
|

|
|
|
#2 |
|
Registered Member
Join Date: Mar 2008
Location: Winnipeg, Manitoba
Posts: 32
|
Next up is the container.
Dremel or drill a hole slightly bigger than the diameter of the acrylic rod in the lid of the container. Drill a second hole(not shown in the picture) close to the edge of the lid big enough to fit an airline tube. This will be the inlet from the ATO. 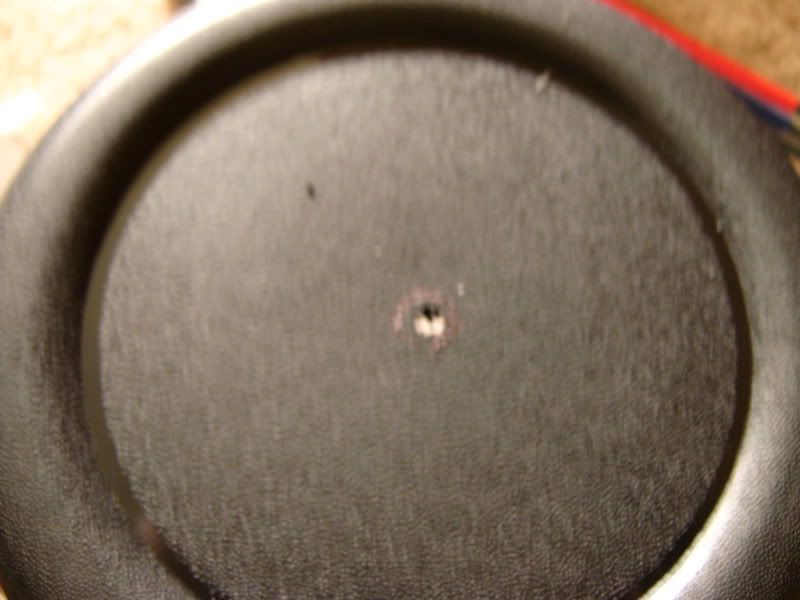 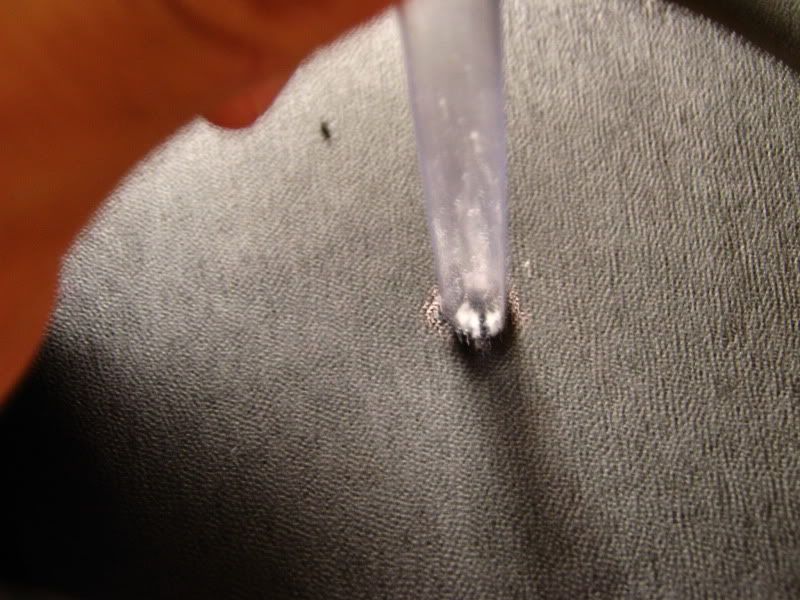 Next make an outlet for the kalk stirrer. I did this by cutting off a small piece of PVC and putting an cap on it with a airline tubing connected "weld-oned" to it, but silicon would work just as well: 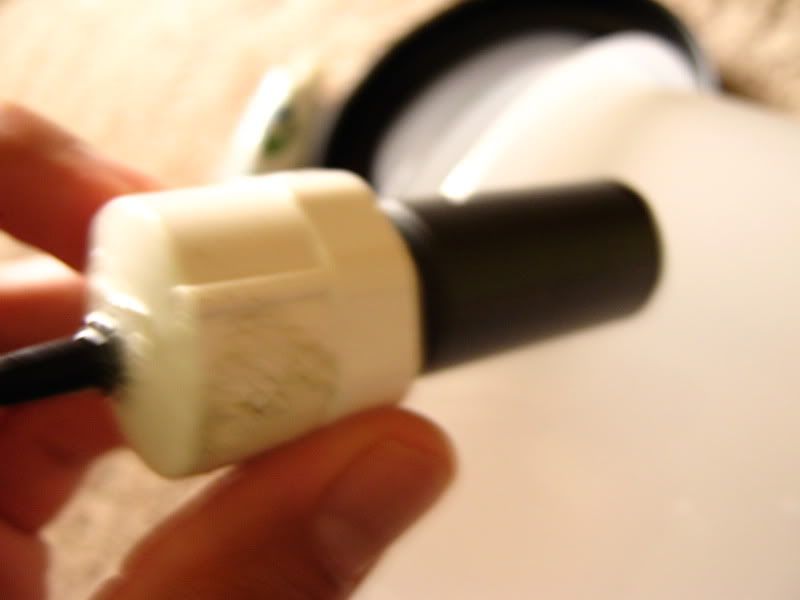 trace around the PVC pipe part of the outlet on the side of your container. You can make it as high or low as you want this will determine the level the mixture stays at in the bottle. 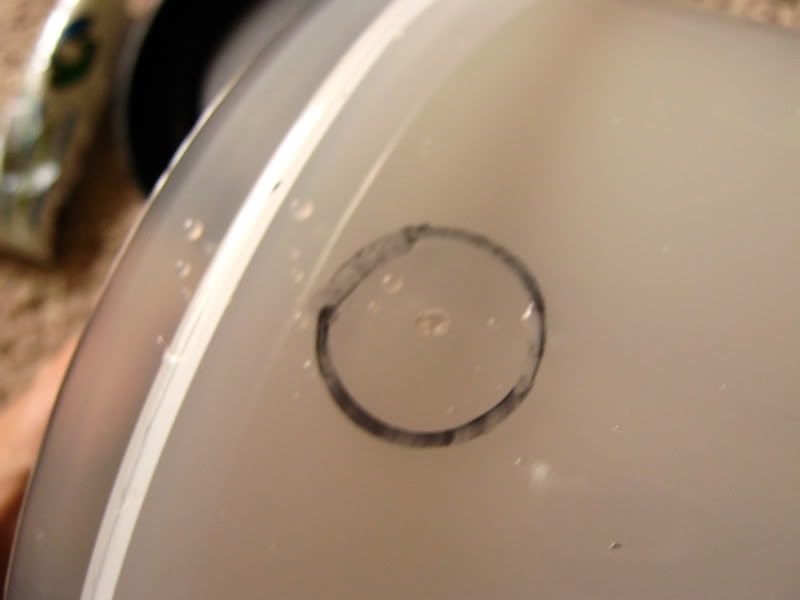 Test fit the PVC outlet in the hole. It should be a snug fit. If it's satisfactory, put a silicone bead around the entire part of the outlet where the cap meets the pvc pipe and then push it into the hole making sure that the silicone provides a good enough seal. 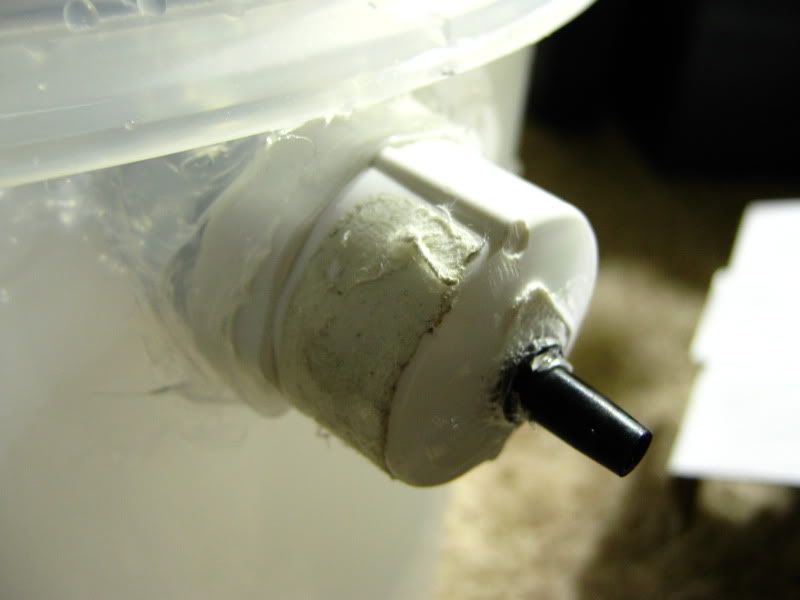 silicone the inside as well. 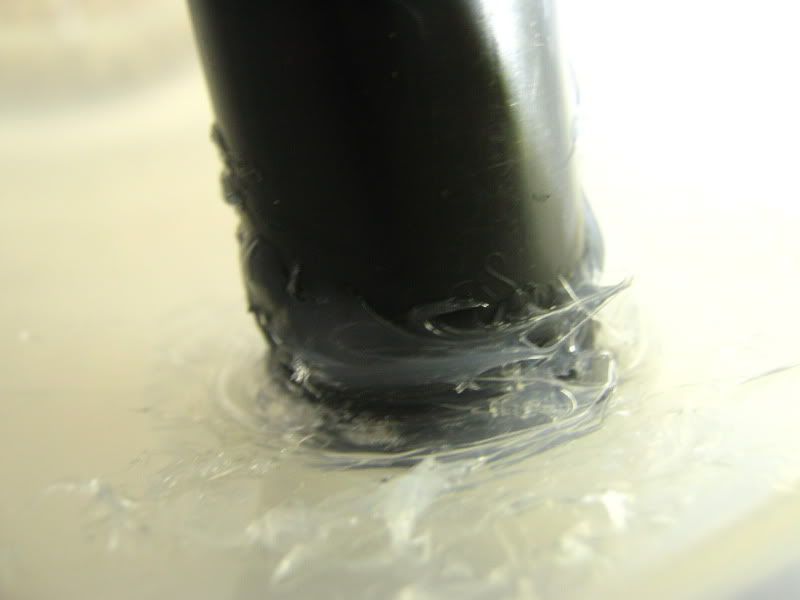 Wait for it to cure... This is as far as i've gotten so far. waiting for everything to cure will update with more later on. i did a mock up of the stirrer by taping up the stir bar to the stir rod to see how fast it would stir. I will be using weld-on to secure it later. Here's a short video of it. http://www.youtube.com/watch?v=6oib24PqK3A Hopefully this works out and provides a cheaper alternative to kalkstirrers out there. Things that I still have to test out is the durability of the rotisserie motor. Might have to have it on a timer that makes it turn off for an hour every day or something to prevent the motor from burning out. Any thoughts or suggestions are encouraged. I can still make changes and improvements since it's still not completely finished. It should look like this hopefully: 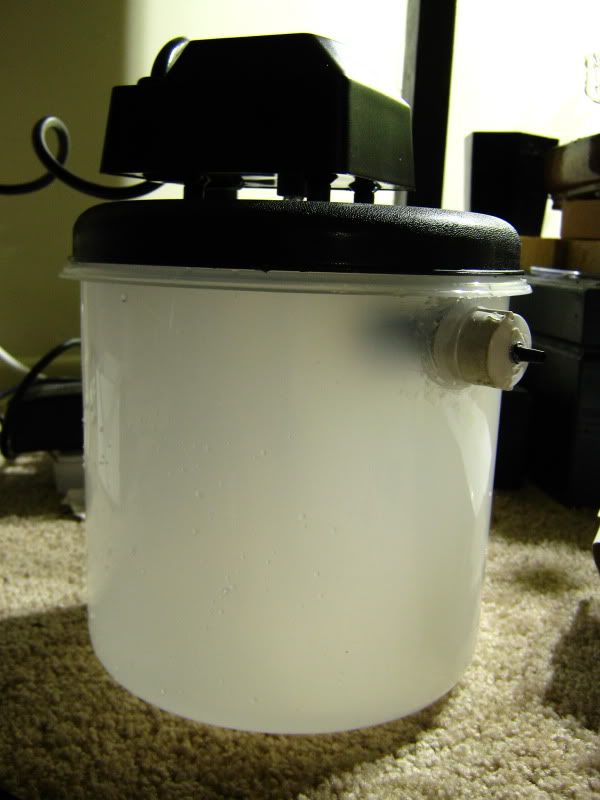
|
|
|

|
 |
|
|
 Similar Threads
|
||||
| Thread | Thread Starter | Forum | Replies | Last Post |
| Deltec KM500 Kalk Stirrer for sale | Fliger | Arizona - Fish & Reef Aquarium Group (FRAG) | 2 | 10/19/2006 12:30 PM |