


|
 |
|
|
#1 |
|
Registered Member
Join Date: Oct 2010
Location: Los Angeles, CA
Posts: 350
|
OK guys, this is something people have had trouble with in the last few years.
I've come up with a great way to power up a single Cree XP-G led for us Aquaclear Fuge Mod guys. It is not expensive and it's very clean. No more trying to find the proper buck puck ballasts or ac power adapters. List of items you will need: 1 - Cree XP-G Neutral White ( Neutral white led is best due to light spectrum ) 1 – RapidLed Moonlight Driver 1 – RapidLed Single LED Heatsink 1 – Thermal Pad ( Can be purchased as RapidLed ) 18G Wire ( Length can be any size. Make sure you have 2 of the same lengths ) ¼” Heatshrink and ¼” Sleeving ( Optional if you decide to sleeve your project ) Tools you will need: Soldering Gun Solder ( I used Sn63/Pb37 ) Philips Screw Driver Heat Gun ( Optional if you decide to sleeve your project ) Take this at your own risk if you are not comfortable dealing with electricity or any of the tools used in this build. I AM NOT RESPONSIBLE FOR ANY DAMAGE . Instructions: 1. First off, plug in your soldering iron and get it warmed up. It’ll be ready to use once these next few steps are finished 2. Clean Heatsink with alcohol or Acetone 3. Apply thermal pad to Heatsink ( Take notice of the screw holes on the Heatsink and the grooves on the thermal pad ) 4. Use your nails or knife to peel off the back side of the thermal pad ( It’s super thin, so take you time peeling it off ) 5. Once off, place the led over the thermal pad and press firmly ( You can use the screws that came with the heatsink if you’d like for extra assurance ) Now it’s time to use the soldering gun. 6. Cut 2 wires of the same length 7. Nip 3-4mm of wires ends 8. Put a little bit of solder over the tips of the wire 9. Put a little bit of solder over one of the Positive and Negative points on the LED 10. Solder one of the wires to the Positive and one to the Negative 11. Unscrew the screws on the RapidLed Moonlight Driver ( Not all the way ) 12. Run the Positive and Negative wires to RapidLed Moonlight Driver ( Appoint wires to the correct slots ) 13. Screw them down firmly ( Make sure they cannot be pulled out ) 14. Double check to see if wires are not touching each other and are firmly in place 15. Plug in and see if it turns on Your Done!      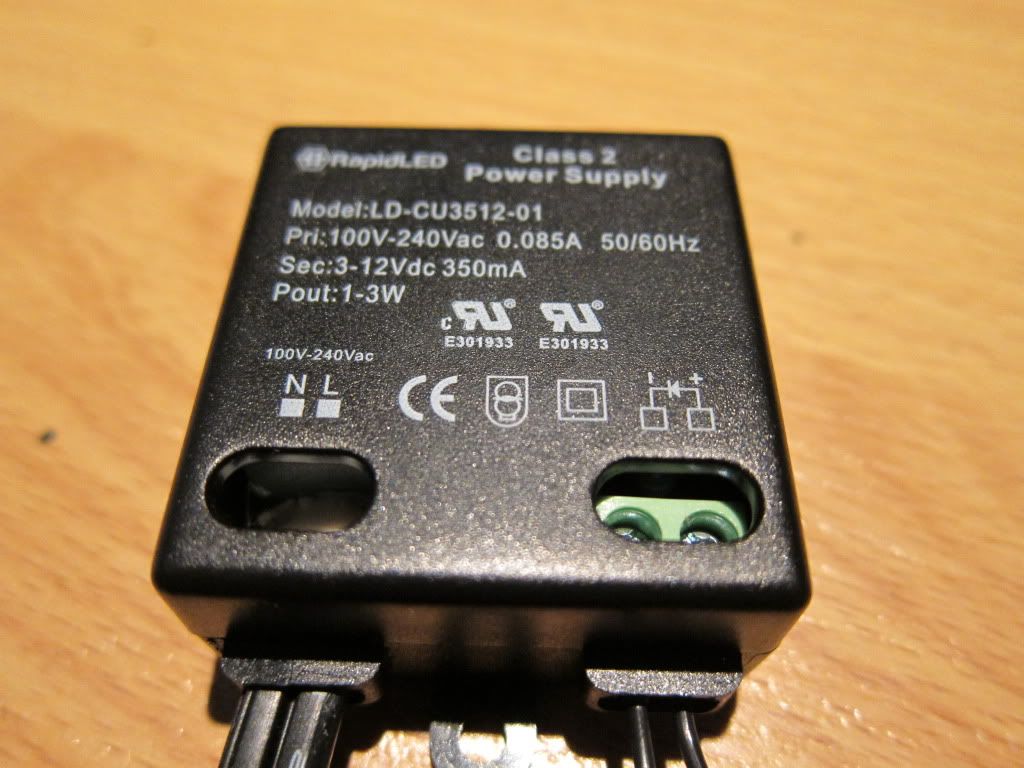 Sleeving Instructions: 1. Cut one piece of ¼” sleeving approximately 1” shorter than your wiring 2. Slide wires into sleeving 3. Cut two 1” pieces of ¼” heatsrink 4. Slide heatshrink over to the LED side ( Make sure that half of the heatshrink is over the wires and other half is over the sleeving ) 5. Use heat gun ( or blow drier if hot enough ) to shrink the heatshrink. ( Do not aim heat gun on yourself. It will burn you. Do not aim it on heatshrink no longer than 10-15 seconds or it’ll burn it. 6. Do the same for the Driver side. When you’re done, it should look like this.    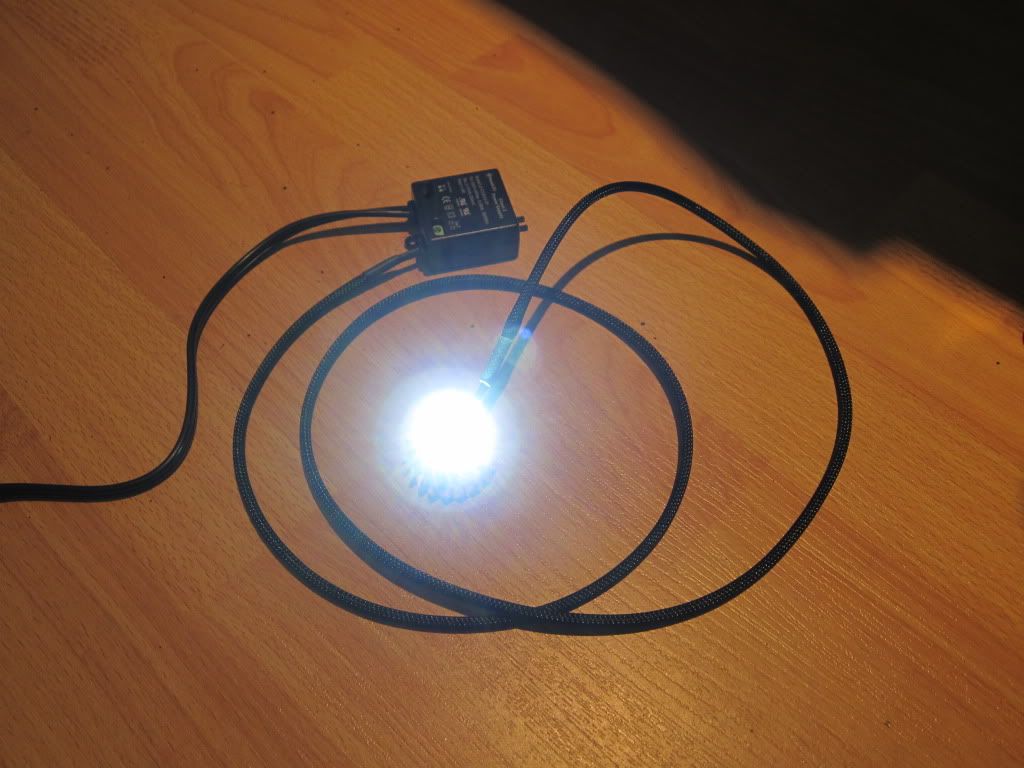
__________________
SFVR Member Cadlights 50G Artisan (Rebuilding/Upgrading) 10 Gallon Project Last edited by ReeVo; 12/12/2012 at 05:13 AM. |
|
|

|
|
|
#2 |
|
Registered Member
Join Date: Oct 2010
Location: Los Angeles, CA
Posts: 350
|
I built my Aquaclear fuge just like everybody else but my lid is the only thing different. You can copy mine if you’d like or I can build it for you if you’re not much of a DIY geek ( Like myself )
I made my own acrylic box to house the LED. The back side is open so the LED will not overheat. I cut the inside of the lid so I can replace it with a clear piece of acrylic. The green lid is not clear enough for me so I replaced it. I get better light penetration this way. I also painted everything black.  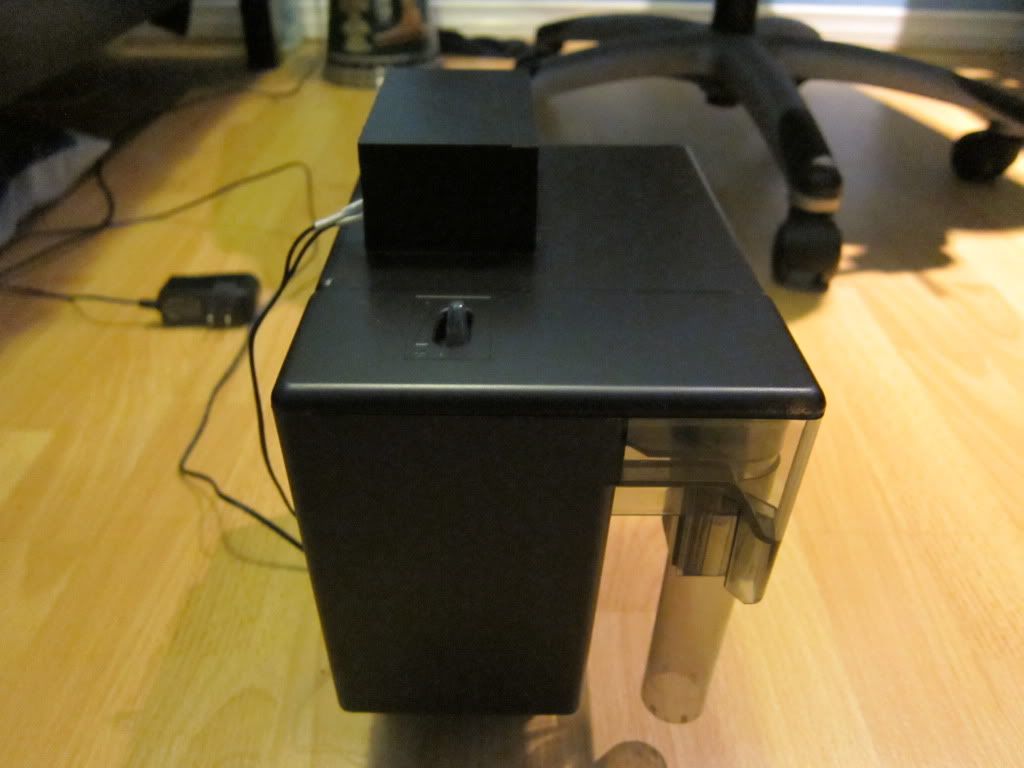 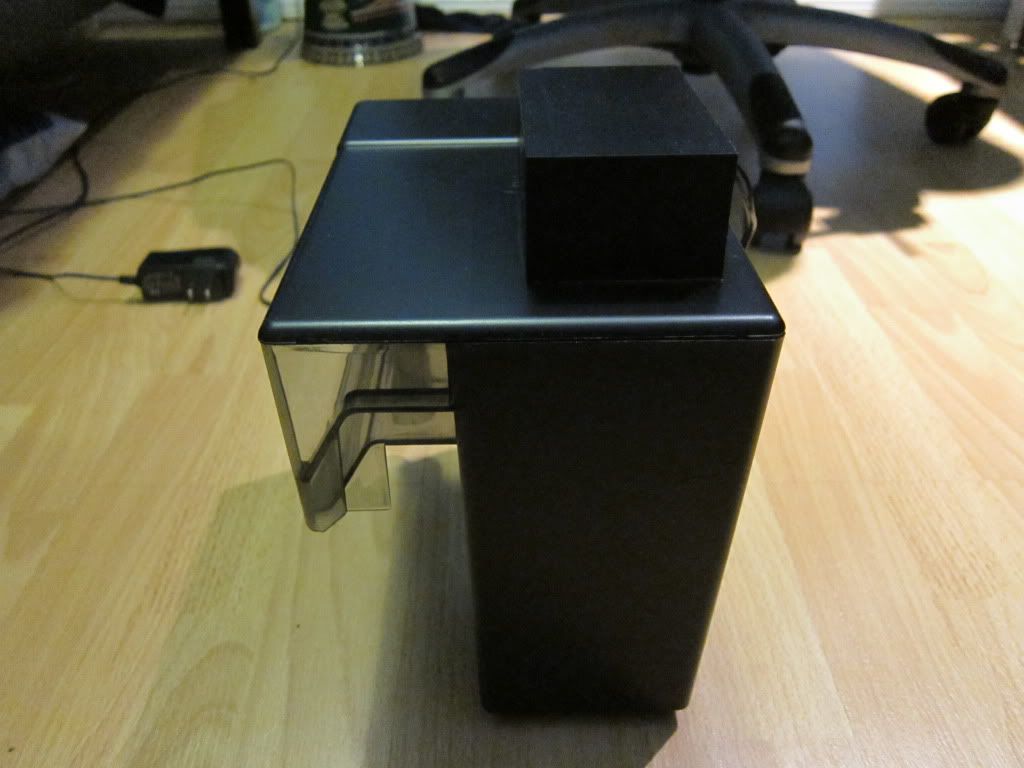 Don’t mind the other LED that’s in there. That light did not work out.   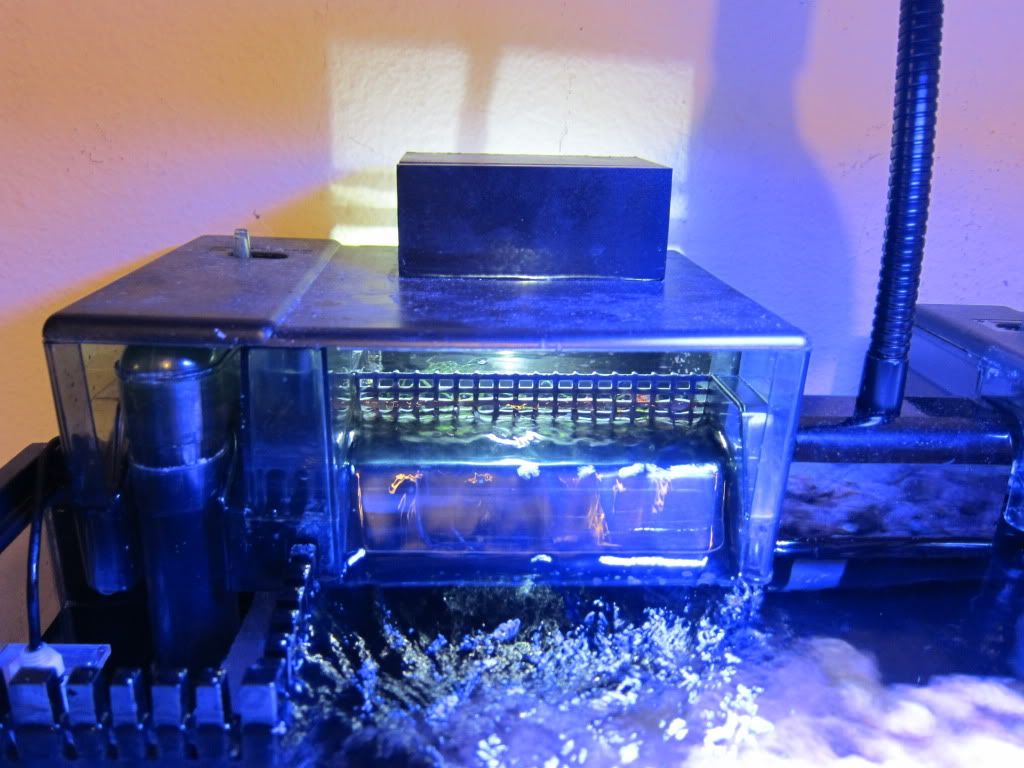     I hope you all enjoyed my DIY project. If you have any questions or concerns, PM me or just post your comment below. Happy Reefing
__________________
SFVR Member Cadlights 50G Artisan (Rebuilding/Upgrading) 10 Gallon Project |
|
|

|
|
|
#3 |
|
Registered Member
Join Date: Dec 2012
Posts: 35
|
That's completely wizard, dude. Good work.
|
|
|

|
|
|
#4 |
|
Registered Member
Join Date: Jun 2011
Location: South Texas
Posts: 2,159
|
That's pretty sweet. Maybe that's what I need to do on my frag tank with an emp400. I won't run GFO cuz that's why those corals are in that tank and no sump for a fuge.
I think, I have, an idea...I hate it when I get ideas.
__________________
-You had me at PWM |
|
|

|
|
|
#5 |
|
Registered Member
Join Date: Oct 2010
Location: Los Angeles, CA
Posts: 350
|
Thanks guys : )
__________________
SFVR Member Cadlights 50G Artisan (Rebuilding/Upgrading) 10 Gallon Project |
|
|

|
|
|
#6 |
|
Registered Member
Join Date: Oct 2002
Location: medina, ohio
Posts: 2,419
|
Very nice-very clean. I like it a lot.
__________________
Time to roll the dice. |
|
|

|
|
|
#7 |
|
Registered Member
Join Date: Oct 2010
Location: Los Angeles, CA
Posts: 350
|
Thanks bud

__________________
SFVR Member Cadlights 50G Artisan (Rebuilding/Upgrading) 10 Gallon Project |
|
|

|
|
|
#8 |
|
Registered Member
Join Date: Oct 2012
Posts: 76
|
Could u run more LEDs off that driver?
|
|
|

|
|
|
#9 |
|
Registered Member
Join Date: Oct 2010
Location: Los Angeles, CA
Posts: 350
|
You can run up to 4 on that driver
__________________
SFVR Member Cadlights 50G Artisan (Rebuilding/Upgrading) 10 Gallon Project |
|
|

|
|
|
#10 |
|
Registered Member
Join Date: Oct 2012
Posts: 76
|
I was thinking of using 2uv one white and one blue. Do u think this is smart?
|
|
|

|
|
|
#11 |
|
Registered Member
Join Date: Oct 2010
Location: Los Angeles, CA
Posts: 350
|
sure you can.
__________________
SFVR Member Cadlights 50G Artisan (Rebuilding/Upgrading) 10 Gallon Project |
|
|

|
|
|
#12 |
|
Registered Member
Join Date: Jun 2004
Posts: 2,104
|
To power four leds with that driver, how would you wire them up?
|
|
|

|
 |
| Tags |
| aquaclear, cree, rapidled, reef, refugium |
|
|