


|
 |
|
|
#1 |
|
Registered Member
Join Date: Jun 2013
Location: Nebraska
Posts: 1,041
|
Clevers 93g Mixed Reef Build
Im back! I stepped away and I couldnt take it anymore.
Going to go for a 93g Frame-less cube with a ghost overflow. This build will be different then my past builds. I am going to make this build over the top organized and take my time. I want to put all the things I have seen over the years into practice. Few things are I am going to attempt to build a complex stand that looks nice and functions well. I want to have a side compartment with all the electrical to keep cords organized and clean. My main goal is to keep this build super clean and sleek not only in the tank but under the tank. I am also going to buy a prebuilt sump. This is also something I have never done as I have always just tossed some glass baffles in an aquarium and called it good. But I want to do something that is going to function well and look nice. I am looking at the Eshopps 200 but I am unsure if that will fit as its a 30" Sump. Equipment: Return: Mag 7 Sump: Eshopps 200 With or without fuge I am undecided Lighting: ATI 24x8 Power Heads: Vortechs Dosing pump: Jebao (Because I have one New in box) Much much more to come. This will probably start out as me bouncing ideas around and seeing what people think as I collect equipment. I will probably have the tank sometime next week or the following. |
|
|

|
|
|
#2 |
|
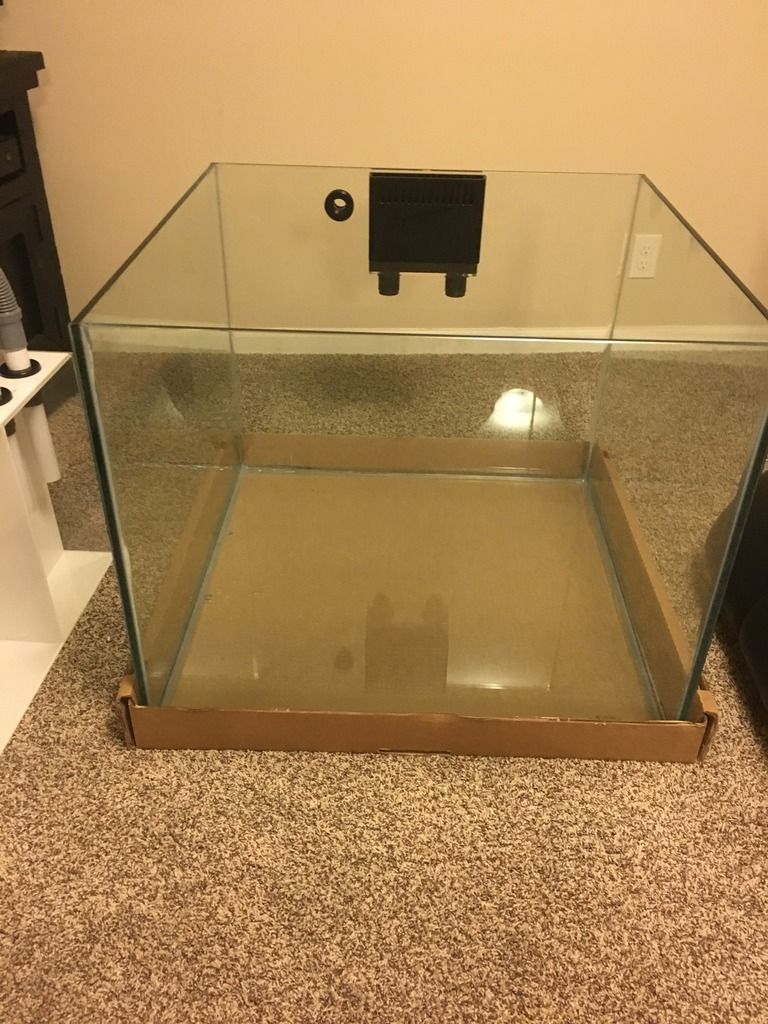
Registered Member
Join Date: Jun 2013
Location: Nebraska
Posts: 1,041
|
I am currently looking into Stand designs. I am having a bit of an issue figuring out how to build it because I want the stand to be larger then the tank so it can fit a 30" sump also because I like the looks of a cube tank sitting on a larger cube stand.
The issue is that the 30x30 tank wont sit on the frame of the stand so I am trying to figure out how brace and support the tank in the stand without taking up more footprint. |
|
|

|
|
|
#3 |
|
Registered Member
Join Date: May 2008
Location: Columbus Ohio
Posts: 6,361
|
Can you build the stand with a frame within a frame?
Like build it so the tank will sit on supports, but then build the stand out from there. Depending on how much larger you want it to be that's one option. My stand is the size of my cube 48/48 but I wanted a 6in lip on three sides so I could stand on it, sit cups on it, testing kits, or whatever I wanted. So I built my stand 48/48 but my plywood top is 54/54 then I out nicer wood on the remaining 6in of exposed plywood. Corey |
|
|

|
|
|
#4 | |
|
Registered Member
Join Date: Jun 2013
Location: Nebraska
Posts: 1,041
|
Quote:
I am also getting a quote for a steel stand to be made. With bracing for the tank to sit on. |
|
|
|

|
|
|
#5 |
|
Registered Member
Join Date: May 2008
Location: Columbus Ohio
Posts: 6,361
|
What if you use 2/6 boards across the top of the stand.
Reality is, we way over build our stands to begin with so I'm sure the 2/4's will work. Corey |
|
|

|
|
|
#6 |
|
Registered Member
Join Date: Jun 2013
Location: Nebraska
Posts: 1,041
|
That's a good idea.
|
|
|

|
|
|
#7 |
|
Registered Member
Join Date: Jun 2013
Location: Nebraska
Posts: 1,041
|
Updates:
The tank was ordered today so should get in sometimes next week. Going to acid wash and start the cycle process of my rock tonight. Ill go through and pick out the pieces I want then put them in bleach for 24hrs then tomorrow night Ill drop them in an acid bath. Working on a stand design. I think I have one figured out and will start the build on it sometime next week or this weekend |
|
|

|
|
|
#8 |
|
Registered Member
Join Date: Mar 2016
Location: Huntsville, AL
Posts: 84
|
Here's mine. The stand has an ATO compartment that also serves as an end table. The front of the stand has a door to access the sump, and on the side of the stand is a door for access to the electrical components.
|
|
|

|
|
|
#9 |
|
Registered Member
Join Date: Jun 2013
Location: Nebraska
Posts: 1,041
|
|
|
|

|
|
|
#10 |
|
In Memoriam
Join Date: Sep 2014
Location: Visalia, CA
Posts: 1,790
|
bmitchell138, very nice.
But that poor, poor floor..... 
|
|
|

|
|
|
#11 |
|
Registered Member
Join Date: Jun 2013
Location: Nebraska
Posts: 1,041
|
Well just got a call. The tank will be here Friday. Much Much faster then I would have expected. I will have an Eclipse Eshopps overflow box put in so I am unsure when they will have that all done. May need to start the stand builder sooner then expected. I think thats good because its getting a bit cold here. I may start it Sunday.
|
|
|

|
|
|
#12 |
|
Registered Member
Join Date: Dec 2004
Location: Portland, OR
Posts: 179
|
If it's a marineland 93g cube beware.
I returned mine after leak testing showed tons of bubbles in the silicon. I have a custom made 100G cube now.
__________________
100 Gal Cube Reef 8 Gal Nano Reef Current Tank Info: 8 Gallon Nano Reef and custom 100G cube reef |
|
|

|
|
|
#13 |
|
Registered Member
Join Date: Jun 2013
Location: Nebraska
Posts: 1,041
|
|
|
|

|
|
|
#14 |
|
Registered Member
Join Date: May 2014
Location: Midwest
Posts: 867
|
If possible you should make the stand longer so you can fit a bigger sump. I have the same sized tank and a 20g sump. I barely have any space left after adding skimmer and sump. There is no way I can do a algae scrubber or a reactor of any kind.
__________________
80G Rimless + 2X AI Prime 26 HD + MP40QD + MP10QD |
|
|

|
|
|
#15 | |
|
Registered Member
Join Date: Jun 2013
Location: Nebraska
Posts: 1,041
|
Quote:
|
|
|
|

|
|
|
#16 |
|
A Reef Enthusiast
Join Date: Aug 2005
Location: Boston
Posts: 364
|
I think tanks that are being sold as either Marineland or Perfecto come from the same maker. Also Mag7 is really loud. If you want quiet, you might want to look into some dc pumps.
__________________
Bao ================================= ><((((º>`·.¸¸.·´¯`·.¸.·´¯`·...¸><((((º> ·´¯`·.¸. , . .·´¯`·.. >((((º> |
|
|

|
|
|
#17 | |
|
Registered Member
Join Date: Jun 2013
Location: Nebraska
Posts: 1,041
|
Quote:
I am going to use a quiet one 3000 I used it on my 90g and it was quiet |
|
|
|

|
|
|
#18 |
|
Registered Member
Join Date: May 2014
Location: Midwest
Posts: 867
|
I have a Marineland 93G and it has a few bubbles on the top 1-2" but that's about it. Hope it stays put!!!
__________________
80G Rimless + 2X AI Prime 26 HD + MP40QD + MP10QD |
|
|

|
|
|
#19 |
|
Registered Member
Join Date: Jun 2013
Location: Nebraska
Posts: 1,041
|
does it even matter if it has micro bubbles? I know that tanks get them sometimes I have never heard of them being an issue other then just being able to see them.
|
|
|

|
|
|
#20 |
|
Registered Member
Join Date: Jun 2013
Location: Nebraska
Posts: 1,041
|
Well lets pick up where I left off.
Started off doing an acid wash on the rocks. They have been sitting in a tub for about 6 months after being alive so figured this was a good idea. The acid I used wasnt very strong so it got the crap on the outside off but didnt melt my rock really. I know I want to do some sort of floating shelf. I have some ideas on how to do that. 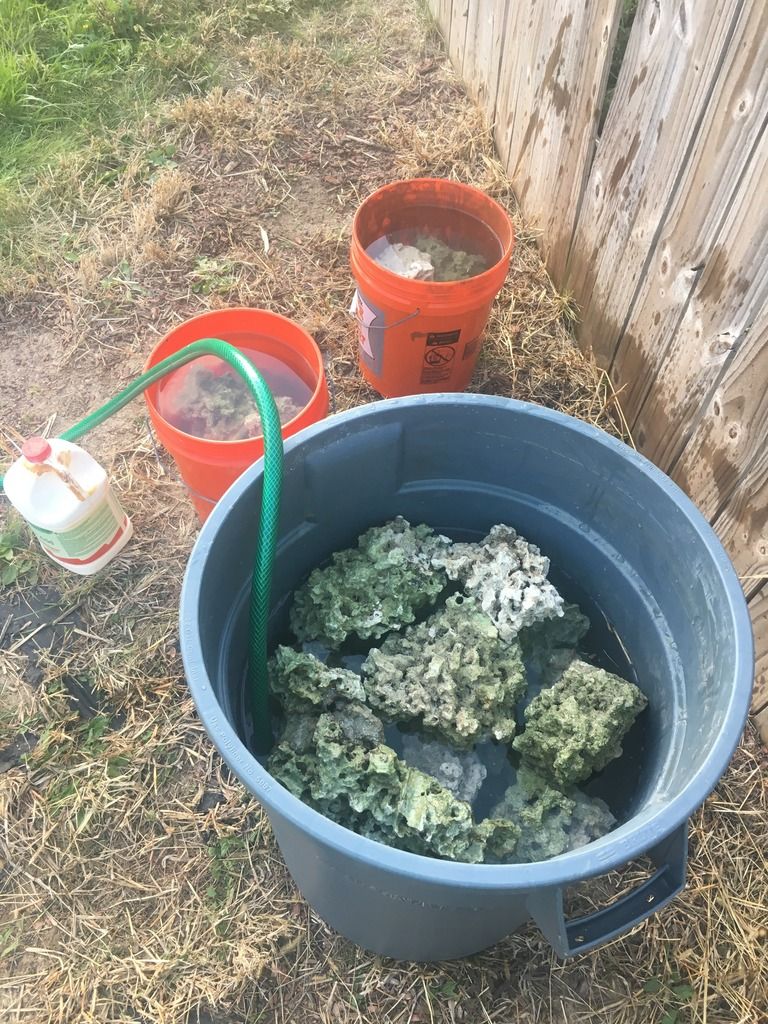 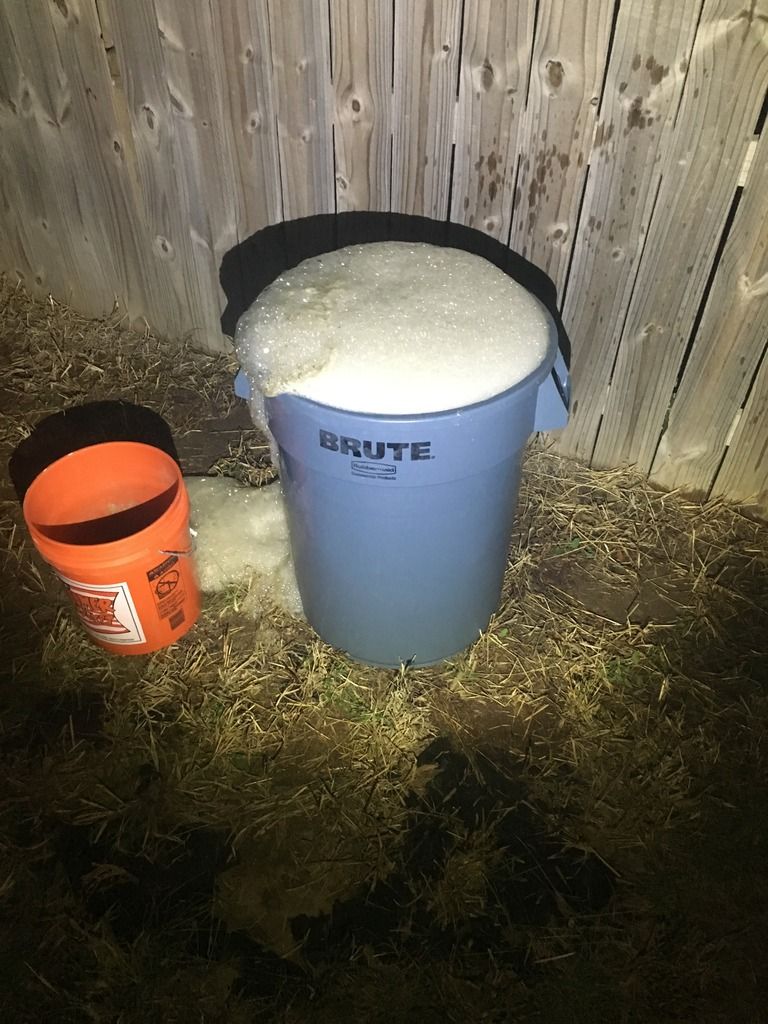 Played around with the aquascape nothing final at all just messing around. Scaping a cube is hard so I wanted some practice while the rock was dry. 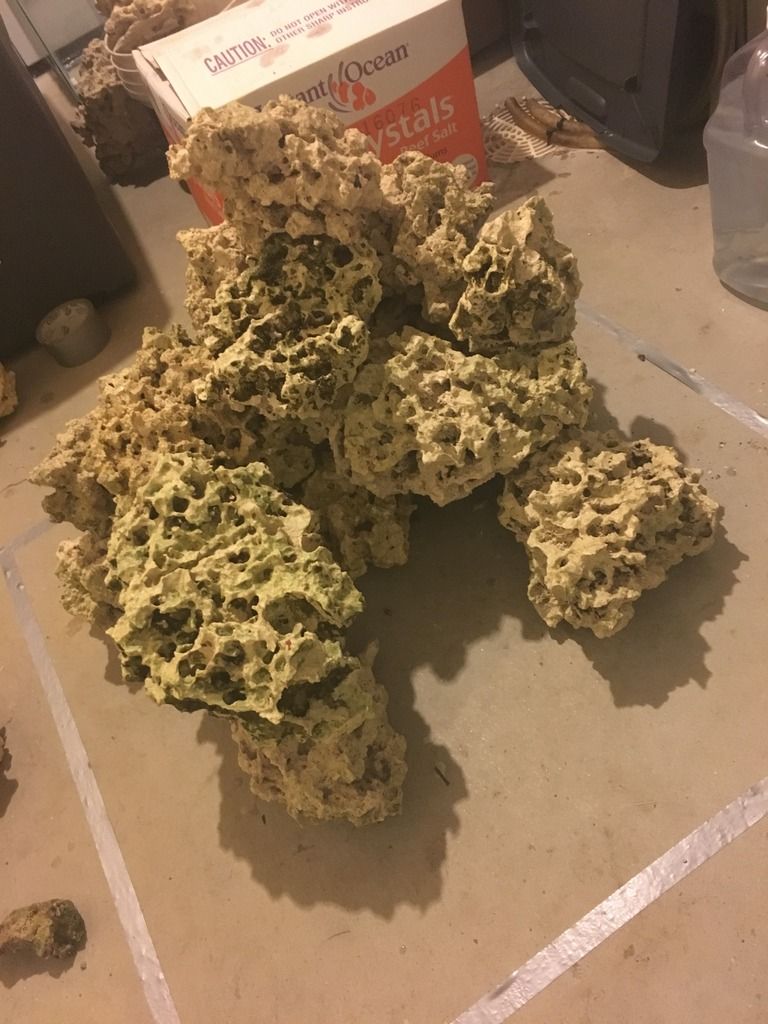 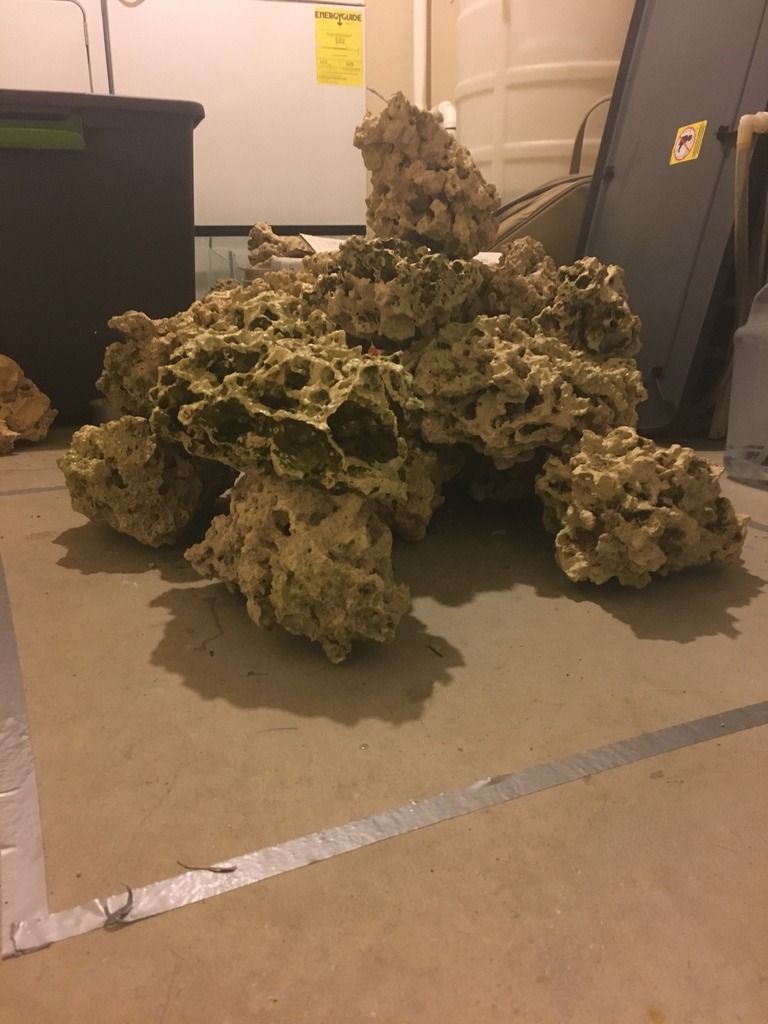 I then went and picked up my sump I am going to use. Not the best sump in the world but it will do the job. 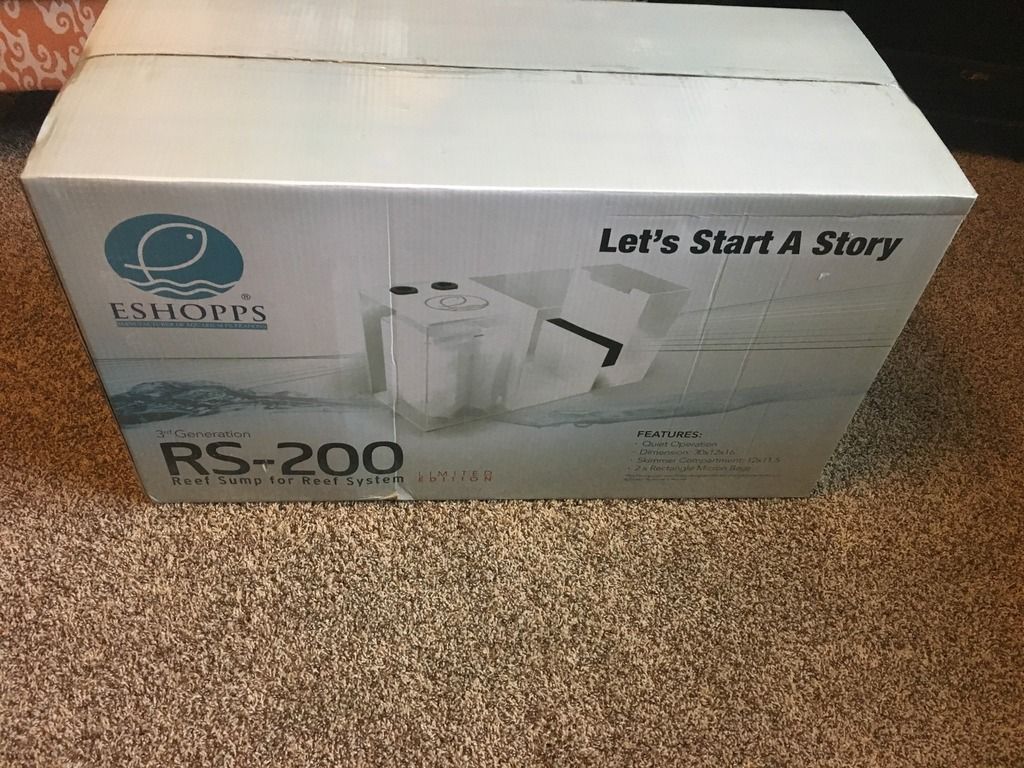 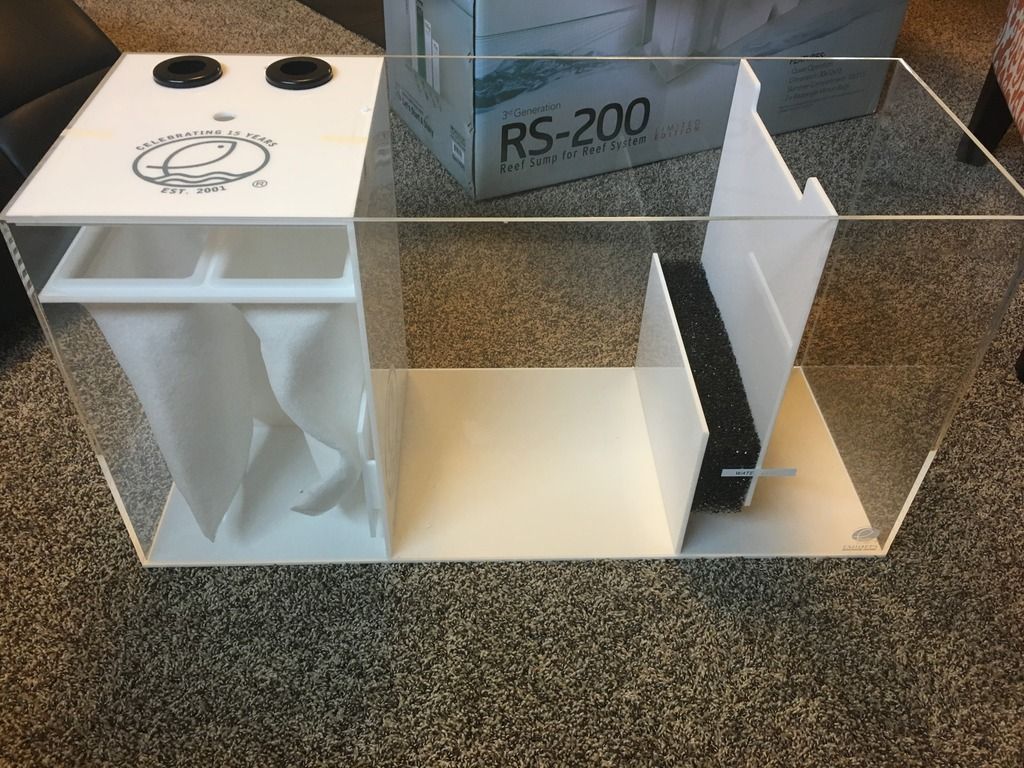
|
|
|

|
|
|
#21 |
|
Registered Member
Join Date: Jun 2013
Location: Nebraska
Posts: 1,041
|
After many delays the tank came in so I went and inspected it. I had a very bad experiance in the past with marineland so I wasnt to thrilled to find out that the LFS had ordered me a marineland tank. However after a lot of inspection it looked good.
 I then put in an Eshopps Ghost overflow. I think it looks good and doesnt take away from the tank like a corner overflow would. 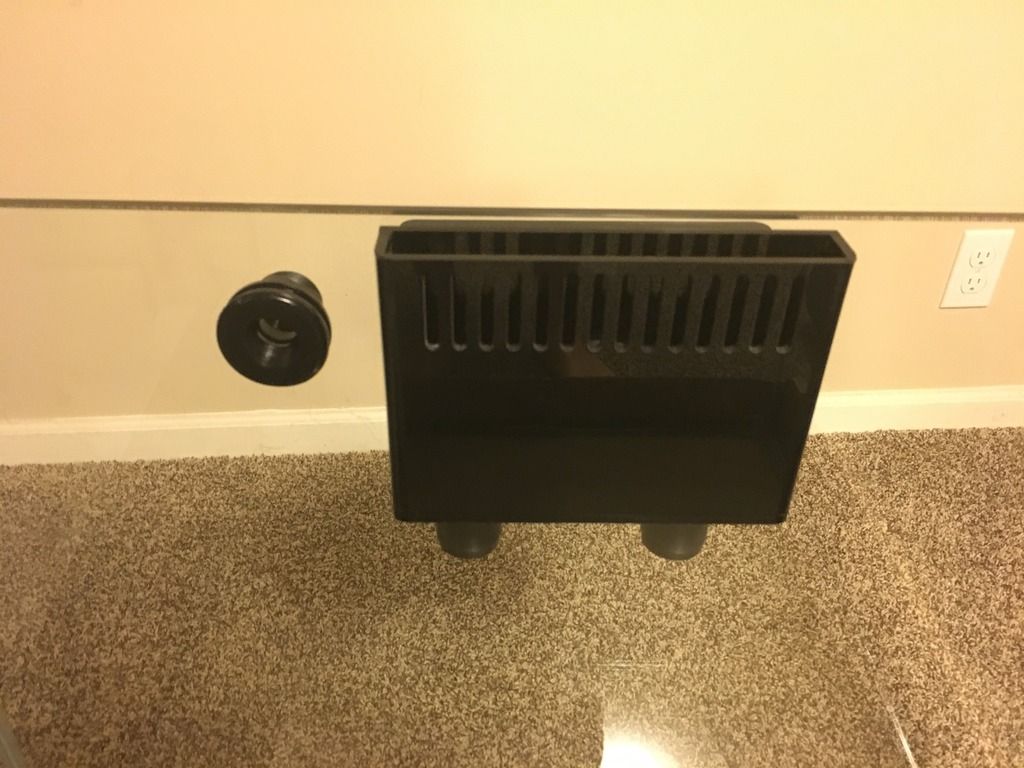 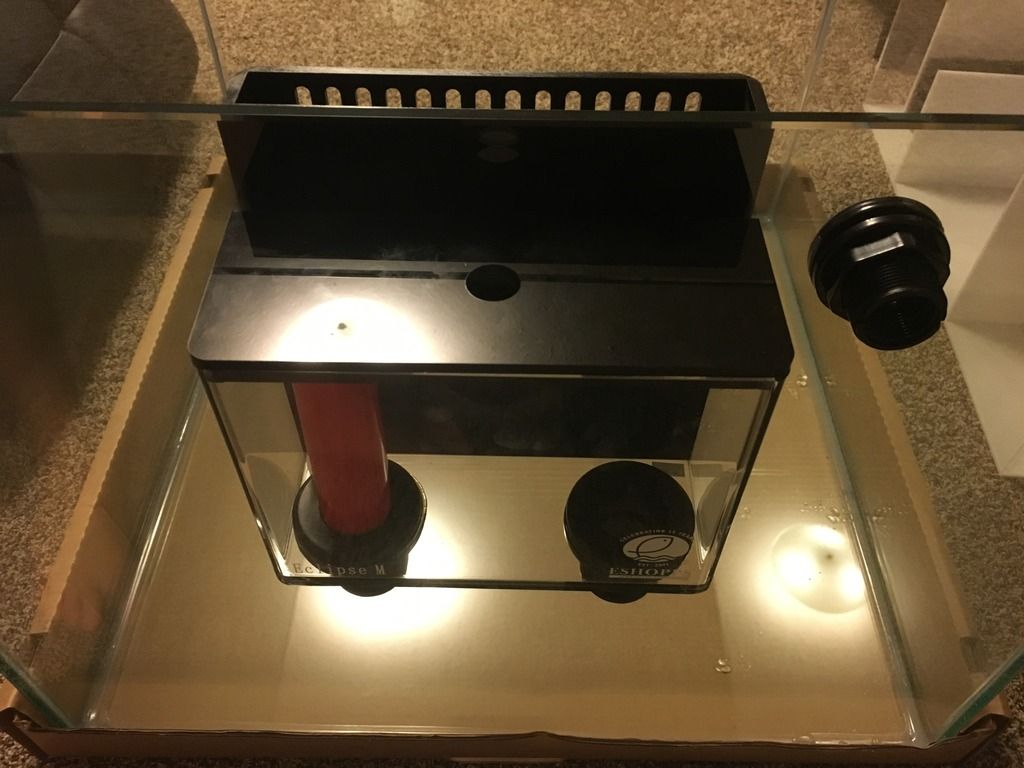 Then the part I dread the most began because I am so OCD about stands being perfectly square and I dont have the carpentry skills to back that up so I always end up having to settle and deal with something that doesnt line up perfectly. So for the stand I wanted a few things that I think I have accomplished. #1 3x removable sides. I was able to do that my only worry is warping but I did 3 coats of kilz so I hope that helps and am thinking about bracing the doors some how to prevent warping. #2 separate area for all electrical. That was easy enough to complete. #3 needed to accommodate my 30" sump. As you know a 93g Cube is 30x30x24 so I needed to make the stand a bit longer and that worked out for the #4 thing I wanted with the stand. #4 was I didnt want any plumbing behind the stand. I have seen a few stands where the plumbing goes straight down from the back of the tank and through the stand. I just like the look of this and I think it looks clean. #5 lastly I wanted it very minimal so very little or even no trim if possible, no handles, no nothin. So the build began. 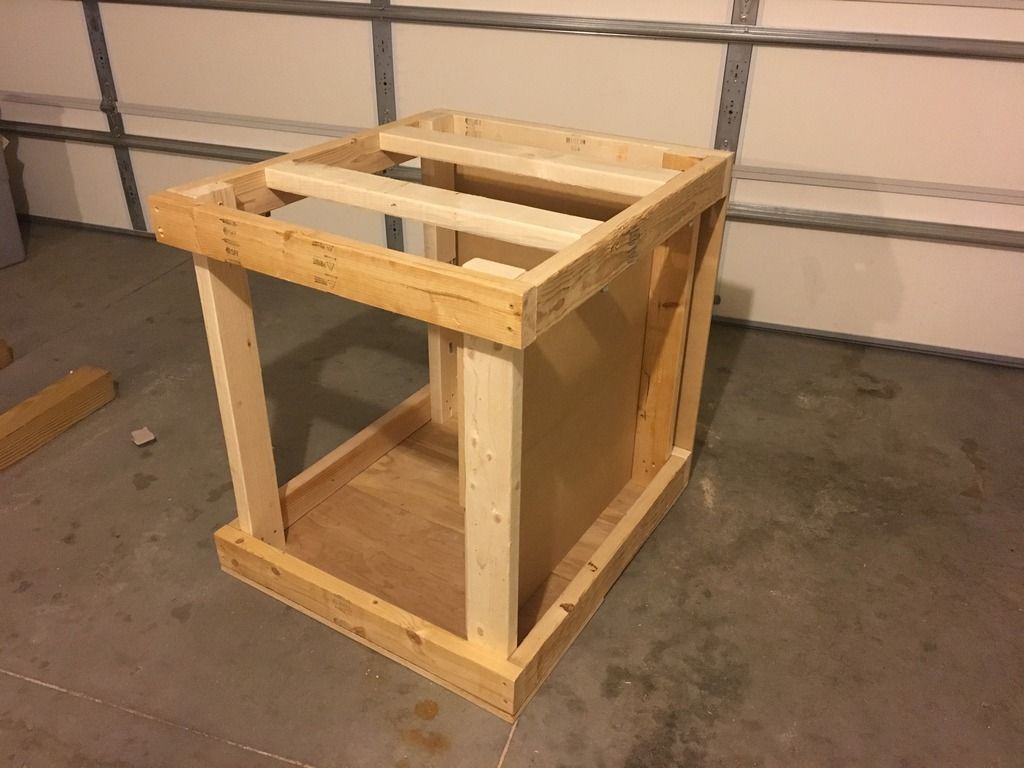 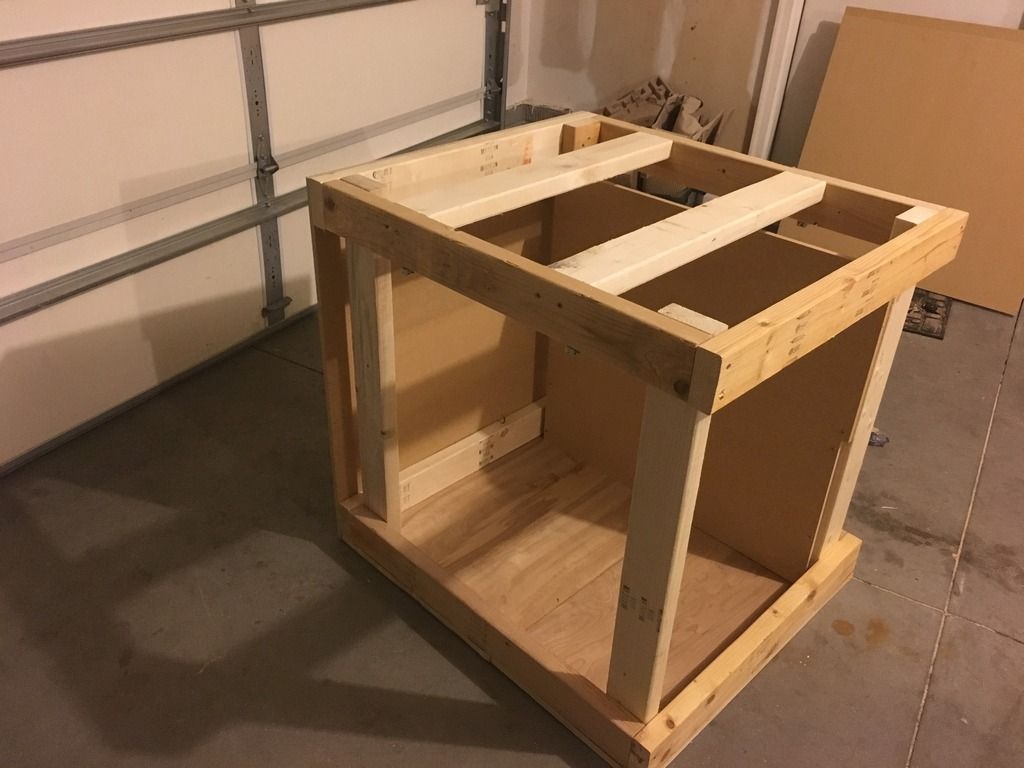 This is how I am attaching the doors for now. They lock in well and the best part is I dont have to worry about them not being lined up when I put them back on because they have to go in the bracket. For now it works very well. Pulls the board up tight to the stand. 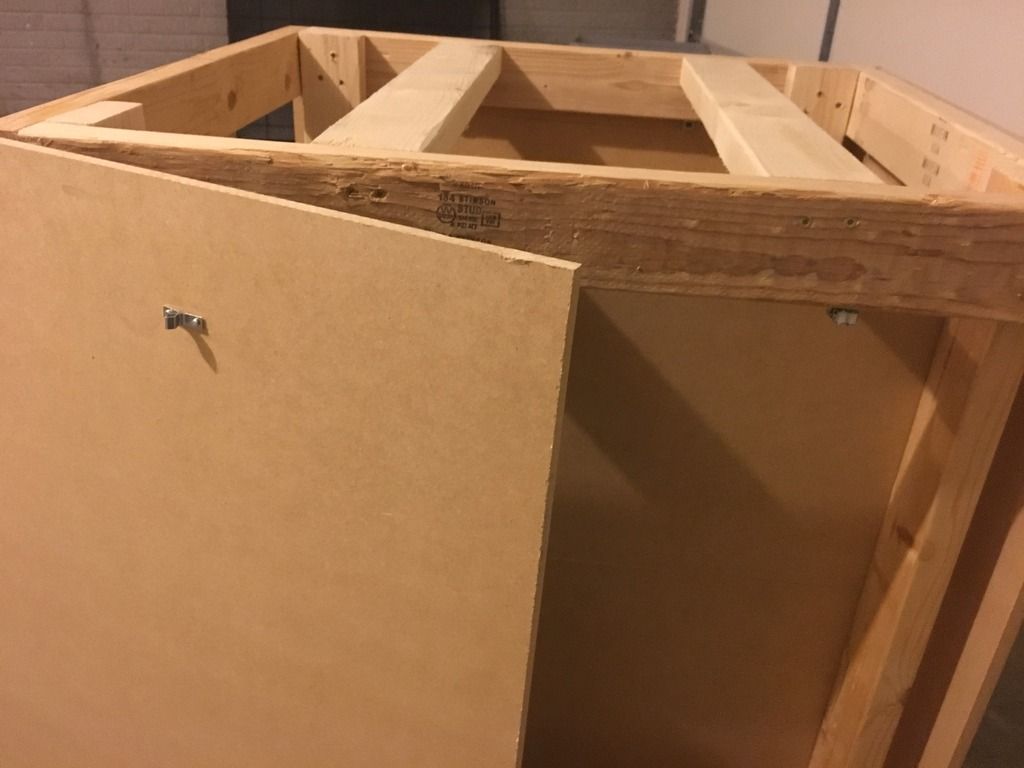 With the sides on at this point I had not cut the front yet and I forgot to take a picture of it so you will just need to wait till its finished tonight to see. 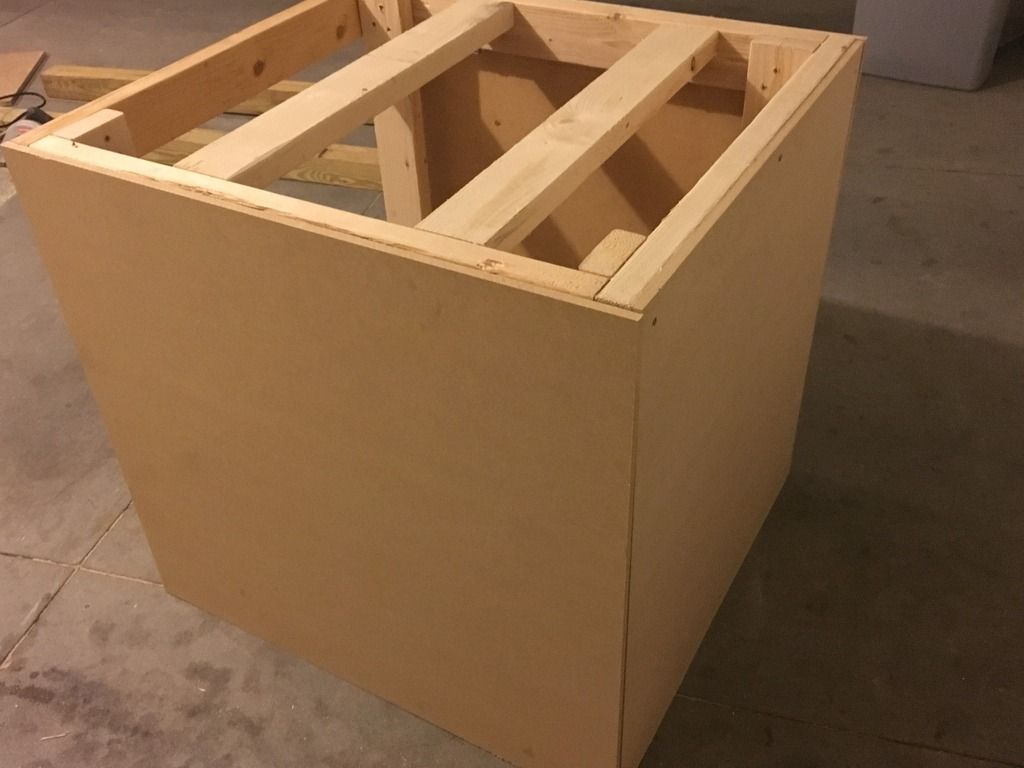 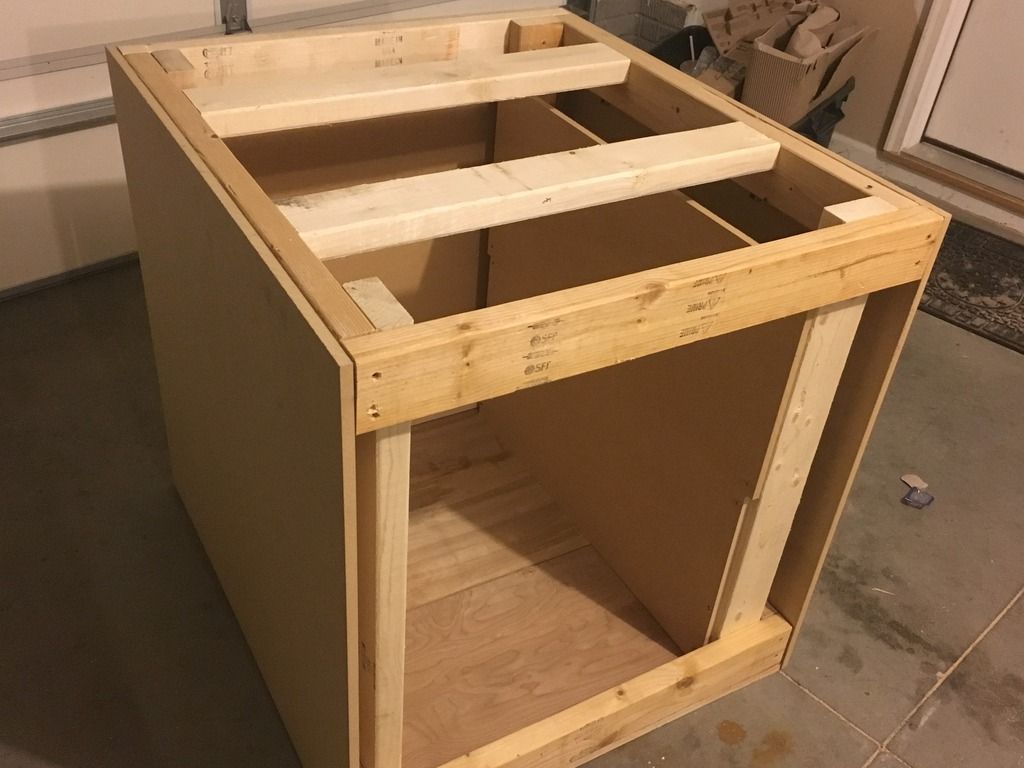
|
|
|

|
|
|
#22 |
|
Registered Member
Join Date: Jun 2013
Location: Nebraska
Posts: 1,041
|
After much debate with the wife I got my way and got to paint the stand white. She wanted me to paint it black because my stand for my 220g is black but the tank will be on the other side of the basement and the area we are putting the tank will have chairs with white in them. I really sold her on the idea of having a place in the basement with two chairs a table and a fur rug next to the fireplace to sit and watch the tank. I was happy with this because I got shut down putting it in the living room.
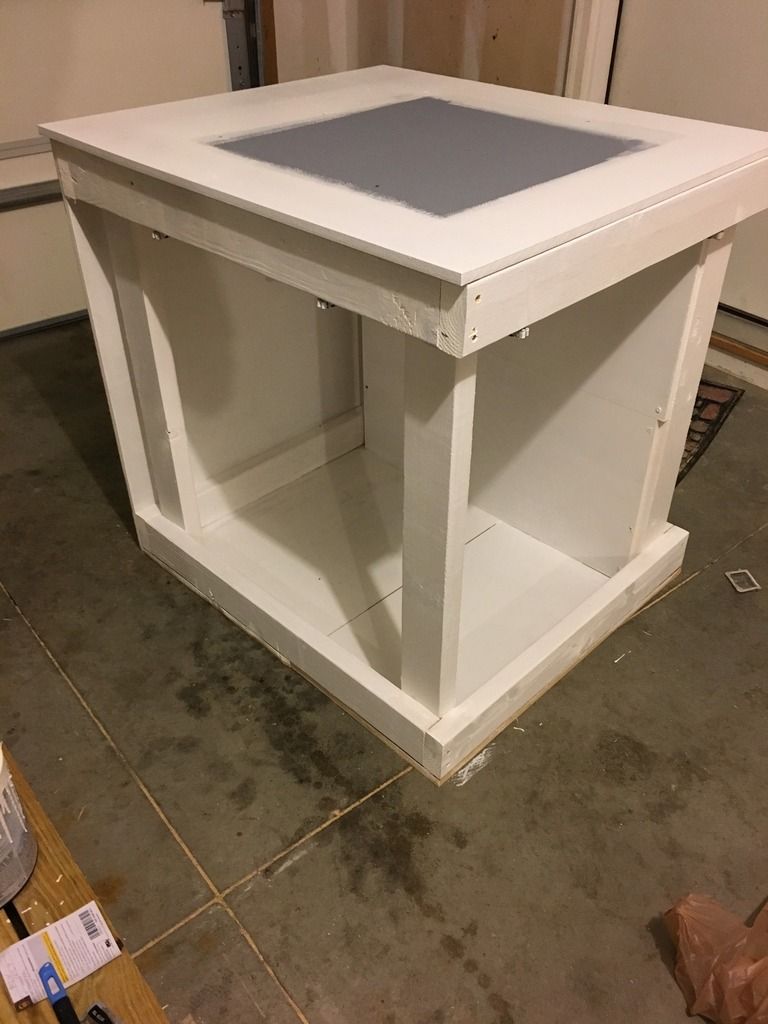 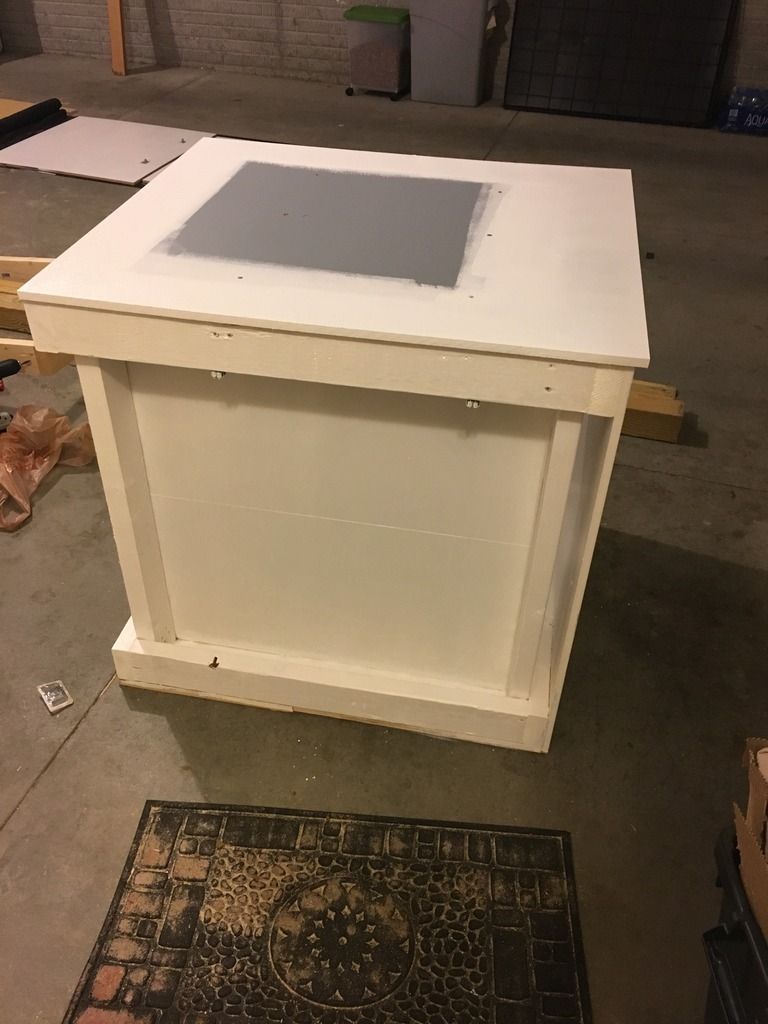 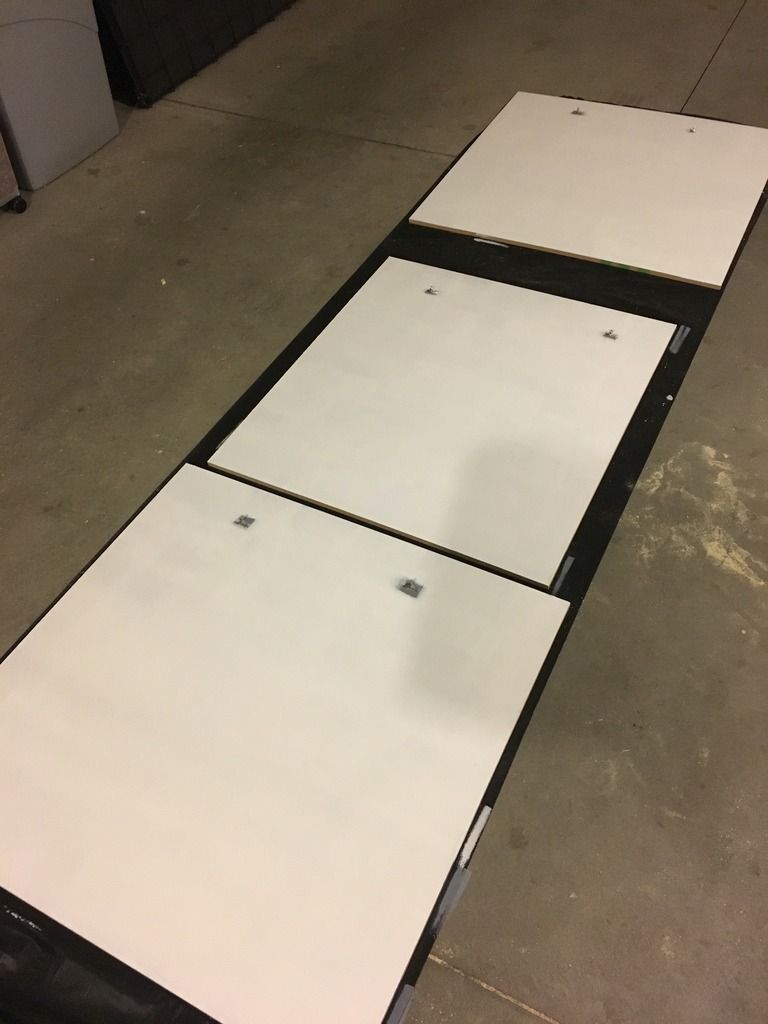 Tonight I am going to paint the front of the doors. They need a LOT of coats to come out as white as I want them and I think I will also poly them to protect them and make it glossy. Still need to do some research on that today. Next step is to get the stand in the basement and tank on it. Then I will do the plumbing. I am really excited for the plumbing on this tank because its going to be incredibly easy compared to tanks in the past. I also need to figure out a way to hand my ATI fixture. I want to avoid hanging it from the ceiling but I cant find options I really like. List of items I have so far: Tank 93g Frameless Eshopps Ghost Overflow M RS-200 Eshopps Sump Reef Octopus NWB-110 (this is one item I am thinking about upgrading) ATI 24" 8 Bulb T5HO Fixture Vortech MP40 (I have 1 of the 2 I have bought. One was lost in shipping I guess so UPS is looking into it) Reef Keeper Lite /w ATO, Temp Prob QuietOne 3000 Return Pump Some 250w Heater BRS Dual Media Reactor Jabeo 4 channel dosing pump Ipad - Going to keep it in stand and put an App on it to record maintenance and keep track of parameters Things I still need to get: Probe Holder PH Probe to replace my old one PVC - Thinking about going red PVC with white fittings Dosing containers for 2 part 30lb bag of sand - I have 30lbs already and I think 60lbs will be plenty of sand we will see |
|
|

|
|
|
#23 |
|
Registered Member
Join Date: Jun 2013
Location: Nebraska
Posts: 1,041
|
Stand is now finished as far as painting goes. I realized yesterday afternoon I dont have any gate valves for my tank so I jumped on brs and got some and they should be here tomorrow just in time to do my plumbing. I also get my cable raceways tomorrow so I will be able to get those in the stand.
My hope is by tomorrow my tank will be on the stand and the equipment will be in. I may be able to get the plumbing dry fitted. I would like the tank to be wet by the end of the weekend but I am unsure I will get there. |
|
|

|
|
|
#24 |
|
Registered Member
Join Date: Aug 2013
Location: Atlanta
Posts: 2,497
|
|
|
|

|
|
|
#25 | |
|
Registered Member
Join Date: Jun 2013
Location: Nebraska
Posts: 1,041
|
Quote:
My idea with that formation would be to secure the rock that comes out to the front on the left and remove the rock under it so it would be an overhang/shelf. It does look like a turtle in the picture so that is funny |
|
|
|

|
 |
|
|